


The Build – Part 7
In this step, we complete the steering as well as attach the chassis to the front clip. There were a few headaches during this step but I’ve narrowed it down and hopefully it’ll make it easier for you.
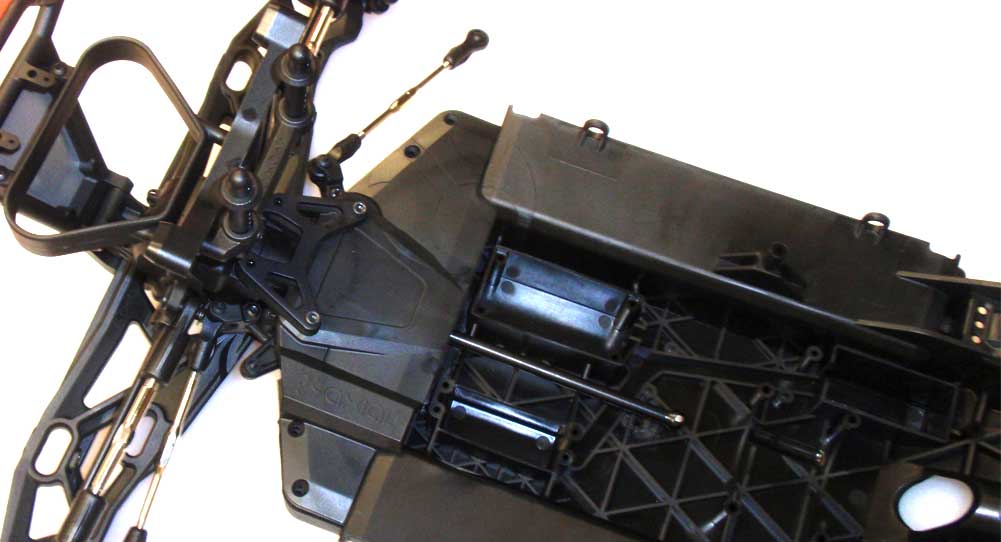
The first thing we need to do is loosen up the two 50mm screws from the last step. After doing that, wedge the top deck and front bulkhead apart slightly, slide the CVD through the chassis tunnel and press the front clip into place. Keep an eye on the steering system and that you don’t dislodge it from it’s mounting point.
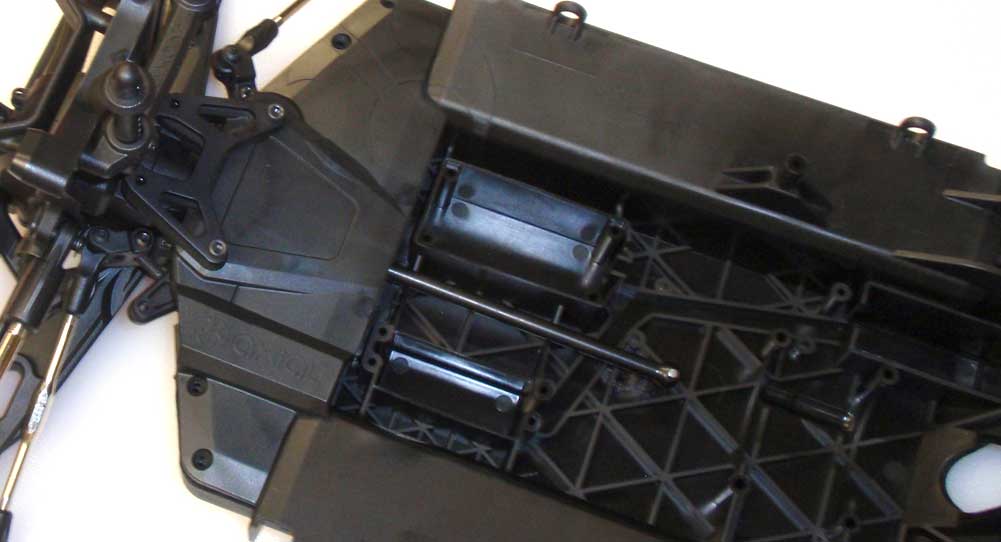
Flip the chassis assembly over and install the four 20mm screws. Don’t tighten these down all the way yet.
Flip it back over and install the four 18mm screws. Don’t tighten these down yet either.
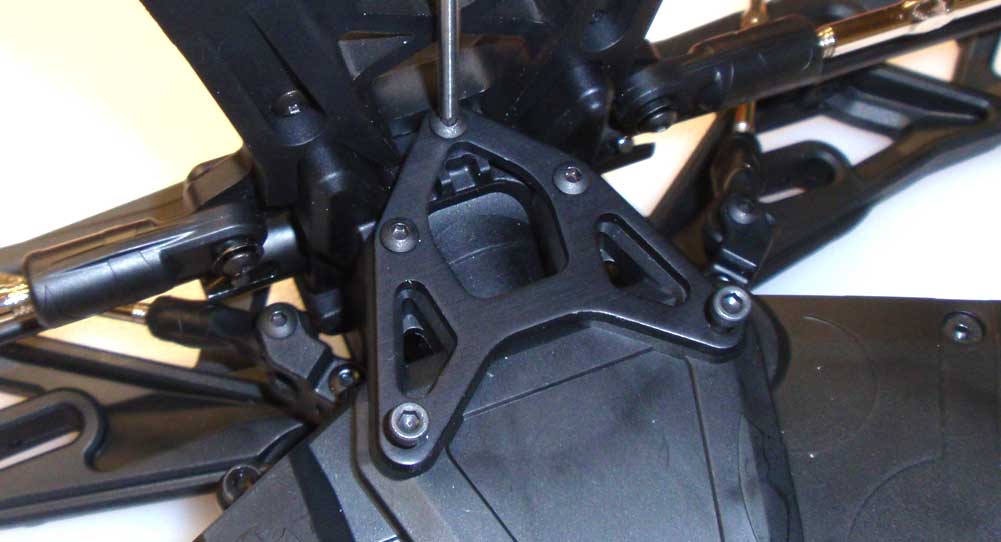
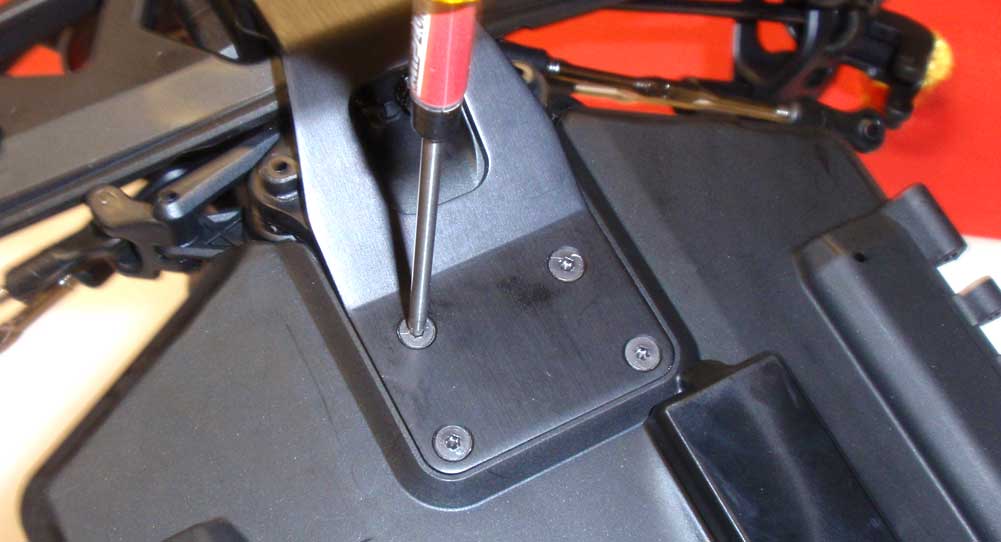
Here’s the tricky part; installing the three 15mm screws through the top deck. Mine didn’t line up quite right so I had to muscle them into place, but it helps if the screws from Steps 87 and 88 aren’t tight. Once you get them in, you can tighten down all the screws.
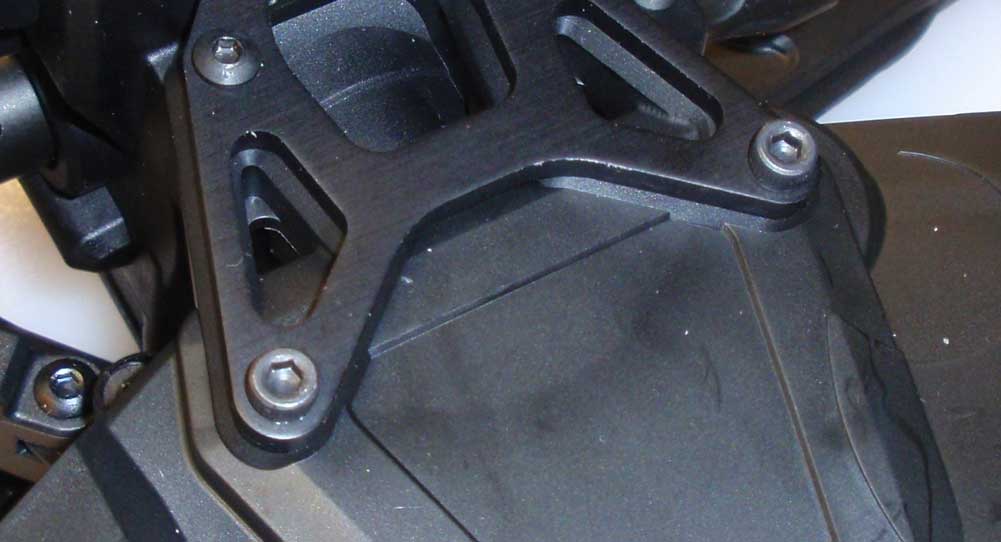
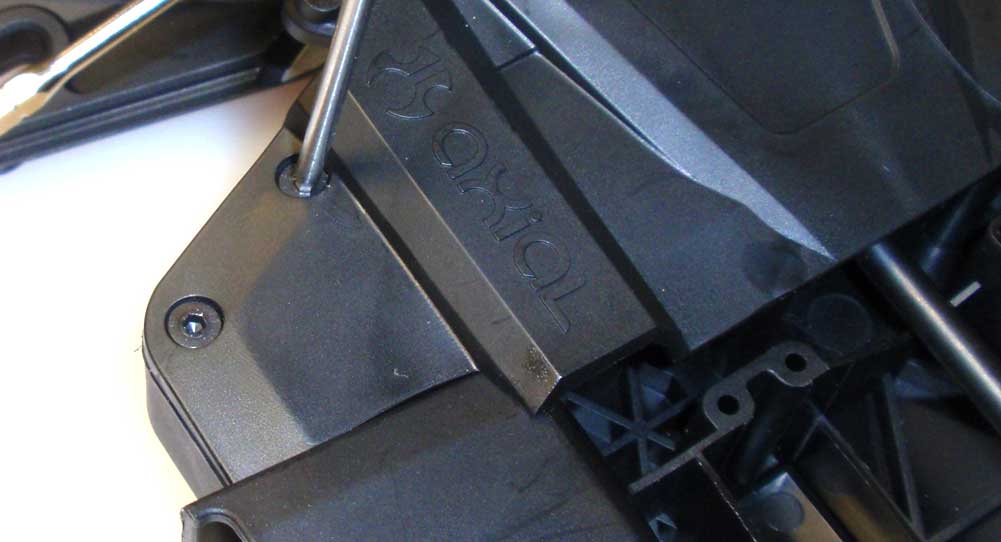
Don’t forget to tighten down these screws.
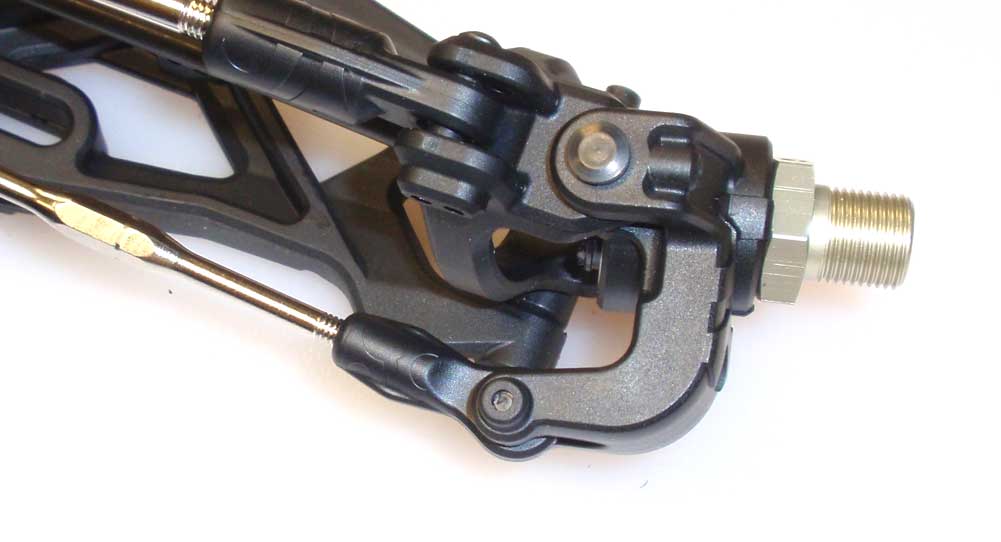
Finally, attach the steering turnbuckles to the steering knuckles.
Swing the steering back and forth to make sure its free. Also give a look to make sure the steering posts are seated in the chassis correctly.


