


The Build – Part 8
Obviously if you’re reading this, you know this is a kit version of the Axialy Yeti XL. That also means I get to put my own equipment in this rig! I want to thank Futaba, Castle Creations and Maxamps for letting me use their parts in this build.
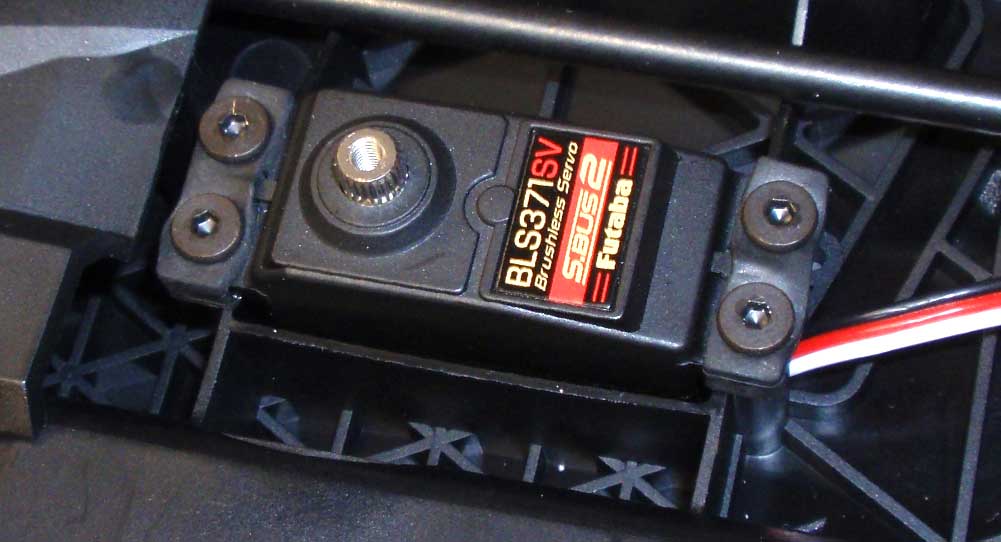
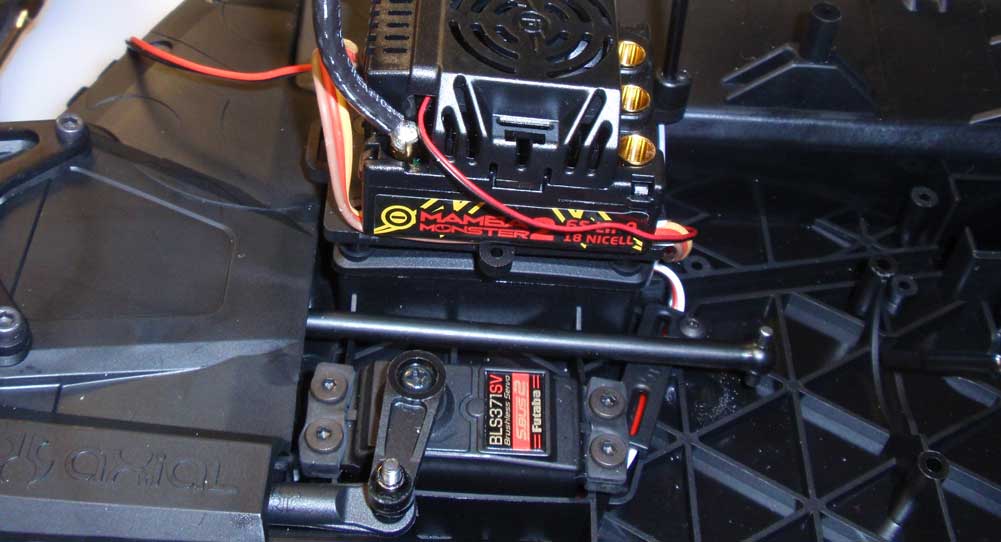
For steering purposes, I’m using this brutish Futaba BLS371SV servo. It looks kind of puny in this chassis but I’m confident its going to have not problems steering me in the right direction.
To help keep the wires away from the fast-spinning parts, Axial has included this cool little wire channel complete with cover.
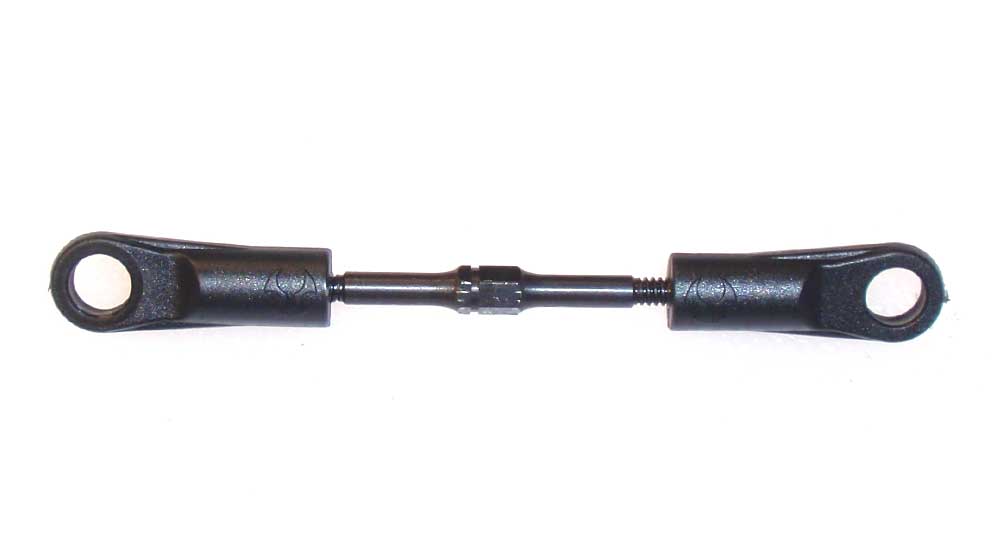
Grab your final turnbuckle and build the drag link. The 30mm length is a good starting point.

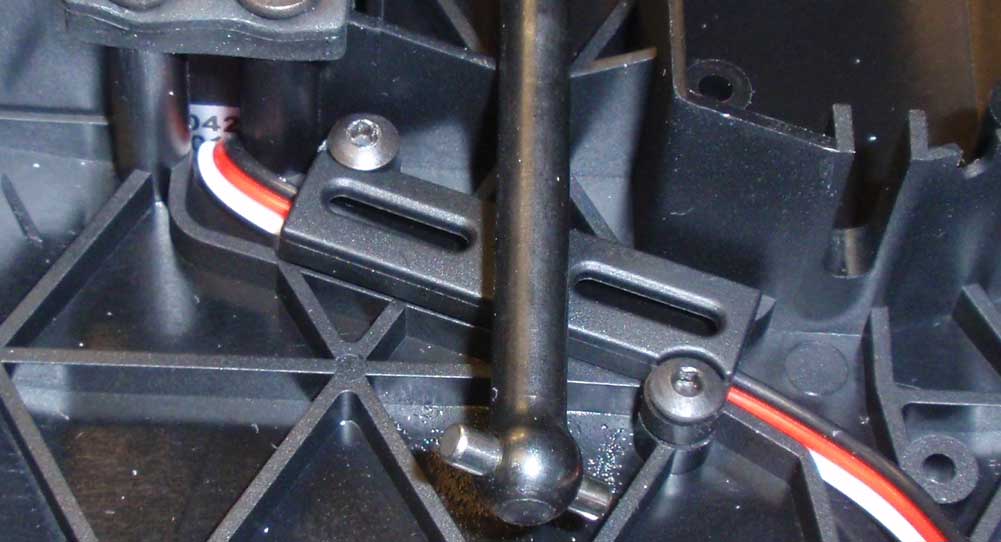
Pop the metal balls into each rod end (note the orientation) and attach it to your servo horn. Make sure you use the correct horn for your servo. Don’t forget to install the little plastic spacer.
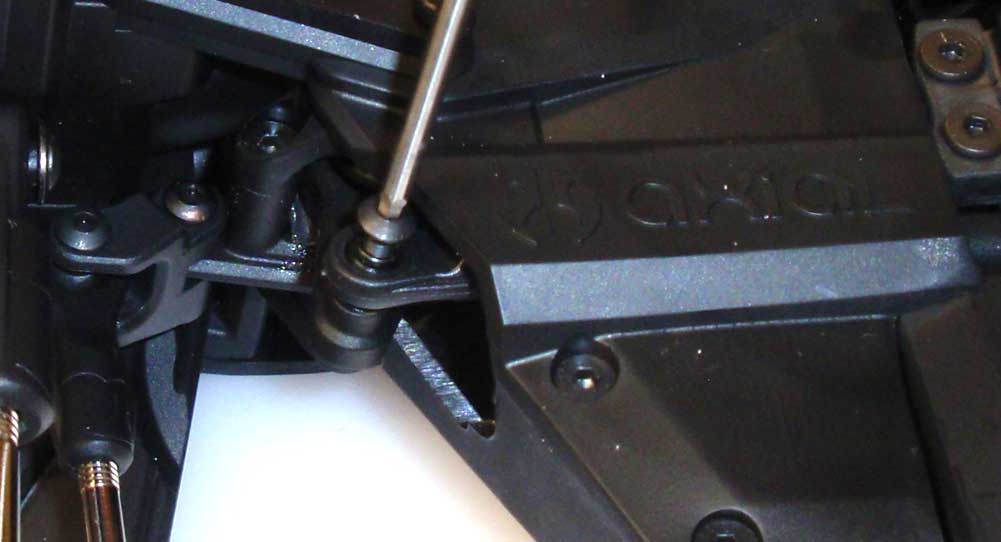
Feed the drag link through the tunnel and connect it to your steering system.
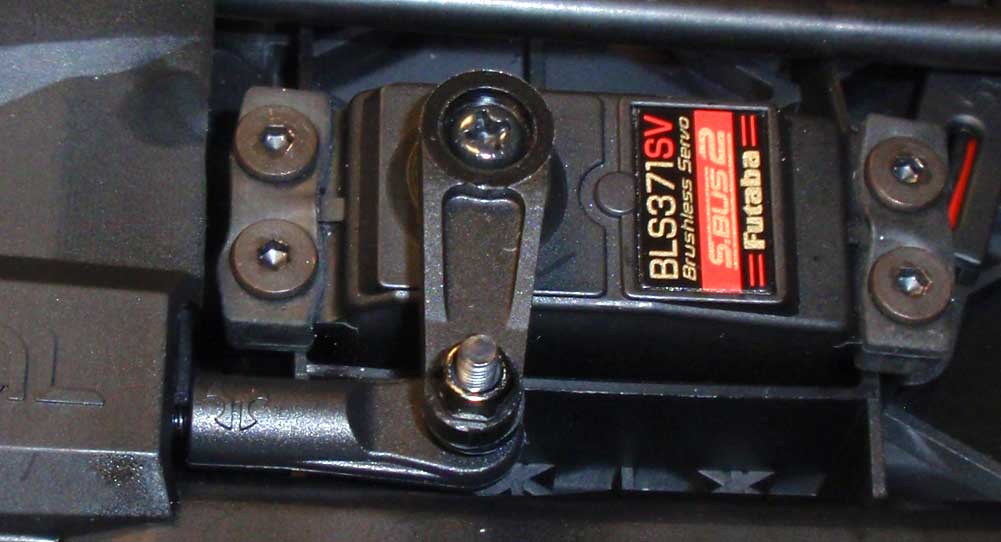
Attach the servo horn to your servo.
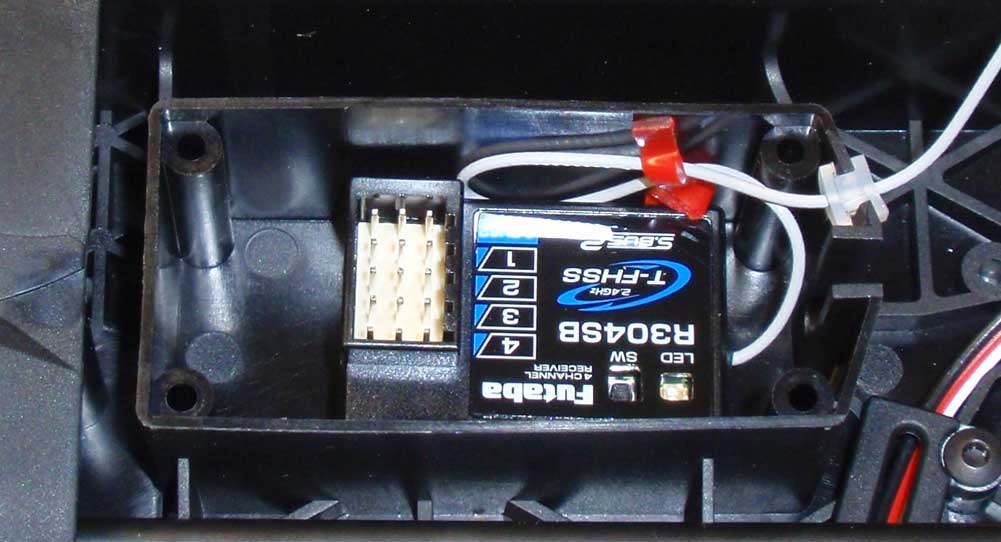
Install your receiver into the receiver box. Feed the antenna through the rubber antenna gasket and then press the gasket into the channel in the receiver box.
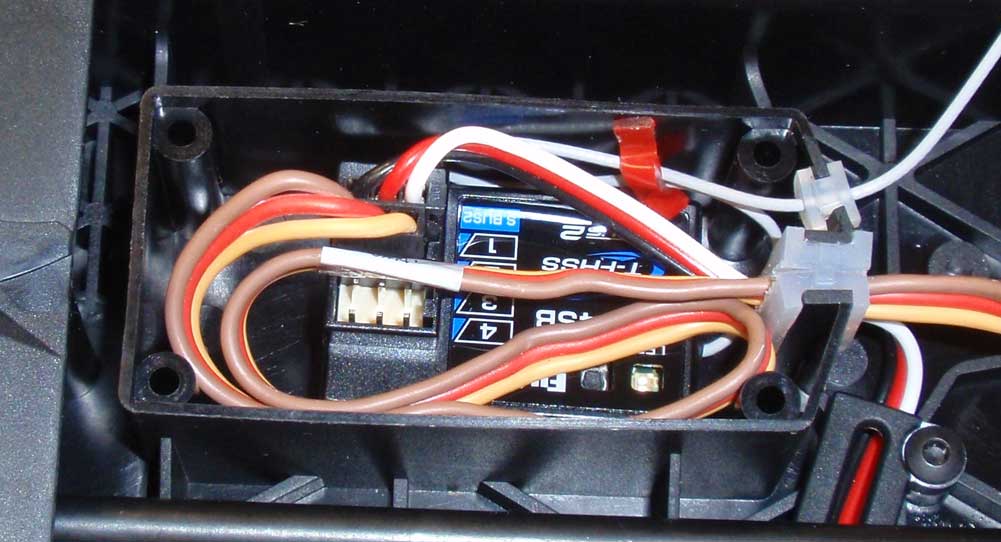
Feed the servo and ESC wires into the rubber wire gasket (along with the little spacer) and then press the gasket into the long channel in the receiver box. Pull as much of the wiring into the box as you can afford. This will help keep everything neat and tidy (and out of the way of the moving parts).
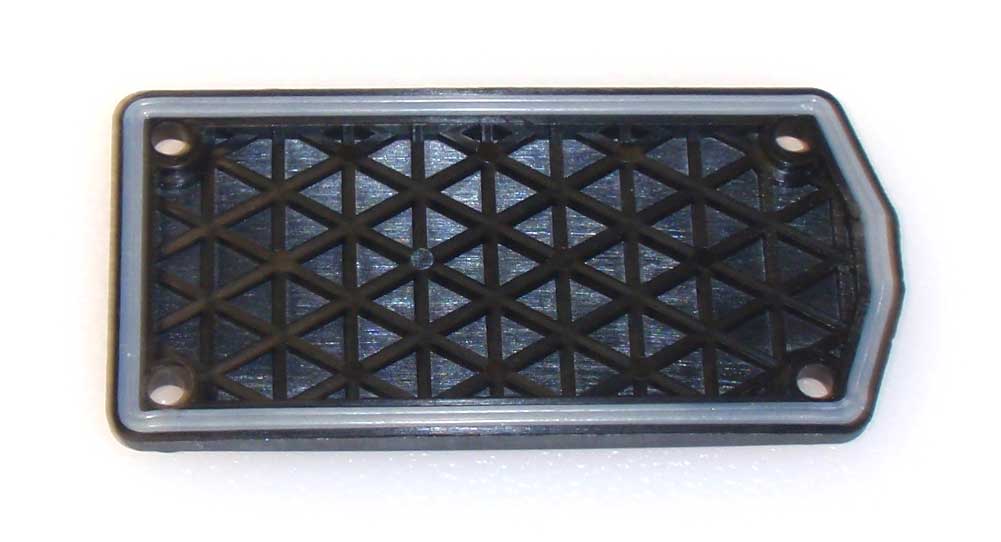
Press the rubber gasket into the receiver lid.

Set the lid on top of the receiver box. Make sure the holes line up.
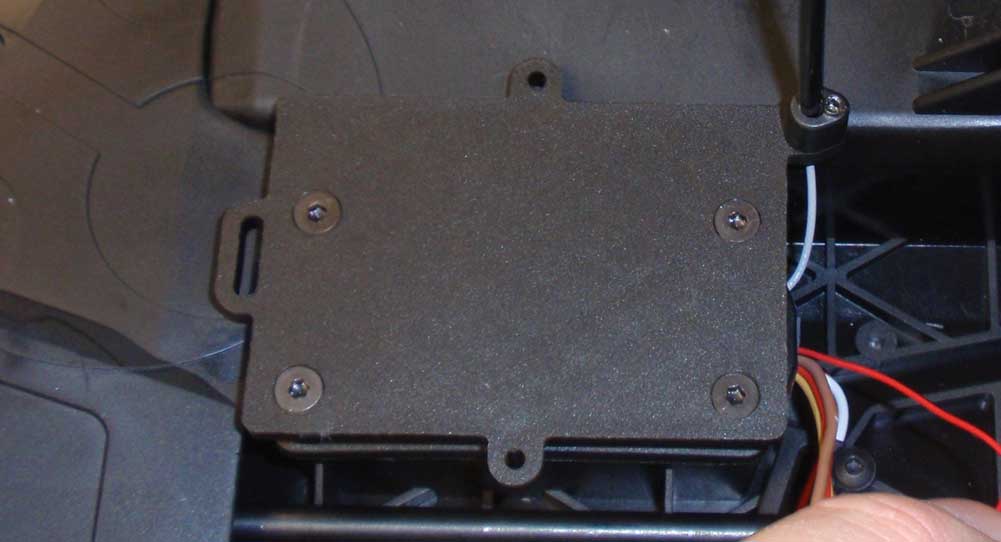
Set the ESC tray on top of the receiver lid and screw down. Feed the antenna wire up through the mount and tube.
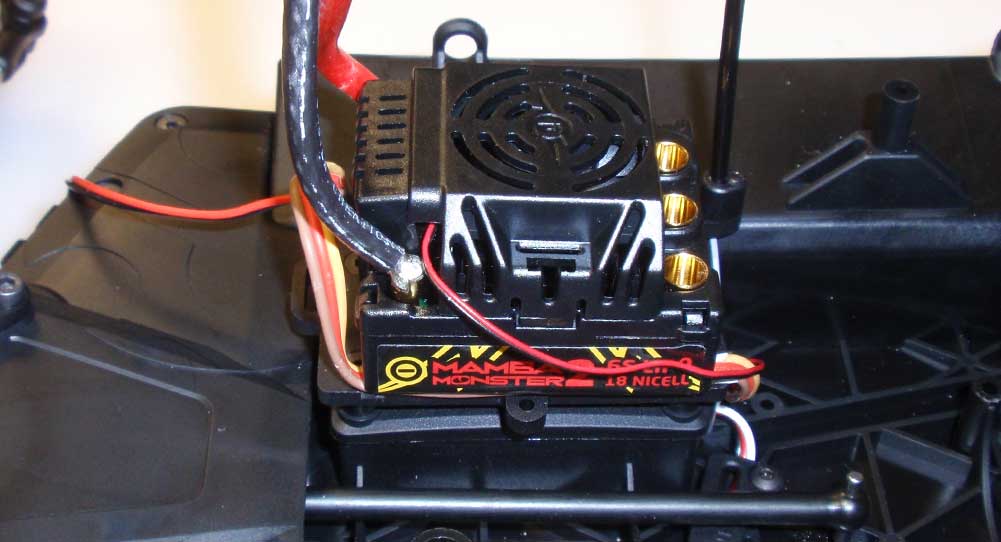
Using a high-quality servo tape, secure the ESC to the mount.
Electronics done! Don’t forget to mount your switch. Snack time before we hit the transmission.


