


The Build – Part 1
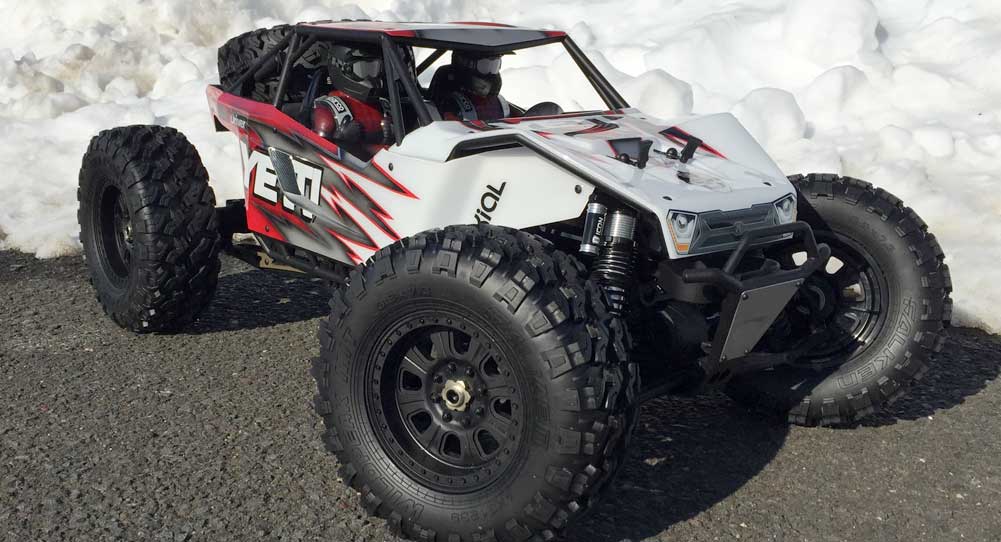
The first item on our Axial Yeti XL Build list is the front differential. It is a 1/8 scale diff that is fluid filled and features durable sun gears, able to withstand some pretty hefty power. That’s good since I’ll be flowing some big 6S juice through it. Other than the outdrives, the front and rear diffs are both the same, however we’ll be building them at separate times.
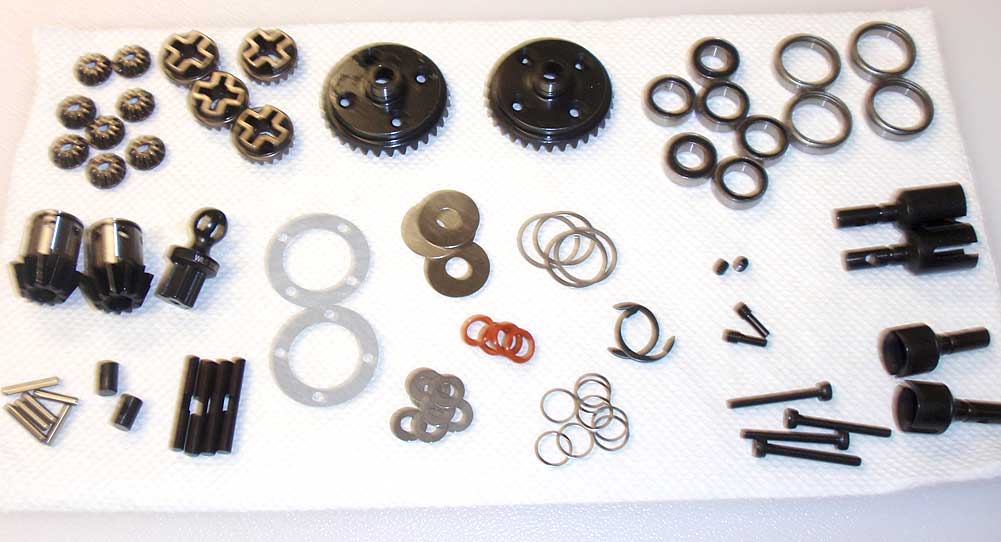
I like to set all the parts out ahead of time to make sure everything is easily accessible. If you’re feeling crazy you can build both diffs at the same time, however I’d do them individually per this build to make sure you don’t mix anything up. I’ve included a blurry pic to make the building process a little more challenging. Sorry about that.

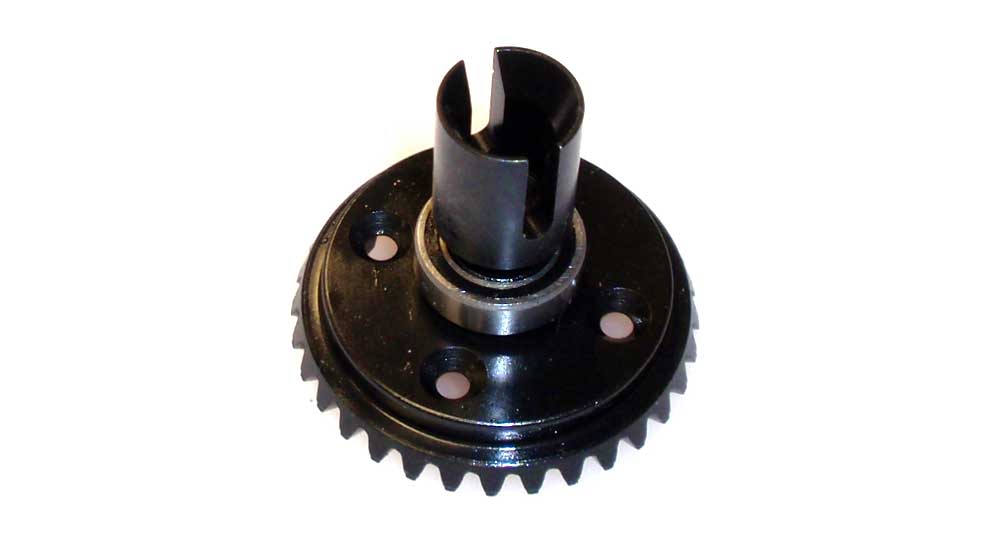
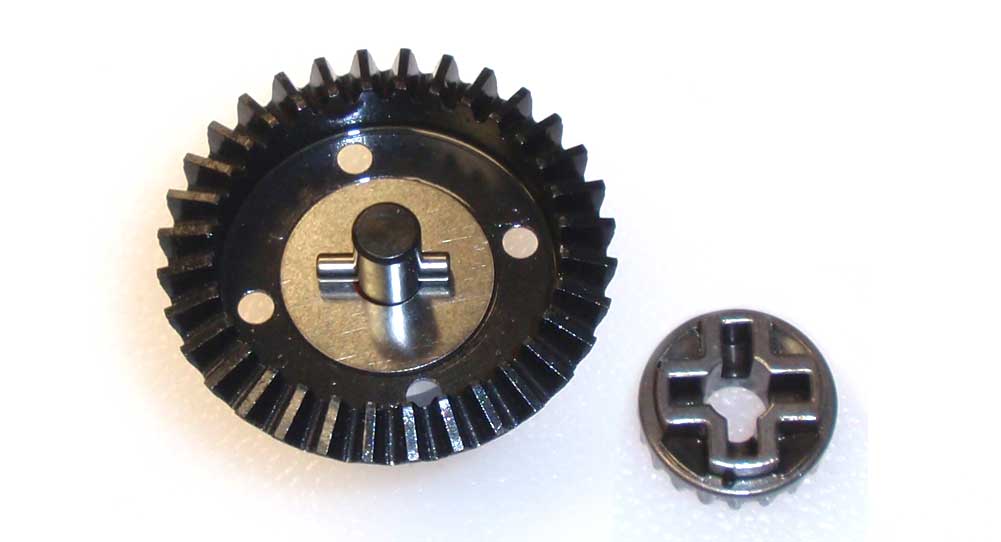
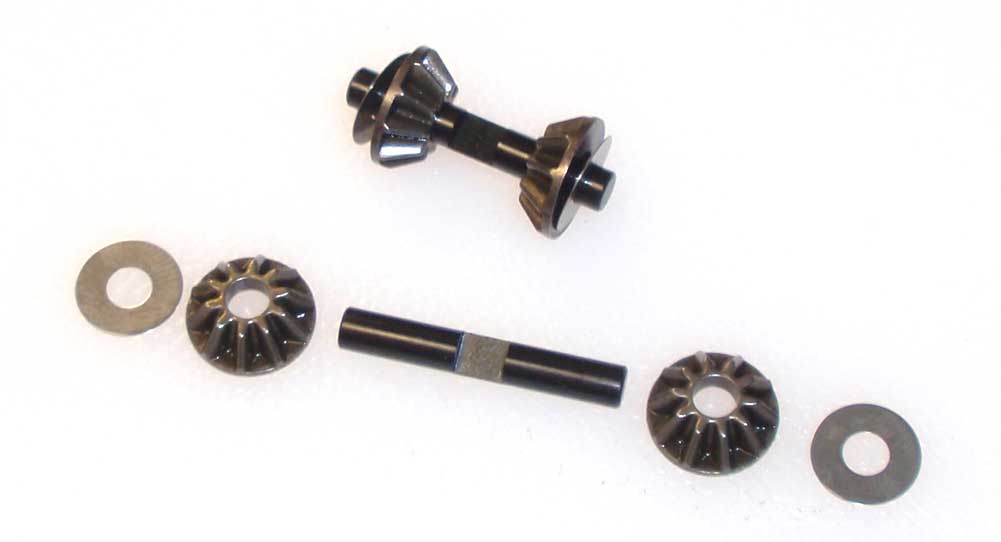
As mentioned above, the front and rear diffs are the same except for the outdrives. The top one is for the front of the XL, the bottom one for the rear. Don’t get these mixed up.
Press one of the 8×16 bearings onto the diff gear followed by one of the front (longer) outdrives.
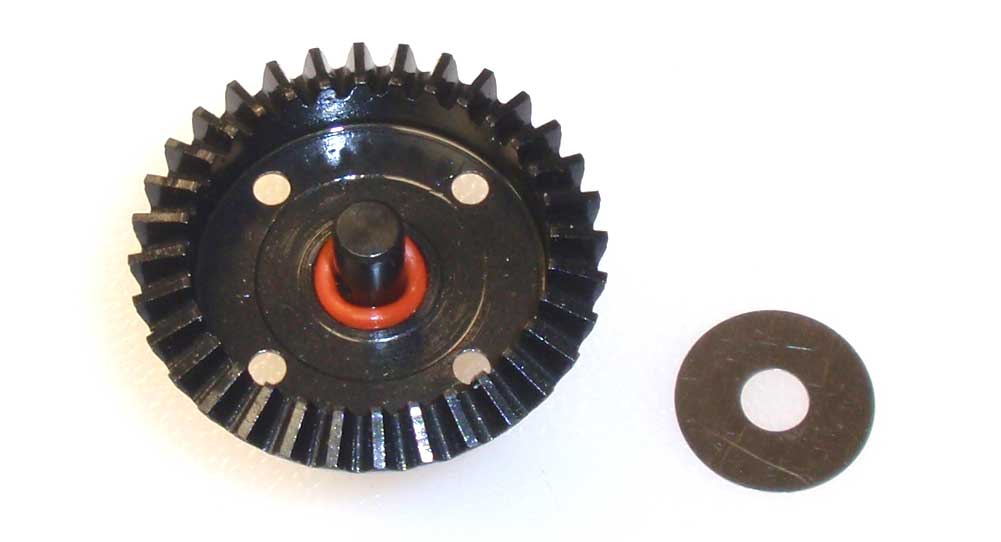
Flip this assembly over and slide a red o-ring onto the outdrive, followed by a 6×19 washer. Press the washer down to help seat the o-ring into the gears groove.
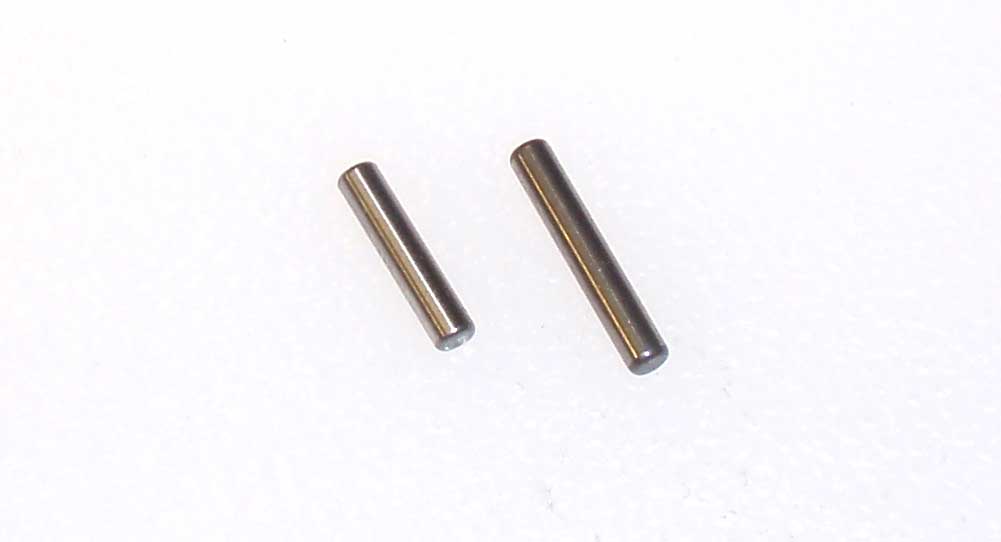
There are two drive pins in this step, however we’ll only be using the short ones for now. The longer ones are for the CVDs and used in a later step.
Slip one of the shorter pins through the outdrive followed by a sun gear. Key the gear to the pin.
Fix the gasket to the gear as shown, making sure to line up the holes.
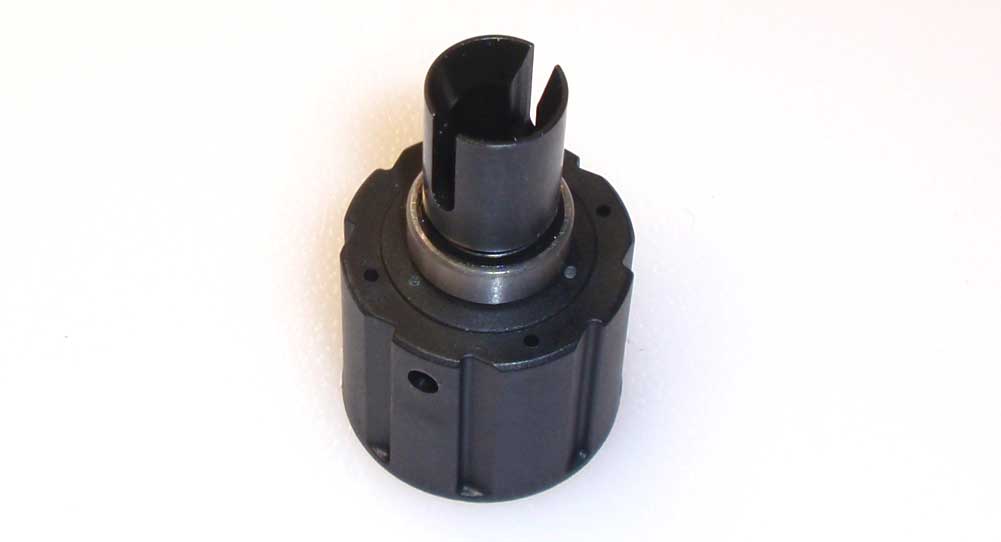
Press another 8×16 bearing onto the diff housing, then slip the other front (longer) outdrive into place.
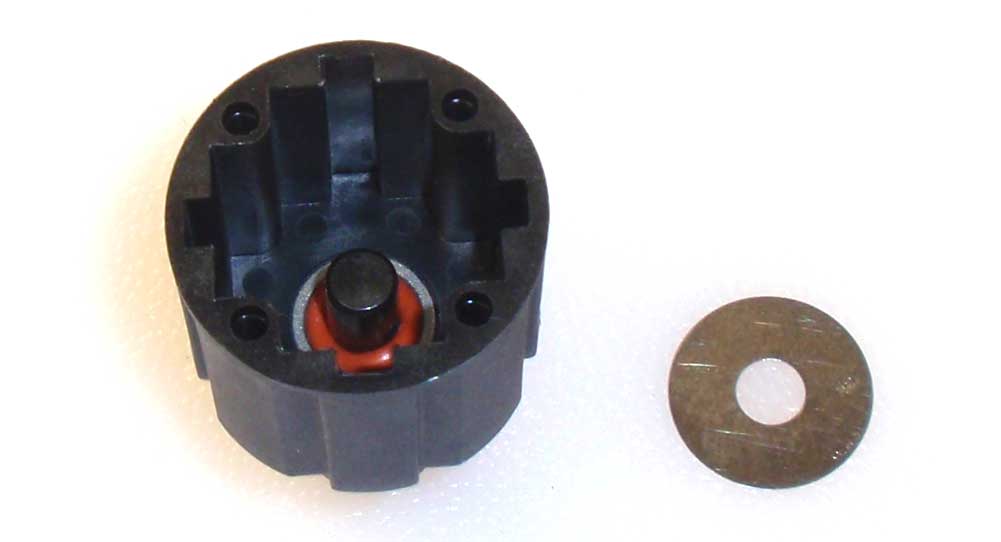
Flip the assembly over and slide a red o-ring onto the outdrive, followed by a 6×19 washer. Press the washer down to help seat the o-ring into the groove in the housing.

Rotate the outdrive to line its hole up with the hole in the housing. Slip the other pin through the housing hole and into the outdrive.
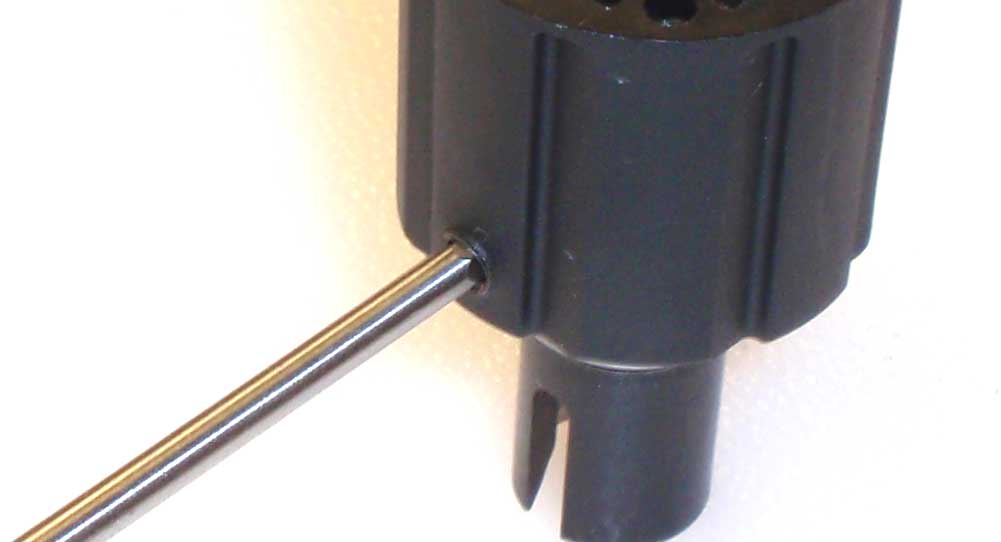
Screw a M4 setscrew into the housing to close the hole. Make it flush with the outside of the housing.
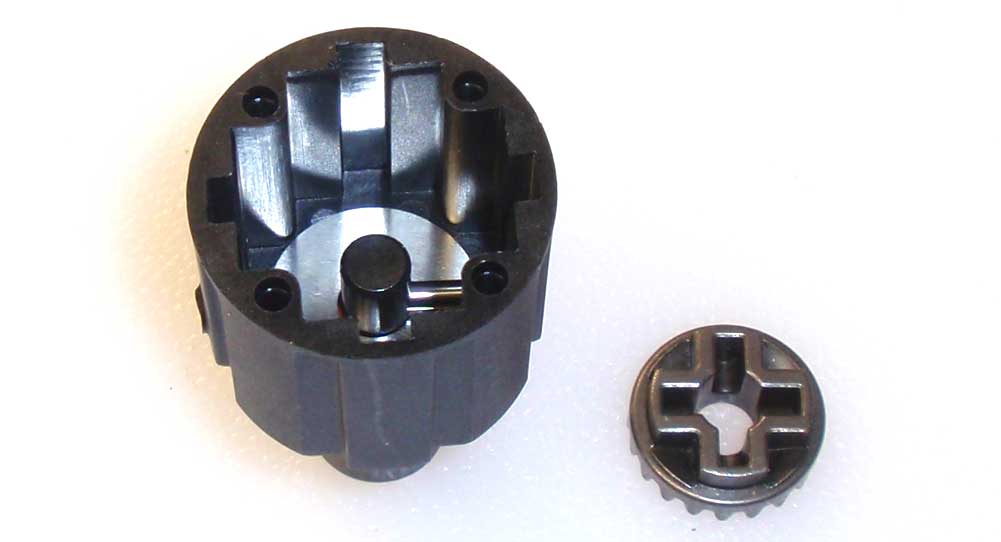
Flip the housing over and install the other sun gear, lining it up with the pin.
Build two sun gear assemblies.
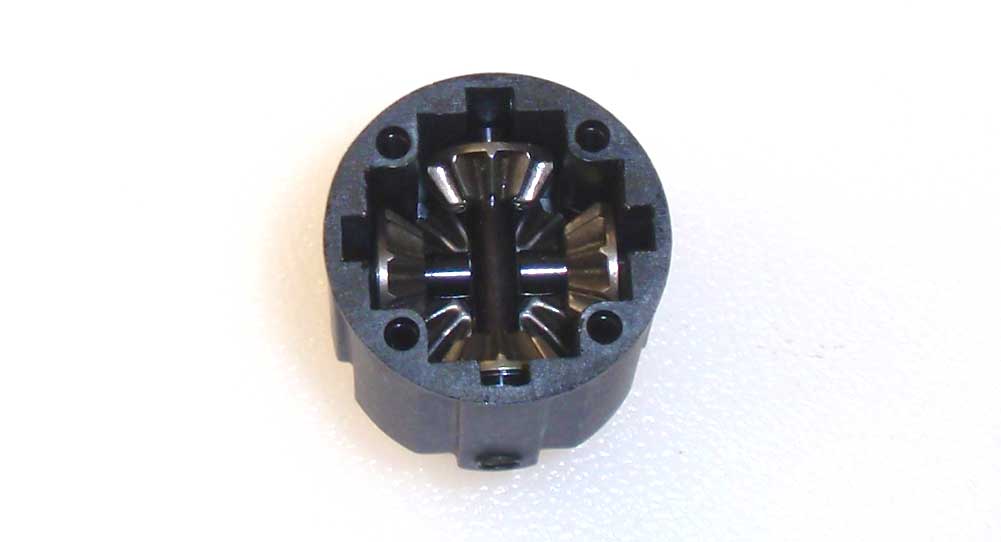
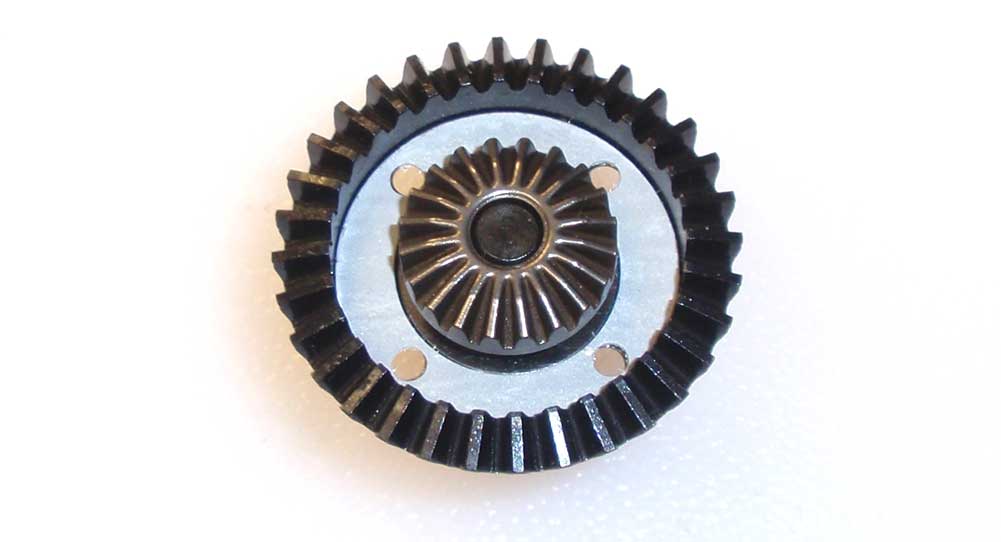
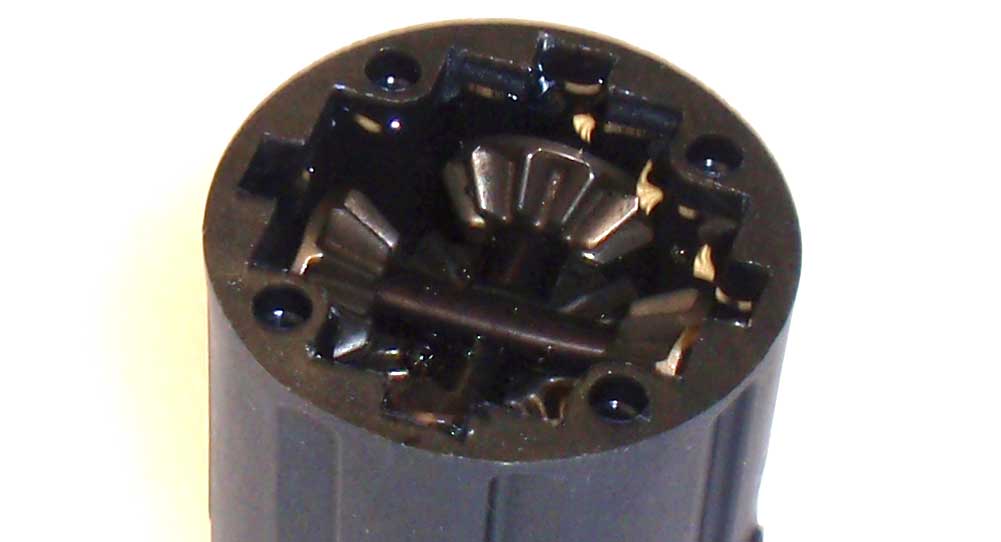
Take one of the sun gear assemblies and drop it into place, lining it up with the notches in the housing. Make sure the flat spot on the shaft is facing up. Take the second assembly and drop it into place, lining it up with the notches in the housing. Make sure the flat spot on this shaft is facing down and keyed to the lower assembly.
Using the supplied 20000CST fluid, fill the housing to just above the sun gears.
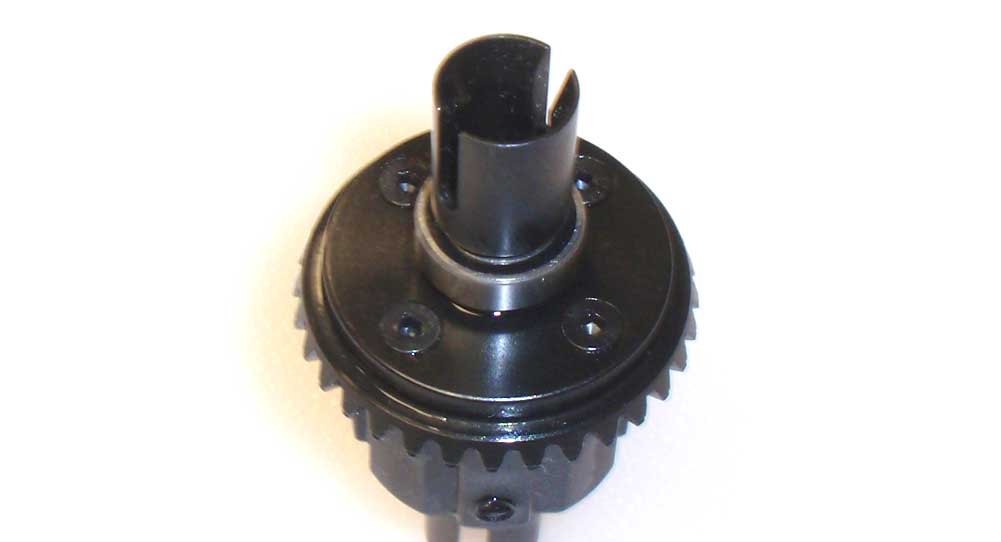
Set the gear side on top of the housing side and screw together.
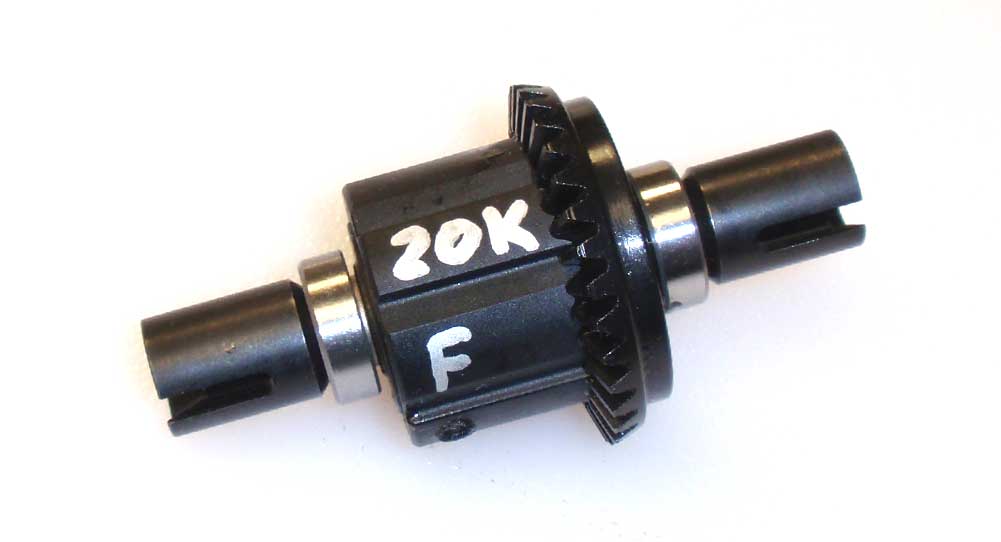
To make identification easier (and what fluid I have in the diff), I write it on the outside with a silver Sharpie.
Great job. Keep this diff handy while we install it into the gearbox in the next step.
• Axial Yeti XL Build – Front Differential
• Axial Yeti XL Build – Front Gearbox
• Axial Yeti XL Build – Rear Differential
• Axial Yeti XL Build – Rear Axle
• Axial Yeti XL Build – Front Suspension
• Axial Yeti XL Build – Steering
• Axial Yeti XL Build – Chassis
• Axial Yeti XL Build – Electronics
• Axial Yeti XL Build – Transmission
• Axial Yeti XL Build – Suspension
• Axial Yeti XL Build – Shocks
• Axial Yeti XL Build – Body, Wheels, Tires


