


The Build – Part 2
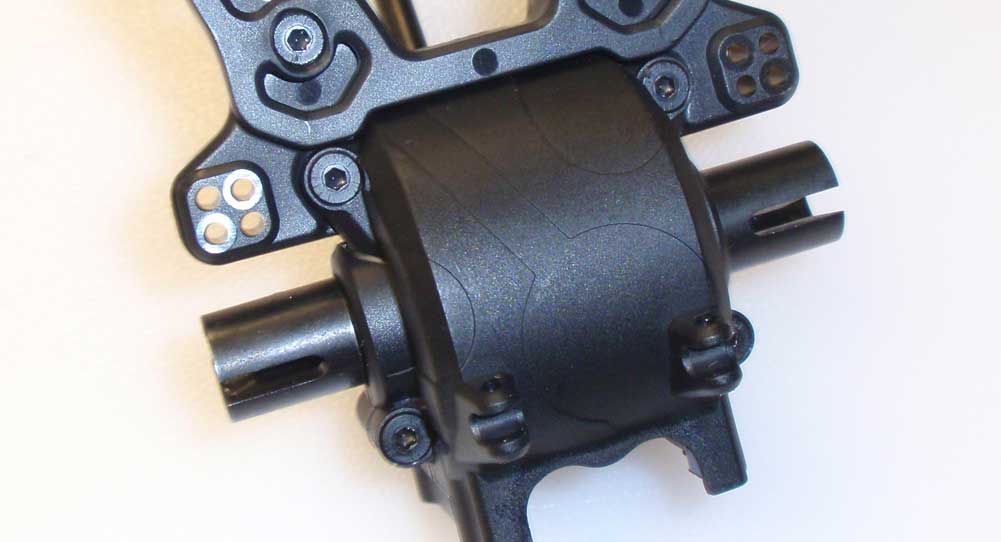
Part 2 or our Axial Yeti XL build has us assembling the front gearbox. This step includes the installation of the front diff and bolting on the front shock tower.
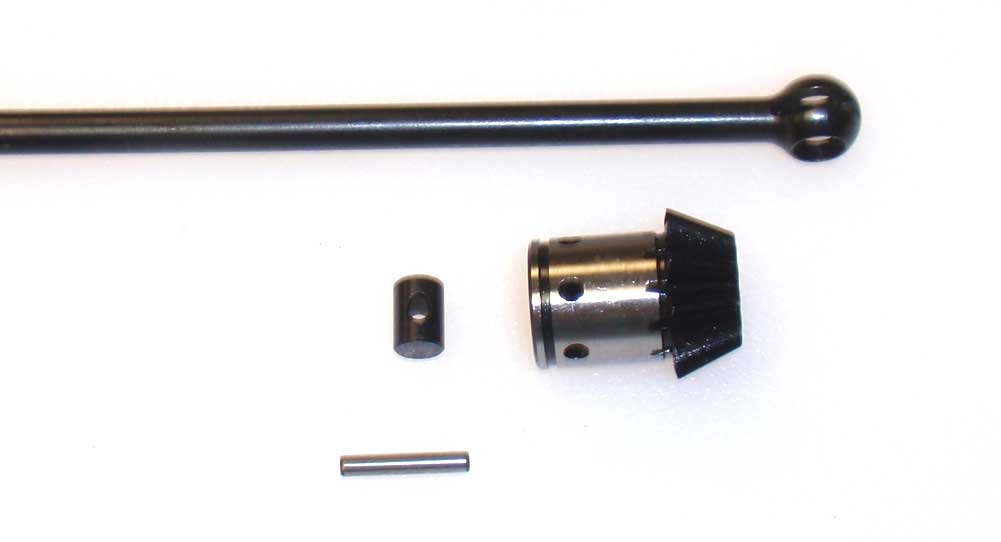
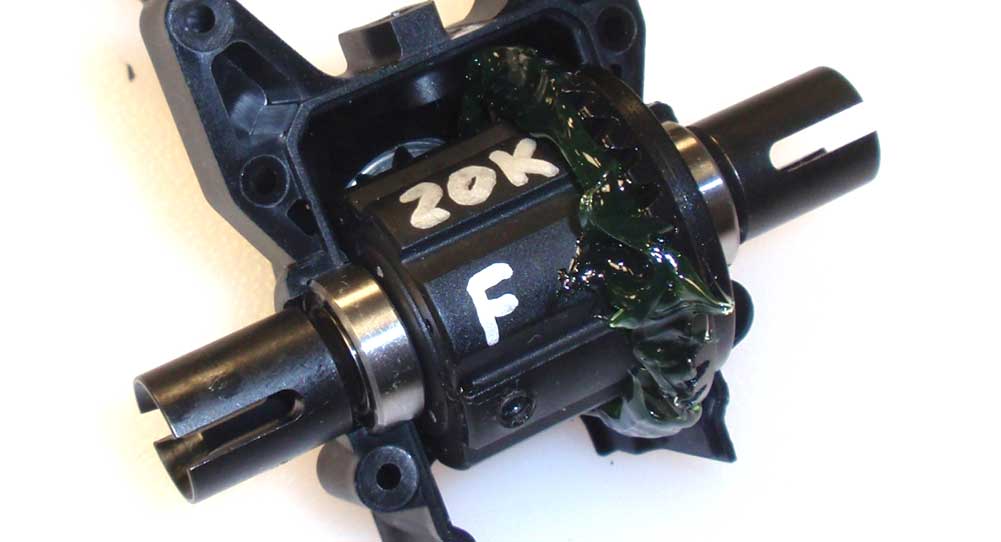
Let’s start by building the front gearbox input gear. Take the CVD barrel and insert it into the CVD ball. Slide that into the front input gear and, while lining up the holes in the gear and barrel, insert the CVD pin. A little black grease is recommended on the ball for lubrication.
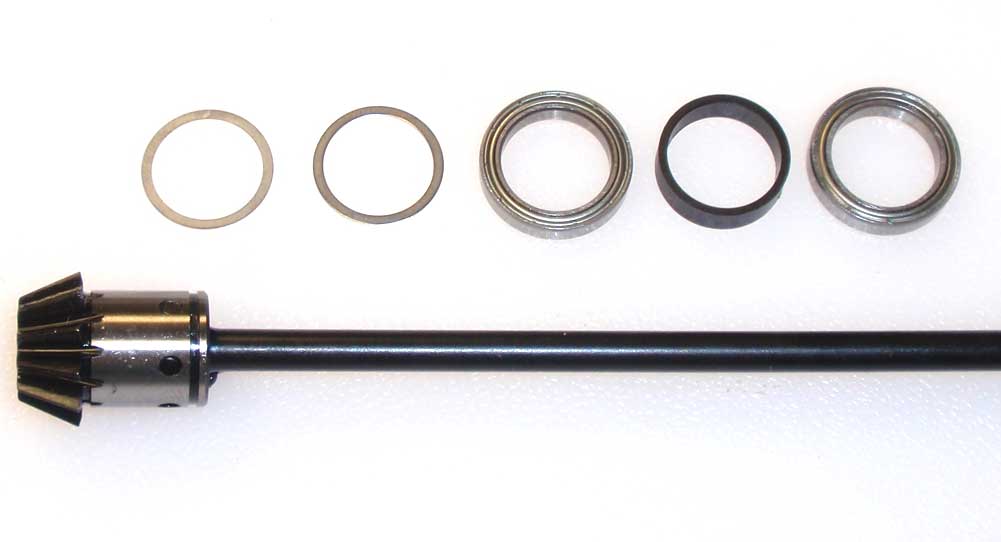
From the dogbone side, slide two .2 shims onto the input gear followed by a 15×21 bearing, the plastic spacer and another 15×21 bearing. Press the assembly together tightly on the input shaft.
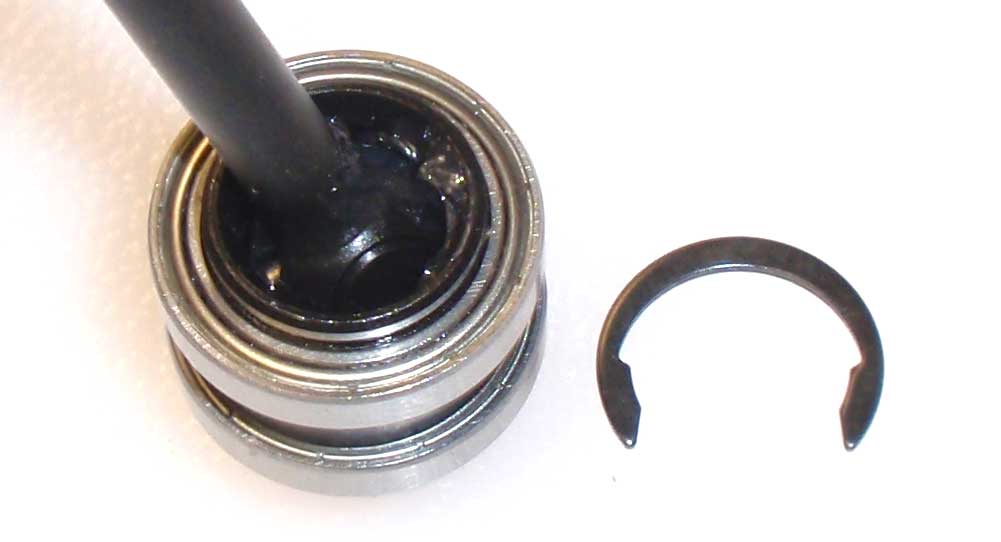
This step can be tricky so patience is key here. We need to slip the C-clip into the notch on the input gear. You should be able to see the notch if you press the bearings down completely onto the input shaft.

Start the C-clip into the groove and use a pair of needlenose pliers to snap it into place.
Feed the input gear assembly into the diff housing half as shown. Using the M2.6 screws, SLOWLY screw them in to capture the input gear assembly. These screws can easily strip out the plastic if you overtighten them so just get them in until they are snug. There should be, however, no play in the bearings.
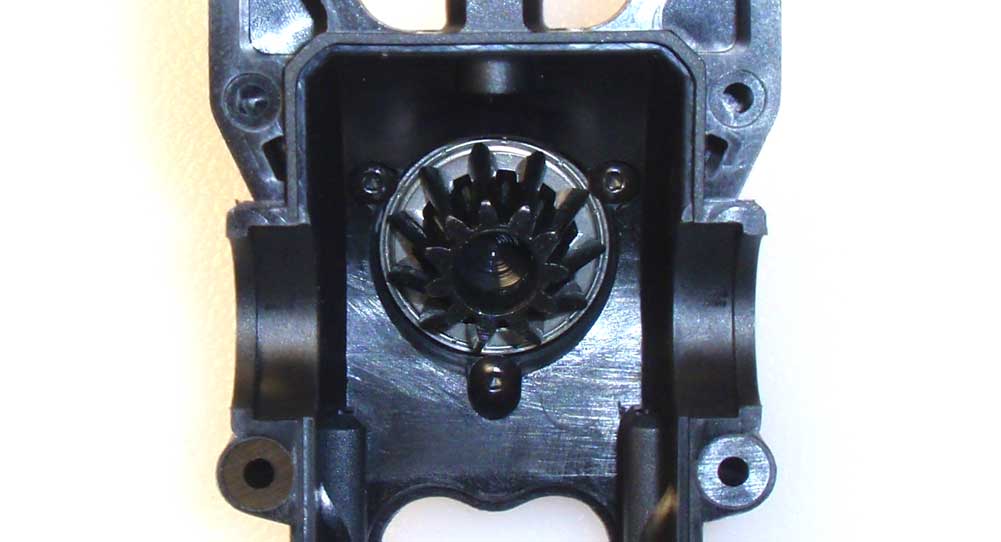
Grab you front diff gear and apply a good amount of grease to the gear. Press the greased diff into the housing. Note the direction of the diff.
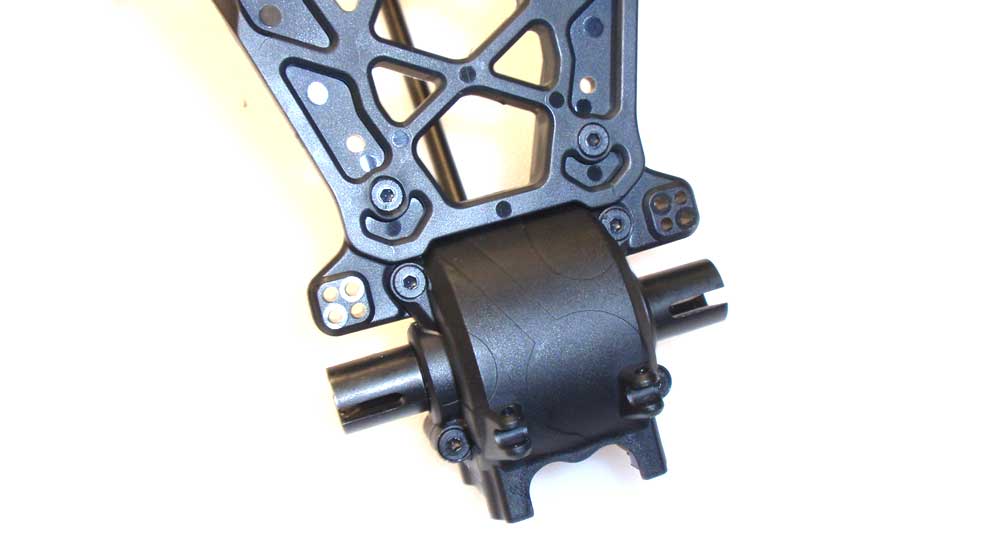
Attach the shock tower to the housing, but don’t tighten the screws all the way just yet. No press the outer housing into place and screw everything together.
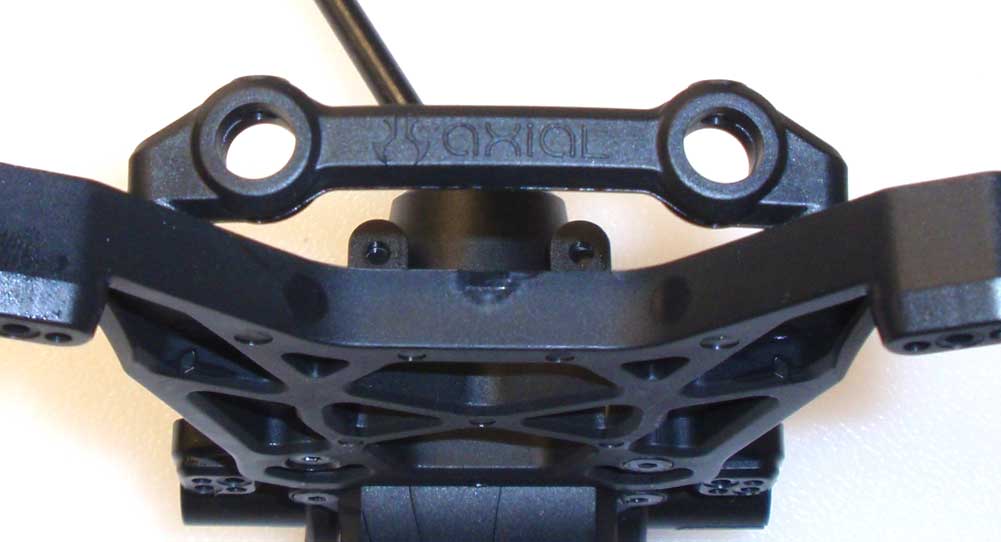
Attach the body mount to the backside of the shock tower.

Insert the body posts into the body mounts. The stock locations for the mounts is a good starting point.
Front gearbox done! Set it aside and let’s start working on the rear axle.


