


The Build – Part 3
The rear differential on the Axial Yeti XL is exactly like the front other than the shorter outdrives. If you had fun building the front diff, you’ll have fun building this one as well.
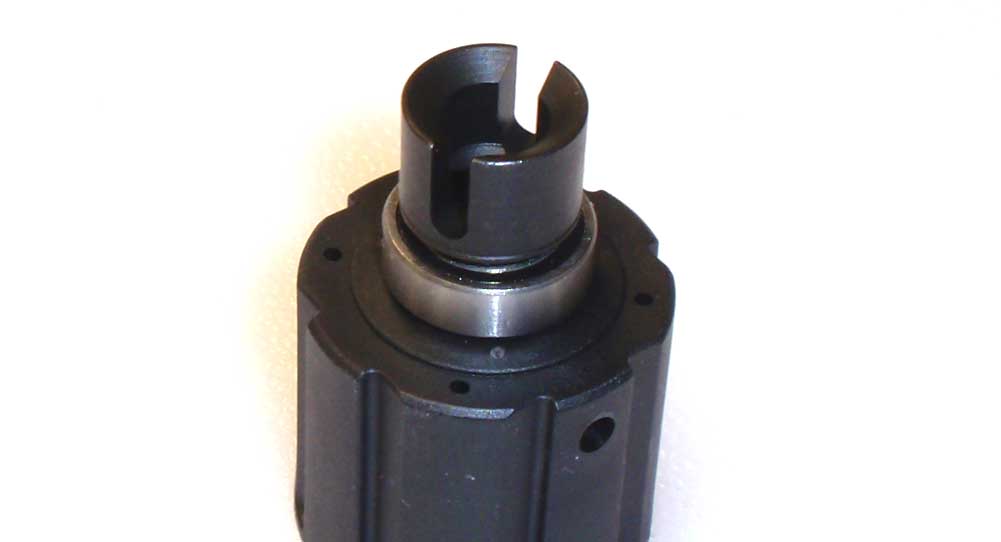
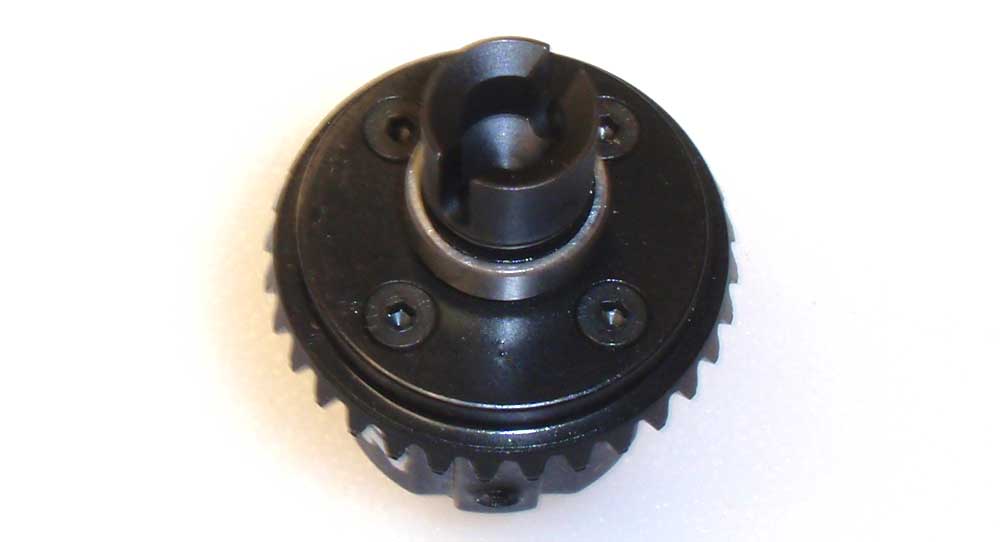
Press the 8×16 bearing on to the diff gear. Slip one of the outdrives into place.
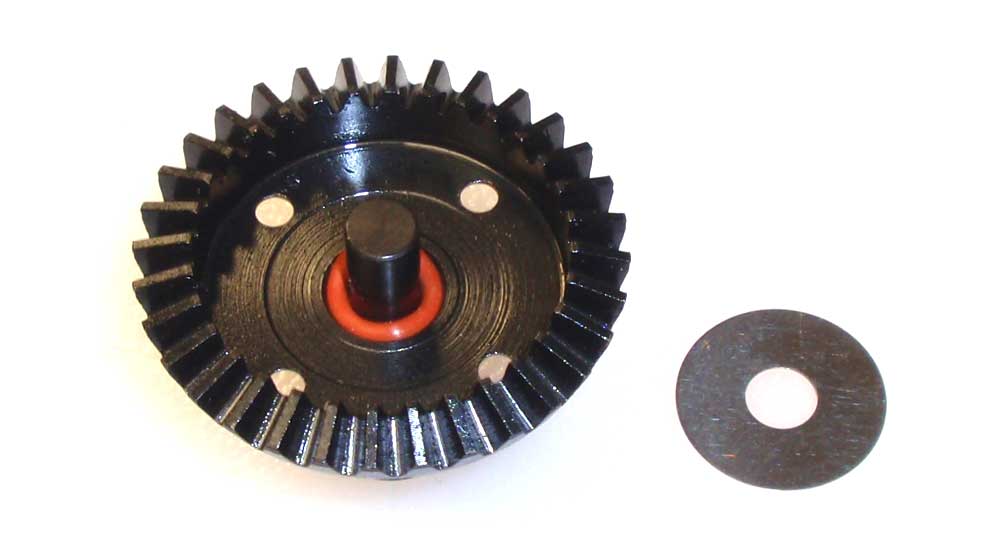
Flip the assembly over and install a red o-ring onto the diff gear shaft. Roll it all the way down and then install a 6×19 washer. Press this down to make sure the o-ring has fully seated itself.
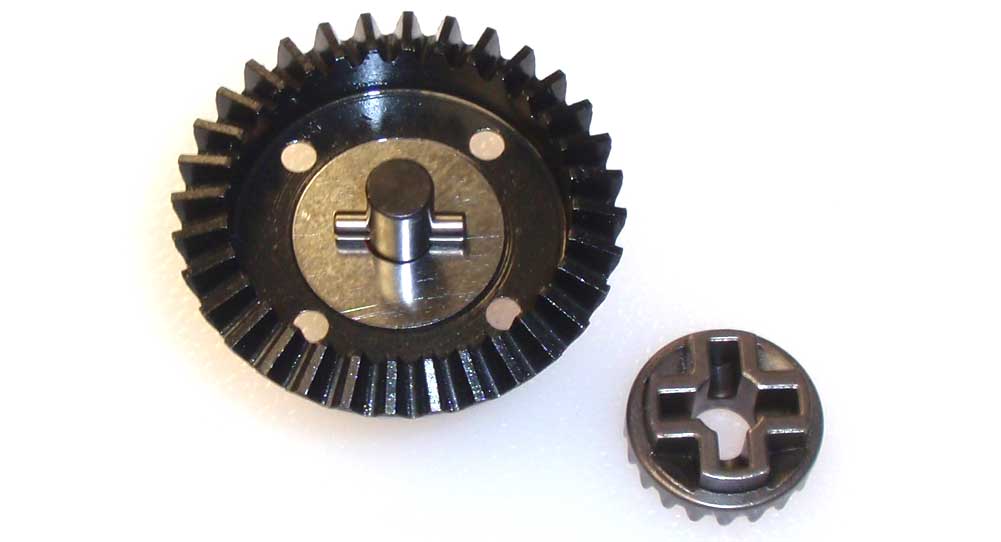
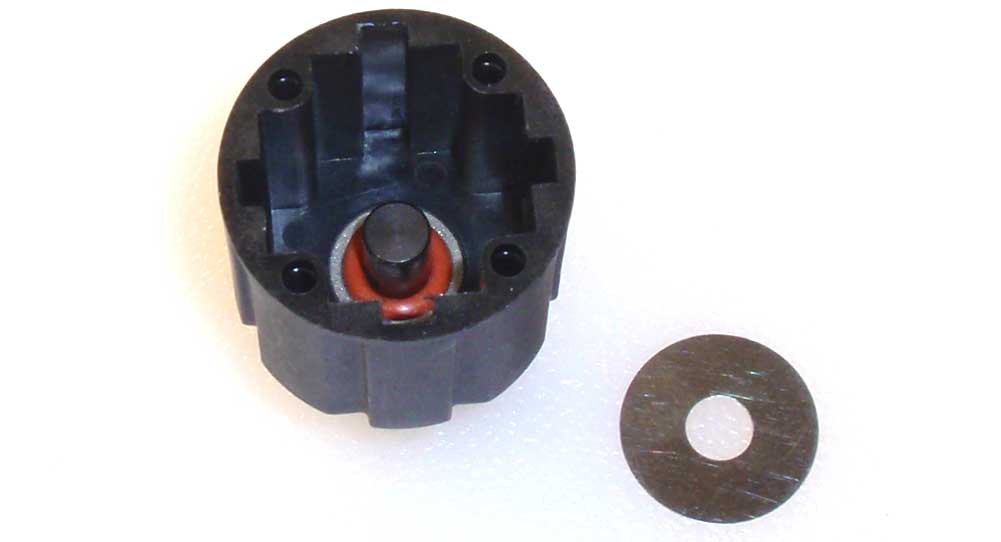
Slide one of the drive pins into the shaft and drop a sun gear down on top of it, keying the pin to the grooves in the backside of the gear.
Matching up the holes, place the diff gasket into place.
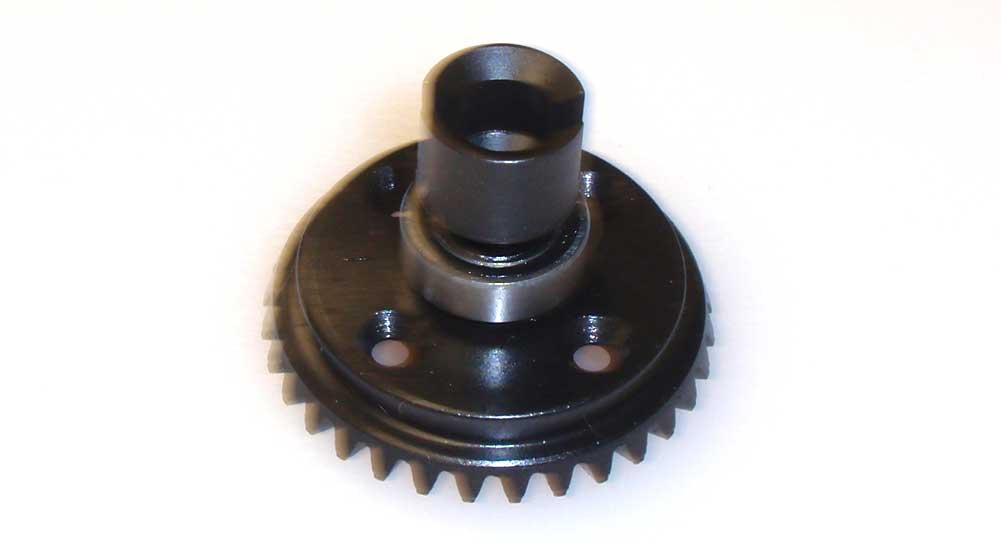
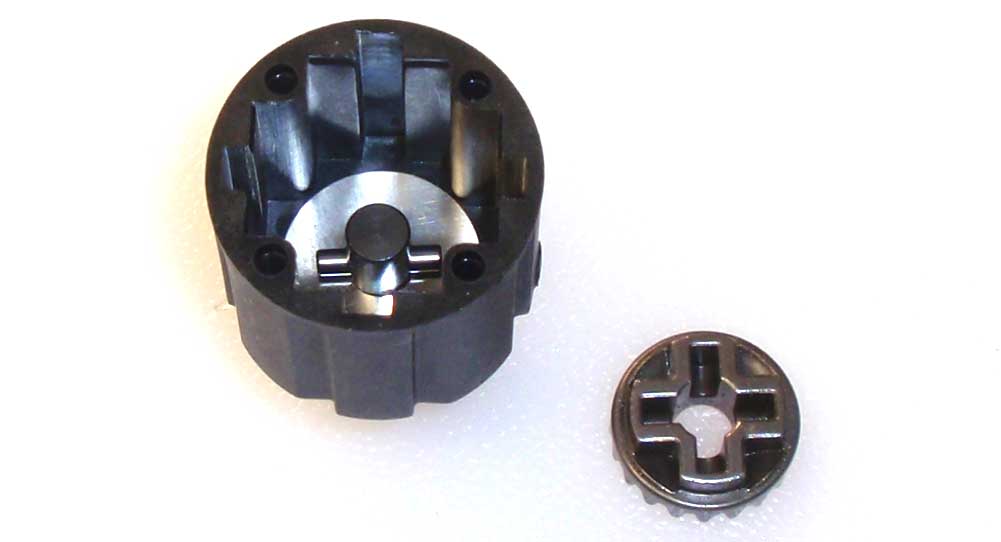
Press the 8×16 bearing on to the diff housing. Slip one of the outdrives into place.
Flip the assembly over and install a red o-ring onto the diff gear shaft. Roll it all the way down and then install a 6×19 washer. Press this down to make sure the o-ring has fully seated itself.
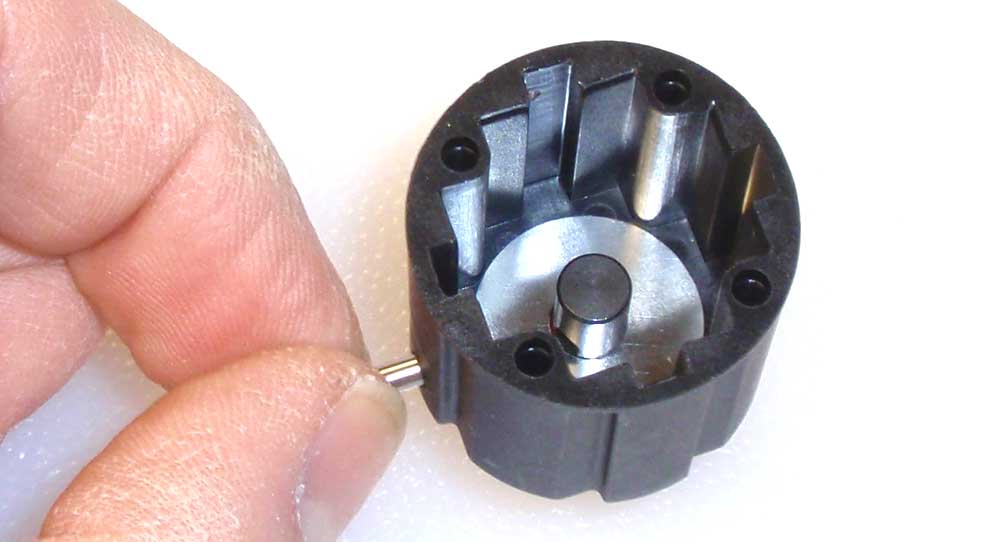
Align the hole in the diff housing with the hole in the outdrive shaft and slide the 12mm pin into place.
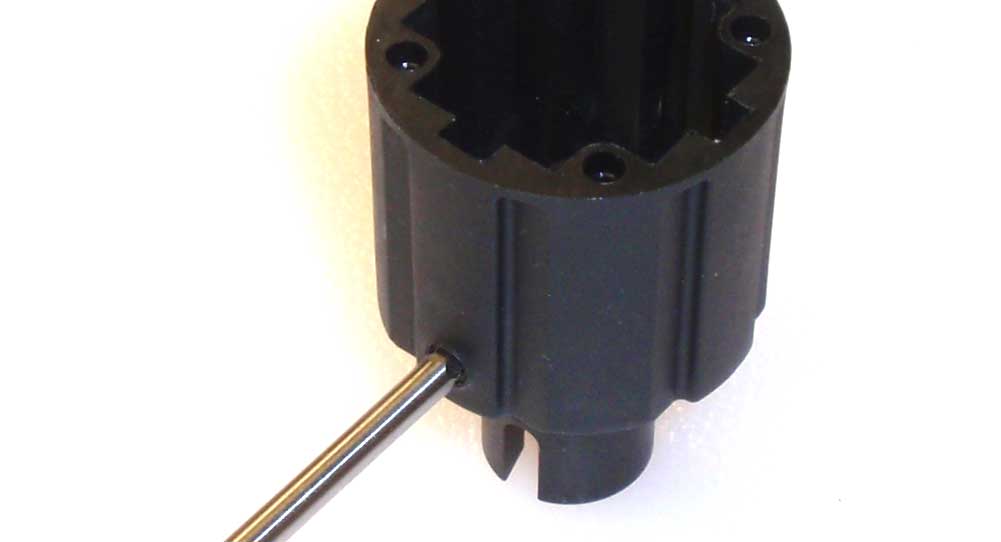
Cap the install hole with a M4 set screw. Tighten it just enough to make it flush with the outside of the housing.
Drop the sun gear into the housing, keying the pin to the grooves in the backside of the gear.
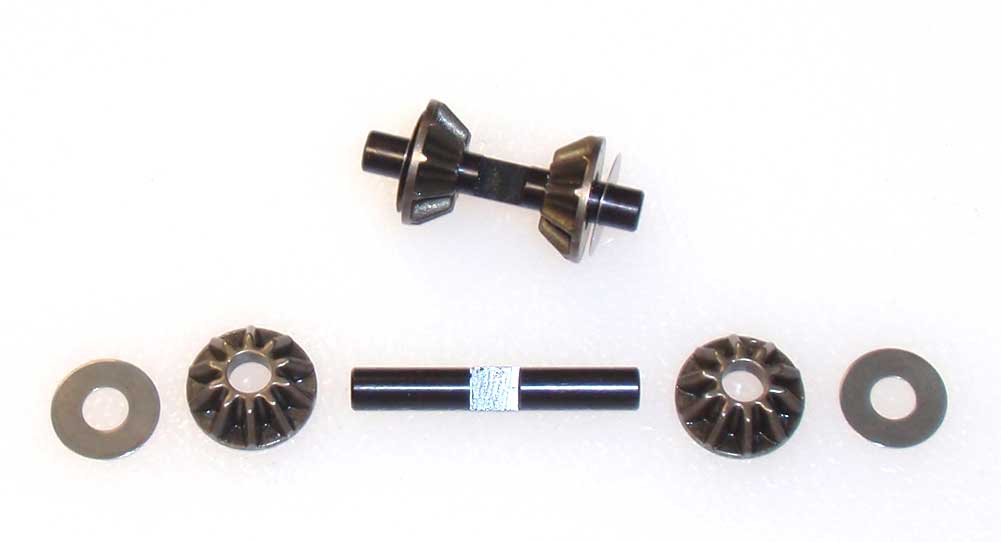
Build two sun gear assemblies.
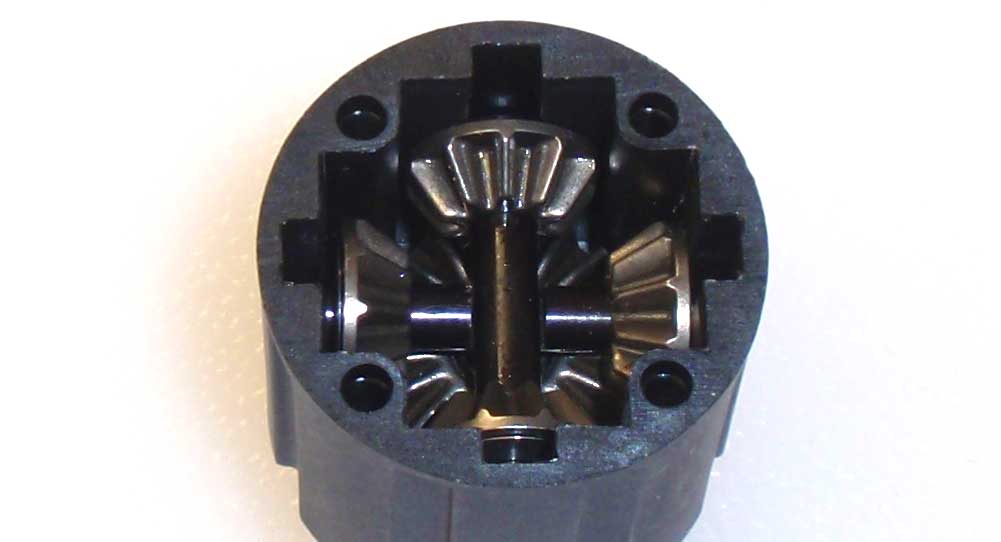
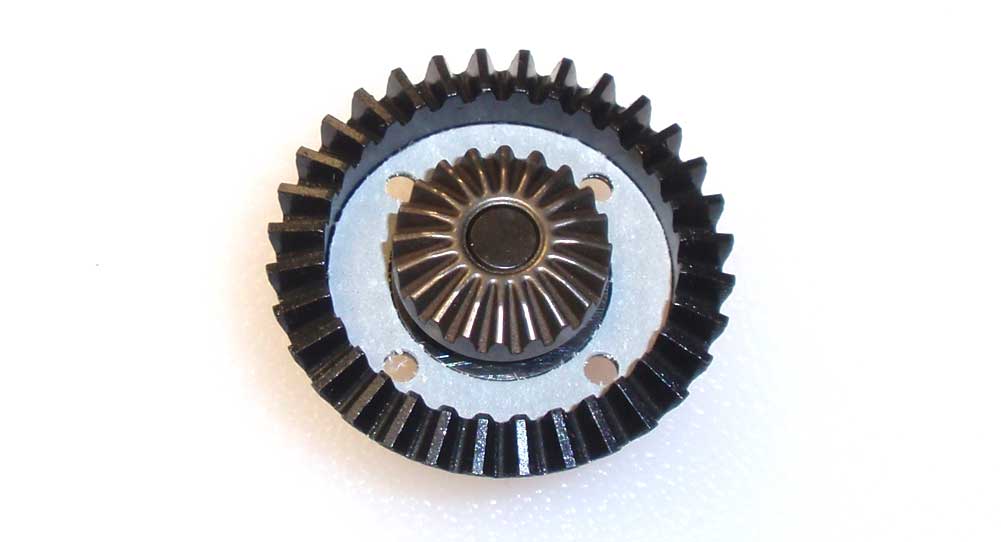
Grab one sun gear assembly and, while keying it to the notches in the diff housing, lower it into place. Make sure the flat spot on the shaft is facing up. Now grab the other sun gear assembly and, while keying it to the other notches, lower it into place, making sure the flat spot on this shaft is facing down. You want the two flat spots to key together. Give the outdrive a turn or two to make sure all the gears are meshing correctly.
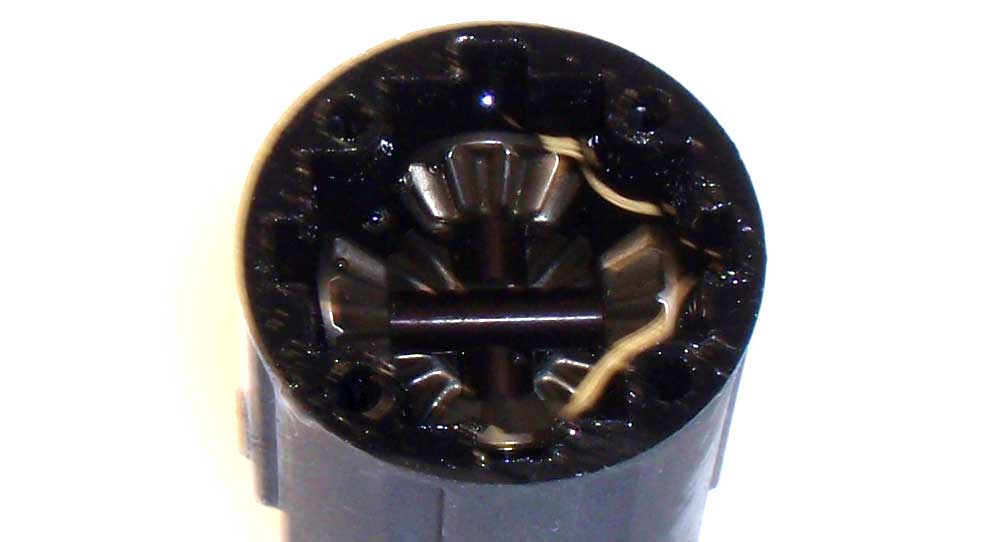
Fill the diff housing up with 20000CST fluid, up just past the top of the sun gears.
While lining up the holes, carefully flip the diff gear side over on top of the housing. Rotate the diff outdrives a turn or two to make sure the gears are meshing correctly and then screw together.
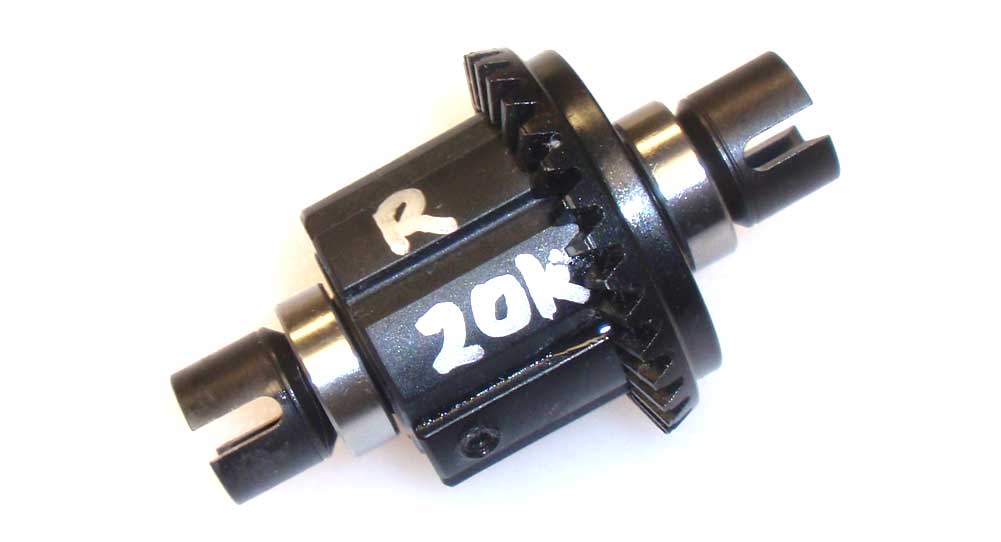
Like the front, writing on the diff housing is optional but makes it easy to identify when it comes time for a rebuild.
The rear diff was probably alot easier since you already did the front. Wipe off any extra fluid and set it aside while we work on the rear axle.


