


The Build – Part 10
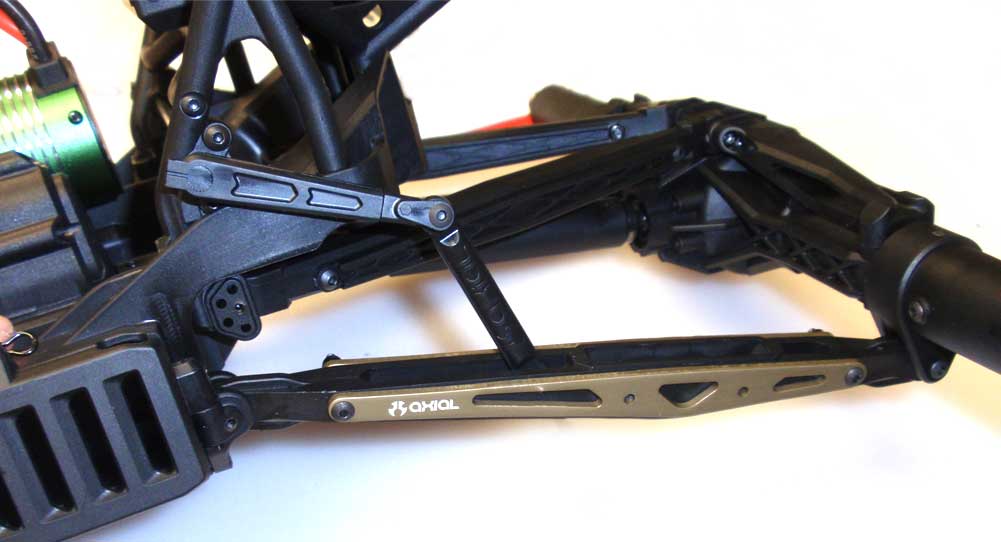
The Yeti XL uses a massive, solid axle rear end that is connected to the chassis by four links. These links help the rear axle articulate but keep both drive wheels plowing forward at all times. In addition, Axial has included a anti-roll bar in the rear, something this behemoth desperately needed!
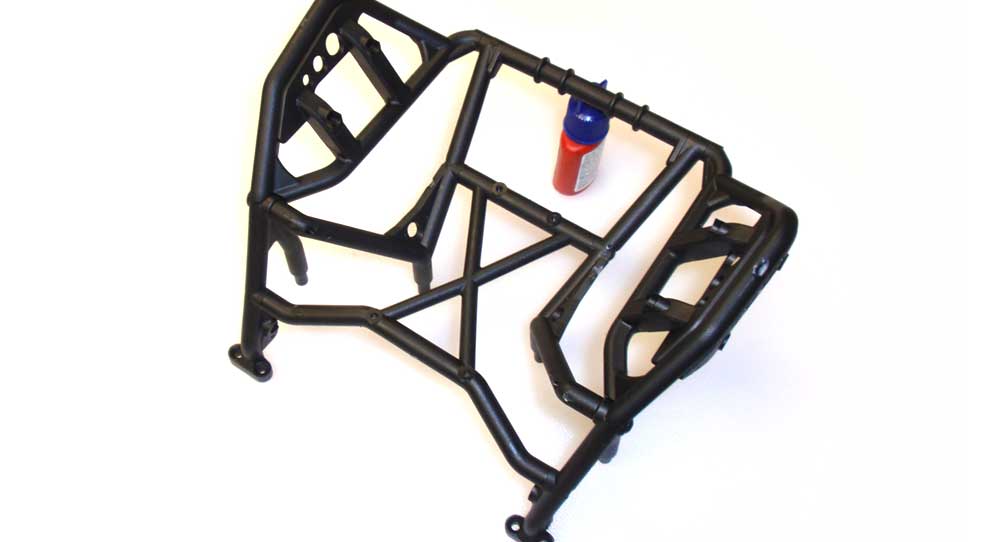
We’re going to start off by assembling the rear cage. I suggest laying out all the parts first so you get a good idea of how it all goes together.
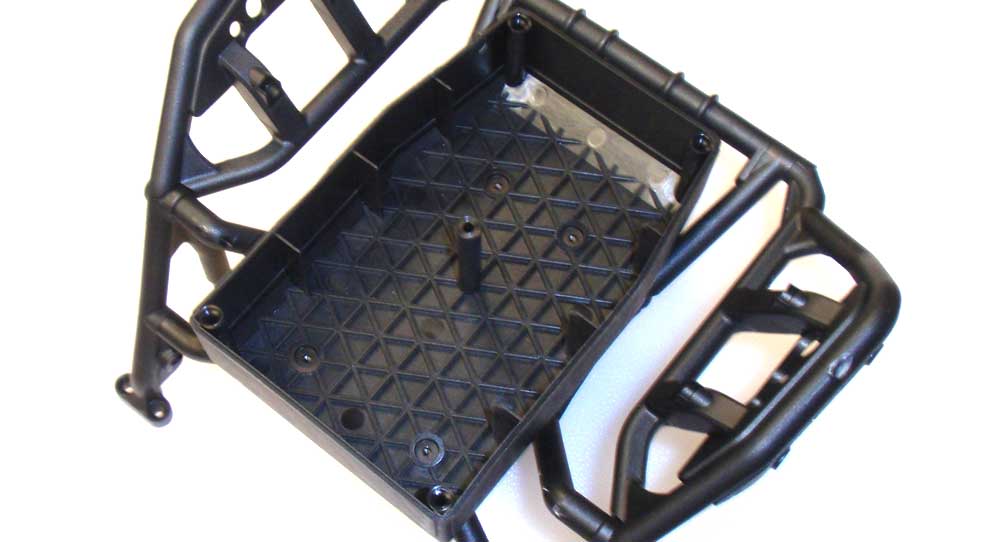
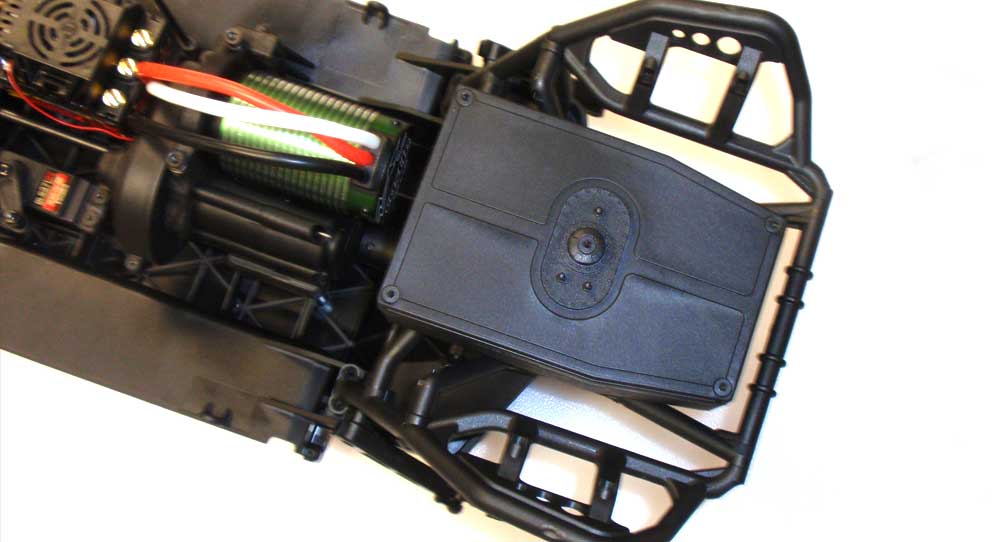
Once assembled, attach the rear ‘fuel cell’. I’m not entirely sure what this is used for; maybe a lighting controller or some spare parts perhaps.
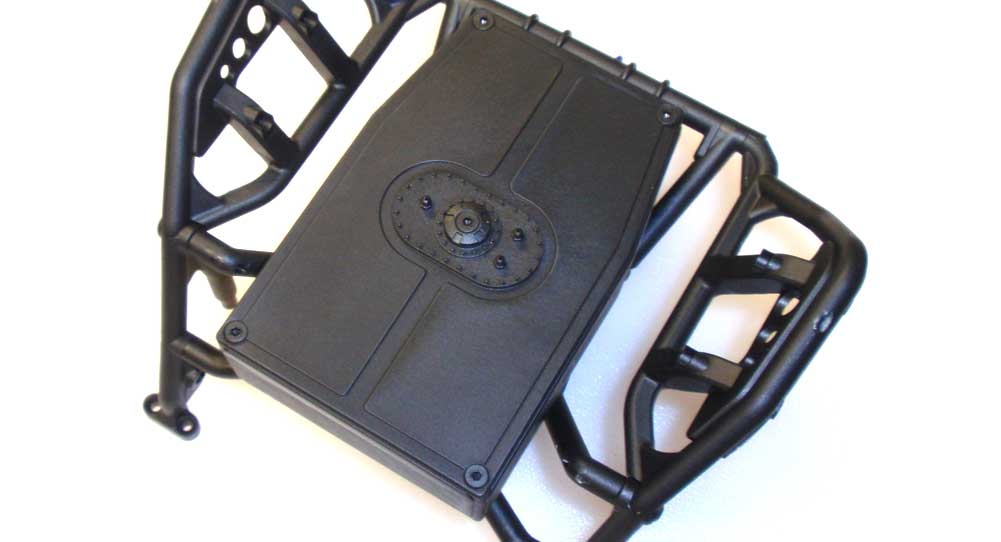
Attach the lid.
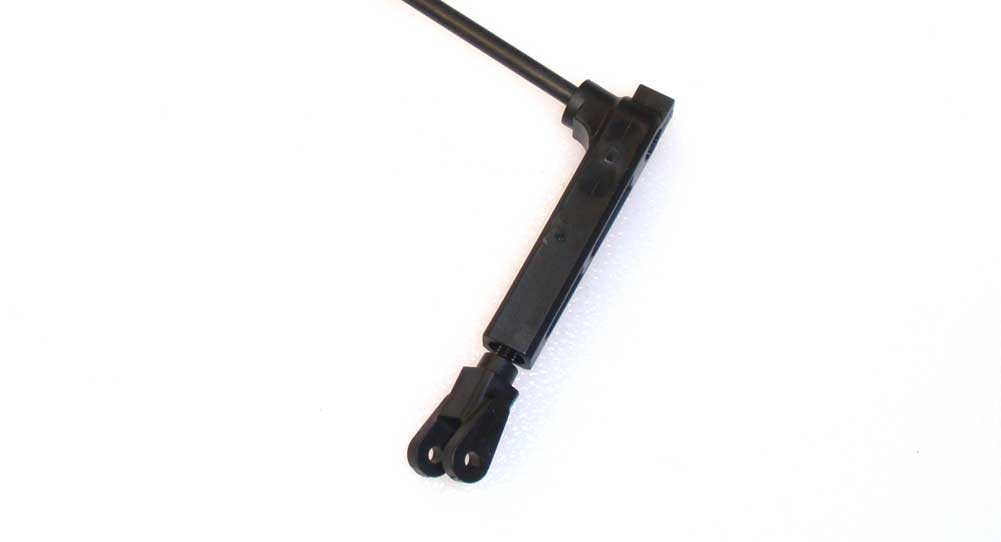
Moving on to the anti-roll bar; slide one end through the bar brace and thread on a U-joint. Do this on both ends.
Snap the plastic balls into the link ends.
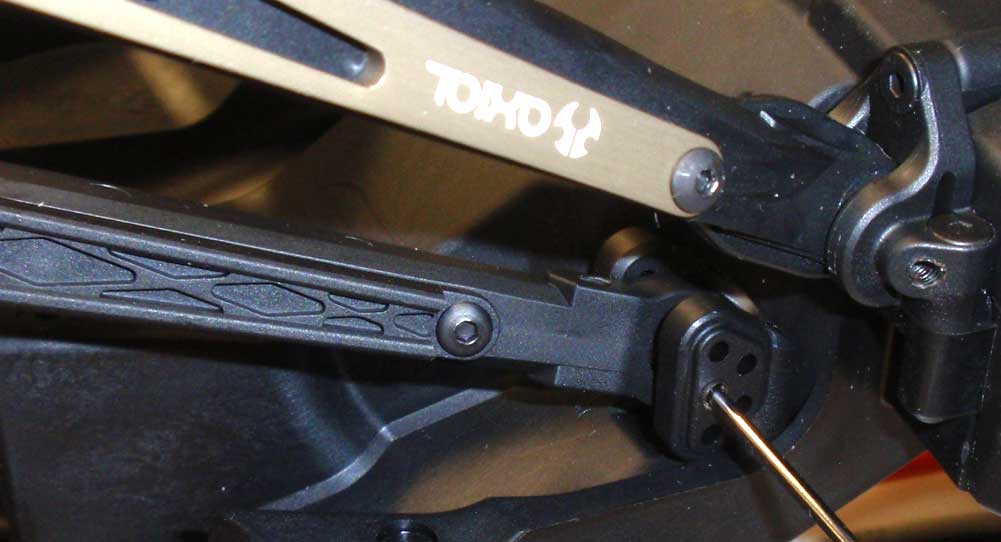
Slide one end of the link into the U-joint and secure with the M3 screw.
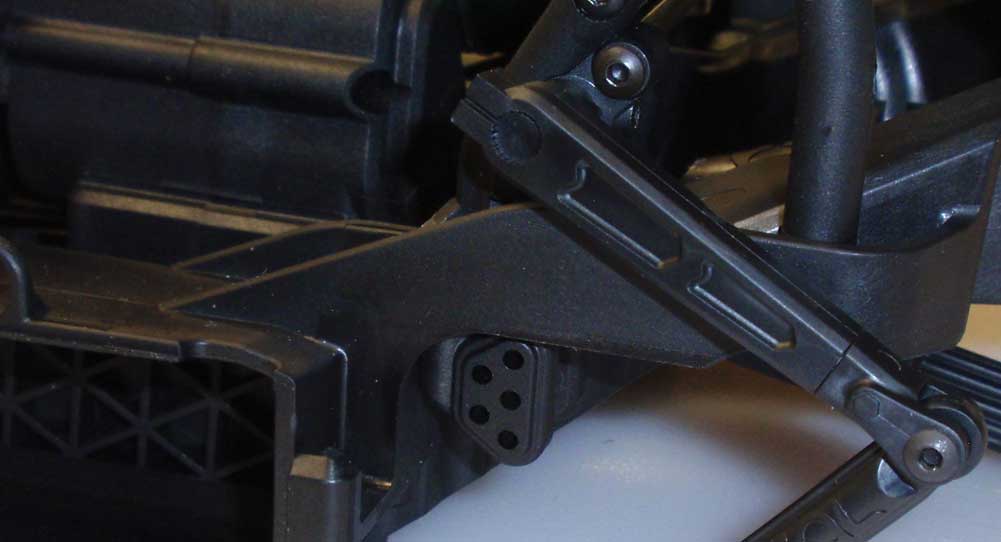
Take the assembled anti-roll bar and place it in the locators on the back side of the cage.
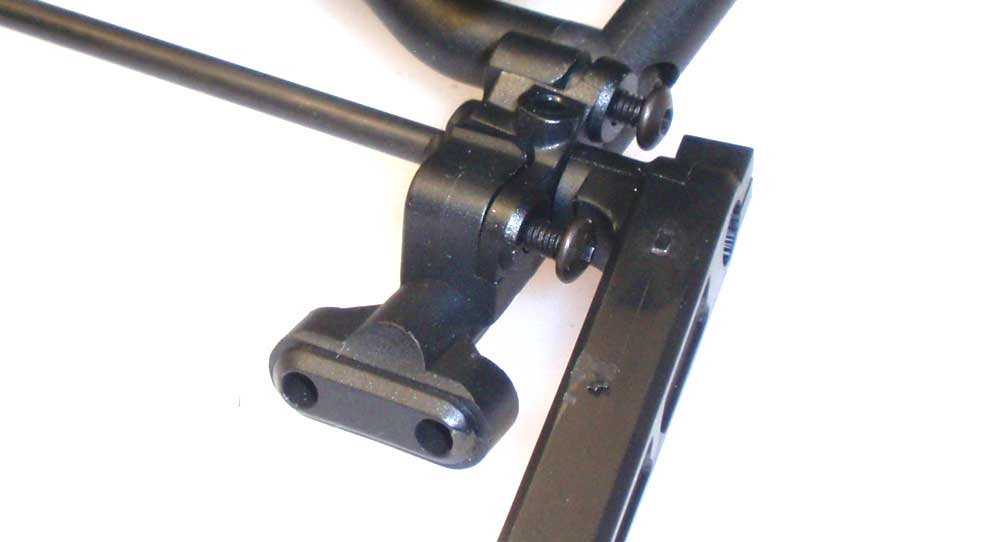
Press the cap into one side and screw into place, but only about as much as the picture shows.
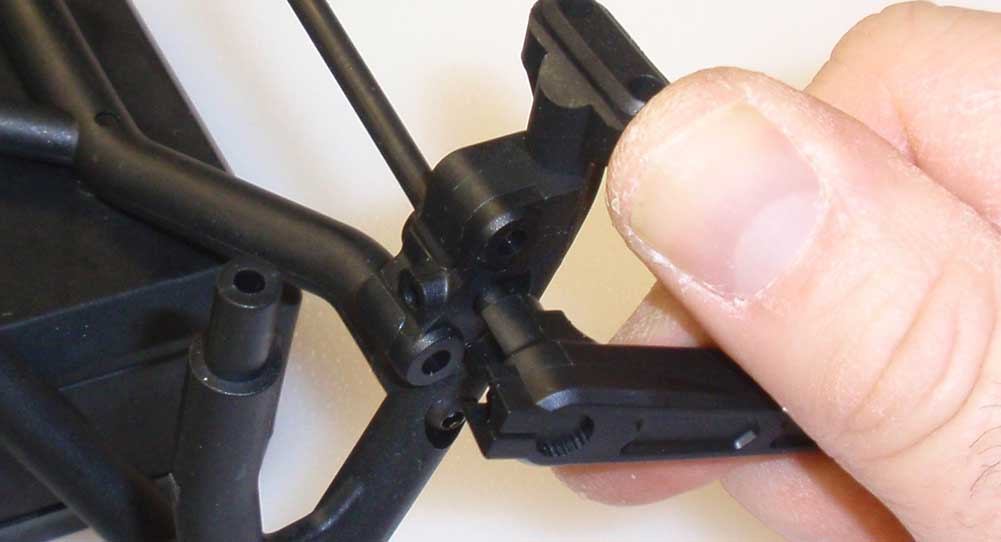
It requires a little fudgery to get the other side in so, while using your thumb to press against the cage foot to flex it away, pull the anti-roll bar toward you. This should give you plenty of room to slide the other cap in place. Insert the screws and tighten; don’t forget to tighten the other side as well.
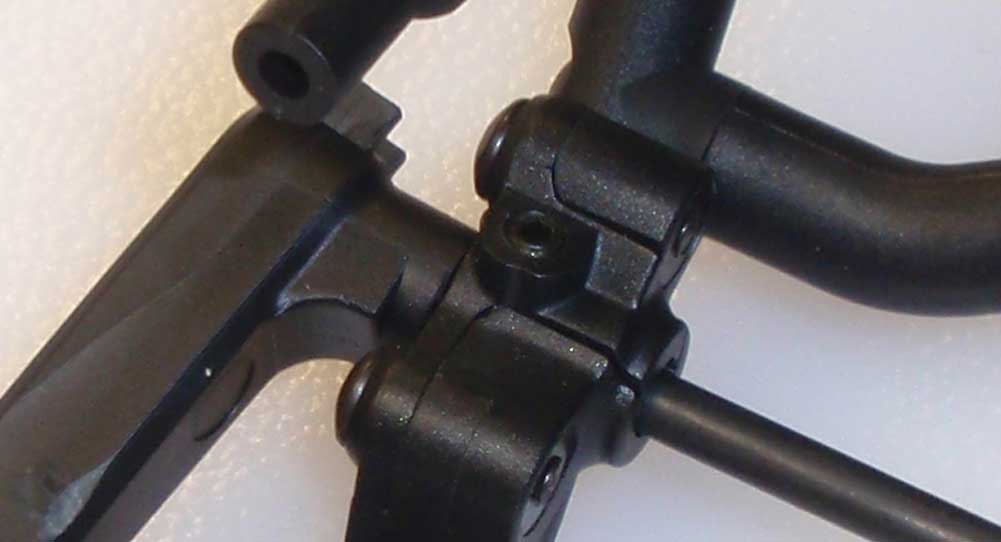
Insert the M3 set screw and tighten until it hinders the anti-roll bars movement, then back off about 1/8 of a turn. You want the set screw to keep the bar from moving back and forth, but not to hinder it’s rotation.
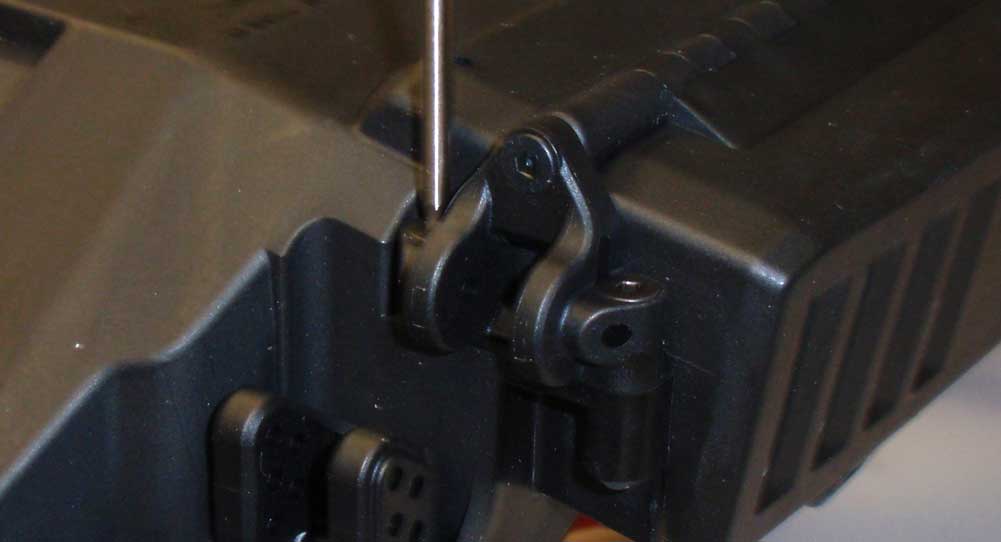
This part is a little tricky as well; mate the cage to the chassis and install the four M3 screws from below. This will keep the two assemblies together while you attach the rest of the parts.
Now insert the four M3 screws from the top, sinking them into the link mounts below.

Line up the battery doors and slide the plastic hinge pin into place. Follow up the front hinge pin installation with a M3 screw. We’ll attach a mount a few steps from now that secures the rear hinge pin.
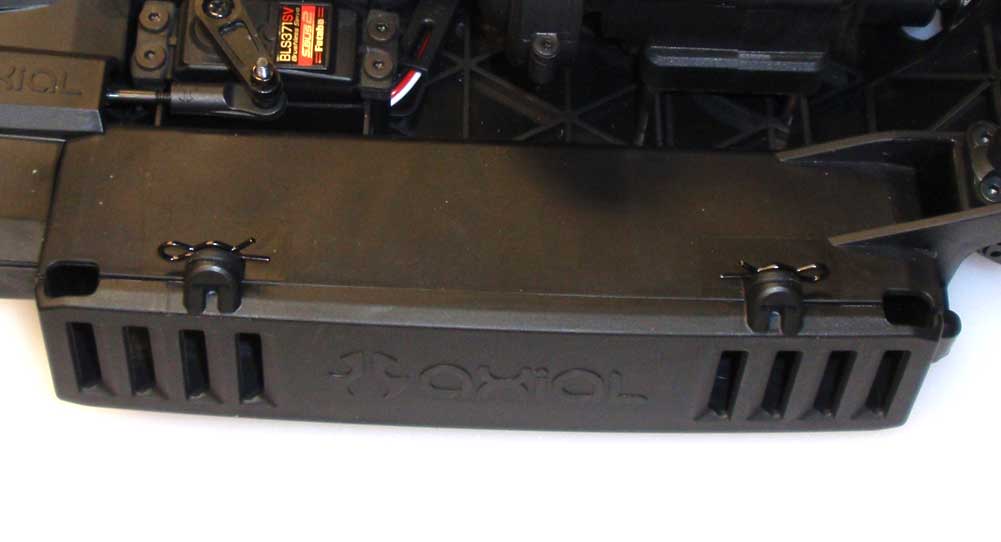
Seing the doors up and secure with the two body clips.
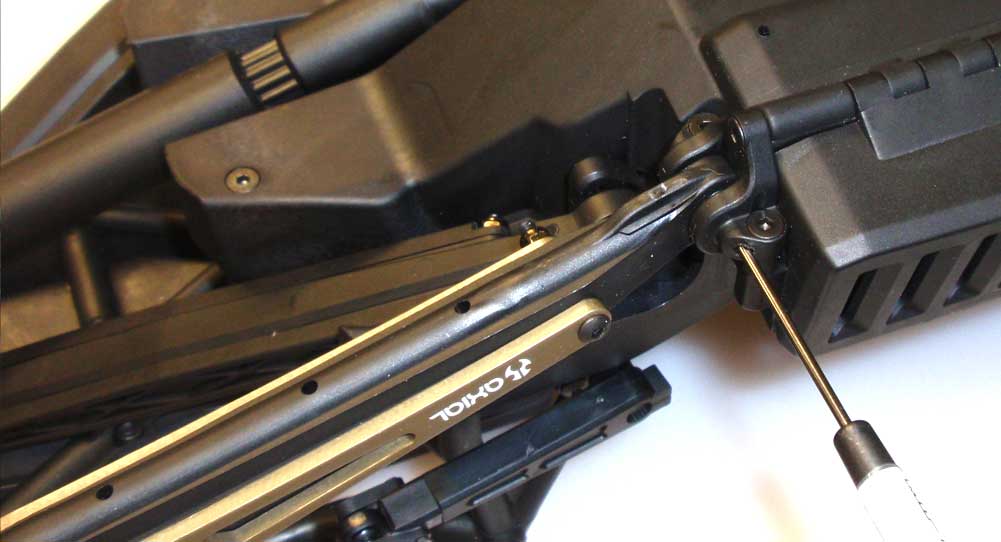
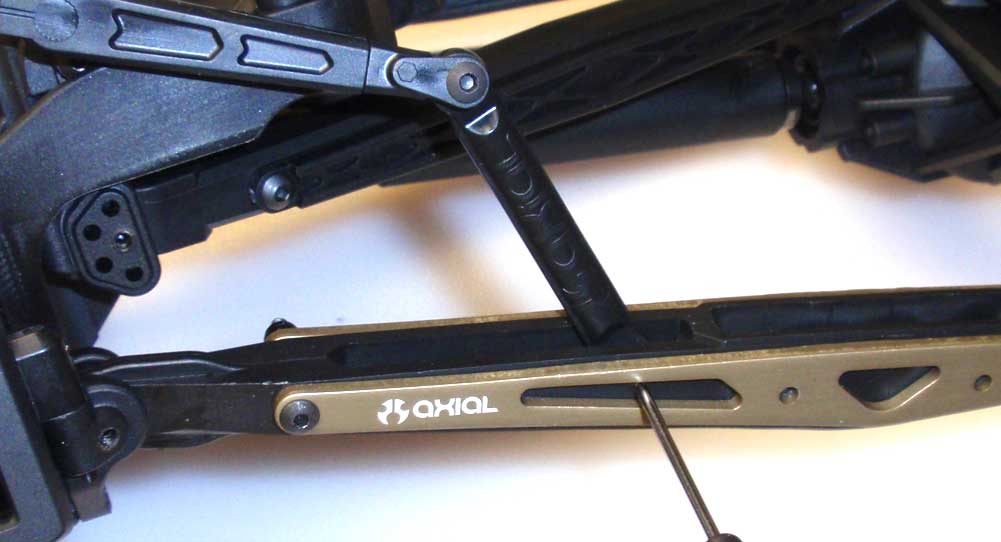
Attach the lower rear link to the chassis. The ‘third’ screw inserts where the battery door hinge pin is.
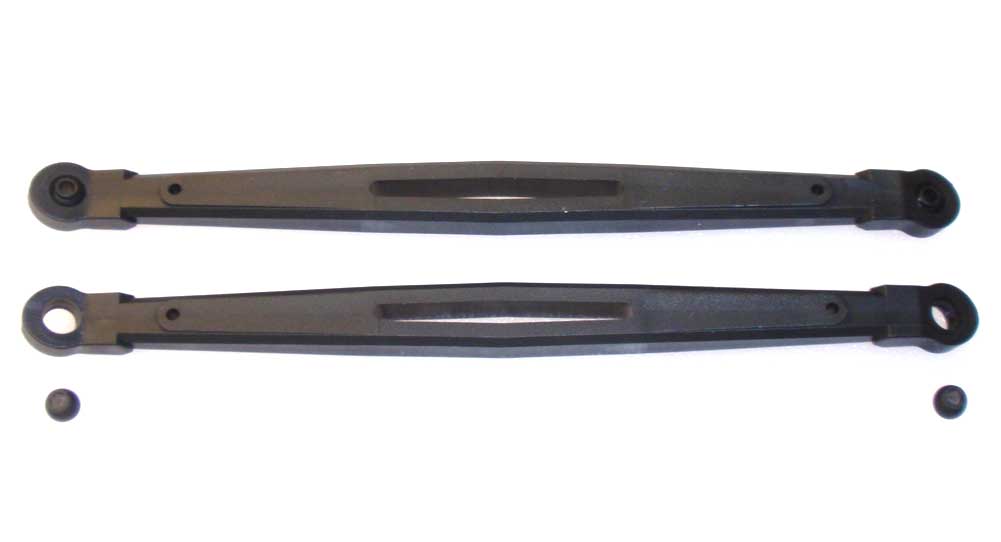
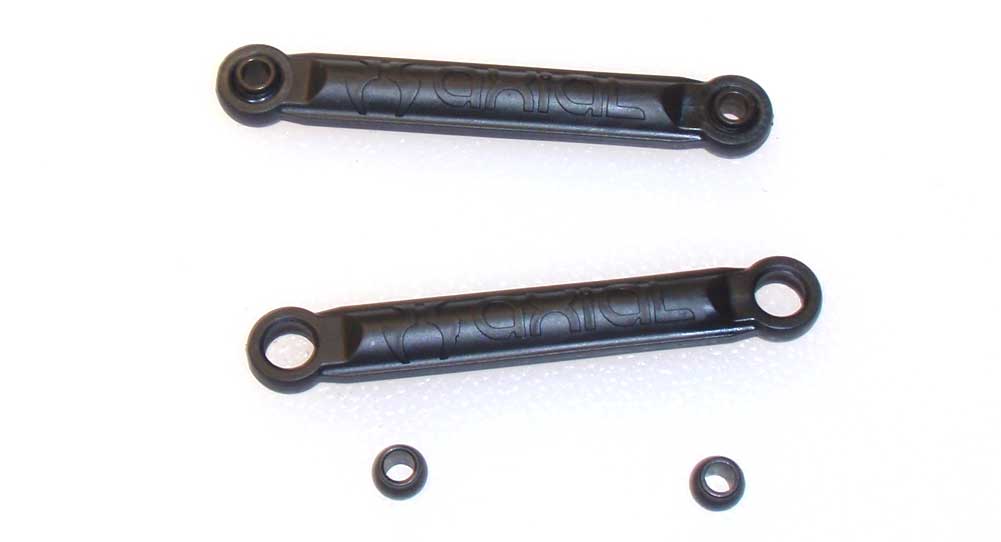
Pop the plastic balls into the inner links.
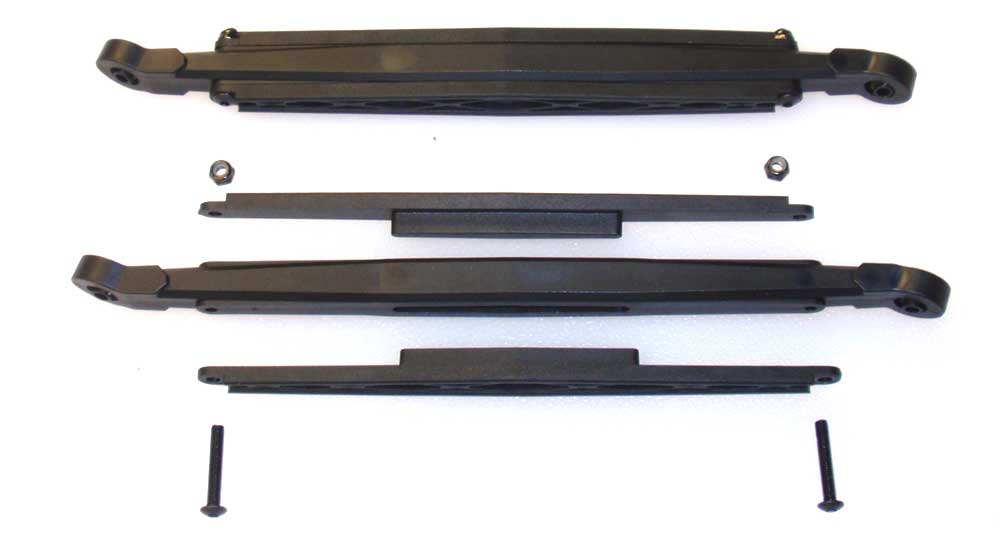
Attach the side braces to the inner links. Getting the tabs into the slots required some work, so just get them started and then feed the screw through and into the nut. You can use these to ‘squeeze’ the braces and link together.
Pop the plastic balls into the outer links.
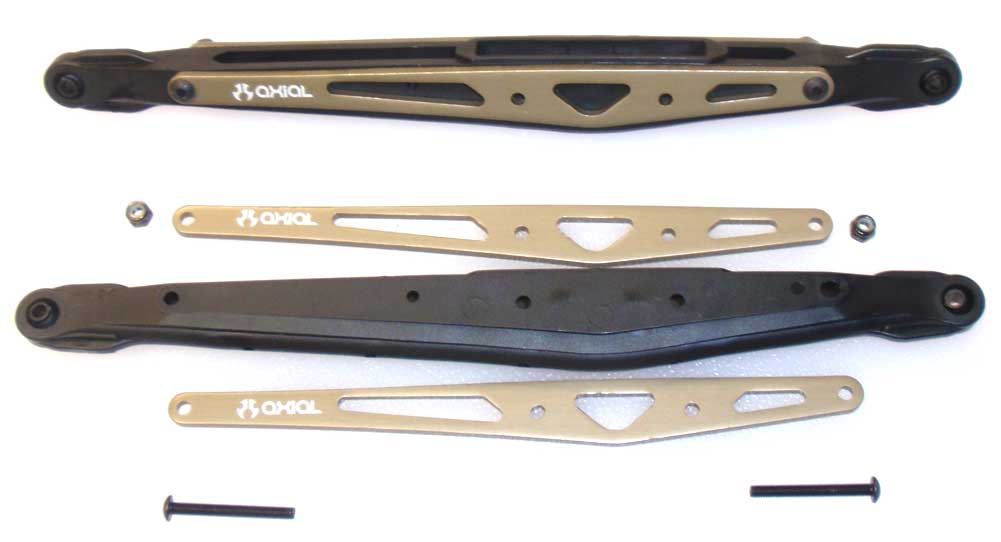
Attach the metal braces to the sides of the links. The manual has you building these both the same way, however I didn’t like the way the nuts faced ‘out’ on one side so I reversed that side.
Here’s a pic for clarification of the above step. See how both of the nuts face in? Looks a little more finished to me this way.
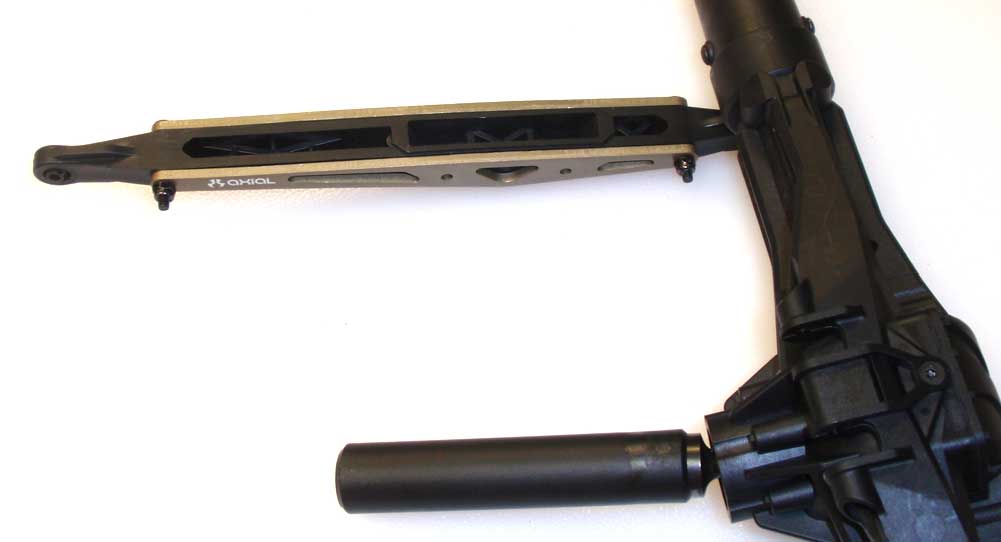
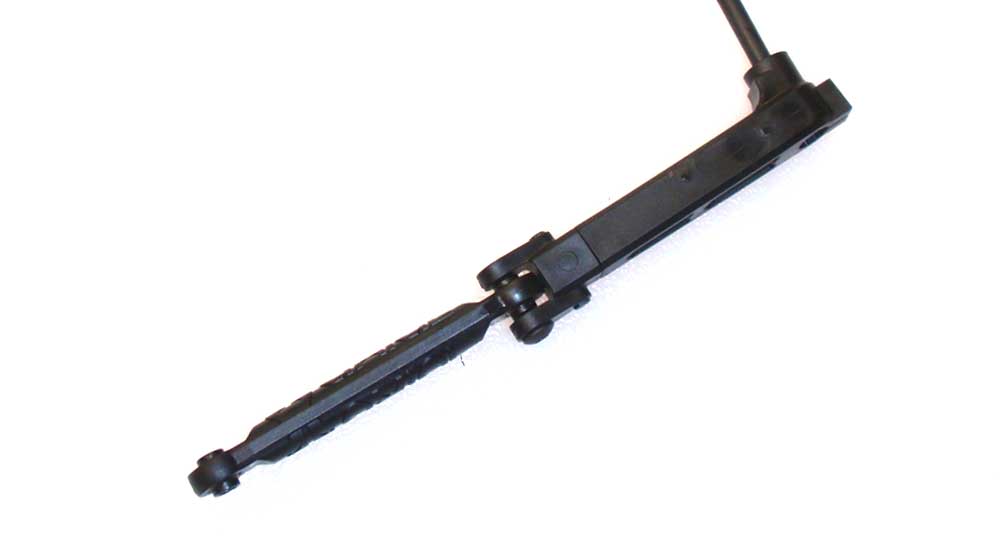
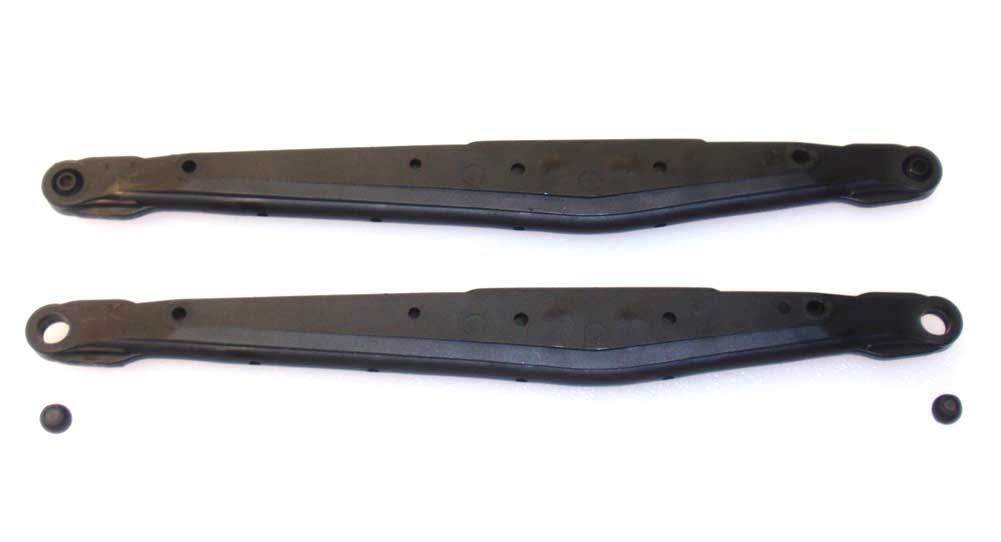
Attach the outer links to the rear axle. Note the orientation of the links.
Attach the inner links to the rear axle. Note the orientation of the links.
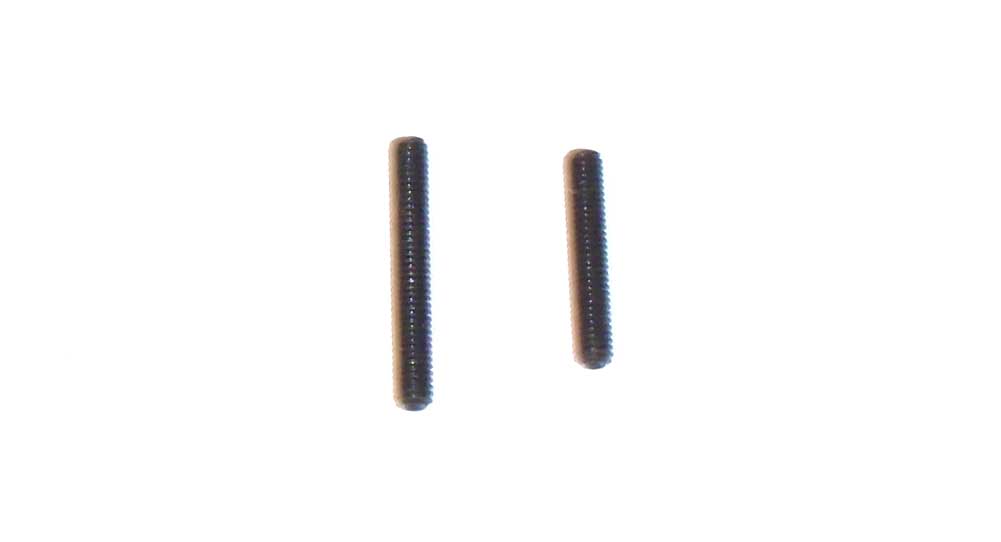
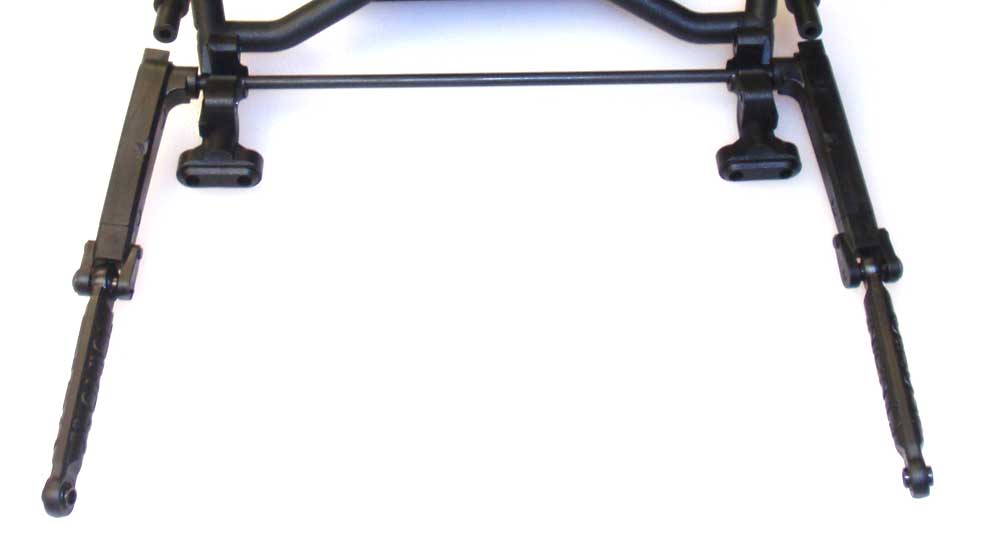
My manual shows 6 of the 6mm set screws for the next step. My kit came with four 6mm and two 4mm so I had to figure out where they go.
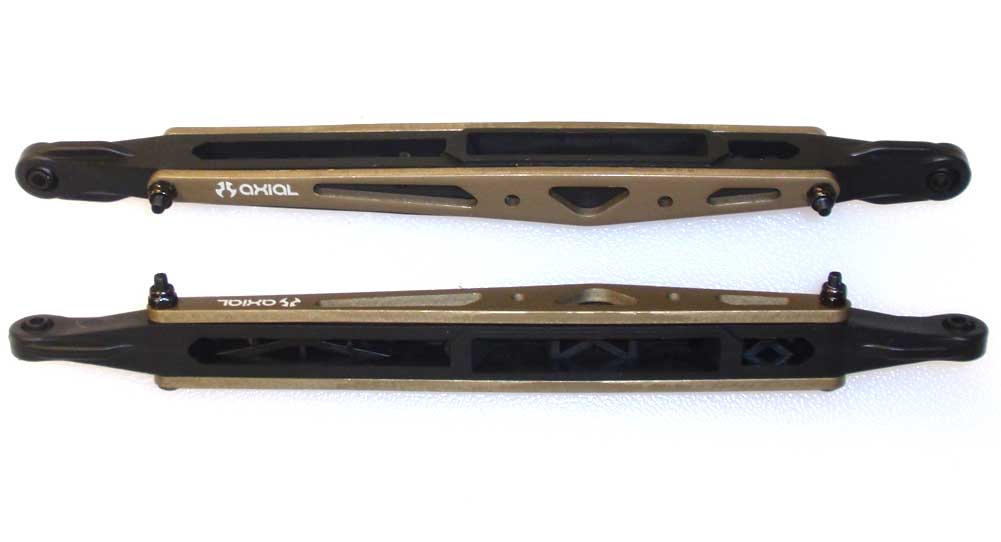
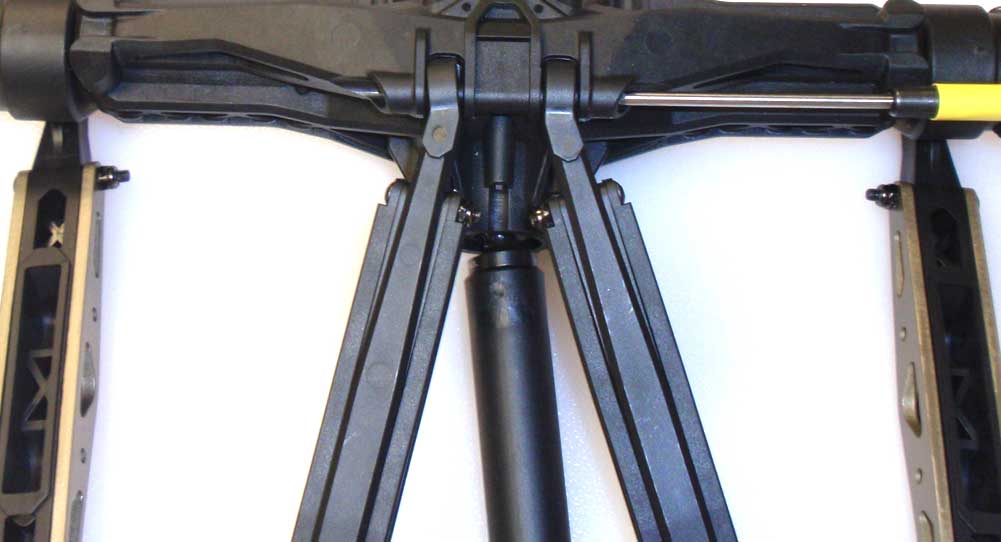
Slide the rear slider shafts together and then use two of the 6mm set screws to attach the outer links to the mounts.
Using the other two 6mm set screws, attach the inner links to the mounts using the ‘middle’ hole as shown.
Finally, us the 4mm set screws to attach the anti-roll bar to the outer links. On steps 154, 155 and 156, make sure the set screws are centered in the mounts.
Nice job attaching the rear suspension. It should flop around freely with only a little resistance (caused by the anti-roll bar. Set the truck aside and get ready to build the shocks!


