


The Build – Part 6
The Axial Yeti XL uses a twin bellcrank steering setup that rolls on bearings and includes a built in servo saver.
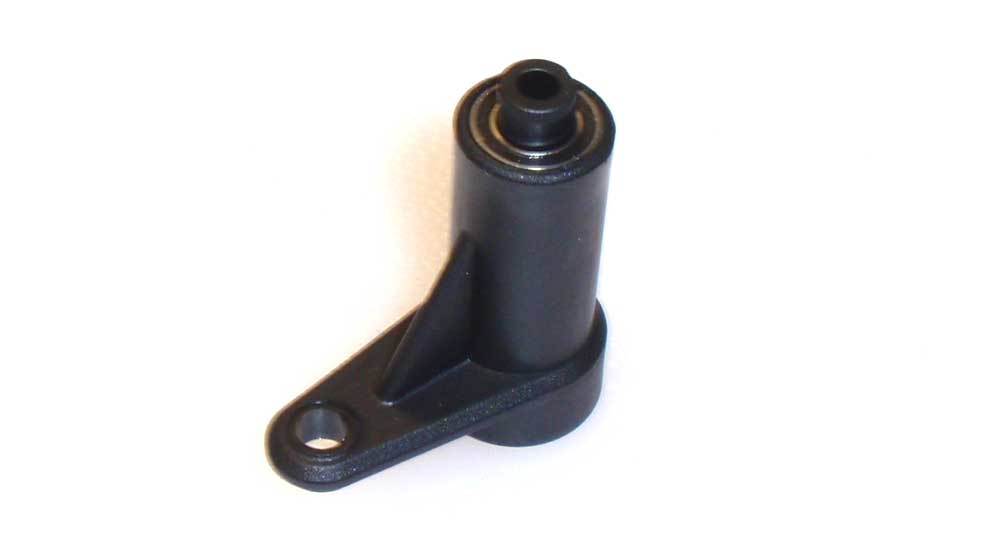
We start off the steering step by installing a pair of 6×10 bearings into the top and bottom of the steering arm. Once installed, slide a steering post into it.
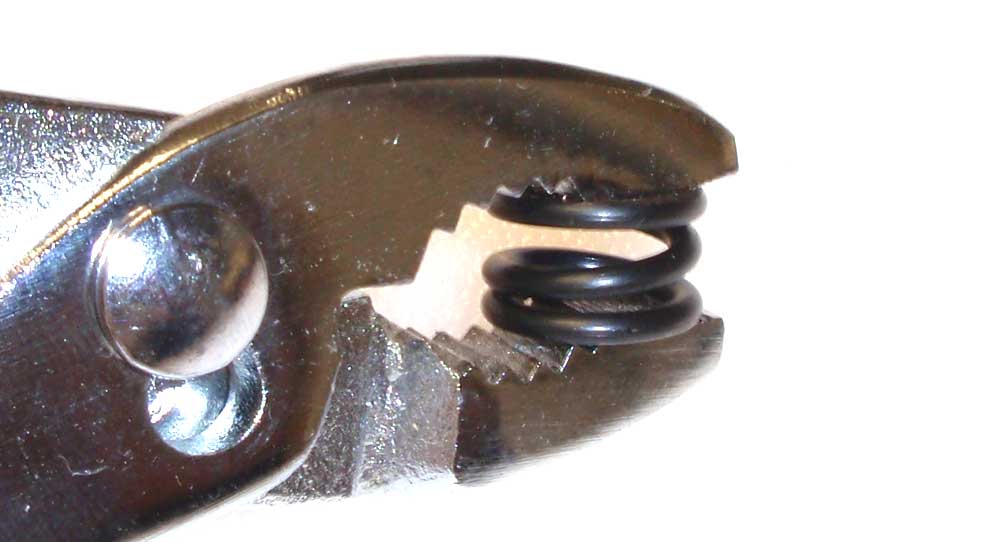
Pre-compress the servo saver spring a few times.
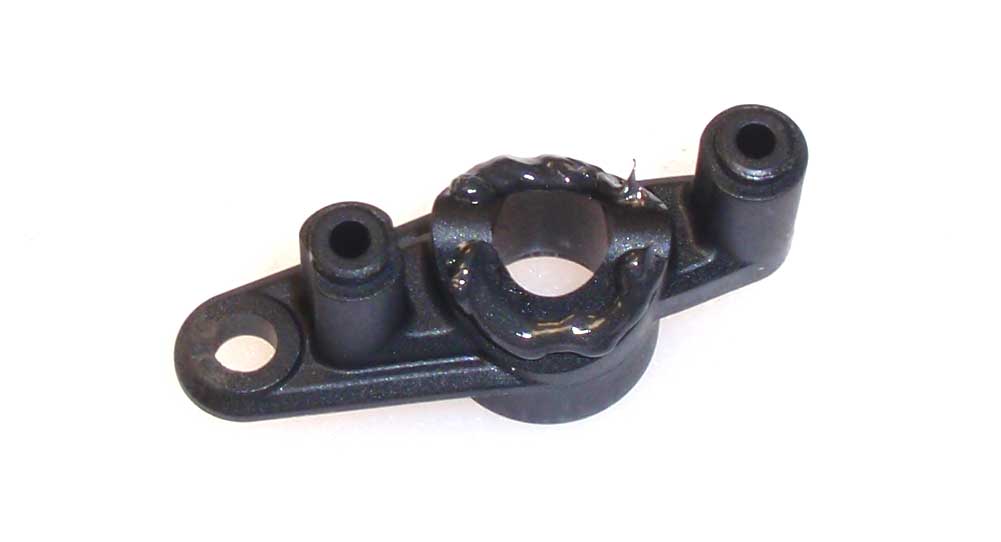
To help keep the servo saver parts from sticking (should they get grime in between them), add a little bit of black grease as shown.
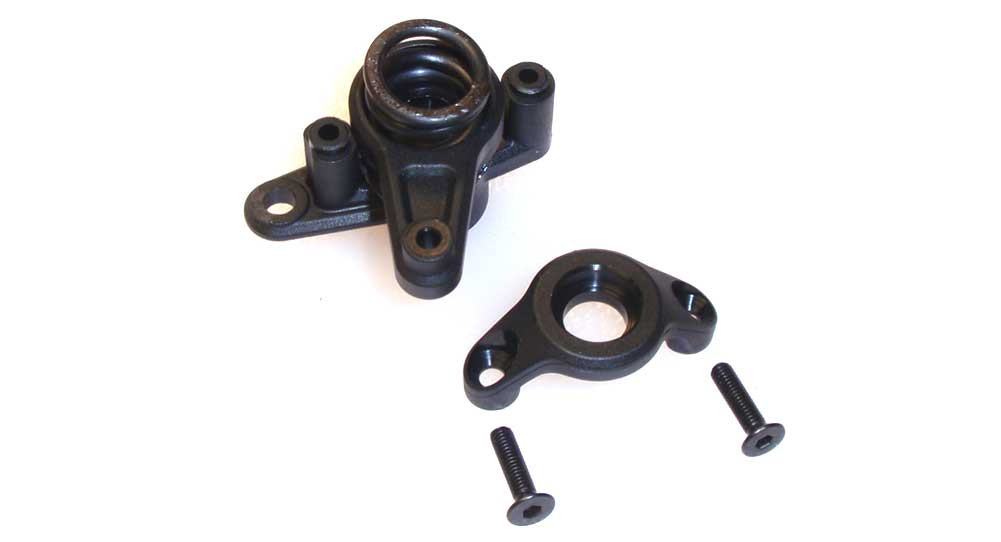
Assemble the servo saver; mate the two servo arms together and set the spring into place. Capture it with the screw-on spring retainer.
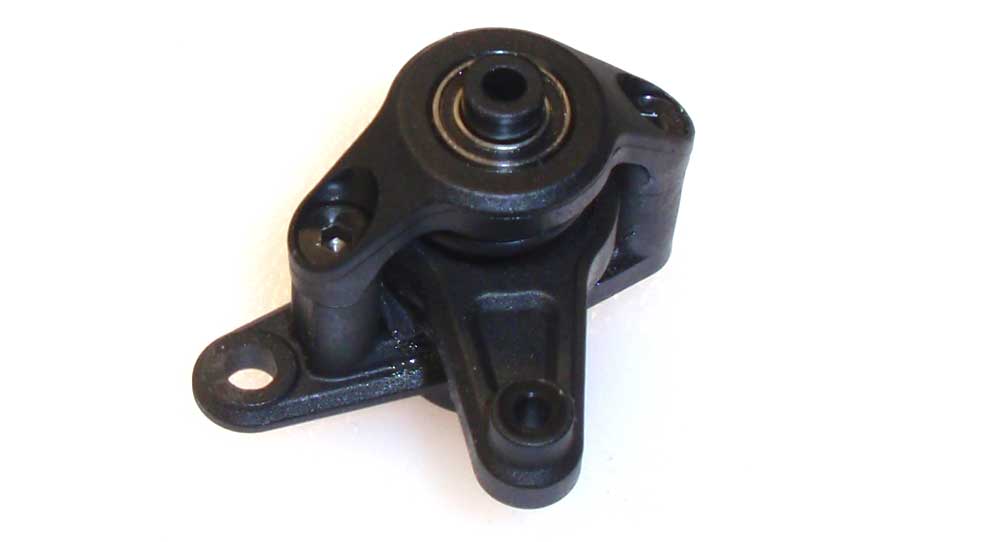
Press a 6×10 bearing into each end of the assembly and slip the other steering post into place.

Attach both servo arms to the center drag link. Do not overtighten; make sure everything swings freely.
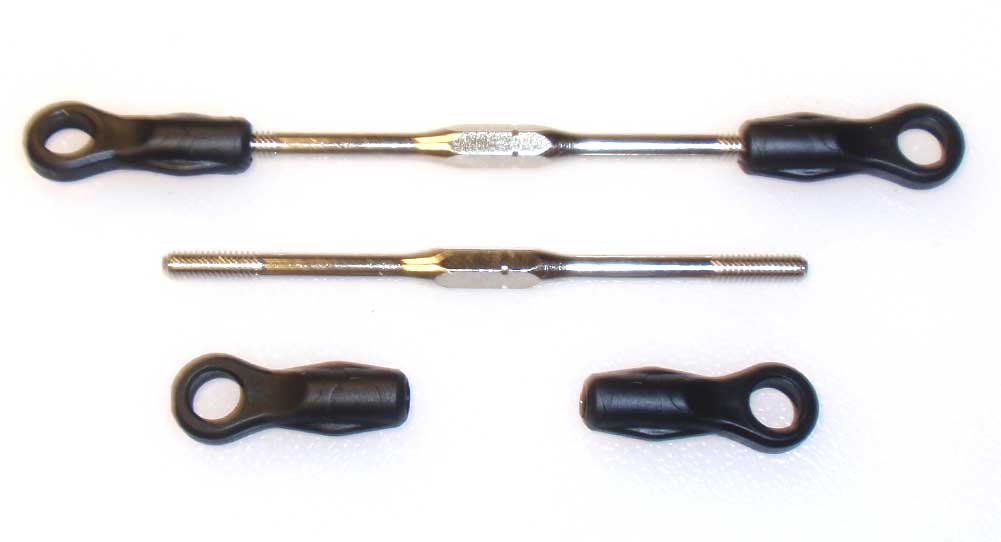
Grab the longer turnbuckles and build two links. The 62mm length is a good starting point.
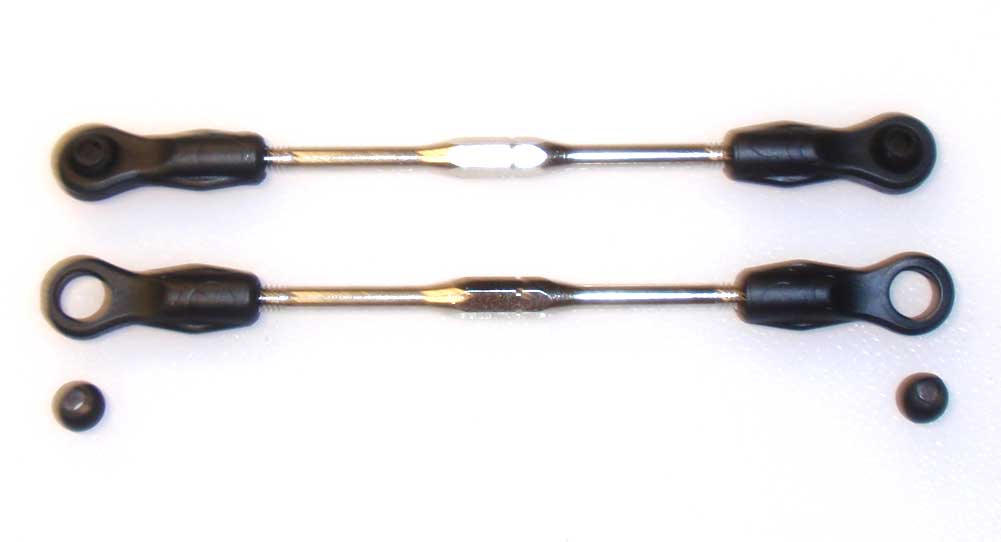
Pop a plastic ball into each ball end.
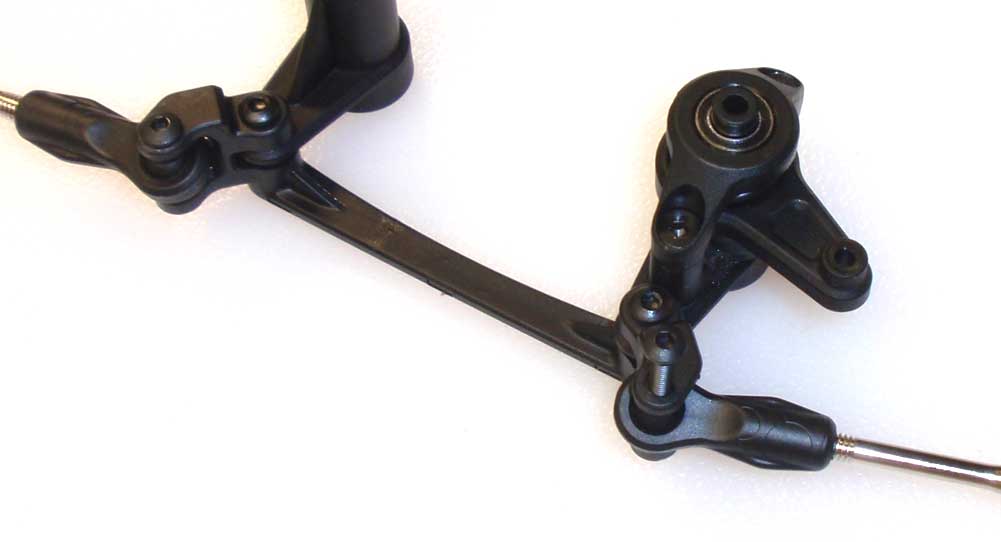
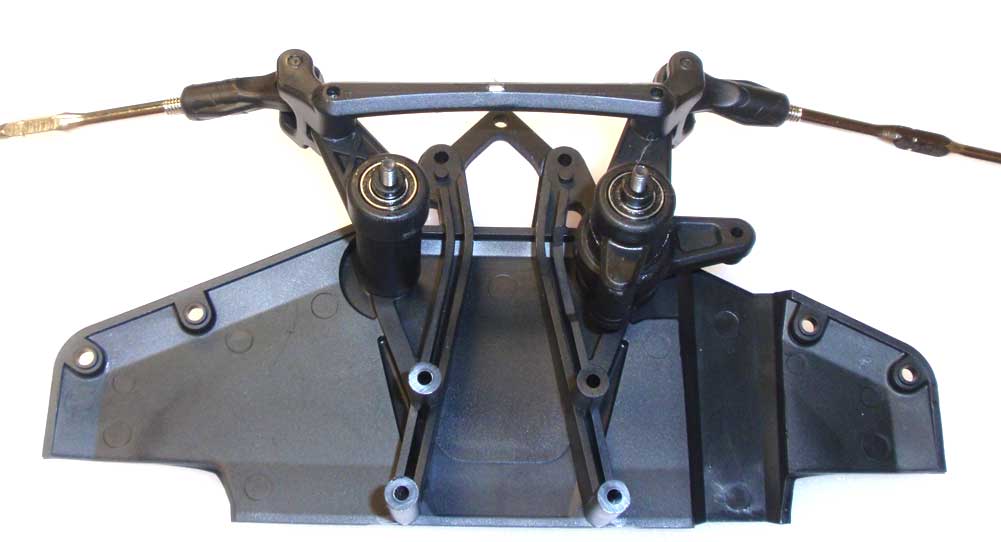
Attach the turnbuckles to the steering system.
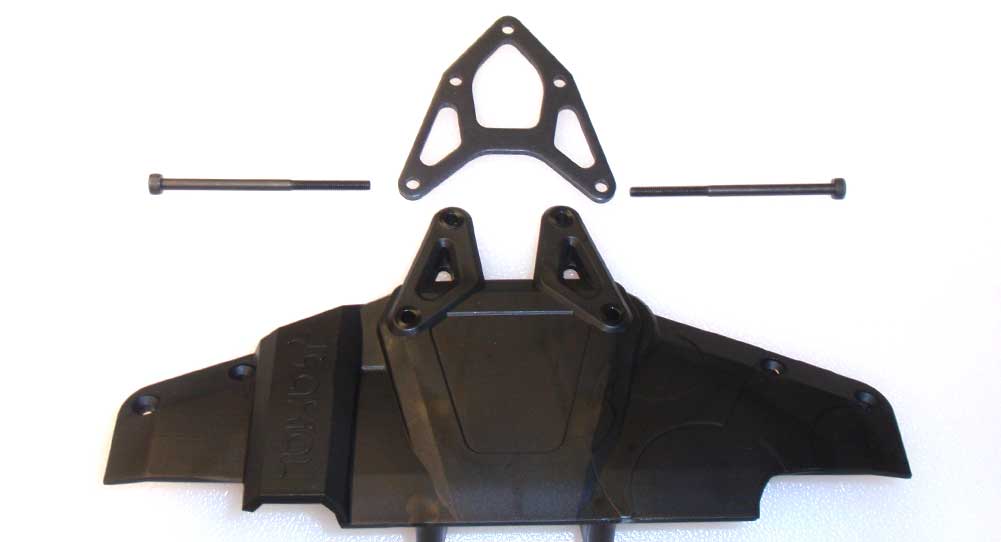
The next few steps require a different approach than the manual states. So, let’s start off by slide the 50mm screws though the metal top plate and molded top deck.
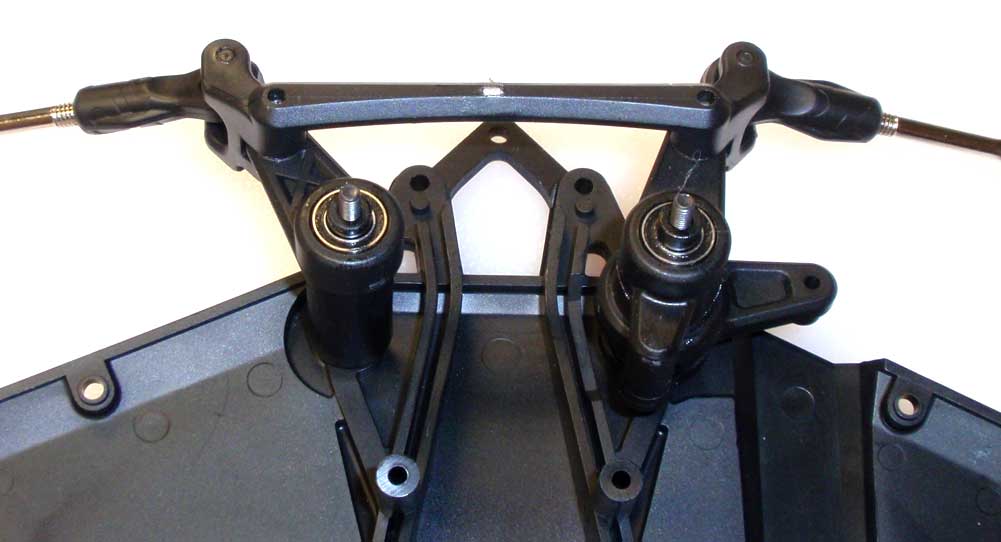
Flip this assembly over and slide the completed steering system into place as shown.
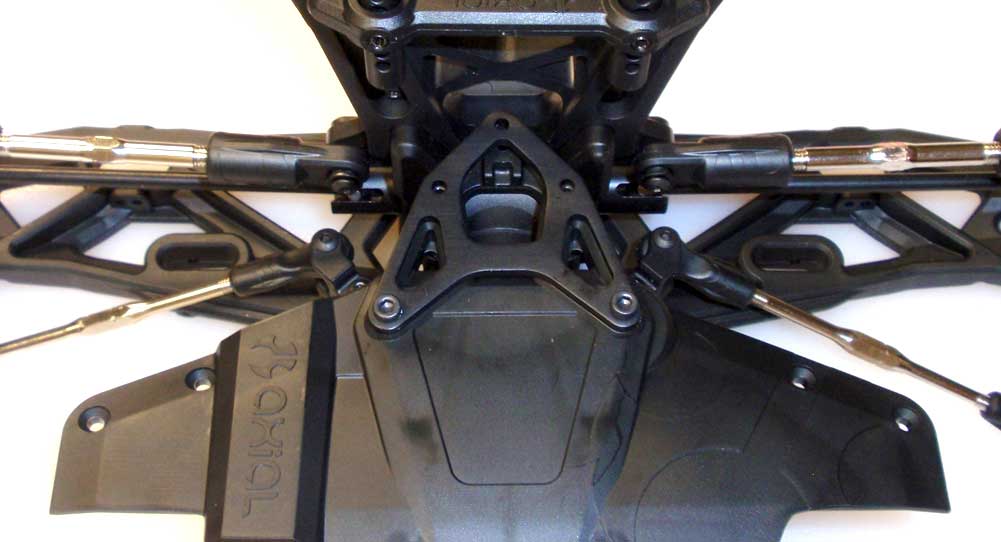
Set the chassis onto the upsidedown steering system, aligning the holes to connect the two parts. While holding firmly together, flip it over and tighten the two 50mm screws. Do not tighten them down all the way yet; you just need them tight enough to keep the halves together.
Great job, but we’re not done quite yet with the front end. Take a quick break and we’ll jump into the rest of the steering/chassis assembly.


