For many years I have been reading about the wonders of 3D printing and have been salivating at the thought of what this new hobby can do when paired with RC. The printers themselves and supporting material used to have a large cost of entry, but over the past year or so the prices on everything have dropped drastically as the technology has gotten better. I mean you can get some kits as low as 150 dollars! I decided it is time to give 3D printing a try, and I set off to do my research. Long story short I settled on the Monoprice MP Select Mini V2, it seemed to be one of the safest, least expensive models on the market. This was perfect for seeing if I like the hobby before investing too much money. I also thought it would make a great subject for a series of articles here on RC Driver, so if you are interested in 3D Printing, make sure you check back often for my Get Into 3D Printing For RC article series.
What I used for this project:
Monoprice MP Select Mini V2 3D Printer : http://amzn.to/2iFeto7
AIO Robotics Black PLA 3D Printer Filament: http://amzn.to/2gKNW4s
Vaterra S15 V-100C: No longer sold (unfortunately)
So I ordered the printer and some black filament and the printer was at my doorstep 2 days later (gotta love Amazon!). Setting up the printer was a breeze, and I ran the test print on the included SD file which came out way better than I expected!

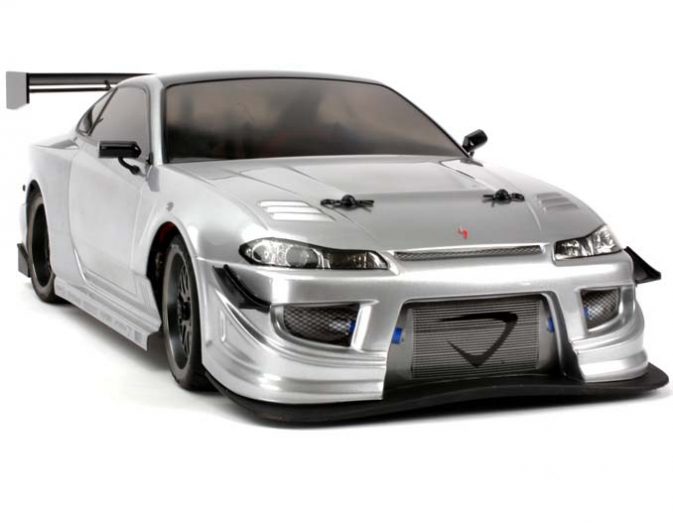
With that out of the way, it was time to see how I can apply this to RC. I had a Vaterra S15 electric onroad sitting around that I had always wanted to make look more scale. The stock body is super realistic and I always had it on display at home, but I thought that adding an intercooler, seats, opening doors, and more would really set this vehicle apart. I was a little rusty with CAD, so I picked the intercooler as the starting point since it has fairly basic geometry. I also would have to design a bracket that can bolt onto the chassis to hold the intercooler out front. Something I wanted to apply to this project was to not harm the chassis in any way and use stock holes when applicable to give my modifications a scale like appearance. Here you can see the stock image has a decal posted where the intercooler should be (I used this photo for sizing the 3D printed part)
The CAD software I will be using is Fusion 360 from Autodesk. They have free licenses for hobbyists, and reasonable fees for businesses as well. In college I used Pro E, and found the Fusion software to be much more intuitive and easy to use. It also seems very powerful with much more in depth features that I doubt I will ever dive into. So a few hours later I ended up making a bracket that can use a standard screw size on the Vaterra and the intercooler itself.
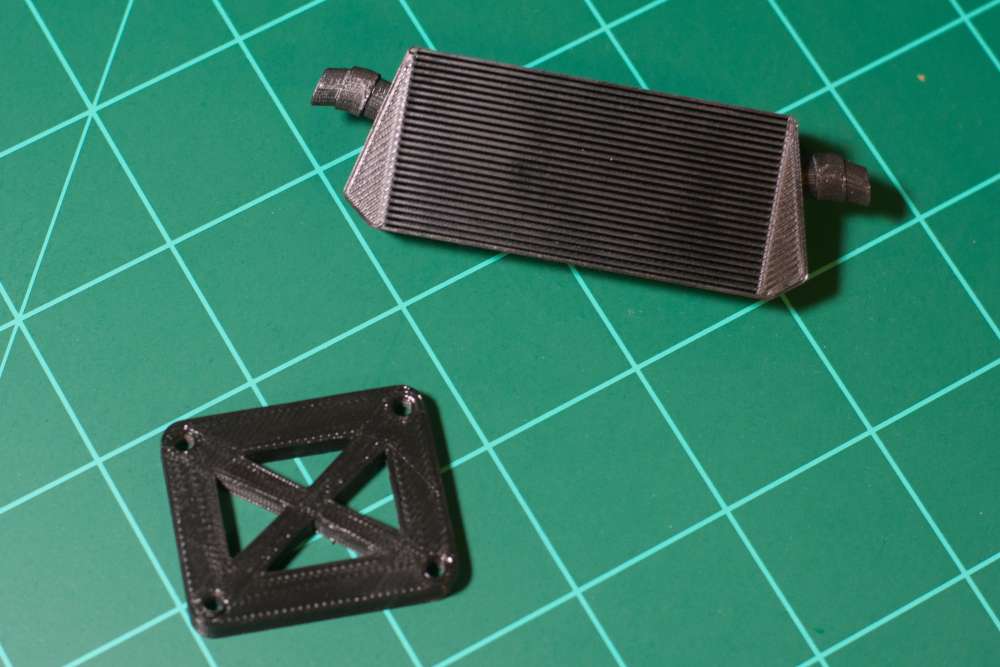
Not bad! Again this inexpensive 3D printer is super impressive in the quality of the prints it can produce. Since it is a smaller one the limitation is the size of the prints, but this printer has been known to have great detail at these sizes.
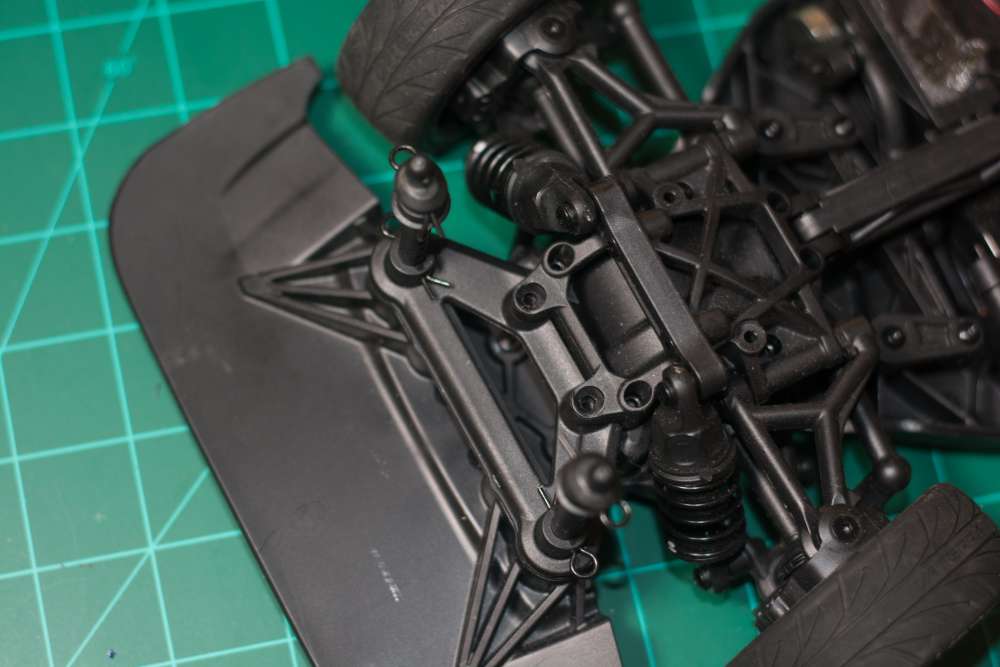
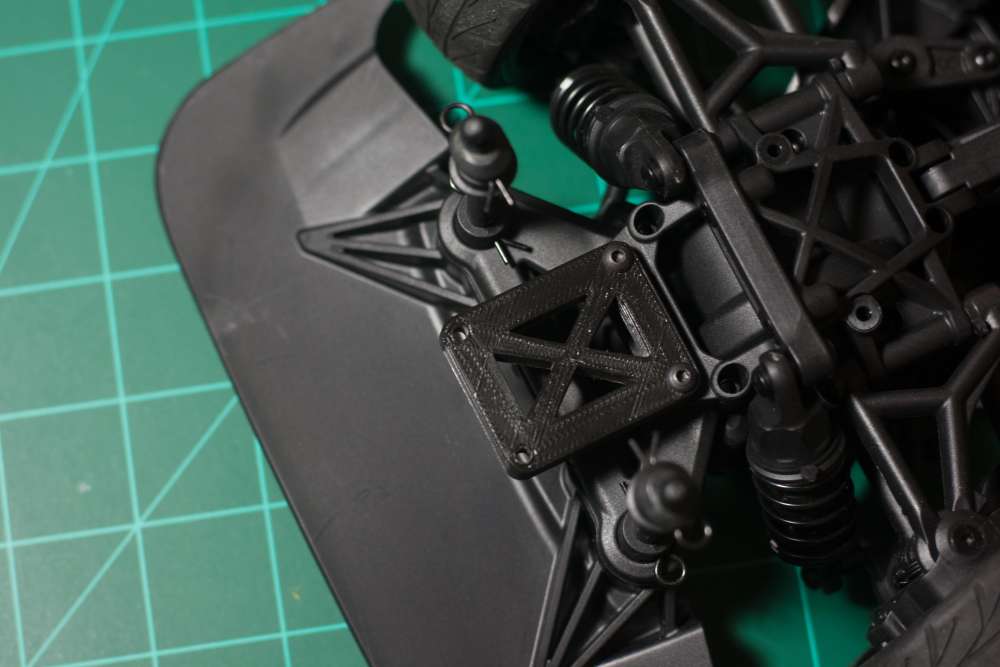
Here you can see where I would like to mount the intercooler. The two holes in front of the shock tower are used to mount the front bumper support, but there is no reason we cannot add another part, so this is where in the vehicle I designed the bracket for use.
I have to admit, I figured that I would have messed up my measurements and have to modify this part, but it fit on perfectly (almost looks stock too!). Here it is mounted on the chassis. I decided to print the part to be 100% solid because I am using a PLA filament which is not as strong as the hobby grade plastics we are used to. With this design the part should hold up in reasonable collisions, but I hope the bumper can protect this area anyway.
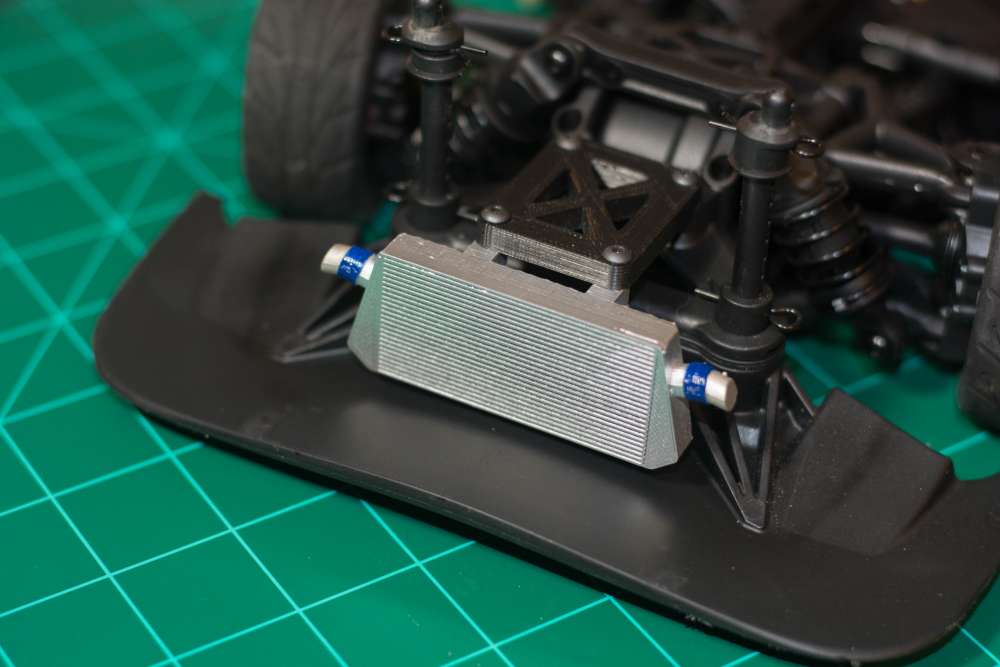
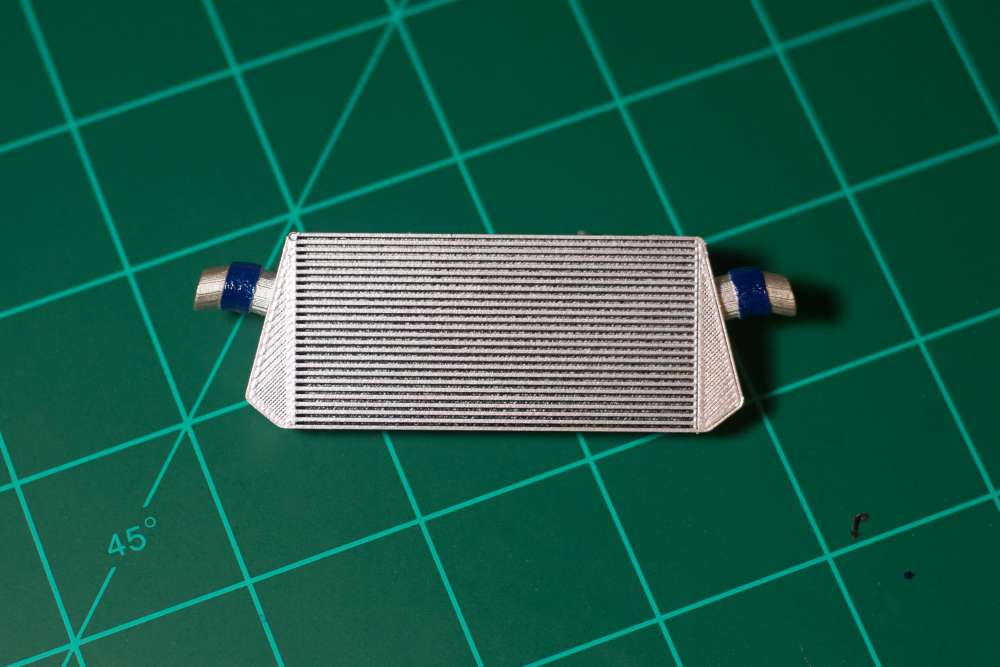
I decided to paint the intercooler and used a cheap can of silver spray paint. The results were fantastic, and it reflected so much light it was hard to photograph! The blue marks are meant to represent couplers involved with the intercooler plumbing. One other note is I cut the plumbing off so early from the part mainly because it will not be visible once the body is mounted.
And now the moment I have been waiting for, mounting the intercooler. It looks fantastic! The part bolts right on just like I wanted it too using standard RC nuts and bolts. It is super solid as well and will not flex much at all, so it won’t get bent out of shape over time. Now that the beginning project was over, I was already thinking up what to do next to the Vaterra, but I won’t spoil anything just yet. What do you guys think of 3D printers, have you thought of getting any and designing parts for your vehicles? I have to admit, learning CAD is not the easiest thing, but it is well worth it in the long term and there are tons of tutorials and learning material online.