


Words and Photos: David Harrington
When I was a kid I loved Stompers! Older readers might remember them, but for younger readers, they were little motorized 4×4 trucks with realistic bodies that looked like the real trucks. My favorite was always the Jeep Honcho. Parma made a Honcho body back in the eighties for 2WD monster trucks. For a while they were hard to find and sought after, but Parma released a slightly revamped version not too long ago. I had to paint one of these up, but it was hard to come up with something that would look good on this body besides the original Honcho theme that I remember from my Stomper. Then I got an idea. You occasionally see these muscular tough guys with a tribal tattoo going down their side. What if I gave this tough truck a big tribal graphic down its side? It made sense to me, so let’s see how it worked out.
ITEMS USED
Parma
• Honcho body #10250
• FasMask liquid mask #40281
• FasBlack #40001
• 2-inch body post
Spaz Stix
• Golden Root Beer #15650
• Gold #15200
• Metallic Silver #00309
• Ultimate Mirror Chrome #10000
• Ultimate Surface Prep #90059
Miscellaneous
• Lacquer thinner (acetone)
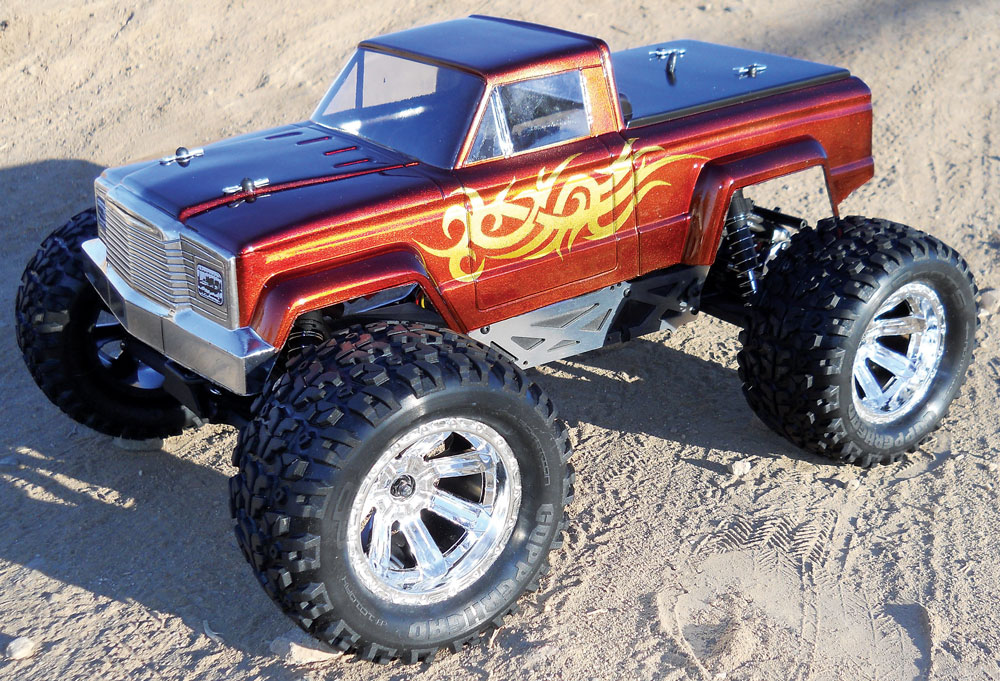
Step 1
I decided to mount this body up on the Arrma Granite monster truck. I had to raise the front body mount all the way up. I needed longer rear body posts, so I used some Parma ones that actually bolted right in place of the stock ones. I started mounting the body by making a hole for the antenna to poke through so the body would drop right down on the body post. Then I lined up the body on the chassis and marked the center of the body posts where I was going to make my holes.
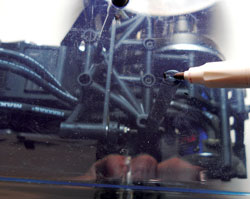
Step 2
After I had the body mounted, I needed to make sure the surface was stripped of oils so that the paint would get a good bond. I just sprayed in some Ultimate Surface Prep and let it evaporate out. With the body all prepped and ready to go, I started by applying the included pre-cut window mask. I just line up a corner, and then the bottom edge, and start working my way back and forth, removing bubbles as I go.
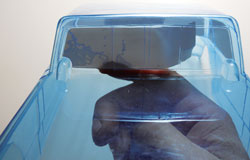
Step 3
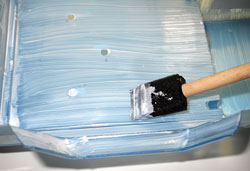
Liquid mask is my preferred masking method. So I spread some FasMask into the body using a foam brush. It is best to just spread it in even, overlapping strokes. Give it three good coats, allowing a couple of hours to dry between coats. After the final coat, let it dry overnight for best results.
Step 4
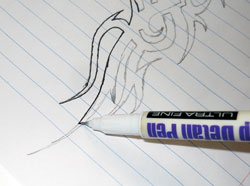
While I was waiting for the mask to dry, I started working on my graphic. I sketched the tribal design on a piece of paper. Then I went back over it with my detail marker, making slow even strokes and allowing the line to soak through to the other side to give me a reverse image I could trace onto the other side of the body.
Step 5
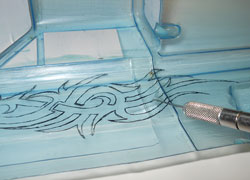
When the liquid mask had dried completely, I tacked the graphic in place using a couple of small pieces of masking tape, to prevent it from moving as I traced it on the outside of the body. With the graphic traced onto both sides of the body, I started cutting it into the mask with my hobby knife. I planned to paint the background first, so before I removed the mask from that area I cut out the grill area so that mask will remain. When I pulled the mask away, I used my hobby knife to get it started in the tight areas, and then worked my way out from there.
Step 6
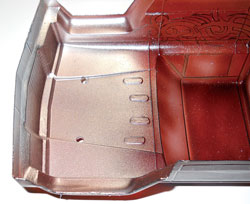
I went with the Spaz Stix Golden Root Beer because I thought it would look good on an off-road vehicle. This is a transparent color which can be backed with different paints for various effects. For this paint job, I decided to use Metallic Silver for a candy effect. The heavier you lay the transparent color, the deeper it will be. I wanted a fairly deep shade, so after laying two light coats, I gave it a third heavy coat. After allowing time to dry thoroughly, I gave it a light wipe with a soft cloth to remove paint dust before covering it with a couple of good coats of the Silver backer color.
Step 7
When the silver was dry, I again used my hobby knife to start pulling up the mask. Then I filled the area with gold. The gold is also a transparent color. It can also be backed with the silver to look like paint, or the mirror chrome for a more realistic effect, which is the direction I chose to go. So after I laid the gold, I peeled away the mask from the grill area that I wanted to be chrome.
Step 8
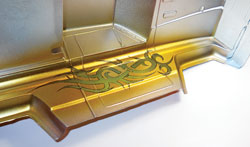
The chrome is actually rather delicate until backed with a protective coat, so be very careful not to touch it. It is recommended to use a water based paint to back it, so I used some of the Parma FasBlack. I also wanted to spray the bed cover with some black. Before I started spraying, I cut away the overspray film from the bed area and then I did it all at once. All that’s left now is to remove the window mask and overspray film, and apply the headlight and taillight decals.
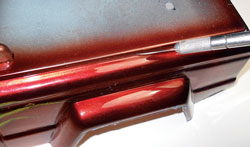
WRAP UP
When you set out to do something different, you never know how it will turn out. The look of the finished truck reminds me a little of a classic fire engine theme, and that’s not a bad thing. That just says to me it was an appropriate theme for a big truck. The Spaz Stix Golden Root Beer is a great color, I’m glad I went with it. It’s not exactly what I expected but it might be better!
LINKS
Parma parmapse.com, 440-237-8650
Spaz Stix spazstix.com, 800-706-0690


