


Putting the scale in a scaler
By David Harrington
This article was originally published in RC Driver’s January 2016 issue.
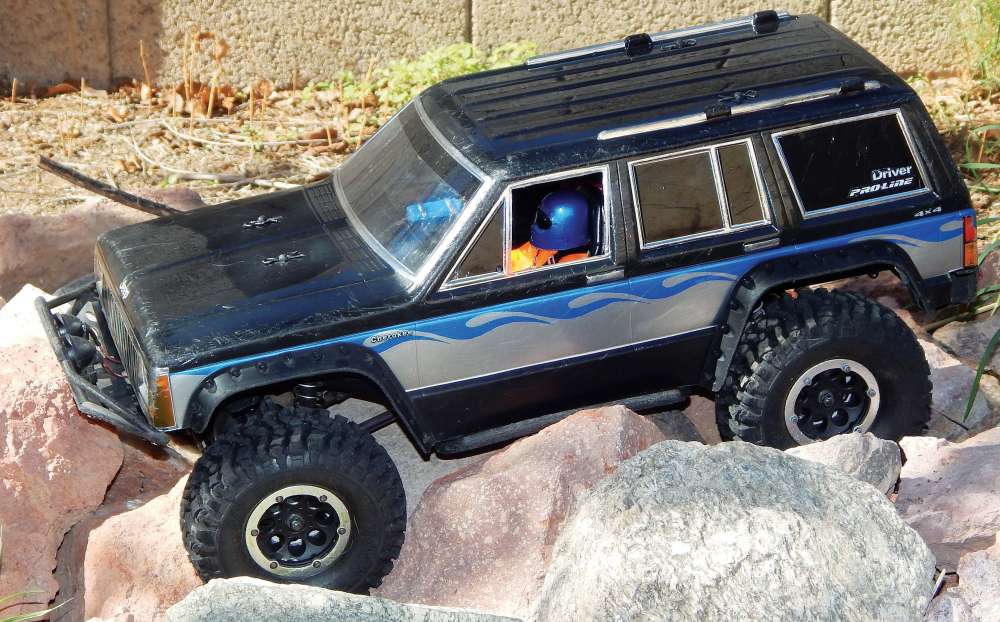
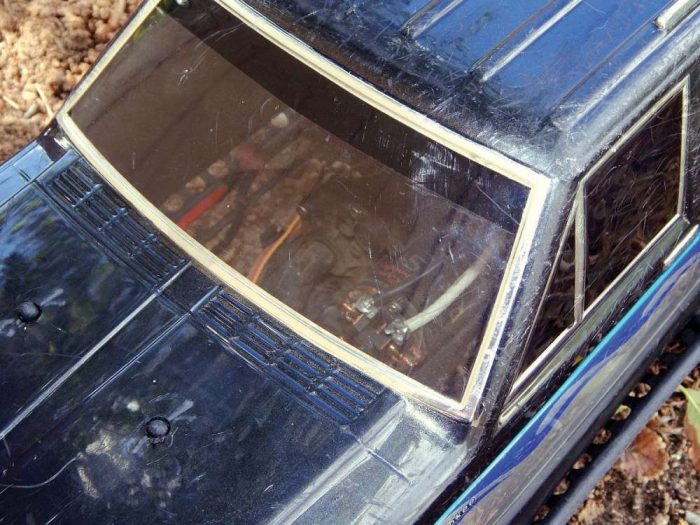
We have a “crime” problem in the RC world today and I have to admit that I have committed this serious crime myself. What could this horrific act be? Posting videos of scale RC crawlers… with nobody driving them! What do you see when you look in the windows of your scaler? I hope it doesn’t look like mine.
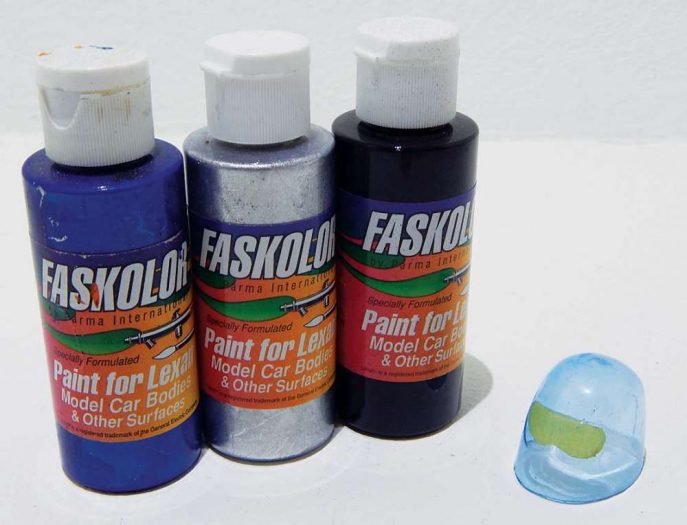
Parma
• Interior 10203
• FasRed 40003
• Fasfl ourescent Orange 40103
• FasWhite 40000
• Faspearl Gold 40053
• FasKrome 40300
• FasBlack 40001
• FasBlue 40004
• Faspearl Blue 40055
• Fasfl uorescent Blue 40106
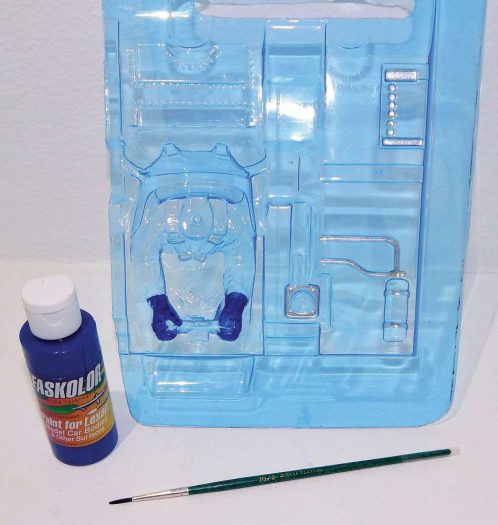
1 What is that in there, some kind of generator with cables coming off it? Is that the ground I see? There’s nothing that relates to the real world in there. Well folks, that is the quickest way to get a thumbs down on that video you worked so hard at. Thankfully Parma has come to the rescue with a Lexan interior that is a universal fit for many 1/10-scale size vehicles, including most rock crawlers. When I saw this I knew the fi rst thing I had to do was fix my scaler.
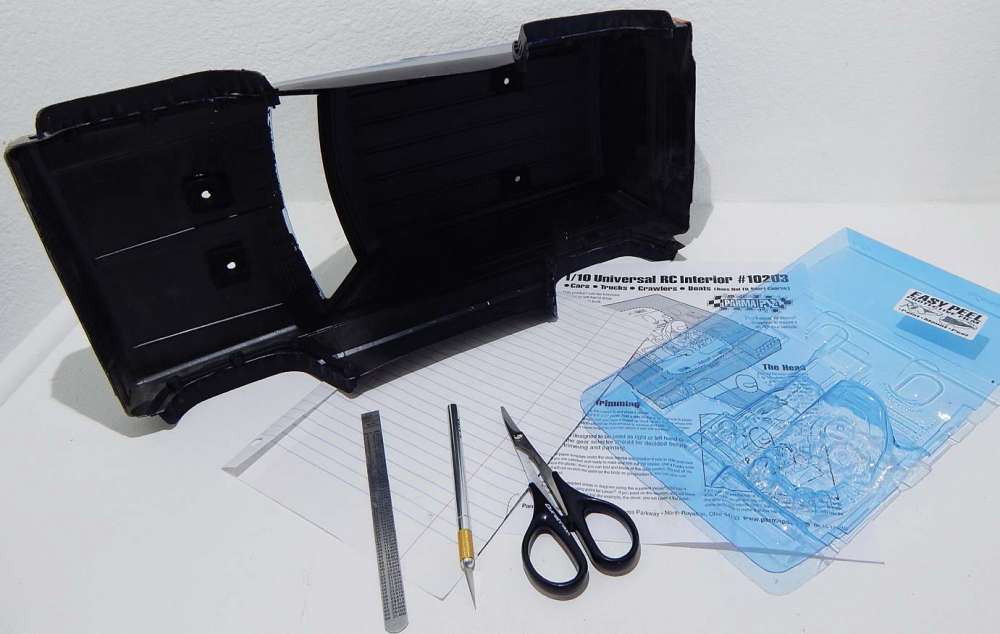
2 Since this body is designed to be a general fit for cars, trucks, crawlers, and boats (but no short course, that sounds like a challenge!), it comes with instructions on how to trim it for your body. I actually took the time to read them through. The instructions suggested using a piece of paper and folding it to fi nd the dimensions for your body. Since I am doing an SUV body, my paper wasn’t quite long enough so I just used it to fi nd the width and it worked perfectly. I cut the sides by using a hobby knife to score the plastic, and a metal ruler to keep my lines straight. Then I just bent the plastic to crack it on the score line. I cut enough off the front to leave a half inch for the Velcro to attach to the body. In the rear I was afraid I would have to heat it up and bend it to attach it to the SUV body, but the lip at the end turned out to be the perfect length. So I just left it to the end. I used my Lexan scissors to round the corners so they will not scratch my paint. This was also covered in the instructions. Since I am doing an SUV, I had to make a cutout for the body mounts to pass through as well.
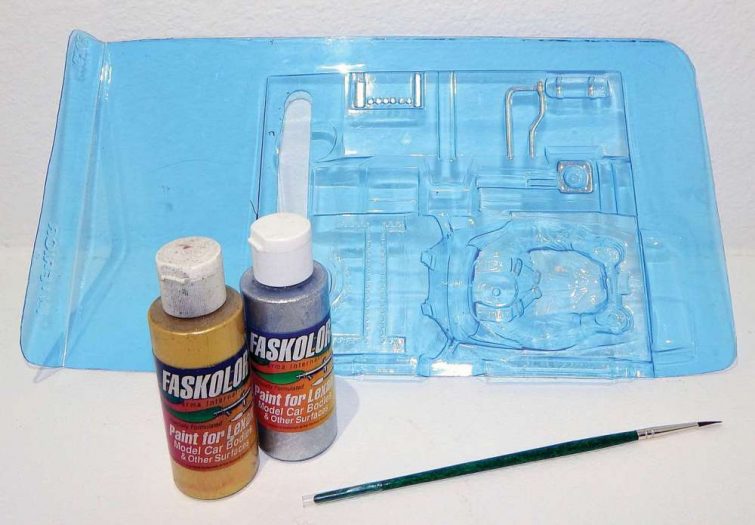
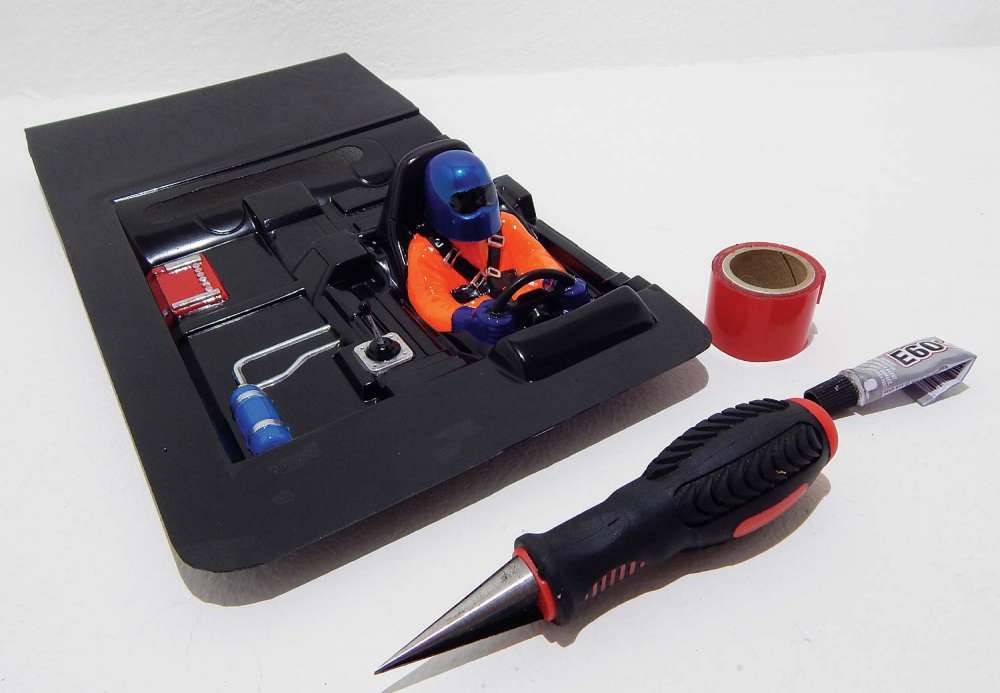
3 I have tried to do an interior with liquid mask before, but it was nearly impossible to get into the tight areas with a knife. I also plan on painting on the outside using the overspray fi lm as the mask, which changes the whole game. So I brought out the old bristle brush for this one. I used a No. 2 round brush. I started by painting the valve on the nitrous tank with the Faspearl Gold. Then I painted the lines from the bottle, the straps on the bottle, the details on the battery, the buckles on the seatbelt, and the plate around the boot on the shifter with FasKrome. Brushing this kind of paint on plastic can be tricky. Just don’t worry if your fi rst coat looks thin and shows brush strokes. It acts like the primer. Just let it dry and you’ll find the next coat goes on much smoother.
4 I also used the brush to paint in the gloves. I used FasBlue because I wanted them to match the helmet, but I was going to use a pearl for the helmet, which I didn’t feel would be right for gloves. Normally I would back this color with white to make it more vibrant, but I didn’t want to accent the brush strokes, so I laid it kind of heavy and hoped for the best. It worked out well, by the way.
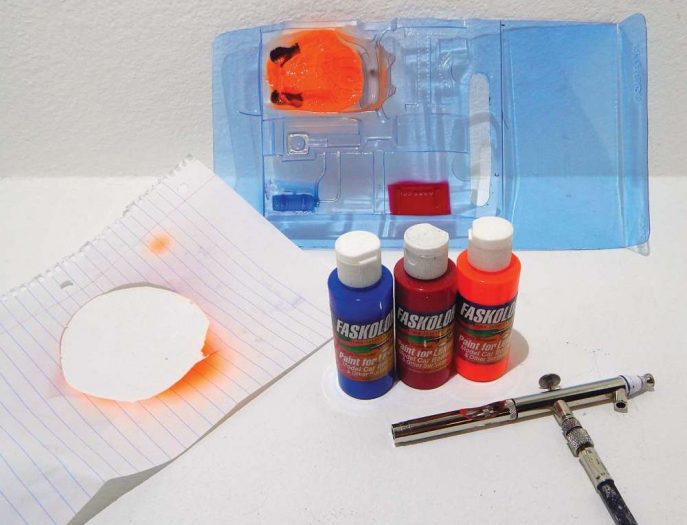
5 Now I am going to fill in the larger areas with my airbrush. This is where I really take advantage of painting on the outside later. That means my edges don’t have to be distinct now while I’m painting from the bottom. I don’t want overspray in the parts I haven’t sprayed yet, so I cut a rectangle out of a piece of paper to create a soft mask, and sprayed the Fasfl uorescent Blue in the nitrous tank. Then I cut the rectangle larger, and filled the battery with FasRed. Then I cut a large circle, large enough to expose the driver and I sprayed his suit in with Fasfl uorescent Orange.
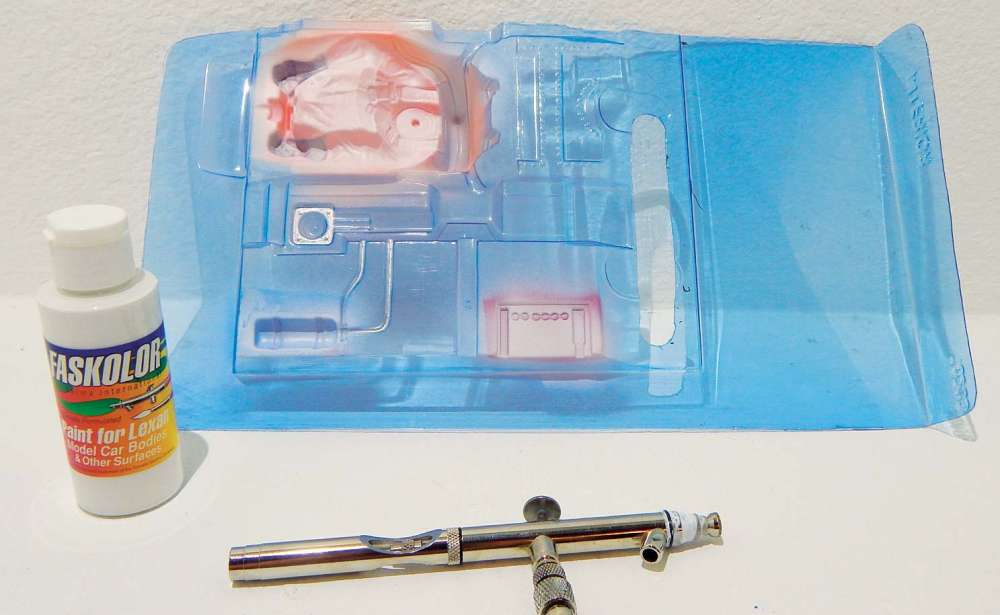
6 All the bright colors need to be backed with white to ensure they stay bright. So I backed the driver, battery and bottle with FasWhite. This is the reason I used the soft mask technique. By keeping the individual parts covered, I was able to save time by backing them all at once.
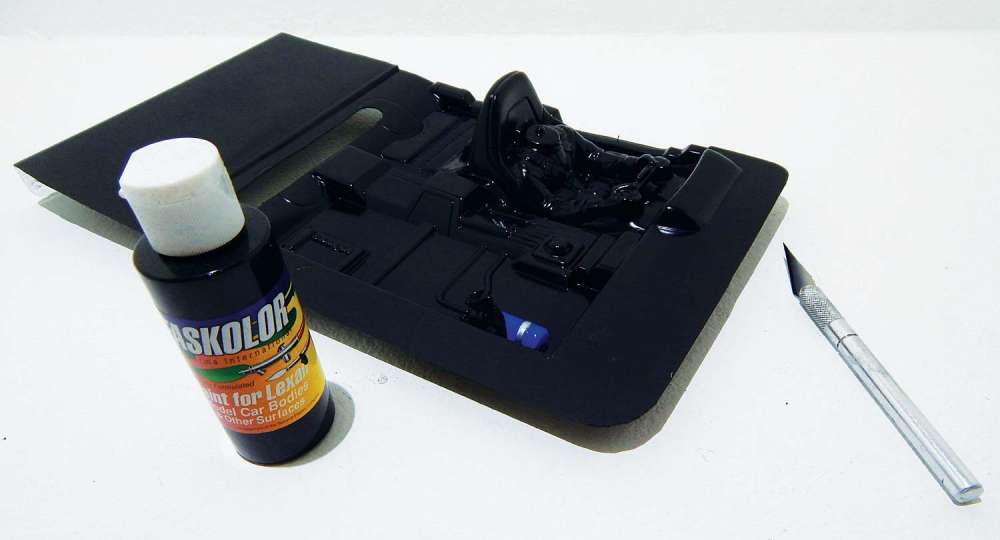
7 This is where I take advantage of the overspray film. I cut the fi lm around all the details and removed the overspray film in the areas outside where I just painted, leaving the painted areas covered. Then I sprayed the outside with several coats of FasBlack. You can also spray the underside for a uniform look. Then after the paint has had time to dry, I remove the remaining overspray film. Now the parts that I painted underneath are exposed with nice clean edges.
8 The instructions suggest that you could use a Tamiya head or one from a flip top candy dispenser. I actually have a couple of helmets leftover from my Axial Deadbolt, and had planned to use one, but then I fi gured I should show what the one that comes with it looks like. Due to the vacuum forming process, it is impossible to get a good helmet shape out of Lexan. I was afraid this one would come out bell shaped, but it actually looks pretty good on there. It is very diffi cult to cut the mask on the inside. So I cut the mask for the visor on the outside and then transferred it to the inside. Then I sprayed Faspearl Blue backed with the FasKrome to really make it sparkle. To fill the visor, after the previous coats had dried I removed the mask and filled the inside with FasBlack.
9 To mount the helmet I simply attached it to the headrest with some double stick tape. My Parma Protape was within handy reach. The instructions had a great tip to make the top of the steering wheel out of a piece of 14 gauge wire. I made the holes with a body reamer. Then I stripped the ends of the wire, poked them through, and glued them on the bottom with some craft glue. The stick shift was a leftover from my Wraith kit. I made a small hole and then glued it on the bottom like I did the steering wheel, then I painted the shaft with the paint brush and FasKrome.
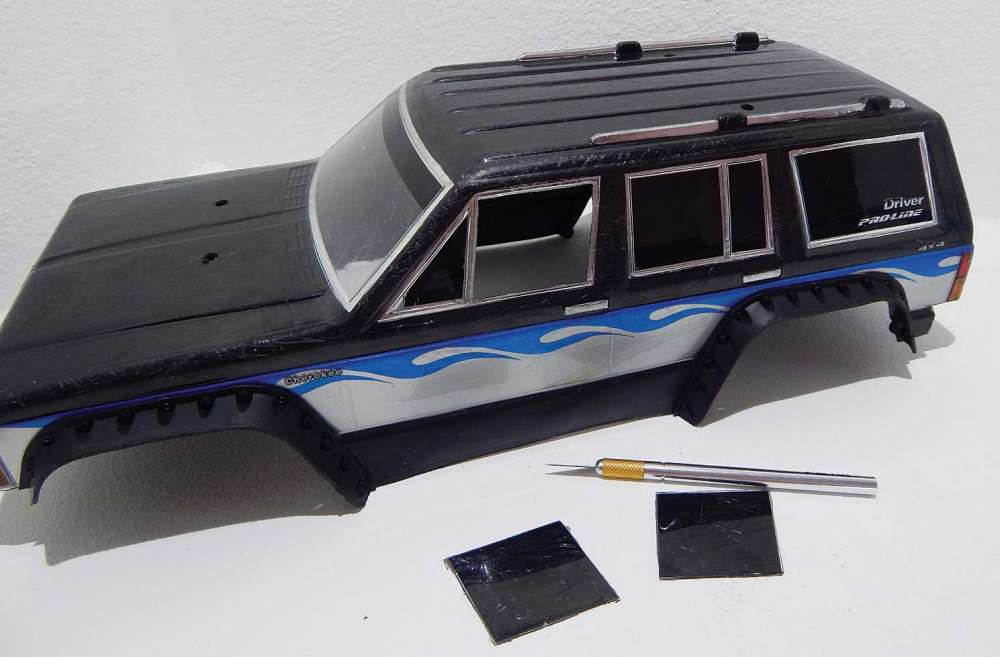
10 If you really want to show off your new interior and add some scale realism, roll your windows down! I cut out the windows by scoring them with my hobby knife. Then I bent at the bottom half of the body until the bottom of the window cracked. Then I pushed back and forth on the bottom of the window until the sides cracked. It might not seem like it is doing much at first, but then it might pop out all at once and surprise you.
WRAP UP
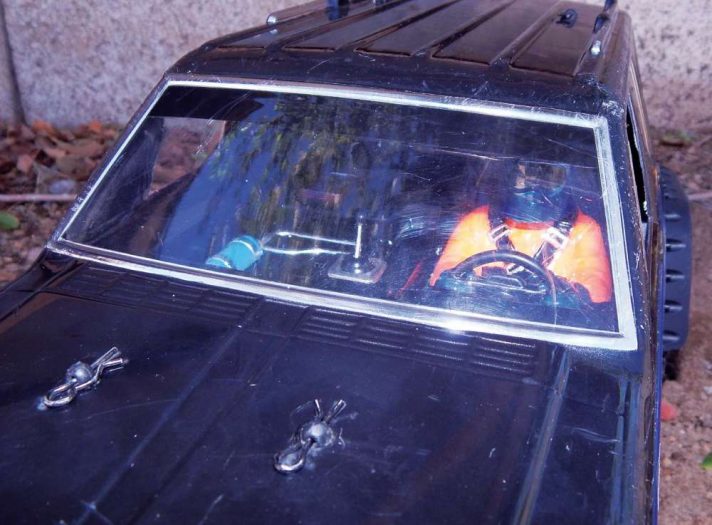
That looks much better! You can actually see stuff that belongs in there; a nitrous bott le, a battery, a steering wheel, a stick shift , and most importantly, a driver! I am no longer embarrassed to show off my rig now. There are more details molded in, and you could really go nuts filling in the details, but I thought it best not to draw the eye in too close and make the shallowness too obvious. So I purposely made it indistinct and just added the key details so they pop out. It actually came out better than I expected and I am very happy with how it looks!
LINK
Parma parmapse.com360heros.com, (440) 237-8650


