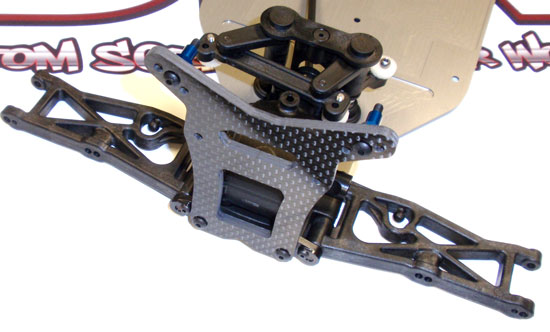
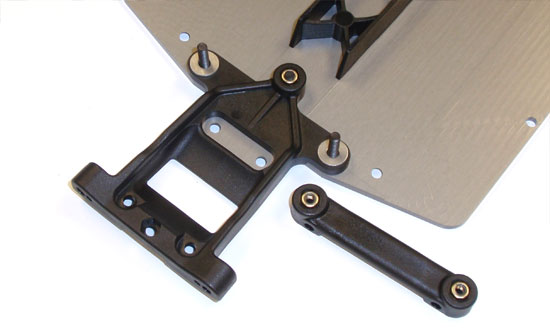
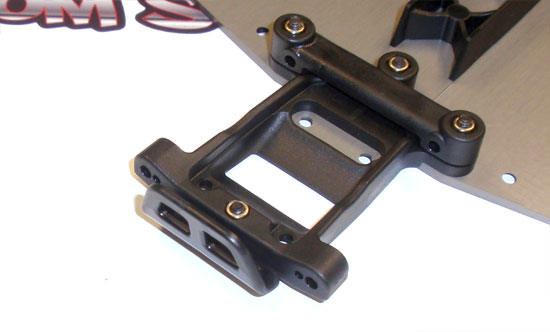
fbpx
Saturday, April 20, 2024
rally

Team Associated B44.3 Build – Suspension

Team Associated B44.3 Buggy Build – Part 4 – Suspension

The Build – Part 4
Time to assemble the suspension and attach the gearboxes to the chassis.

Team Associated B44.3 Buggy Build Step 43
Let’s start by pressing the locknut into the front bulkhead.

Team Associated B44.3 Buggy Build Step 44
Now attach the front bulkhead to the chassis.

Team Associated B44.3 Buggy Build Step 45
Find your gearboxes and grab the one with the shorter center CVA. Slide the CVA through the steering retainer post and nestle the gearbox into the front bulkhead. Secure with the 2 screws.

Team Associated B44.3 Buggy Build Step 46
Slip the 2 front suspension arms into place and slide the hinge pin through the arms and bulkhead. Make sure you seat the hinge pin as far in as possible. Also note the direction of the front arms.

Team Associated B44.3 Buggy Build Step 47
Press the hinge pin brace into place and secure the hinge pins with the 2-56 screws.

Team Associated B44.3 Buggy Build Step 48
Assemble the front shock tower, using a dab of threadlocker to keep the V2 bushings in place. The tower is not directional so it doesn’t matter which way you build it.

Team Associated B44.3 Buggy Build Step 49
Attach the front shock tower to the chassis, making sure the shock mounts are facing in.

Team Associated B44.3 Buggy Build Step 50
Flip the B44.3 over and attach the front bumper.

Team Associated B44.3 Buggy Build Step 51
Press the locknut into the rear bulkhead.

Team Associated B44.3 Buggy Build Step 52
Press 2 more locknuts into the rear arm mount. Attach the rear bulkhead to the chassis followed by the rear arm mount. Don’t forget to insert the w #4 washers.

Team Associated B44.3 Buggy Build Step 53
Press another locknut into the back of the bulkhead and attach the rear bumper.

Team Associated B44.3 Buggy Build Step 54
Grab your remaining gearbox and mount it to the chassis.

Team Associated B44.3 Buggy Build Step 55
Test fit the rear hinge pin. You will see that it doesn’t line up with the hole in the inner arm mount due to the toe angle. You’ll see you need to flex the hinge pin inward to make it fit. Remove the pin, slip the suspension arms into place and slide the hinge pin in. Now flex the arm/pin assembly in to key it to the front arm mount. It might take a few tries (it also seemed easier without the rear bumper on) to get it into place. Just make sure the hinge pins are all the way in.

Team Associated B44.3 Buggy Build Step 56
Capture the hinge pins with the 2-56 screws. If you removed the bumper, you can re-install it now.

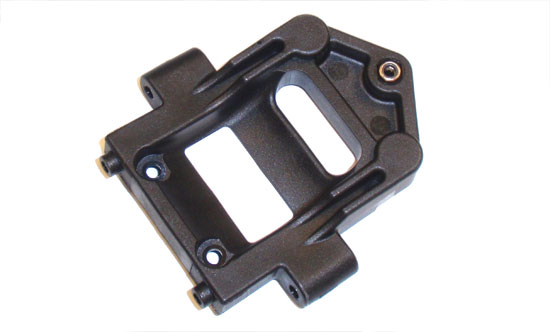
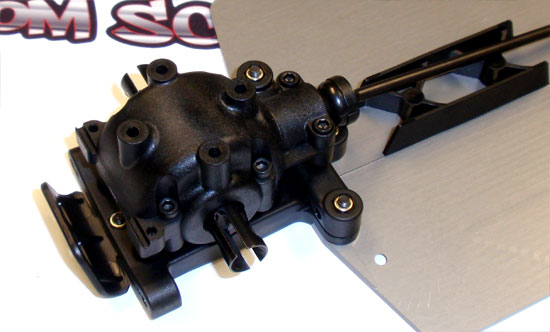
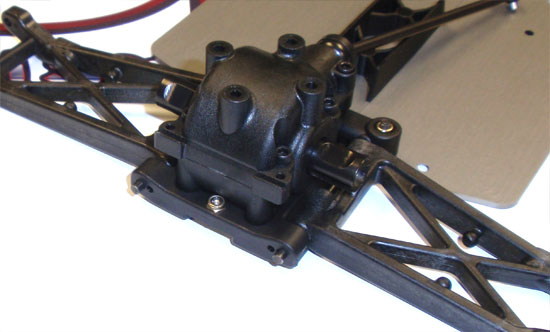
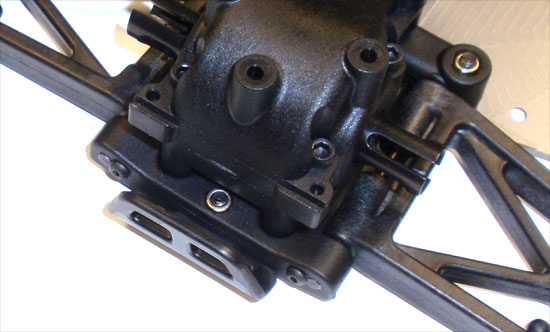
Part 5 – Assembling the center bulkhead.
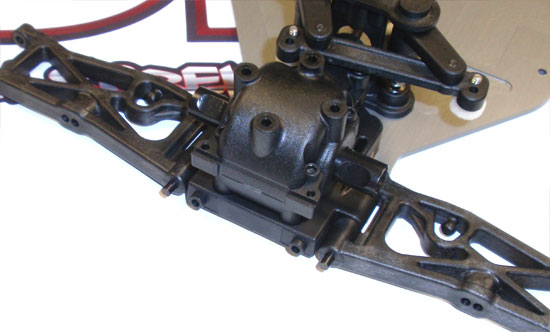
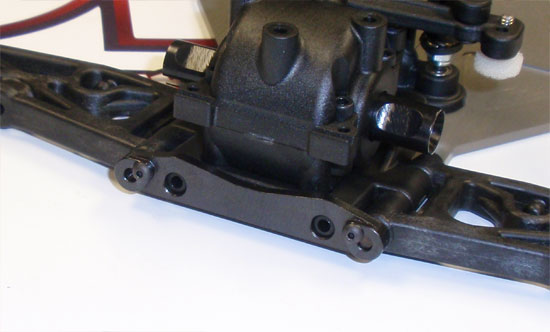
Leave a Reply