The Build – Part 1
The steering is typically the first part of almost every build, and the FT T4.2 is no different. It’s simple and straightfoward. Let’s get to it.
Build Notes:
 The instructions show the addition of the little foam dust covers over the ball ends. While I didn’t use them, I would suggest doing so. It does help prolong maintenance.
 You will need a small dab of blue threadlock later in the build. Get it ready now.
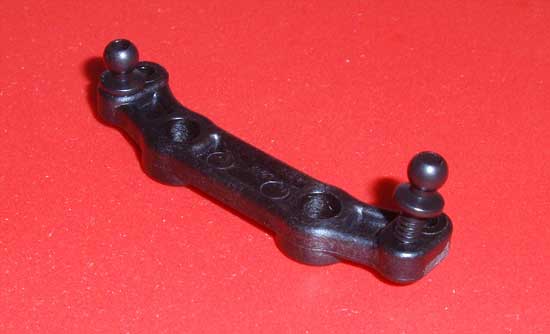
The first step is to screw both black ballstuds into the steering rack. I used the front sent of Ackermann holes per the manual. Moving the ballstuds back will change the Ackermann and the way the T4.2 feels on the track.
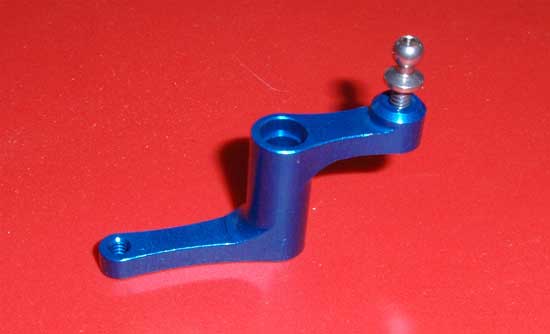
Insert one of the silver ballstuds into the blue, Factory Team bellcrank as shown. A very light dab of blue threadlock will help keep the ballstud from backing out.
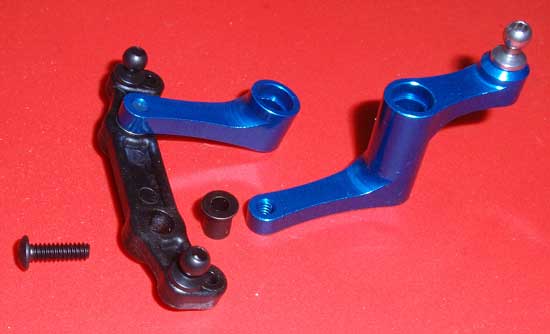
Slide both ‘tophat’ bushings into the steering rack from the top. Attach each of the bellcranks to the steering rack with the 4-40×3/8 screw. You’ll want to add a dab of blue threadlock to these screws. Do not use too much or you could lock the screw to the tophat bushing.
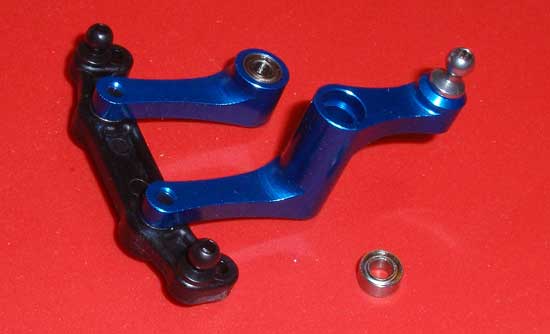
Insert the steering rack bearings into position. There will be one on the top and bottom of both bellcranks.
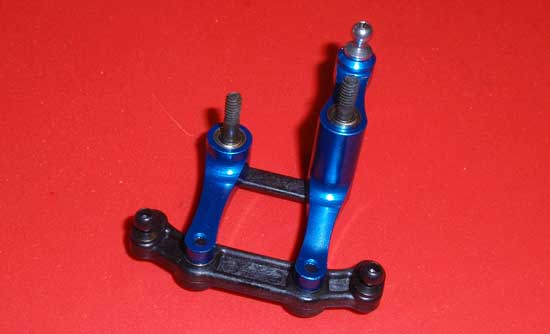
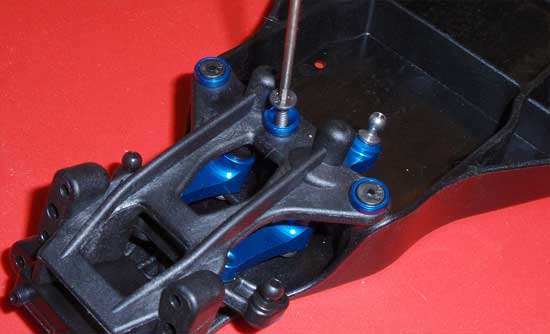
Take your steering bolts and slide them through the steering brace, then up through the bellcranks. Keep in mind that the steering bolts are different lengths; the long one will go through the taller bellcrank.
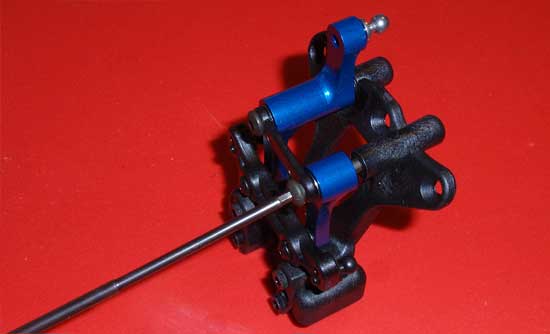
Slide the assembled steering unit into place on the top plate and tighten both screws down. You want to tighten them down enough that there isn’t any play, but not to tight that it binds the steering movement.
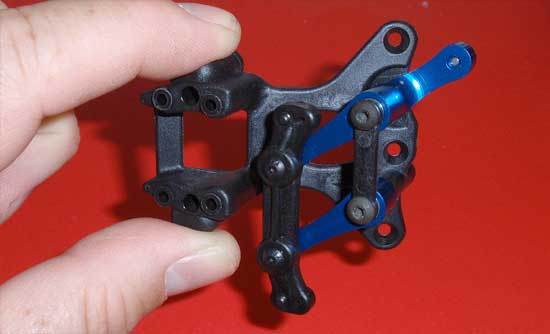
Time for the ‘free-movement’ test. Hold the new steering assembly on its side, swing the steering rack to the top and let go. Does the rack fall quickly to the bottom? If so, you’ve passed the ‘free-movement’ test. If not, loosen the two steering bolts SLIGHTLY and try the test again. The easier it moves, the less work your servo will have to do.
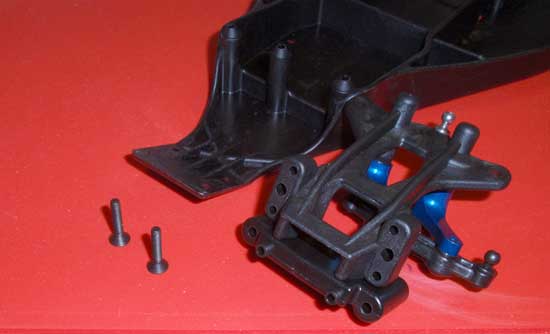
Align the front bulkhead with the bottom of the top plate and press into place. Note the direction of the front bulkhead; the two molded ‘pins’ should face forward. Now attach this assembly to the chassis (using the back two holes) using the 4-40×5/8 screws.
The final step is to secure the top plate to the chassis using the 4-40×1/2 screws. Don’t forget to use the cool Factory Team countersunk washers!
Stay tuned for Part 2 – Installing the Front Suspension.
 RC Driver The Best In RC Car & Truck News, Reviews & Video


