


The Build – Part 4
Team C includes a hearty, adjustable slipper clutch with the TM4. We will be building and installing it in this step.
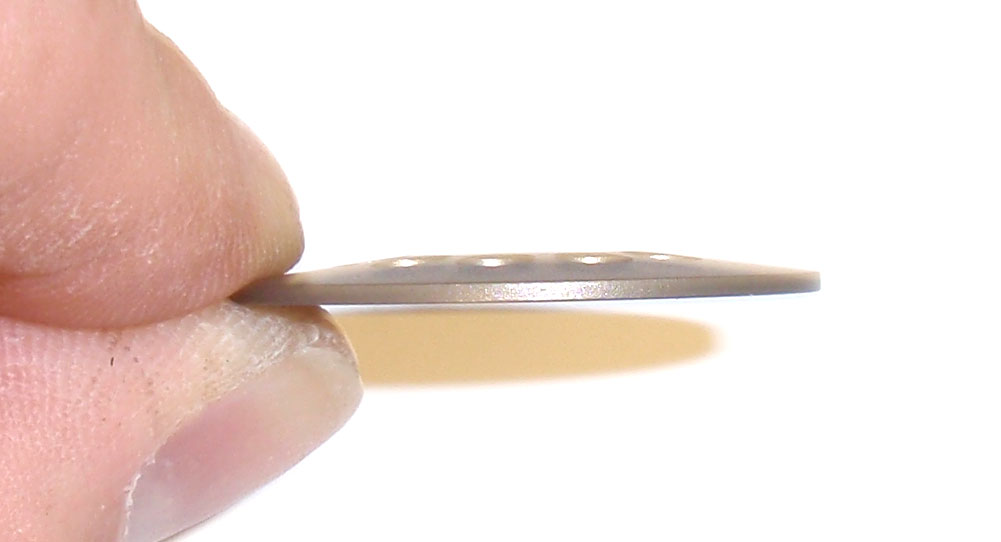
Here’s a quick look a the Slipper Hub-A. The flat side of this needs to be facing the spur gear.
Slide the long pin through the slipper shaft followed by the Slipper Hub-A. You’ll see that the flat side of the hub is facing up.
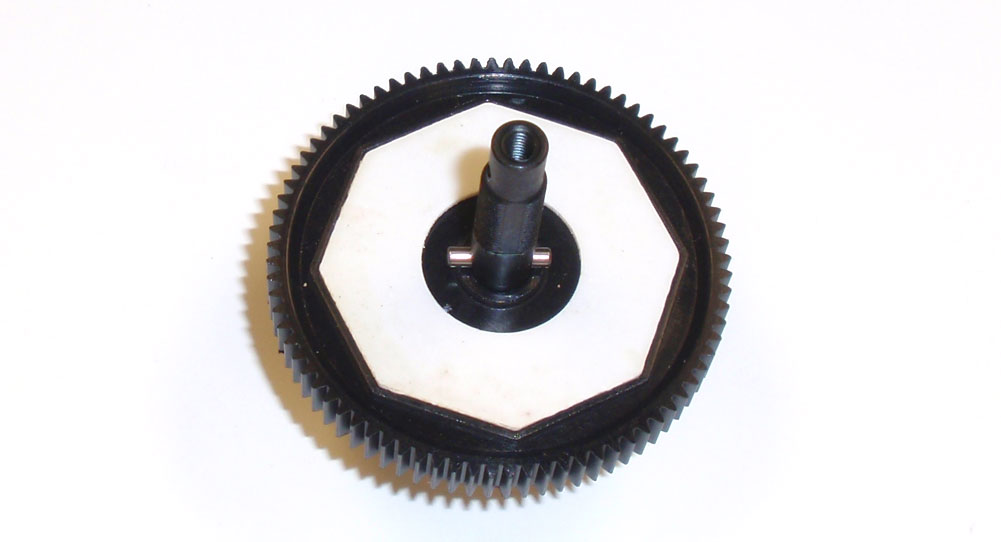
Press a slipper pad into each side of the spur gear. If the pads don’t stay, you can add a drop of grease to help. Once installed, slide another long pin into the slipper shaft.

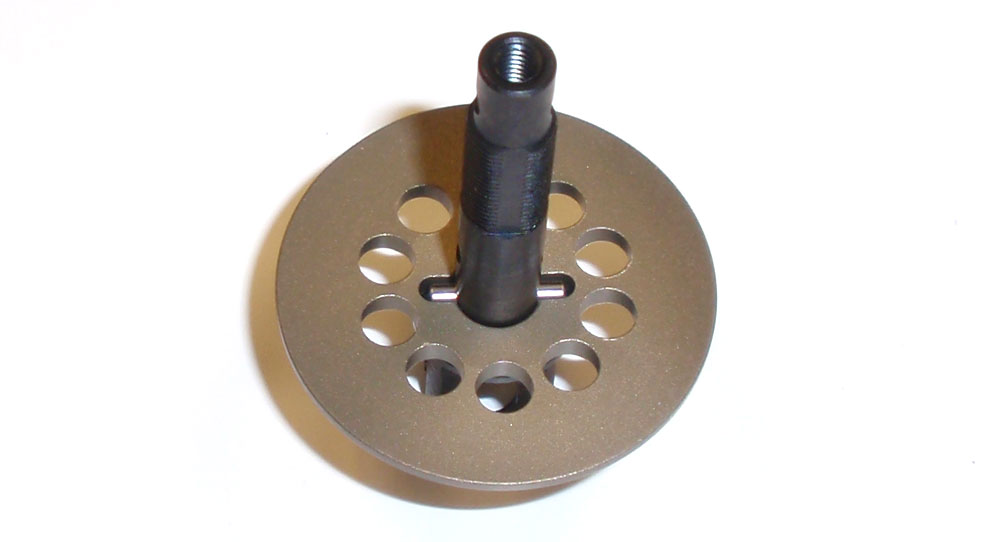
Press a 10×15 bearing onto the Slipper Hub-B and drop that assembly onto the slipper shaft. Make sure the bearing is seated completely on the slipper hub.
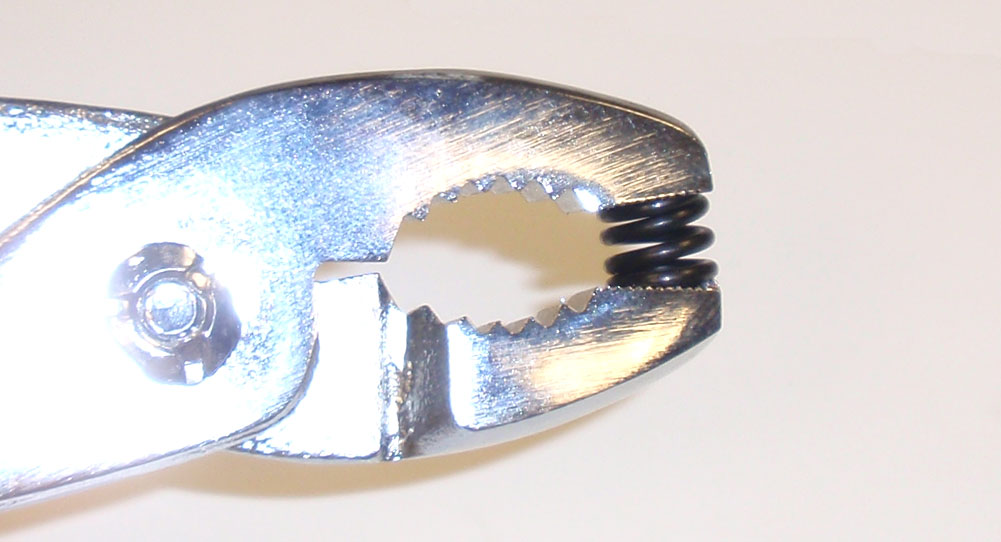
Precompress the slipper spring a few times to give it a set.
Drop the slipper spring onto the slipper shaft. Screw the slipper nut onto the slipper shaft until there is a 3.5mm gap between it and the 10×15 bearing. This is the recommended manual starting point for the slipper. ‘Set’ the slipper nut with the M3x3 set screw.
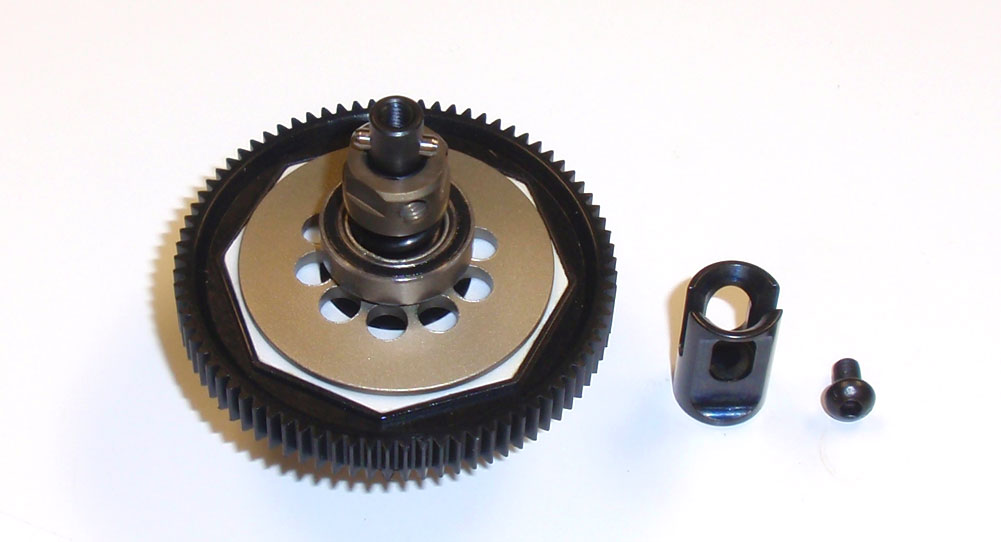
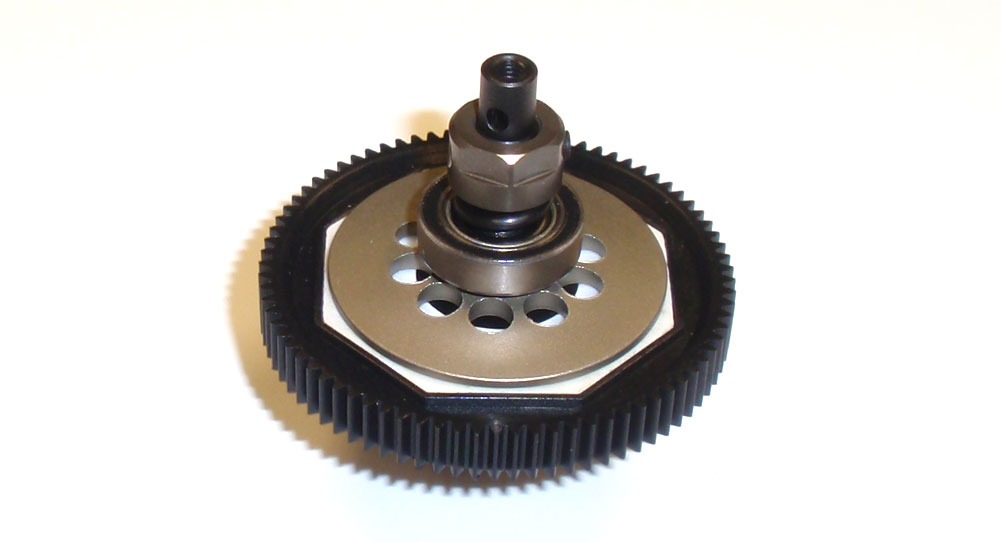
Install a short pin into the slipper shaft and slide the outdrive into place. Use the M3x5 screw (with a dab of threadlocker) to keep it all together.
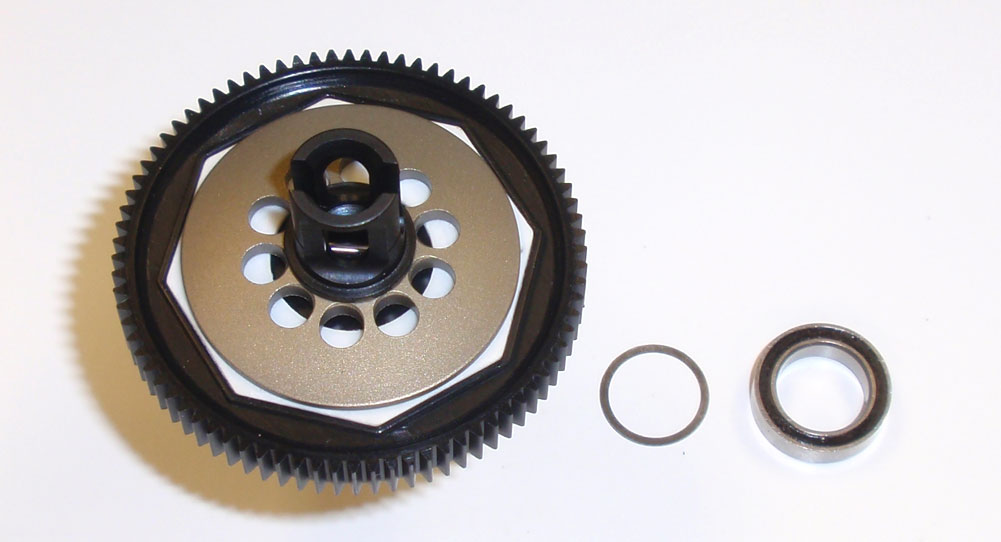
Flip the slipper assembly over and install a 10×12 washer and 10×15 bearing.

Key the CVDs to the slippers outdrives and carefully press the slipper into place. Note the longer end the slipper assembly facing the rear of the TM4.
Good job. If you rotate the slipper assembly, the whole drivetrain should spin smoothly.


