We wet your appetite with a Team Durango DESC10 kit unboxing photo gallery a little while back where we showed you how nicely the DESC10 comes packaged with many of its components partially assembled. Well we’ve been busy since then assembling the kit and taking photos along the way. The kit goes together well, but we did come up with some build notes along the way. If you’re ready to build your kit, sift through our notes below to help you along in your build.
BUILD NOTES
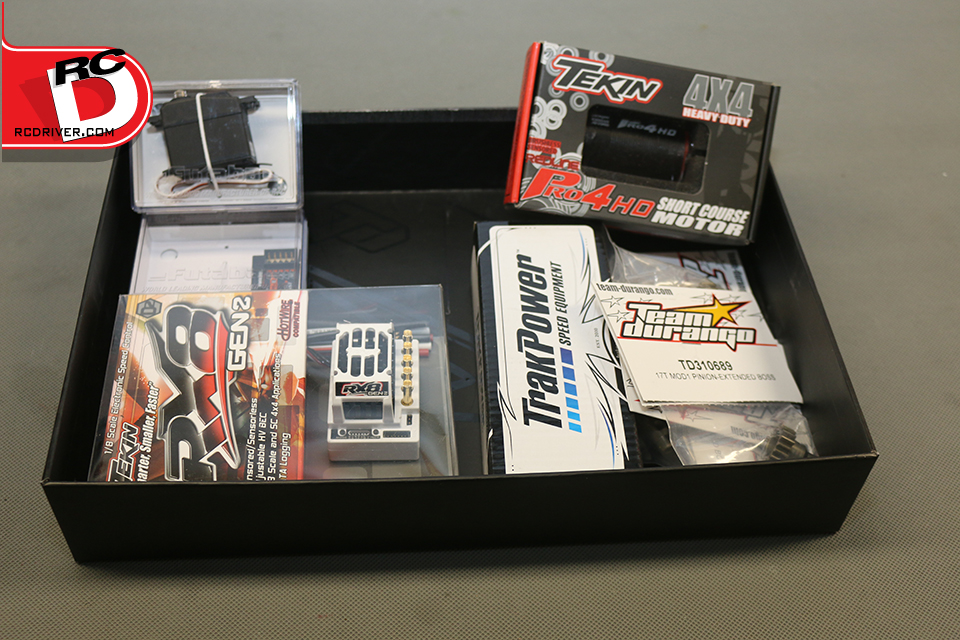
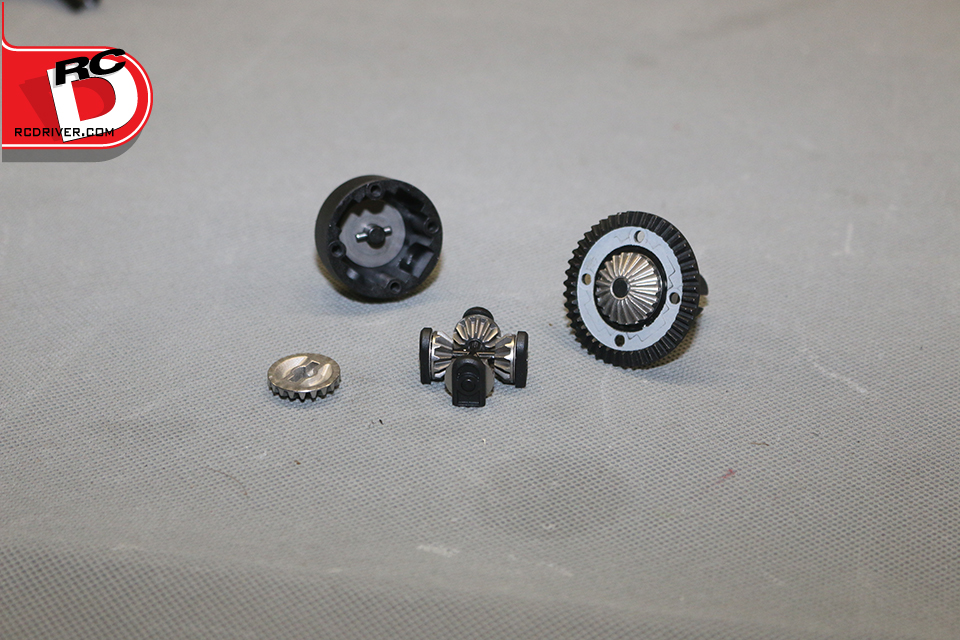
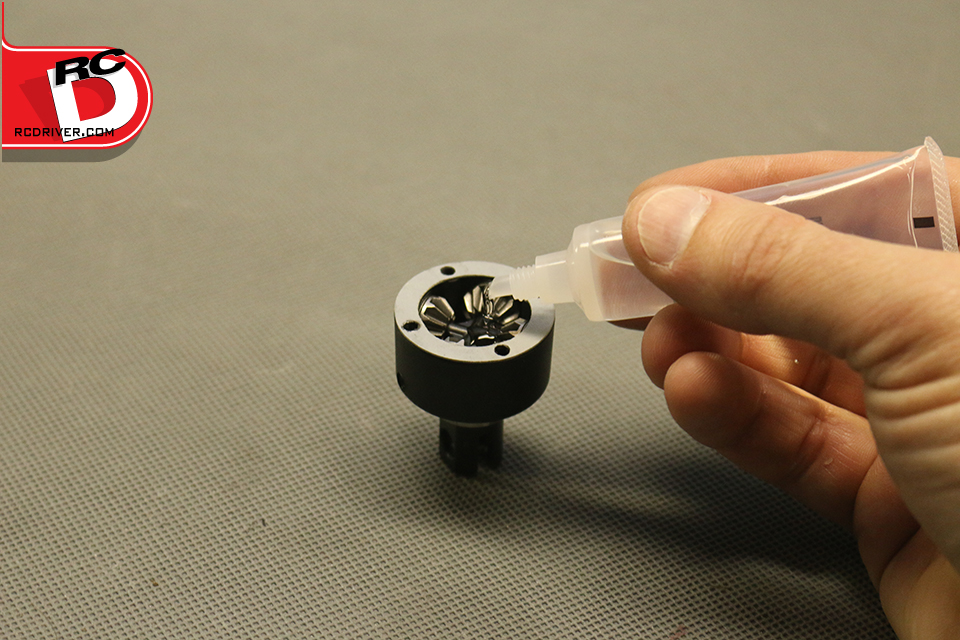
– Take note of the required items page the moment you purchase this kit. We were a bit surprised to see the diff and shock fluids were not included. Luckily we had the oils on hand since step 1 requires you to disassemble the diffs and fill them with oil.
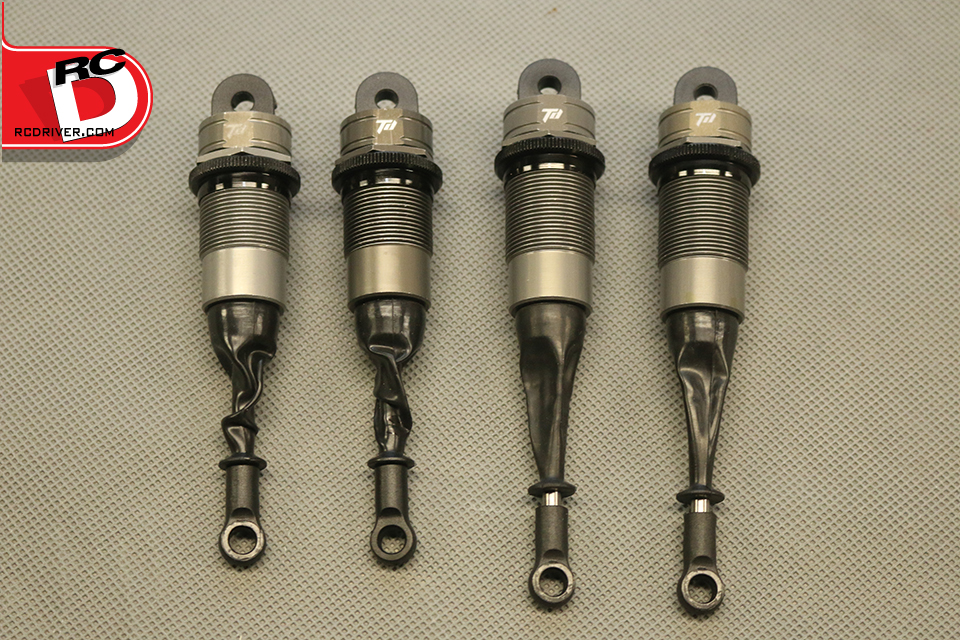
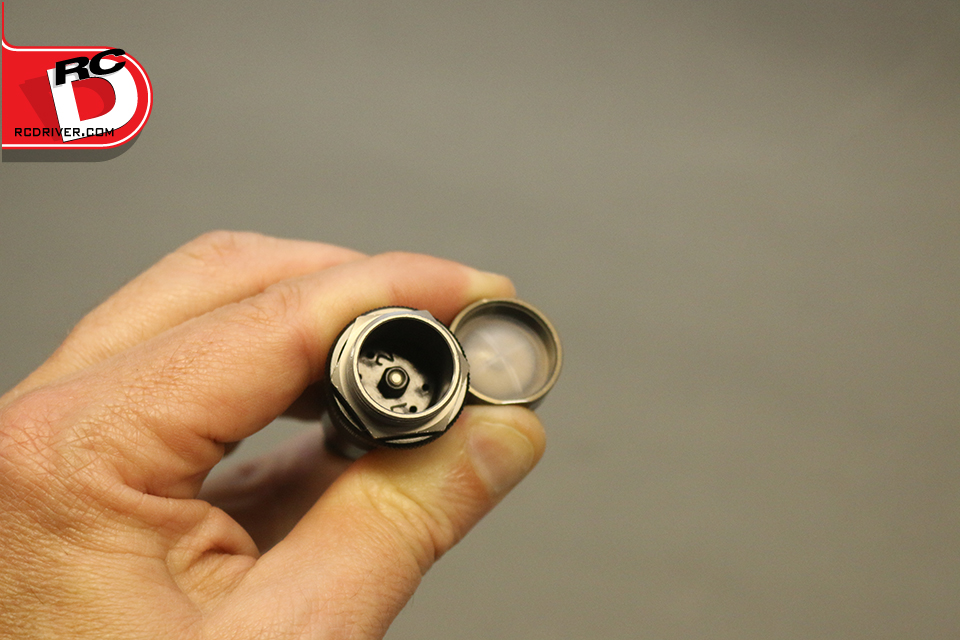
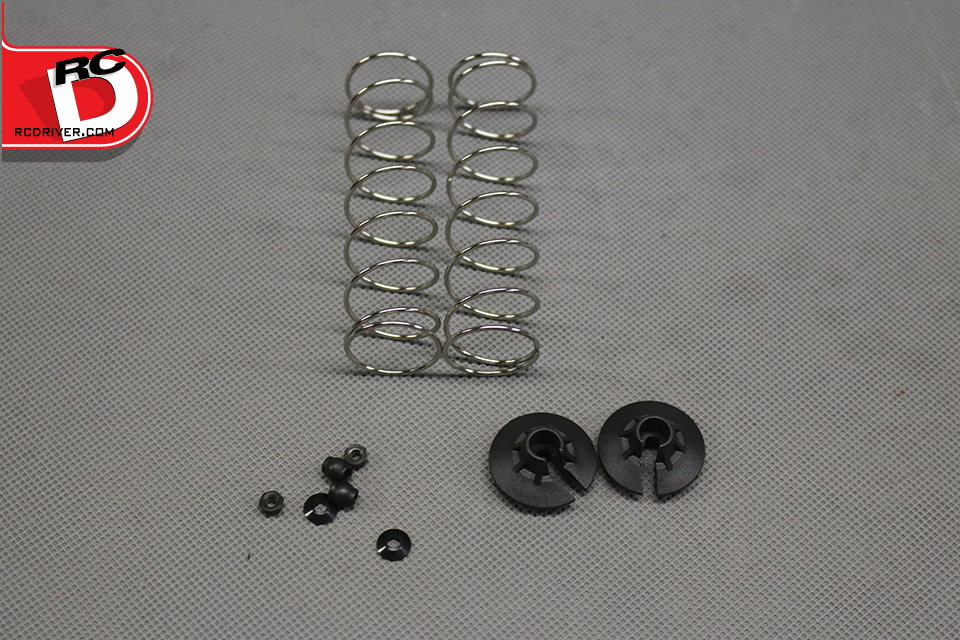
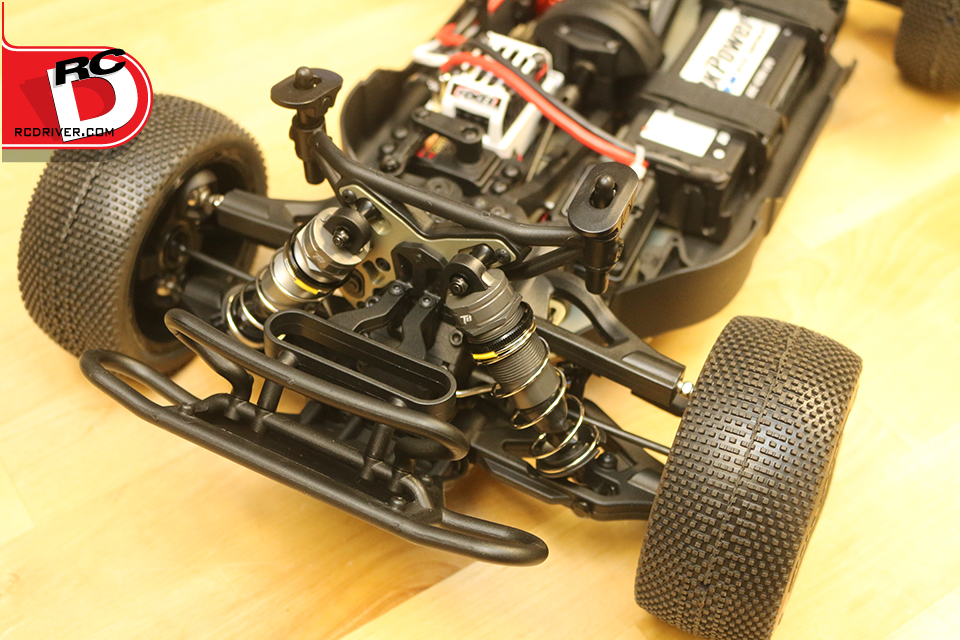
– In step 3, inspect your shock bladders. One of ours had a hole in it and needed to be replaced. Note there is an option bag in the box (Bag 103) that includes volume compensating foams to go above the shock bladder and cap screws. We built our kit following the instructions, but you might want to try using the foam if you want to alter rebound consistency.
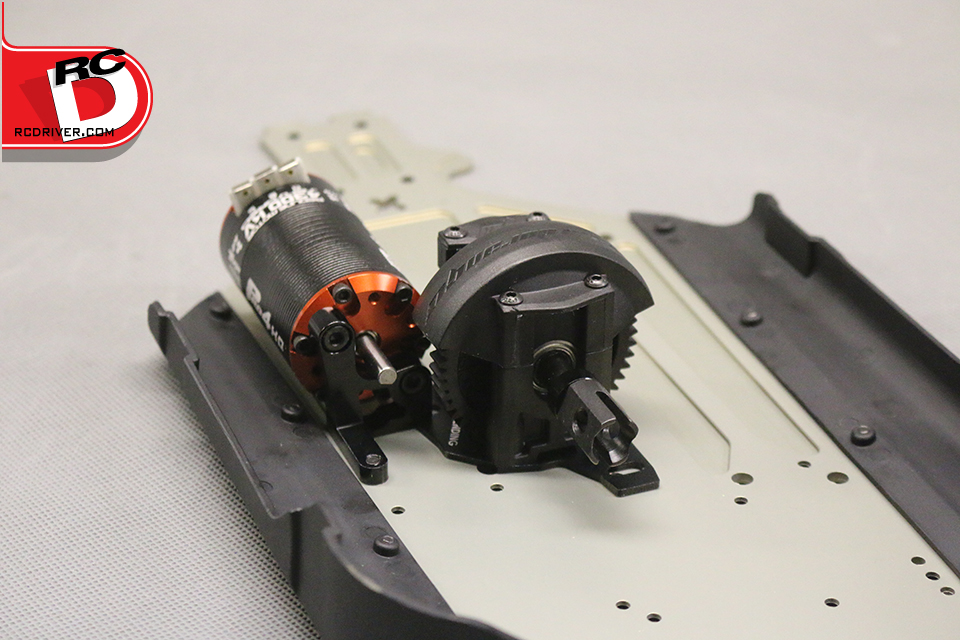
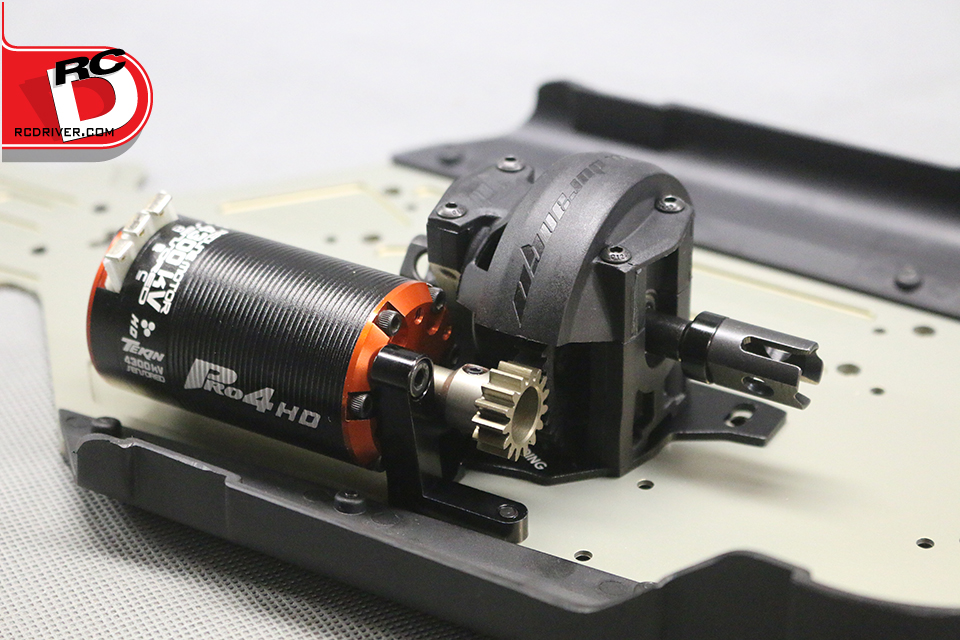
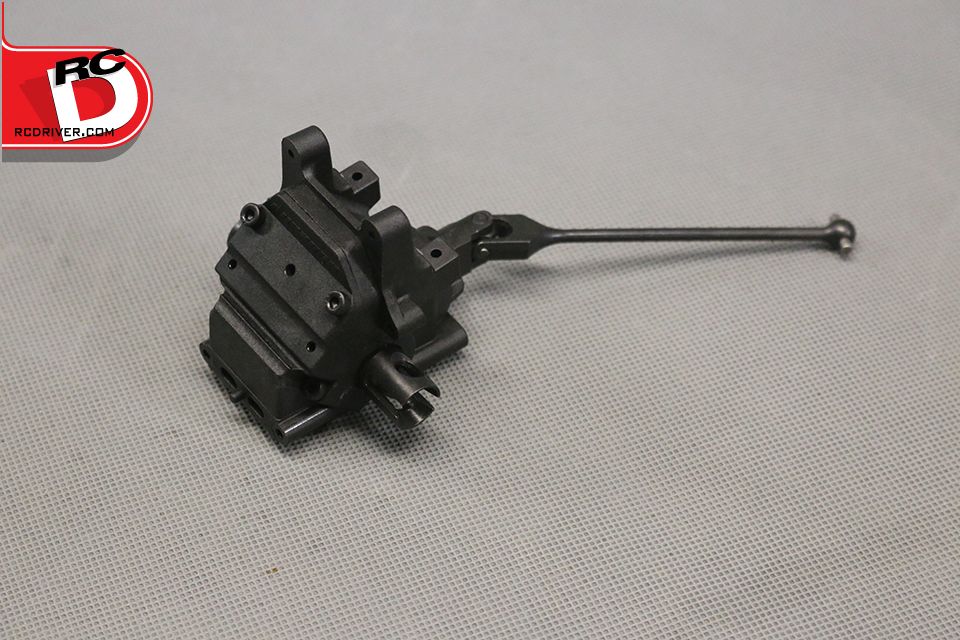
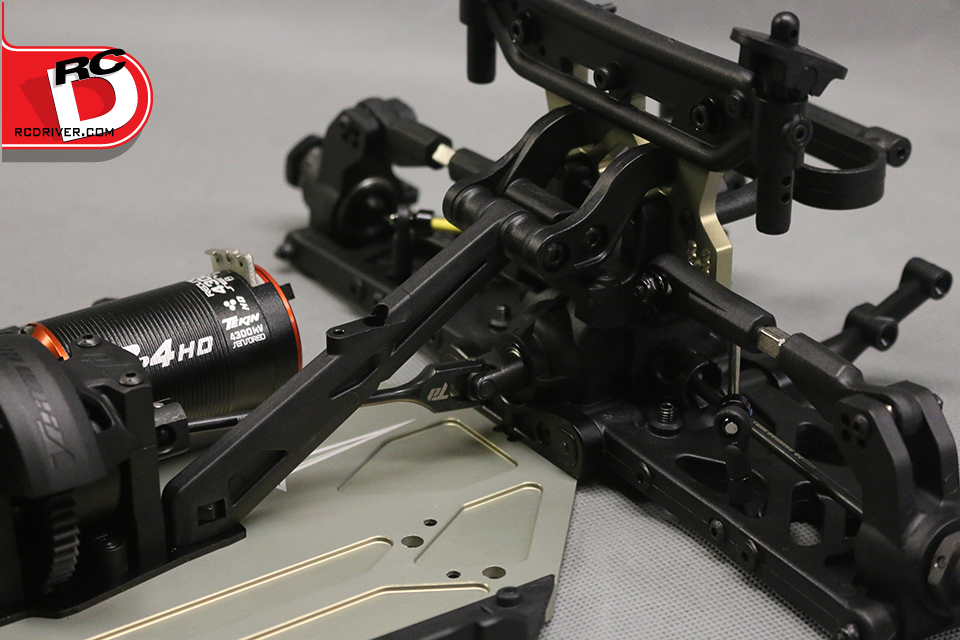
– In step 8 and 17, TD does not indicate to use grease on the gears, but I’d suggest you apply some black grease to the ring and bevel pinon gears.
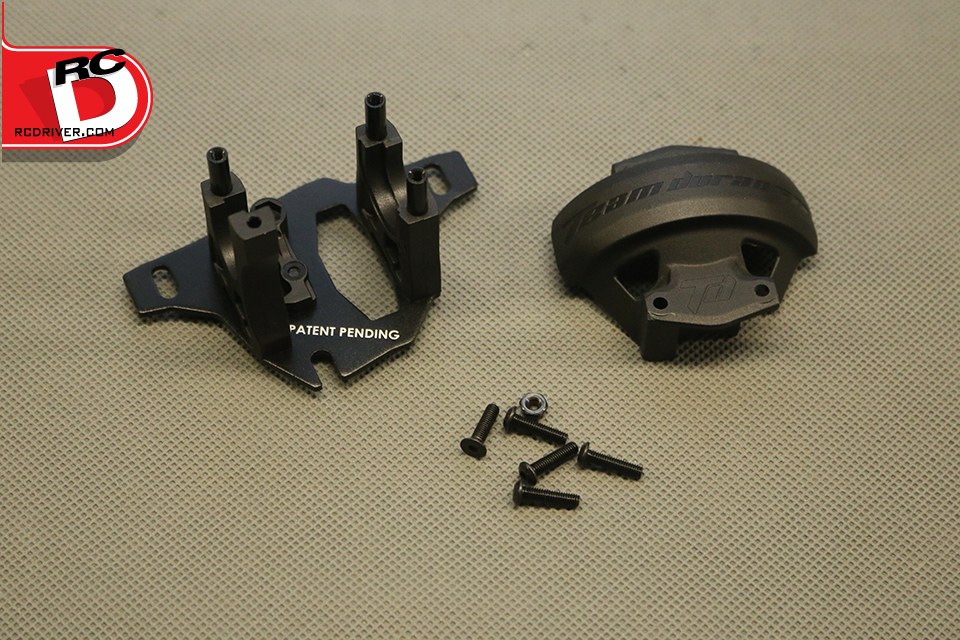
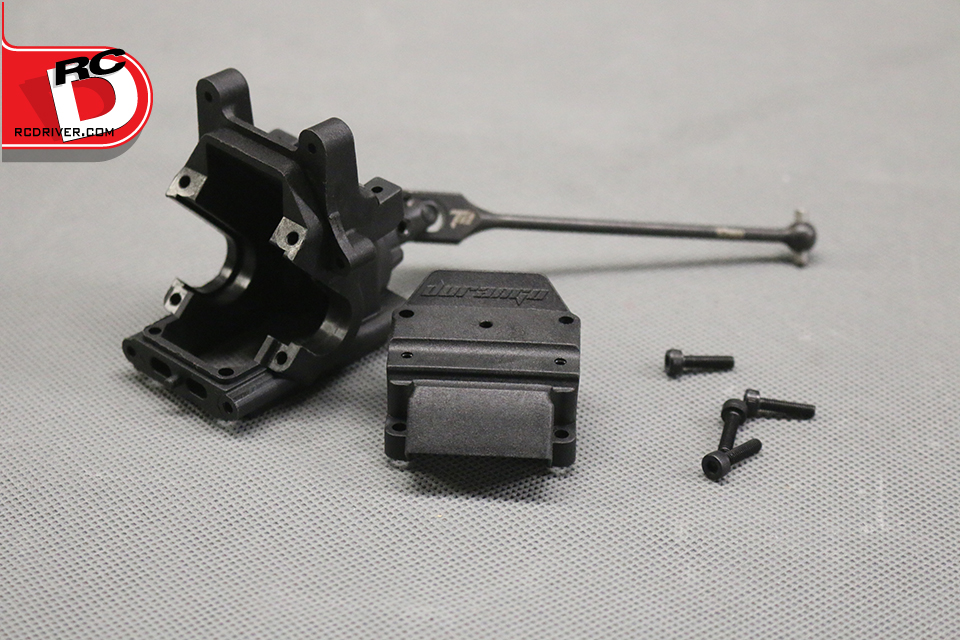
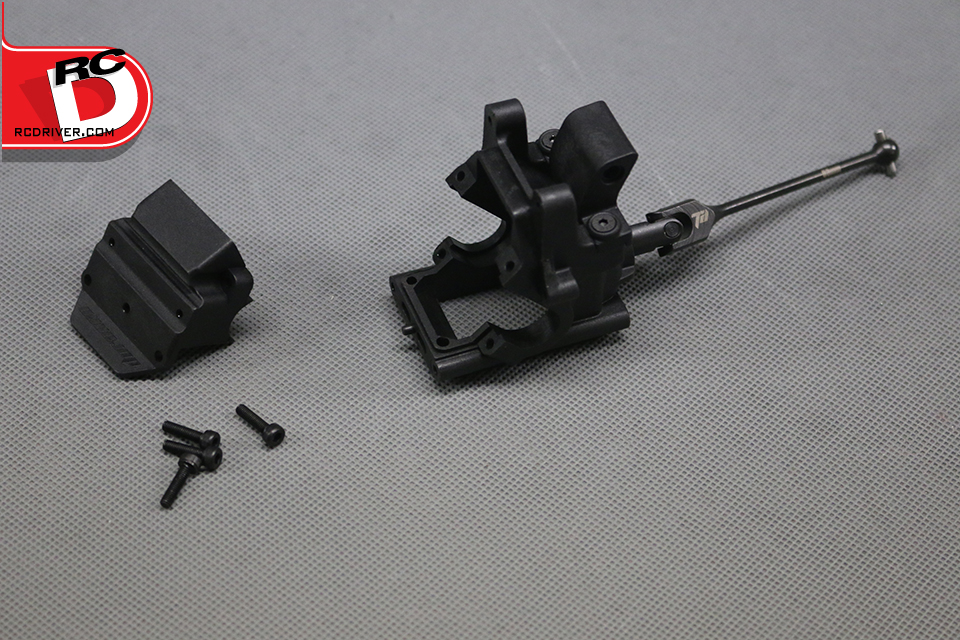
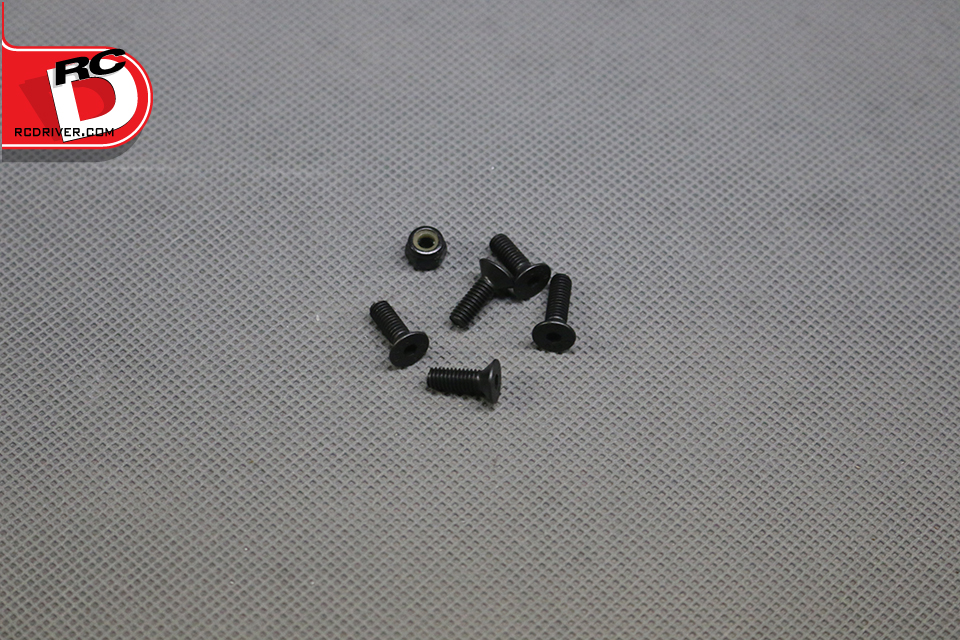
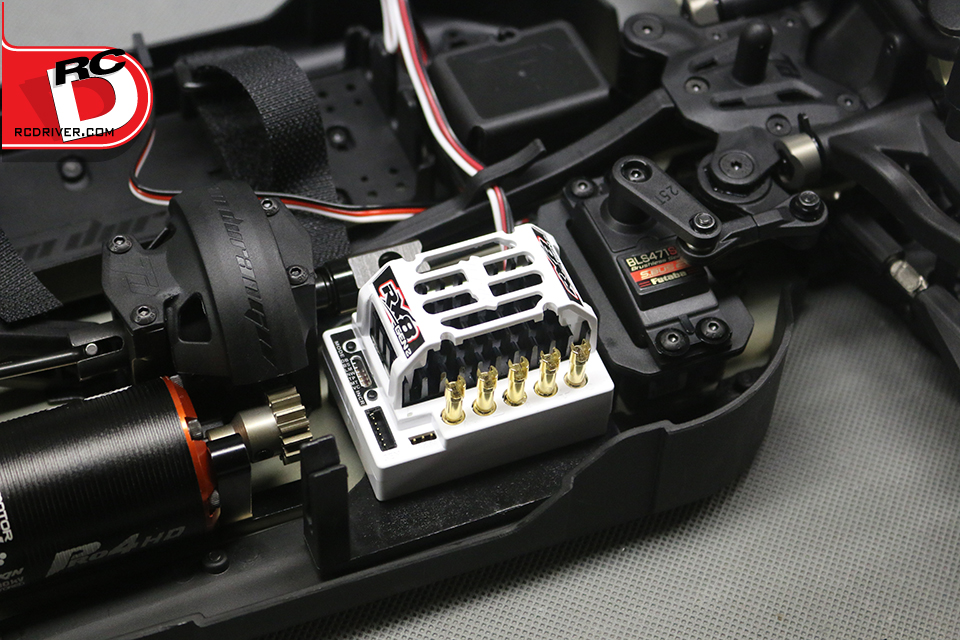
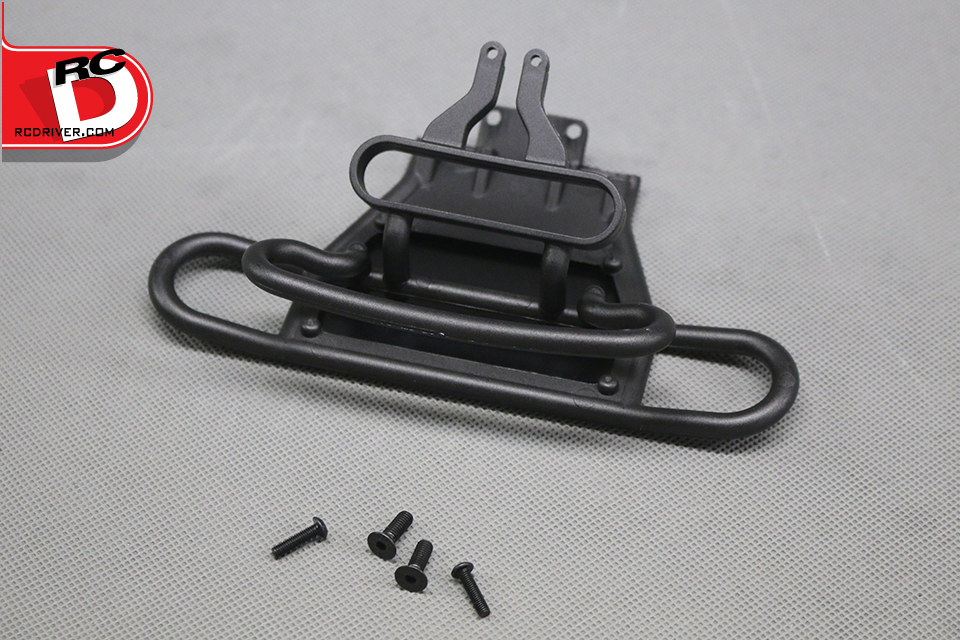
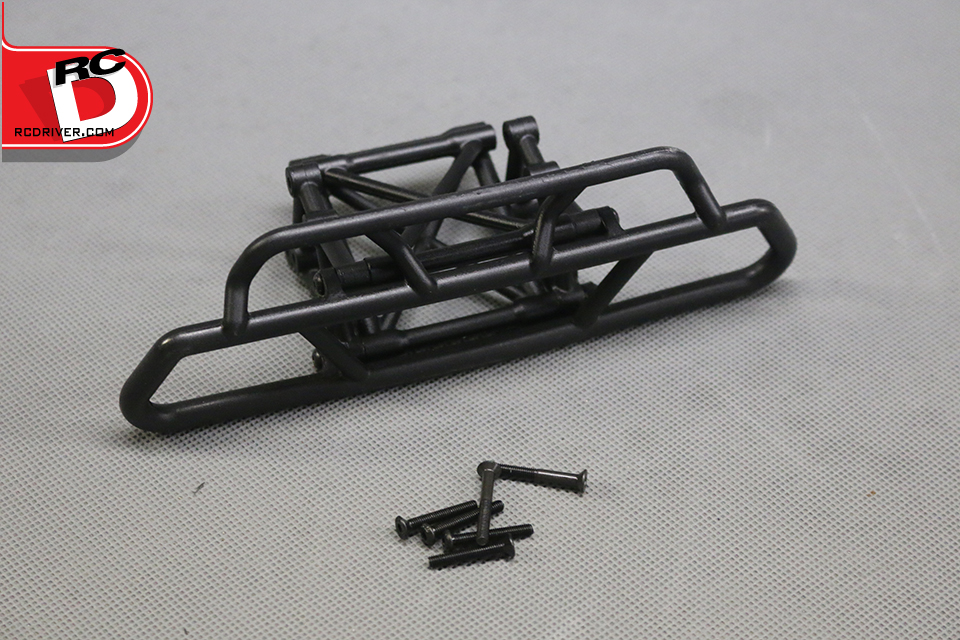
– When going through the steps, Team Durango will show what hardware you need to use for that particular step in the legend. Unfortunately if several different sizes of hardware are used in the same step, they don’t indicate what hardware goes where. So for example in step 6, you use two M4x8 and one M4x12 screw to secure the motor mount. If you look hard you’ll be able to see in the drawing that the M4x12 screw goes into the mount where the milled step is. On step 9, the short M3x8 screw mounts the bumper brace to the gearbox. Study the photos very carefully to determine where the hardware goes.
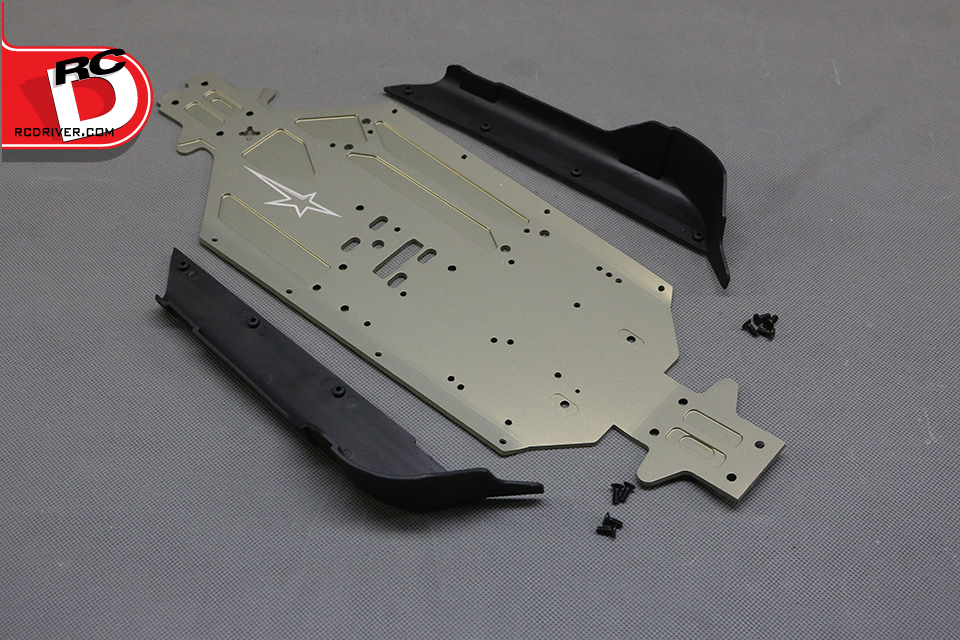
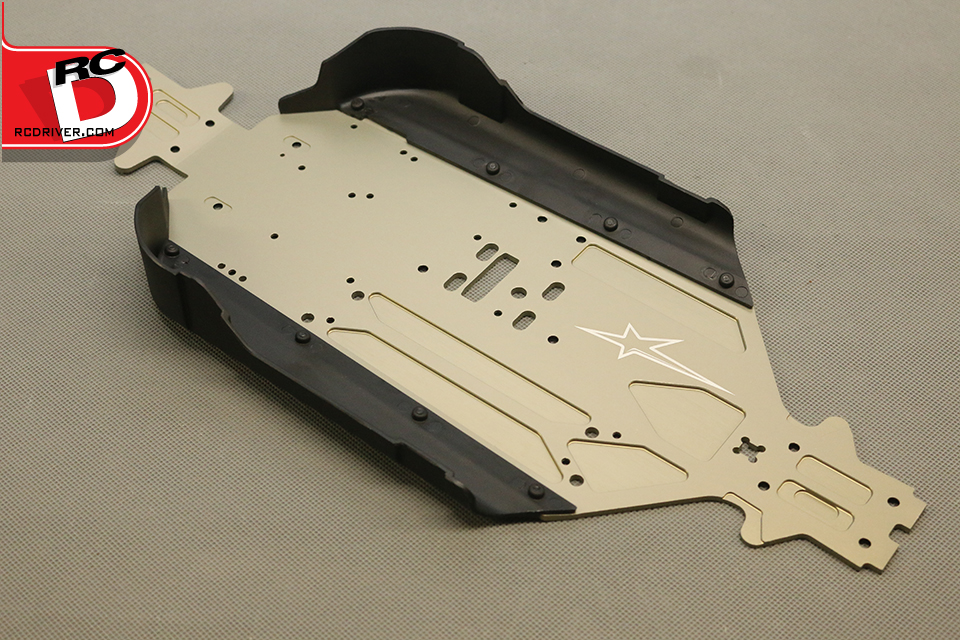
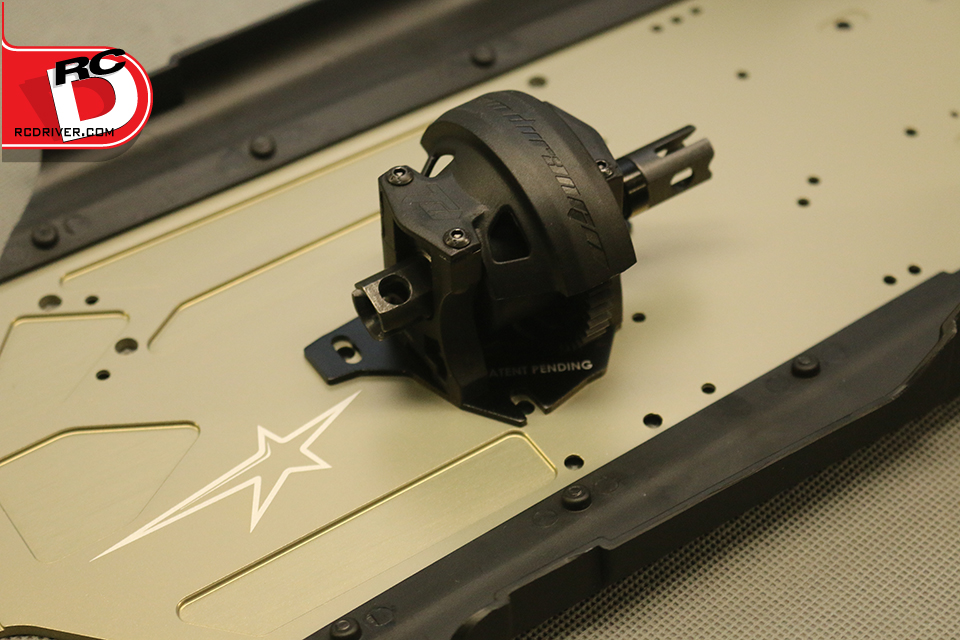
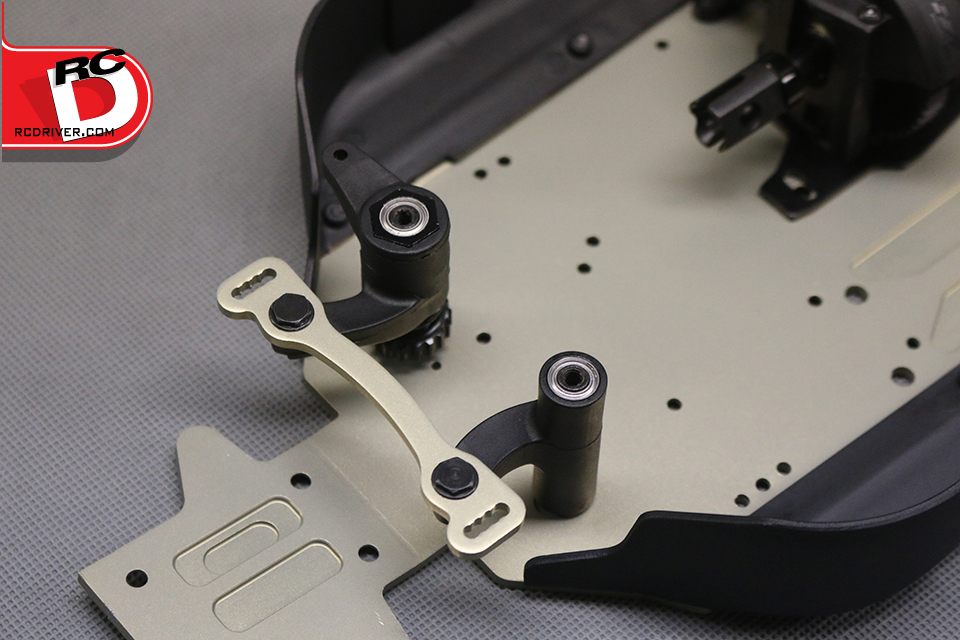
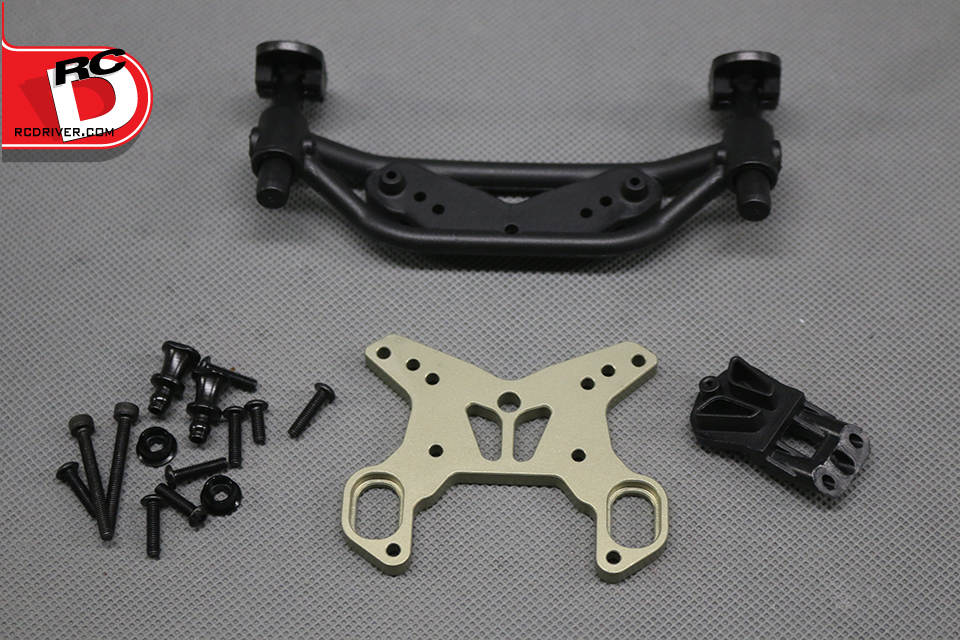
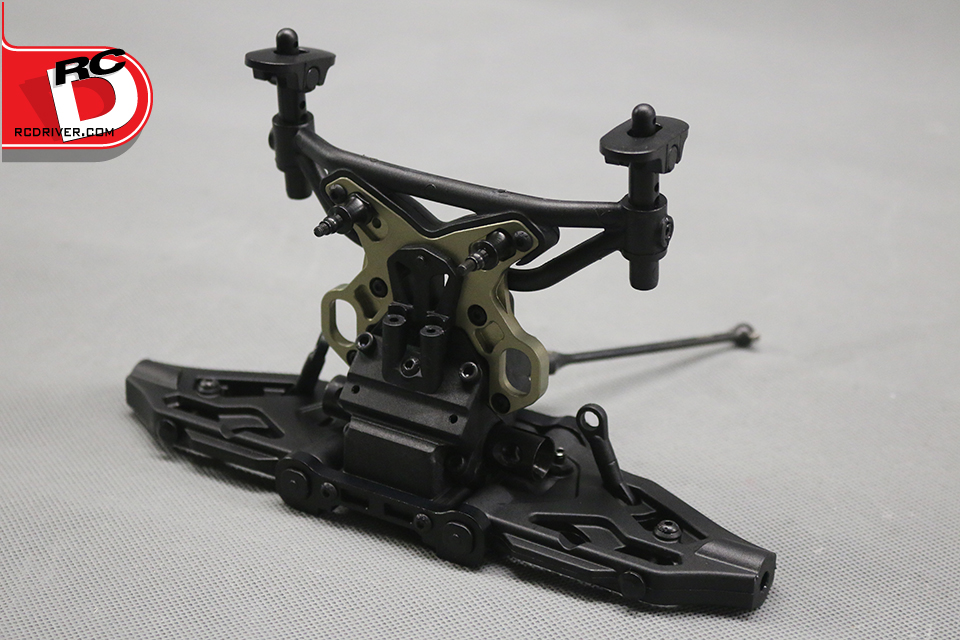
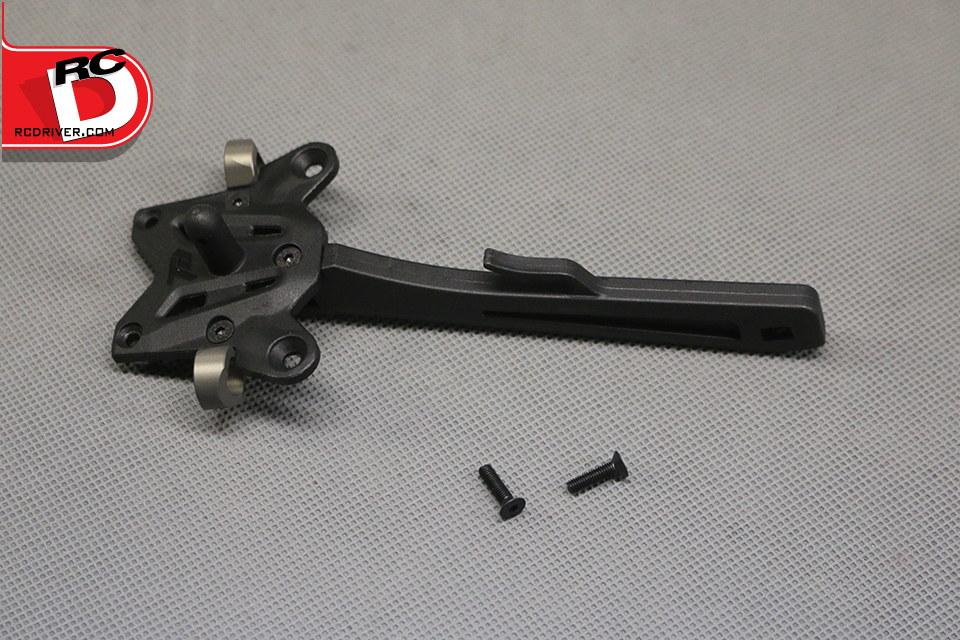
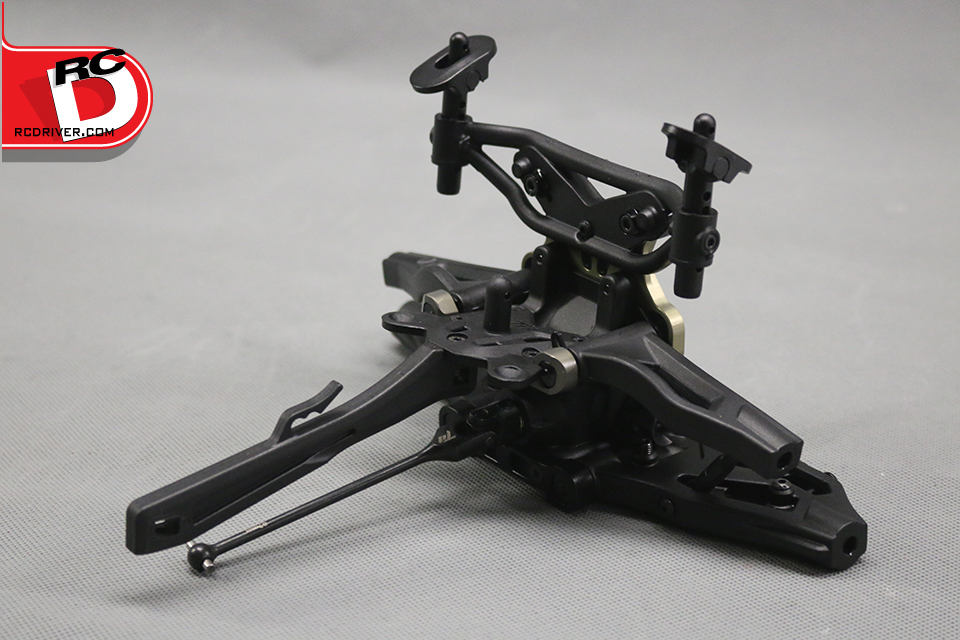
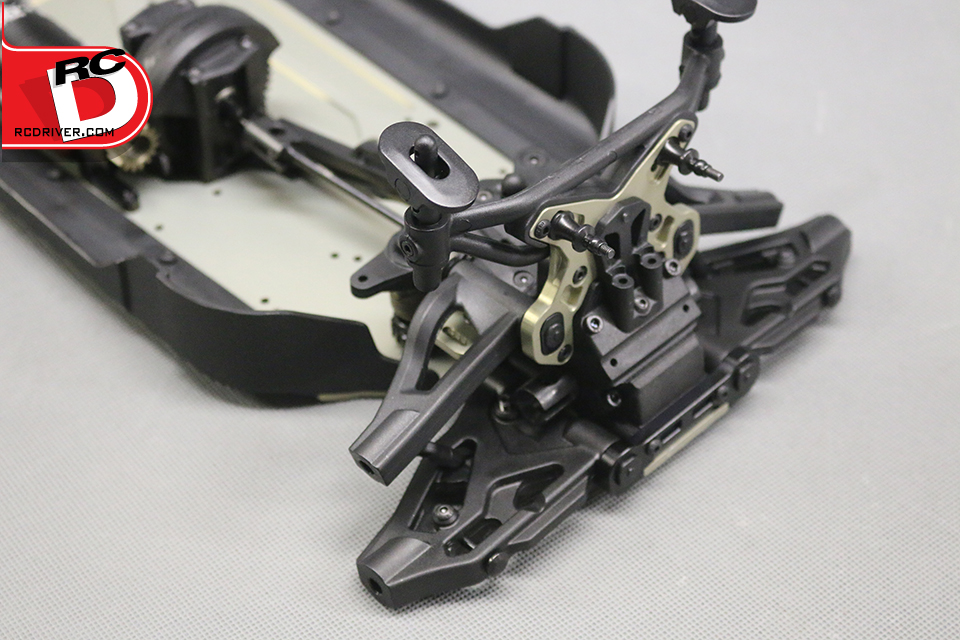
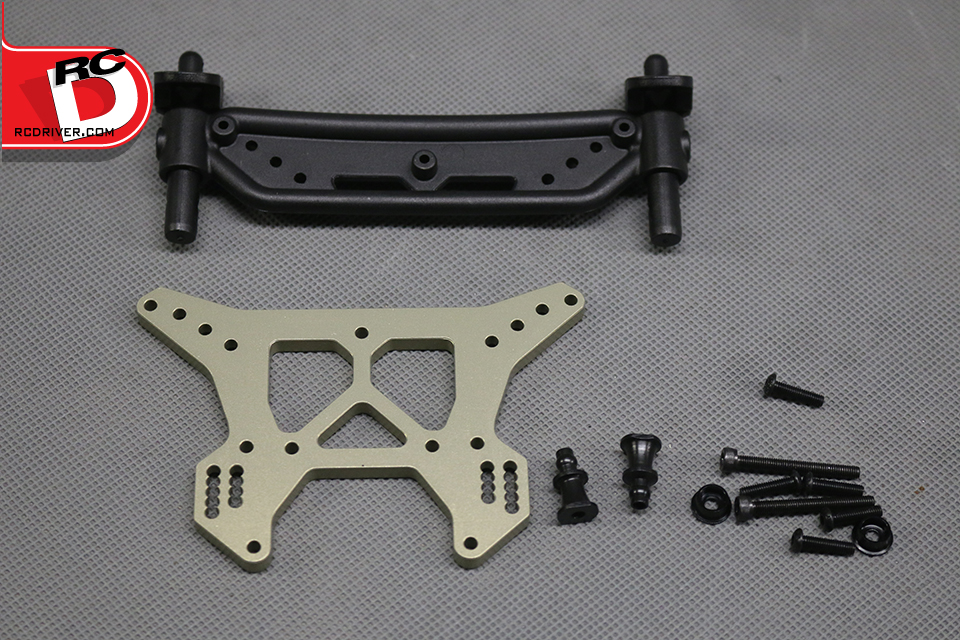
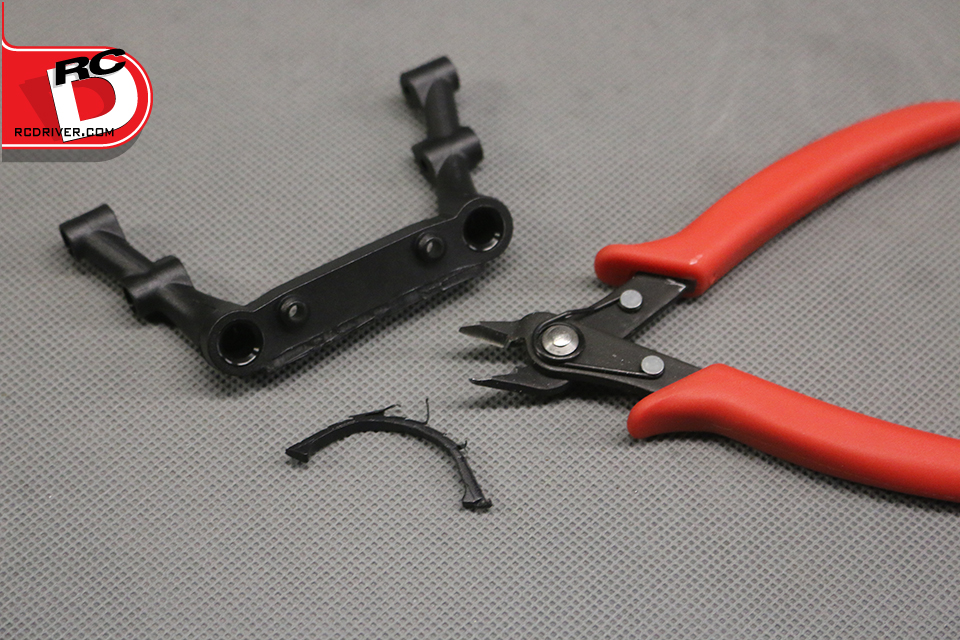
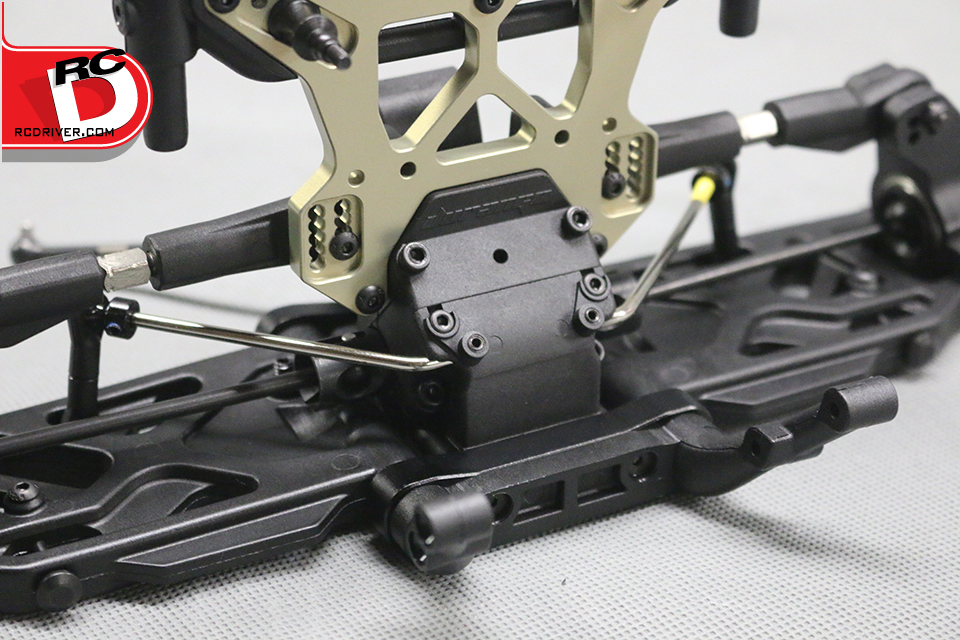
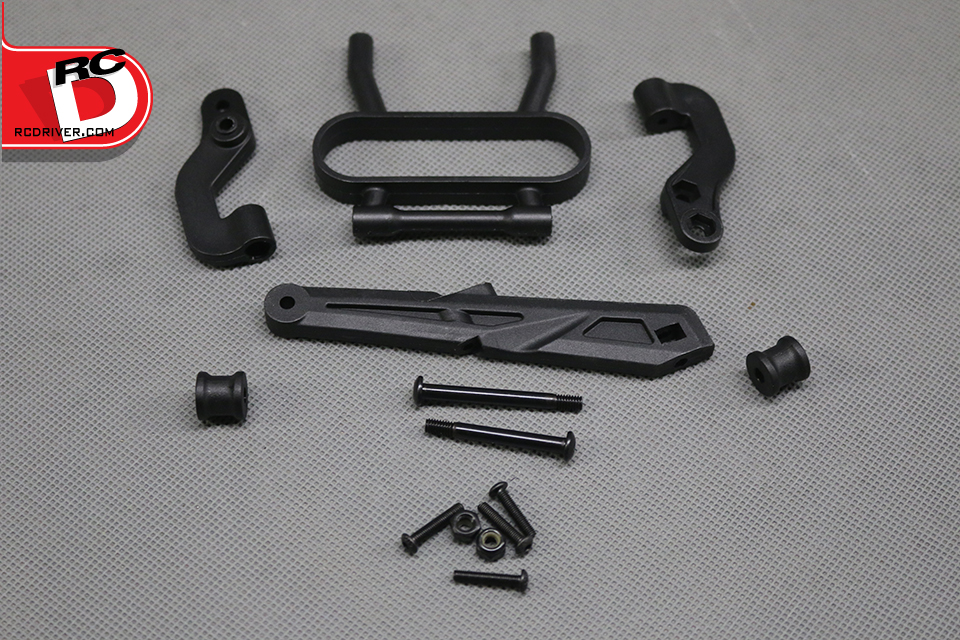
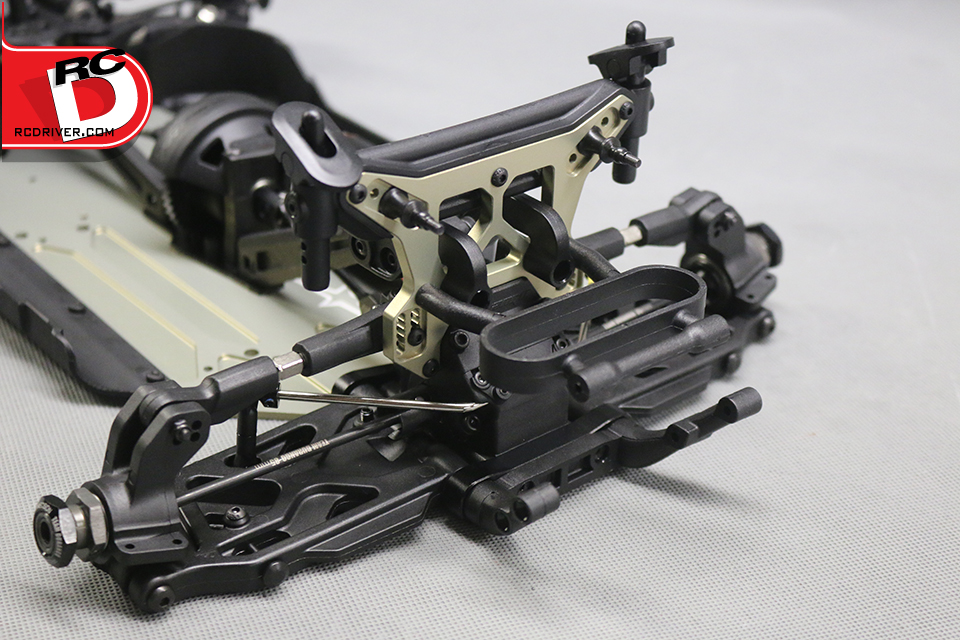
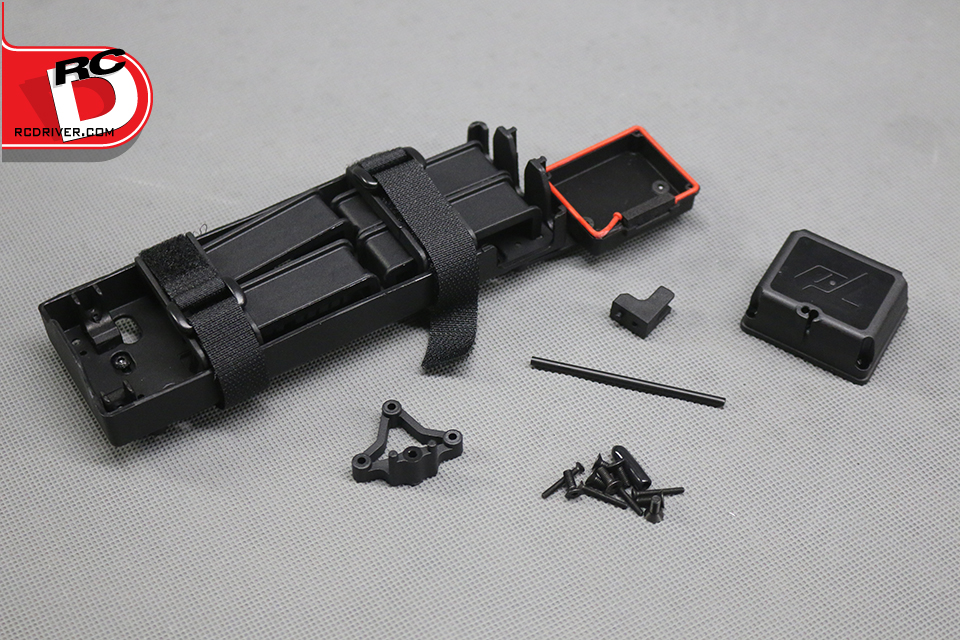
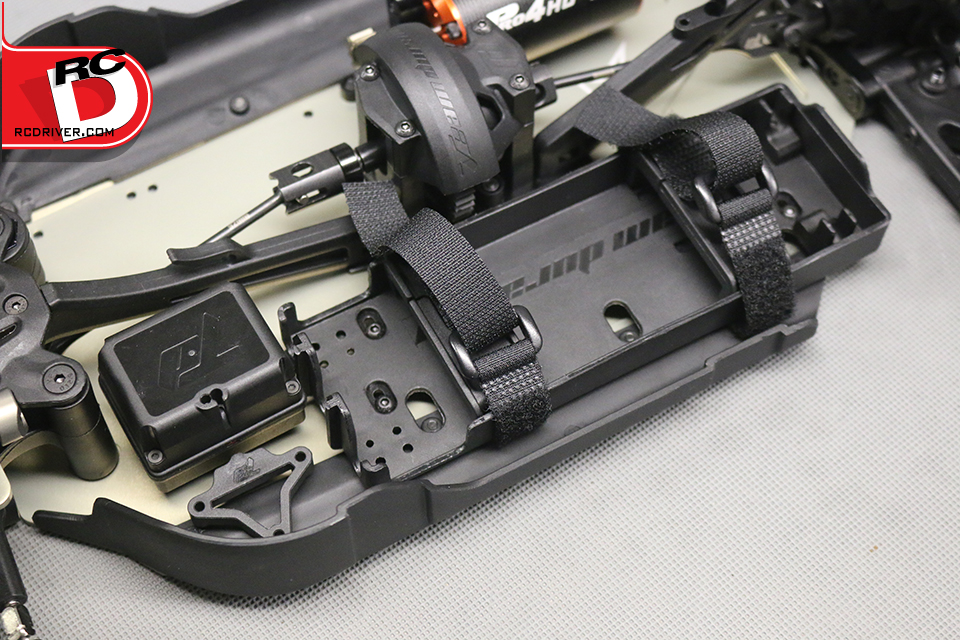
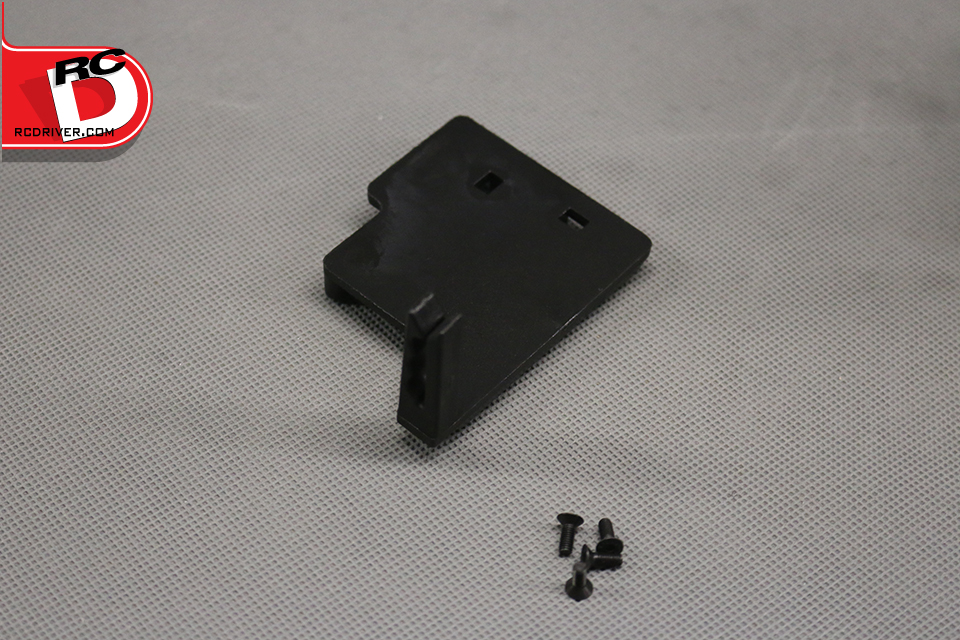
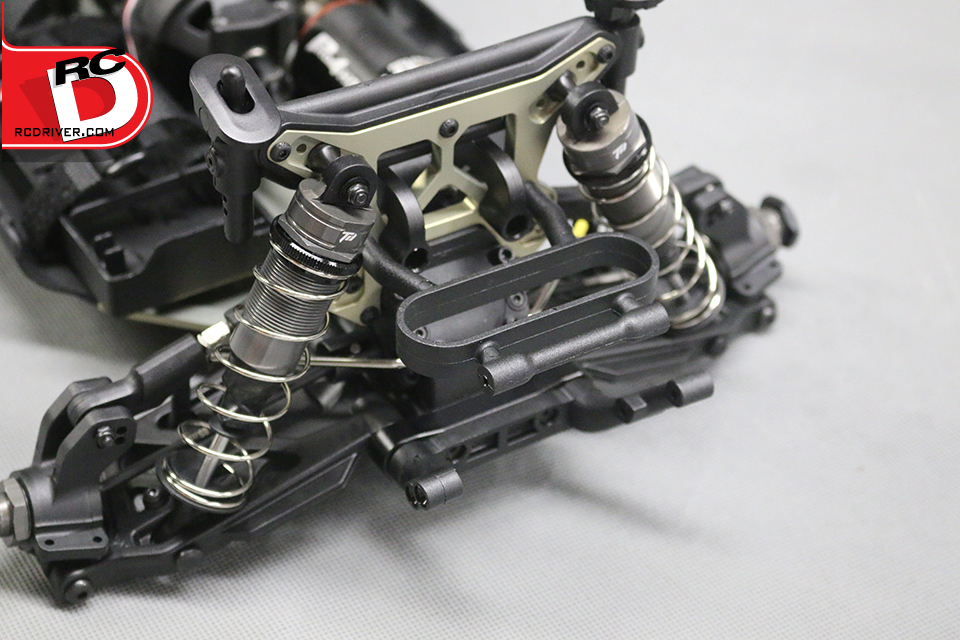
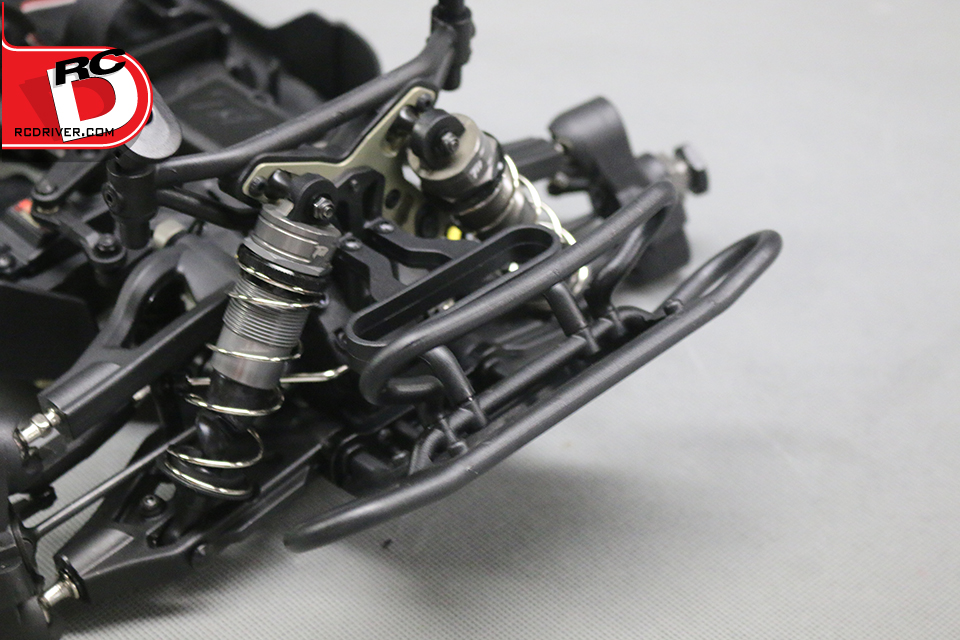
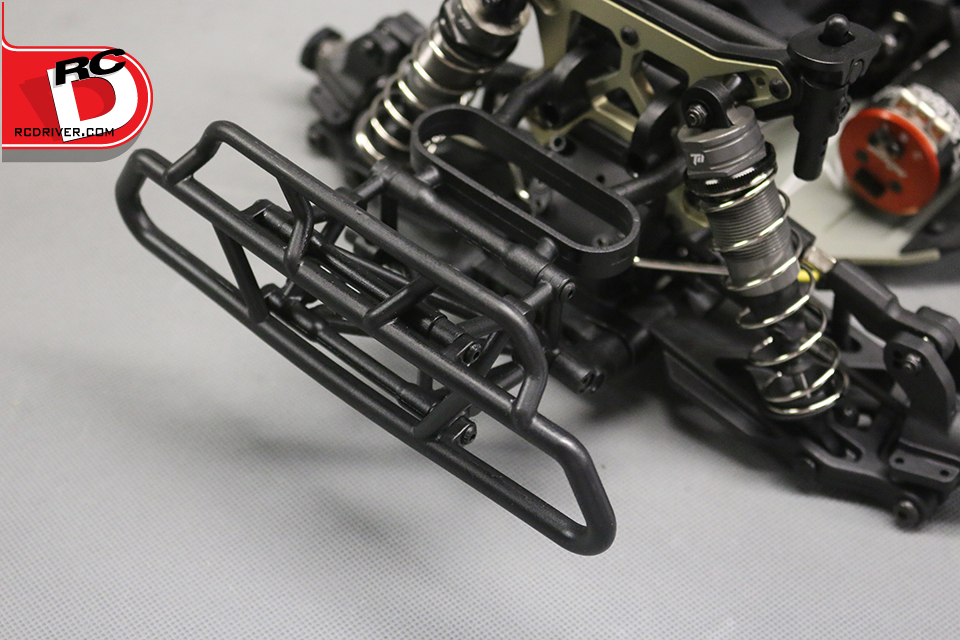
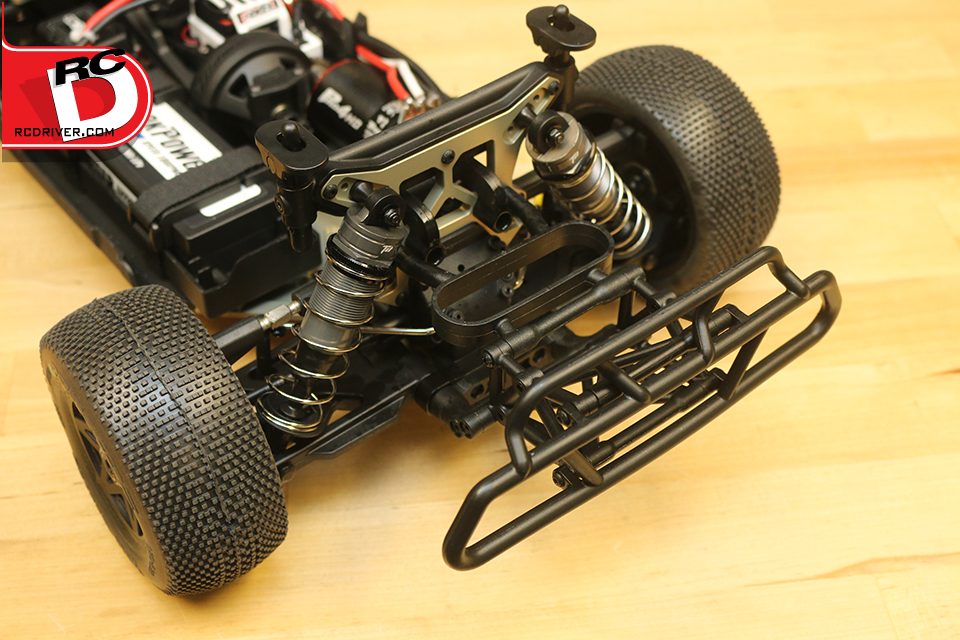
– When I went to assemble the rear arm pivot and bumper in step 19 there was a decal on the bag that indicated removing a tab on the bumper plate. You’ll see the photo of the removed tab below in the gallery.
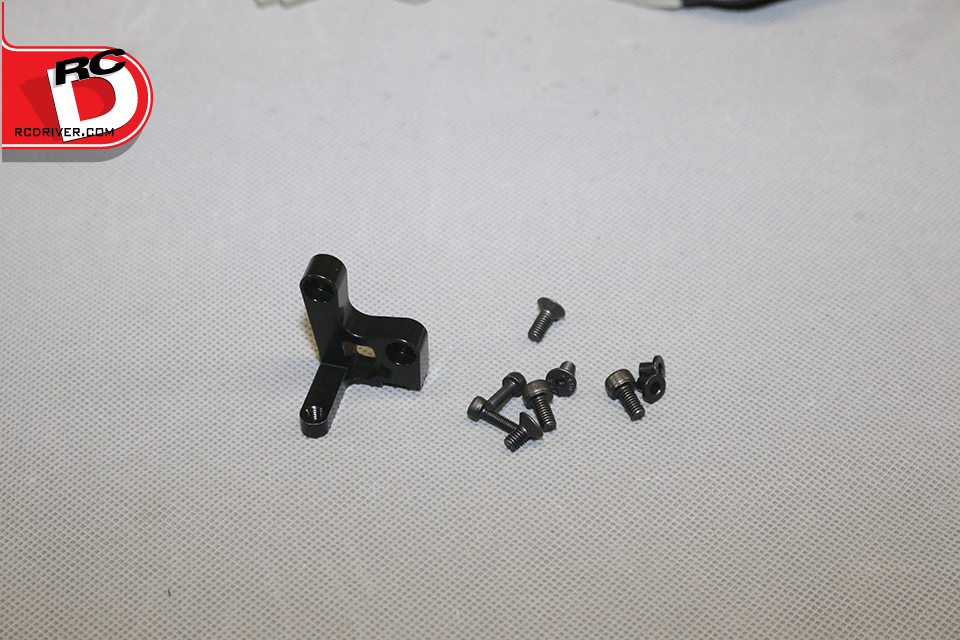
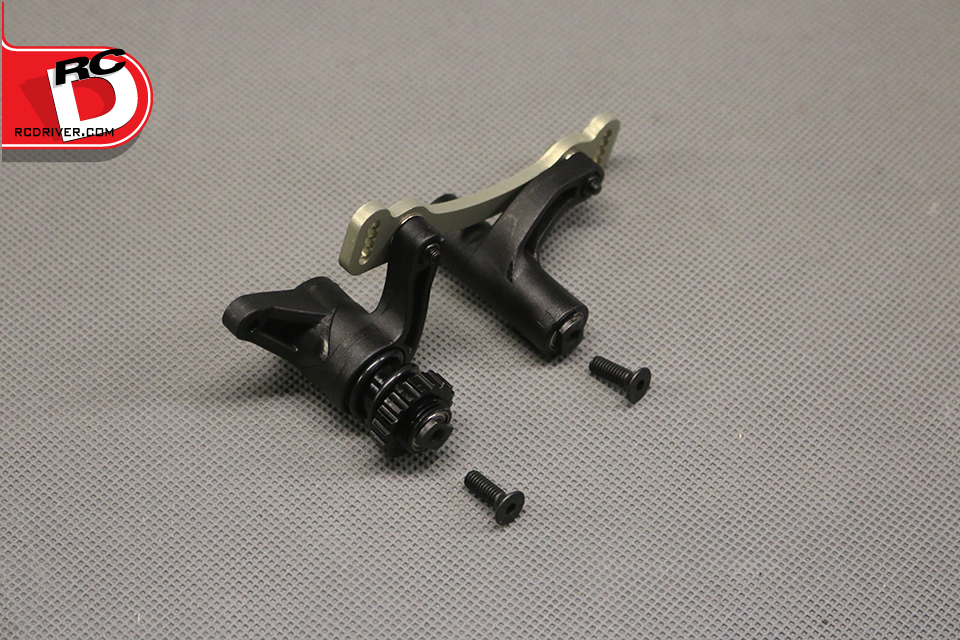
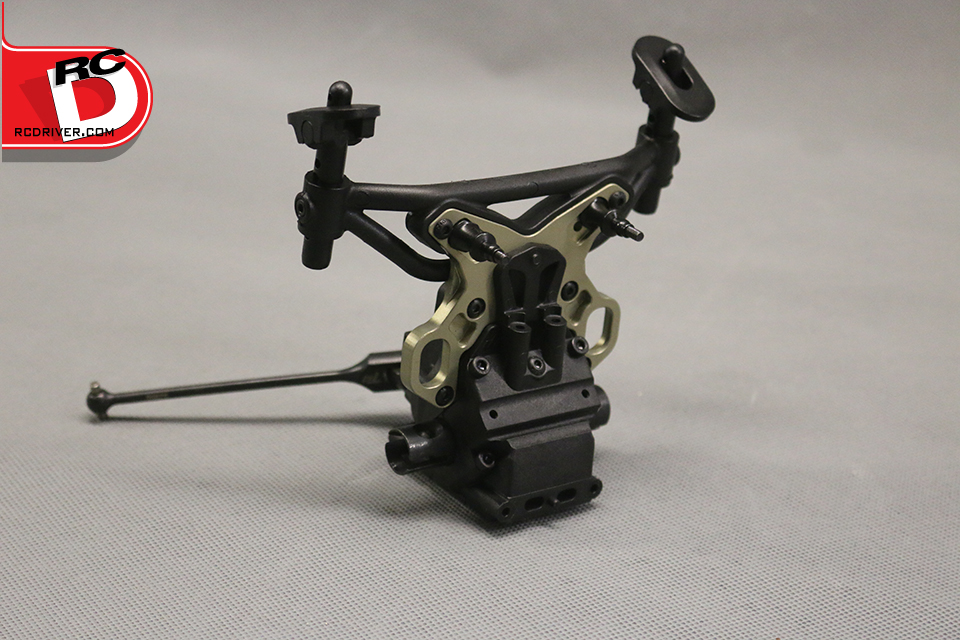
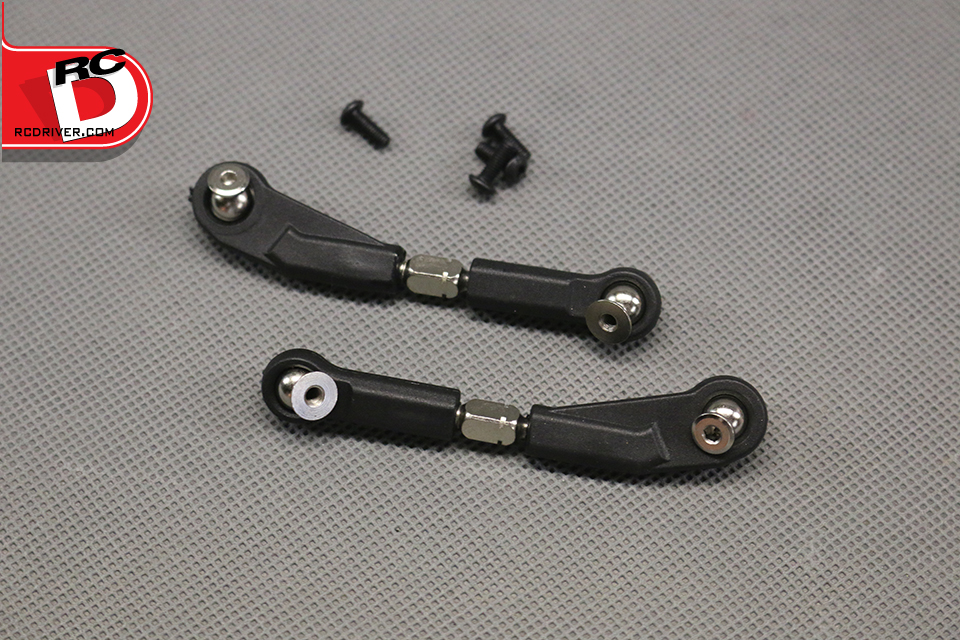
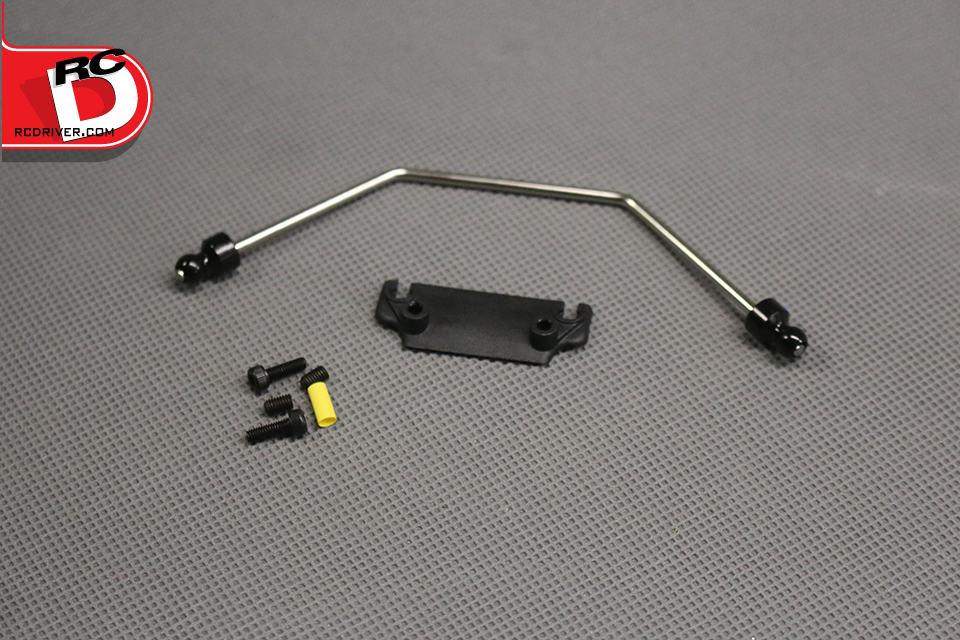
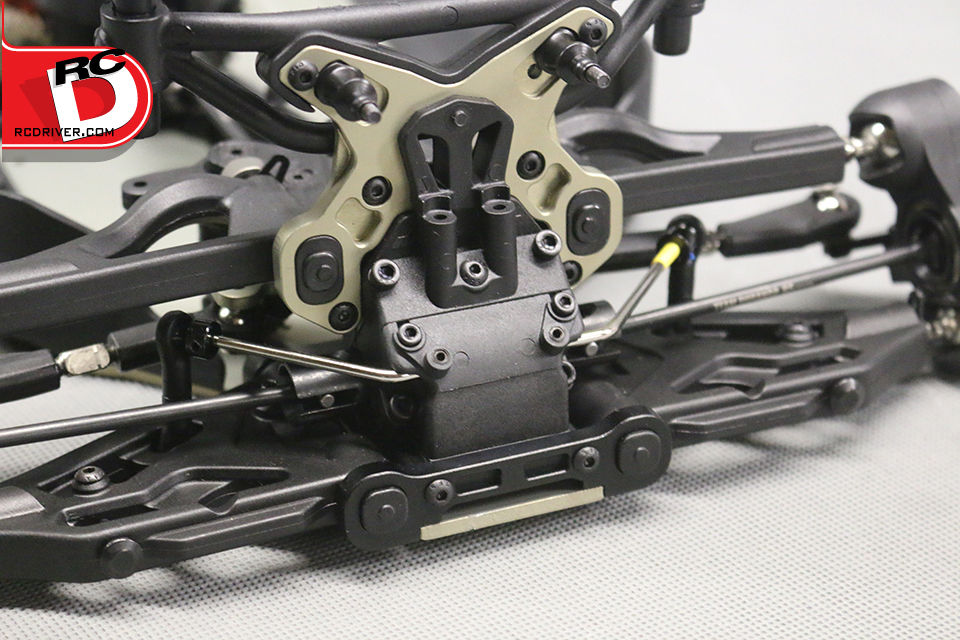
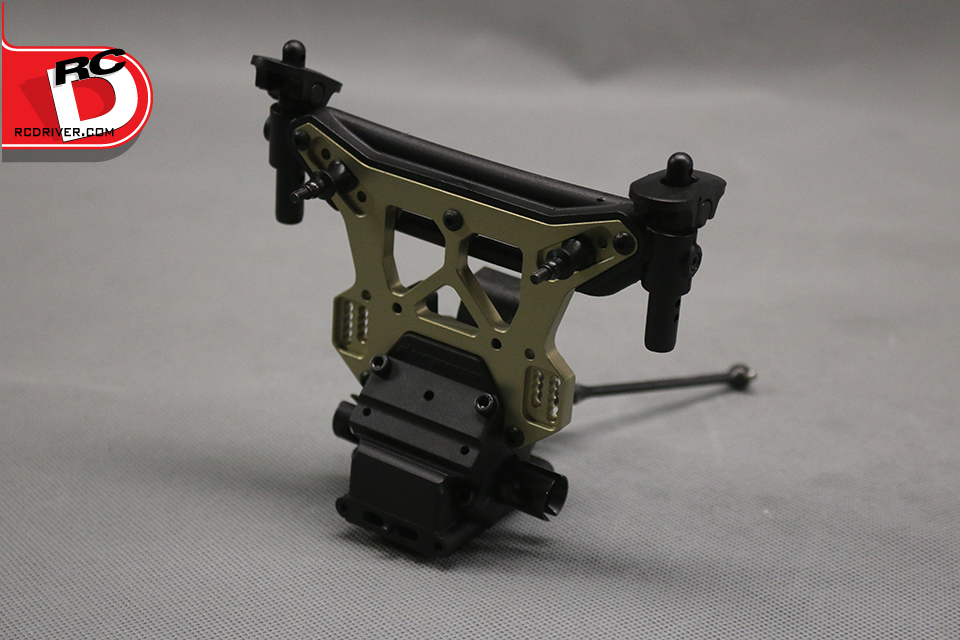
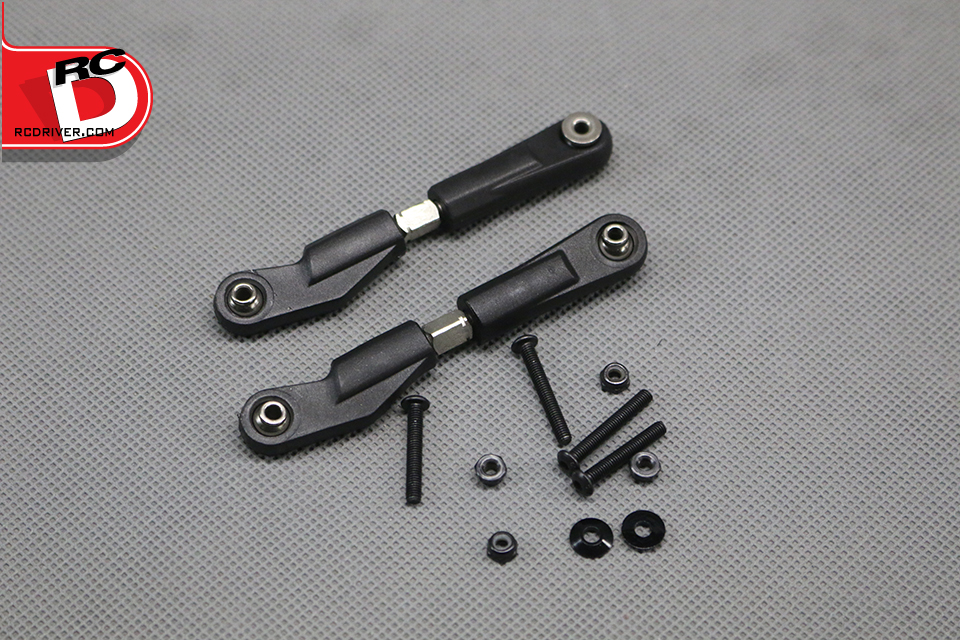
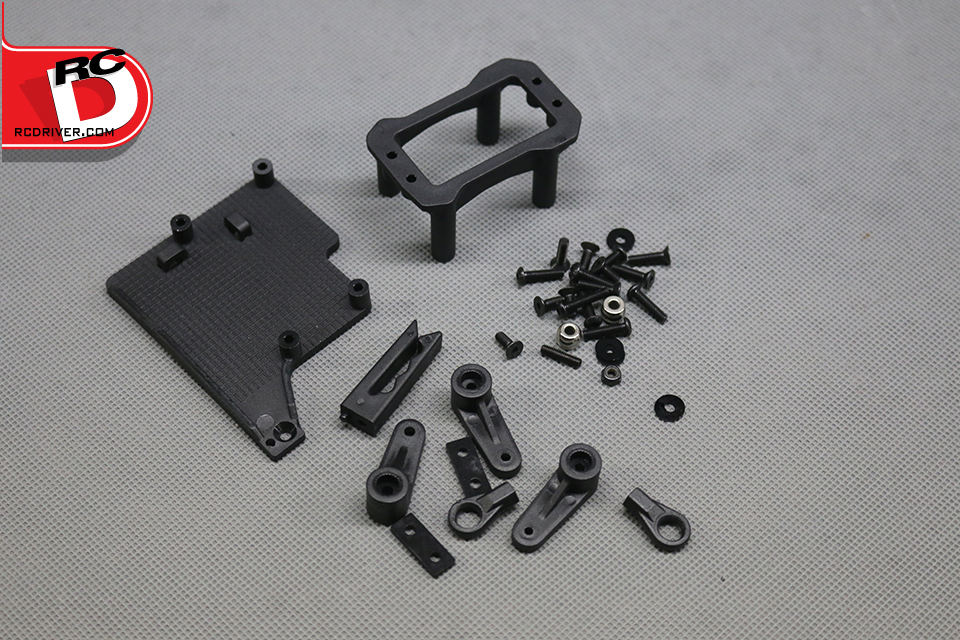
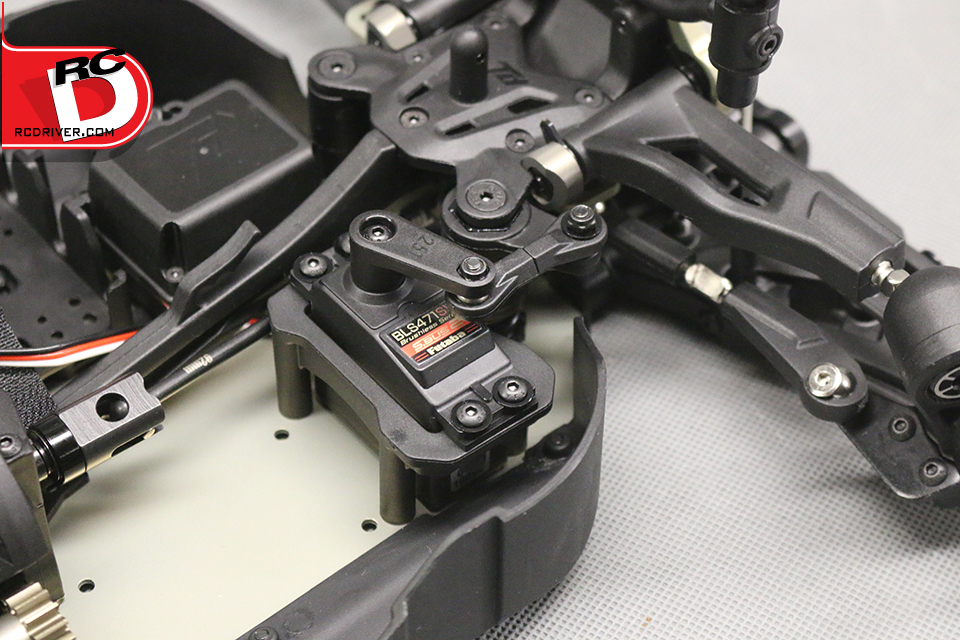
– Step 25 shows assembling the steering link and horn. The short link is not assembled so you’ll need to use the set-screw to mate up the two rod and and press the pivot balls into the ball ends. Also pay close attention to how you install the servo into its mount, the larger tabs on the top of the mount should face outside of the chassis.
– If you need help sourcing the 17mm hex SC type rims, you can check out the offerings from DE Racing and Arrma.
WRAP-UP
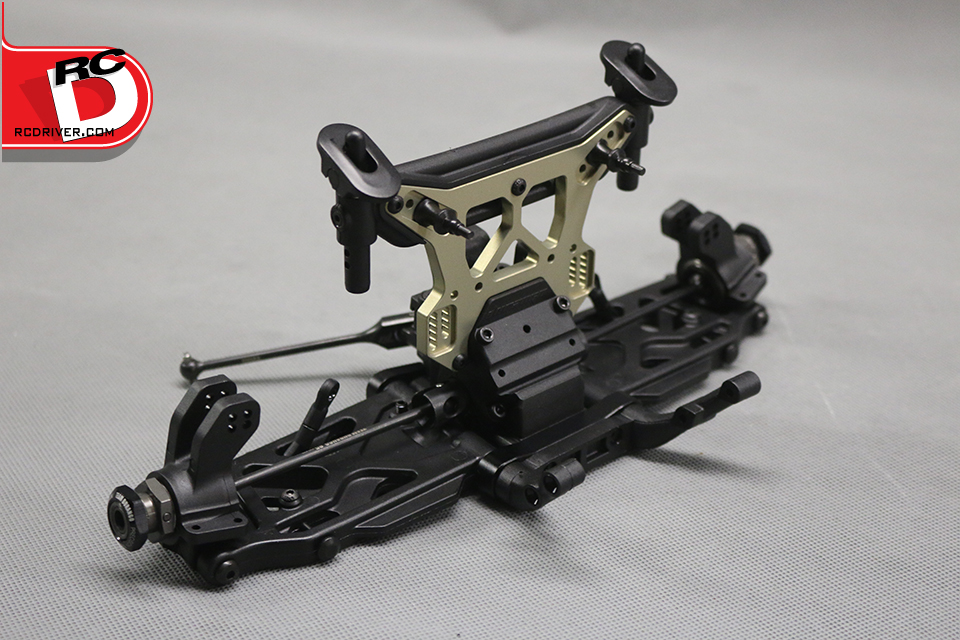
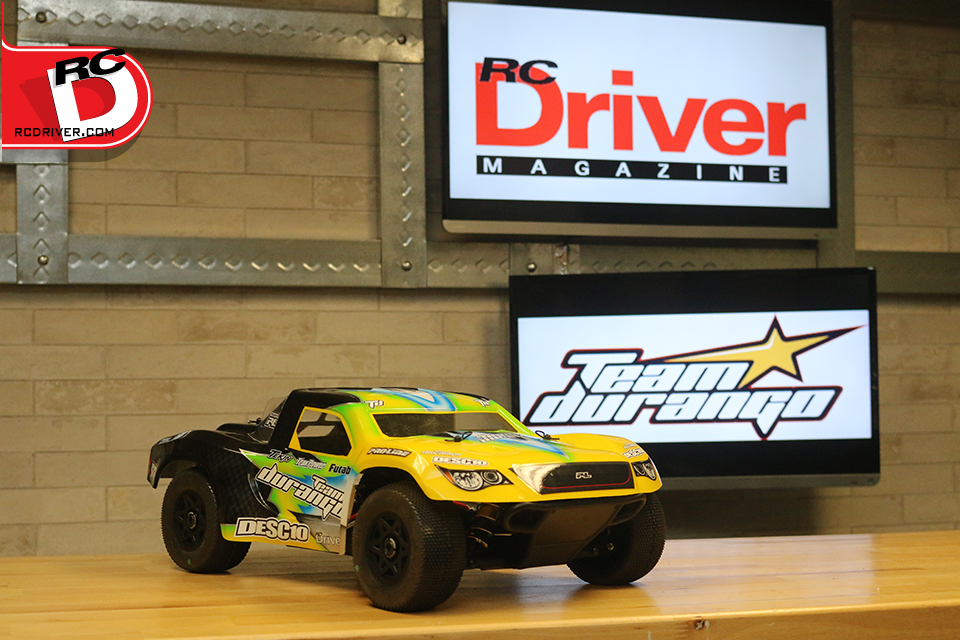
After a rather easy kit build thanks to many of the parts already being assembled from the factory, I’m left with the impression that the new Team Durango DESC10 is going to be a great platform. This truck is bulky and kind of heavy due to its 1/8 buggy structure. What does that translate to? A short course truck that can take a beating on and off the track. New kit builders and experienced pros will have an easy time getting the truck together and just as easy of a time maintaining and tuning it. Check out our full review of this truck in the July issue of RC Driver Magazine.