fbpx
Wednesday, April 24, 2024
rally

Vaterra Ascender K5 Blazer Build – Suspension Links and Axles

Vaterra Ascender K5 Blazer Build – Suspension Links and Axles

The Build – Part 8
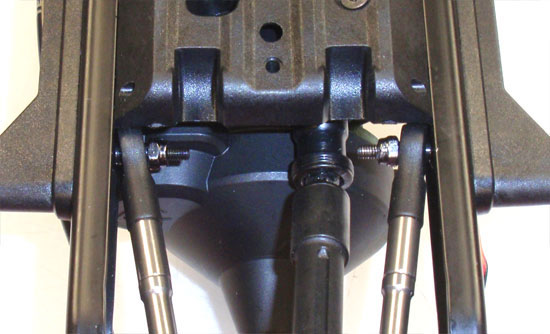
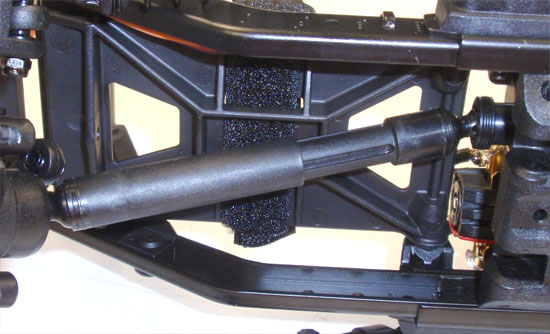
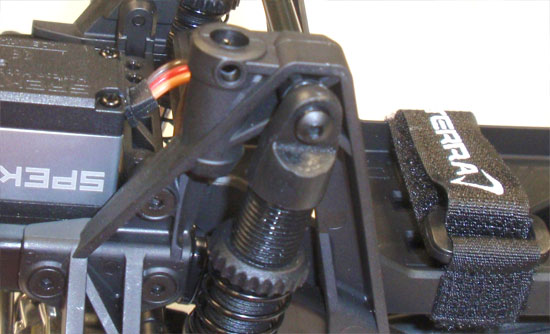
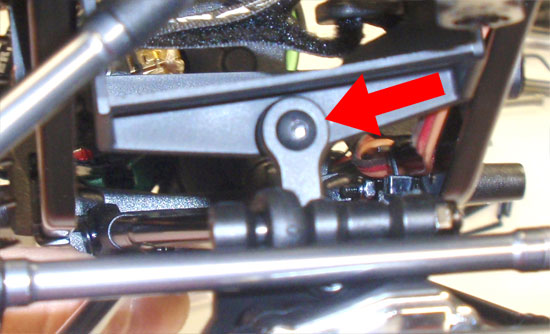
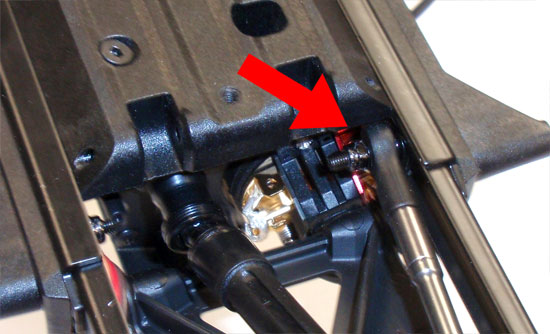
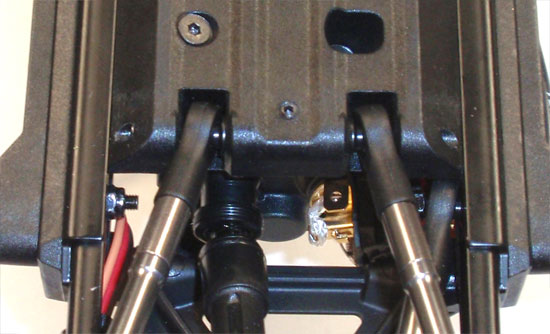
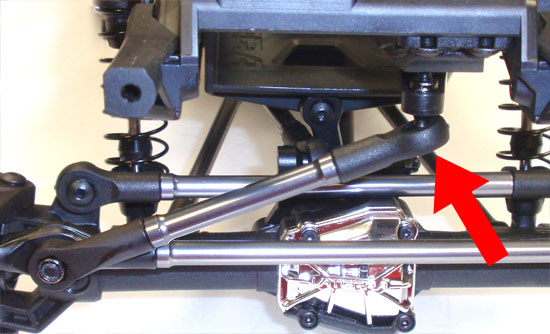
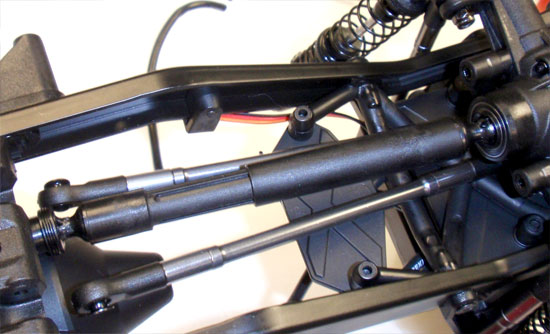
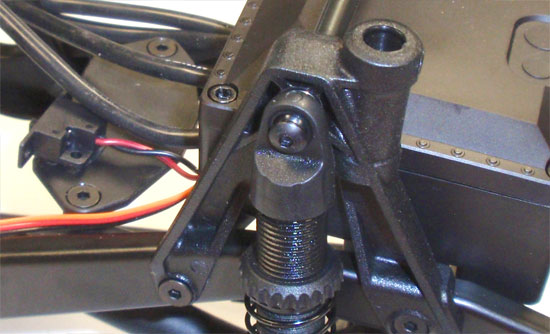
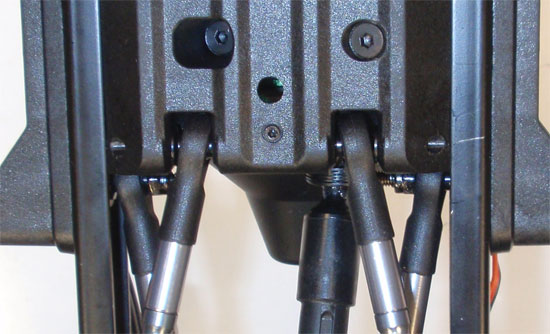
In this step we’ll be attaching the front and rear suspensions; the axle and link assemblies. It’s a pretty easy step. Let’s get to it.

Vaterra Ascender K5 Build Step 122
Start this step by sliding the front slider shaft together.

Vaterra Ascender K5 Build Step 123
Apply a dab of threadlocker to the M3x25mm screw and attach the top of the shock to the tower. Don’t forget to attach the other side as well.

Vaterra Ascender K5 Build Step 124
Now attach the floating front axle link to the floating battery tray. Use the fuzzy picture for reference.

Vaterra Ascender K5 Build Step 125
Flip the Ascender over and attach the single, upper suspension link to the side of the chassis where the red arrow is.

Vaterra Ascender K5 Build Step 126
Press the two lower links into position on the center transmission plate and slide one of the chrome pins through the holes to capture both links. Use the M3x5mm setscrew to hold the chrome pin in place.

Vaterra Ascender K5 Build Step 127
Press a locknut into the back of the servo horn and attach the steering link to the horn.

Vaterra Ascender K5 Build Step 128
Attach the panhard rod to the panhard rod mounting point (see red arrow). Do not overtighten the screw.

Vaterra Ascender K5 Build Step 129
Moving to the rear of the Ascender, we’ll attach the suspension in pretty much the same fashion. Start by sliding the slider shaft together.

Vaterra Ascender K5 Build Step 130
Now attach both shocks to the mounts like we did with the fronts.

Vaterra Ascender K5 Build Step 131
Attach the two upper chassis links to the chassis as shown. Do not overtighten the screws into the locknuts.

Vaterra Ascender K5 Build Step 132
Press the two lower links into position on the center transmission plate and slide the other chrome pin through the holes to capture both links. Use the M3x5mm setscrew to hold the chrome pin in place.

Part 9 – Attaching the bumpers, side bars, wheels and tires.

Leave a Reply