 RC Driver The Best In RC Car & Truck News, Reviews & Video


Many drivers are bashers only, and have rigs set up for all conditions. I have such a rig in my fleet and folks are always amazed at my scaler’s ability to take on waterlogged trails and water crossings with ease. This isn’t because it can do it, which is not a feat, but because it does it with a sensor based brushless power system. Most RC enthusiasts that have run their sensor based brushless motors around water, or even moisture for that matter, have learned that sensor based BL motors don’t like water. They may work for a short time but often act up after the fact. The idea that sensor-less brushless and brushed motors are okay for wet conditions and sensor based brushless motors are forbidden is fairly common and somewhat accurate. A sensor-less motor, like a brushed motor, does not have sensitive electronics inside so the water affects the motor itself much less. The sensors in the motors have no real protection from moisture and the same goes for most sensor plugs on the ESC and the motor. With a little attention to detail in the right places you can make a sensored motor stand a good amount of water and live to be cleaned and rebuilt instead of dying a slow death.
By: Charlie Suangka
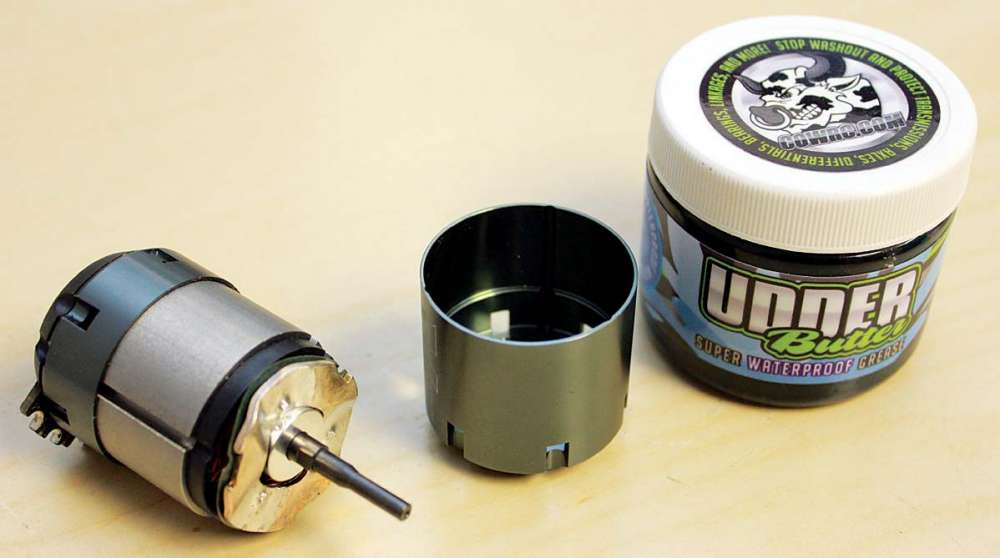
GREASY SEAL
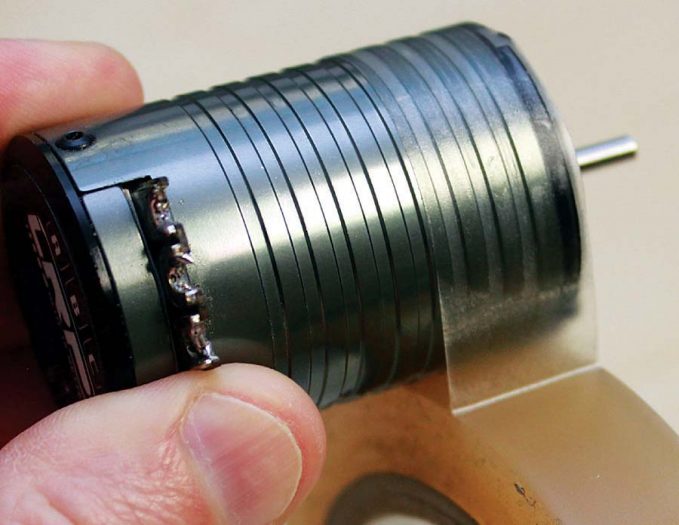
The first thing that should be addressed is the bearing. To really get down to this, you’ll want to take the motor apart. If you’re not a fan of taking your motor apart, that’s okay. You can get there by doing these steps to just the outside of the motor. Most rear bearings are covered. If not, these same techniques can be used there. If the motor is new, no cleaning or oiling is really needed. If it’s a used motor, start with the freshly cleaned and oiled bearing. Put a thin layer of water resistant grease like CowRC’s Udder Butter along the back and front sides of the bearing and the pinion shaft. Don’t go crazy on the back side bearing. Just put a thin layer across the bearing face and where it meets the rotor surfaces. Since you have the motor apart, you can also run a thin layer across the rest of the surfaces that meet, between the end bell and the stator, or around the edges of any rings and sleeves, again just a thin layer. You want to smear it on very lightly with your finger or a rag, just leaving a haze of the grease on the surfaces.
SURFACE SEAL
 Reassemble the motor and give it a nice wipe down with a clean rag to get most of the excess off the outside of the motor. The next step is to physically seal the visible outside seams of the motor from the elements. Using fancy waterproof tape is an option but good old fashioned electrical tape, and even duct tape, work well enough for most. In a pinch, you can use decal material cut into strips. We’ve all got that bag of decals we’ve been saving for who knows what, right? Stretchy decals can be extremely resistant to the water. Again, you don’t have to go nuts, just a single or double clean wrap around the seams of the endbells and center sleeves. Make sure you stretch the tape tightly and it’s sticking to the motor. If not, clean the motor’s external surfaces so the tape can adhere. The tape is doing most of the work here. Leave the sensor harness plug for last. We’ll get to that next!
SENSOR SEALING
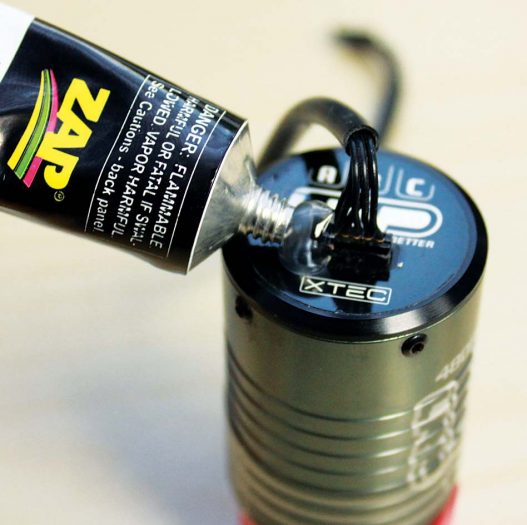 At this stage, you’ll want to have your wires onto the motor as it’s basically ready for install. For the sensor plug, you can use some sealants or silicone, but that can be very messy to remove later. Something that works awesome for sealing that most of you can get from any hobby shop are decals or double-sided tape. The double-sided tape should be flexible and have great sticking qualities. The cushion of the tape allows you to work it into the corners and gaps of the motor’s rear section. The endbell caps and steps can all get a nice strip of tape along each seam. Use 1mm strips and go along each edge and seam. You can add more protection with another layer of decal or electrical tape on top of the base layer. It’s best to completely cover the sensor plug as well as the harness around all edges. Using thin strips of decal or double-sided tape along the base and top edge and then going back over with a larger piece will typically work the best. You are essentially sealing a seal. It’s good to get at least a half an inch or so up the sensor harness. The wires are flexible and can work the seals loose so pay close attention to the tape at the ends. This same basic technique can be done to the ESC’s sensor plug as well.
 WRAP-UP
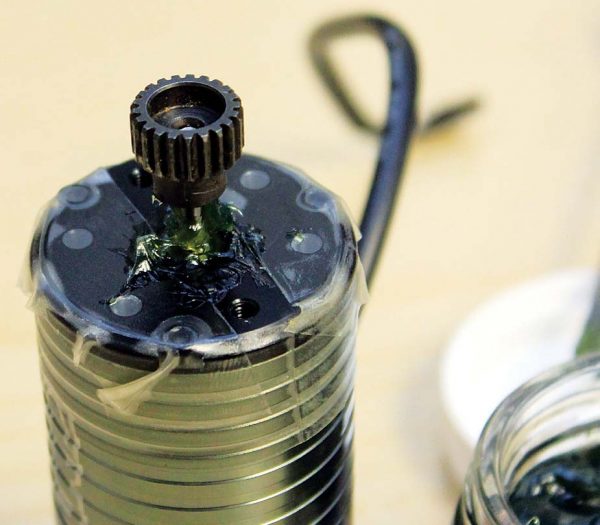
It may not be pretty, but this “technique” will keep your motor alive a lot longer. On final install, apply a generous dab of marine grease to the front side bearing, enough that it gets all the way out to the pinion. The pinion shaft is where most of the water gets in so the grease helps stop the water! Also, much of it will be spun out of there after the first few blips of throttle. After a while, you’ll want to tear the motor apart and inspect it. This is why using tape instead of sealants is great. Rebuilding and servicing are much simpler. You may find there are no signs of water in your motor. If so, well done! If you do find water entered the motor, try to trace where the leak came from, so that when you reseal your motor again you can fix the issue. Note, these tips explained here are not guaranteed, you run the risk of voiding any warranties and you are completely responsible for taking the risk. But equipment risk is part of the fun for some so happy puddle hunting, folks!


