 RC Driver The Best In RC Car & Truck News, Reviews & Video


In my years of track time, I have seen different ways to set the slipper and this is by far the most effective method I’ve used. Follow along with the steps below.
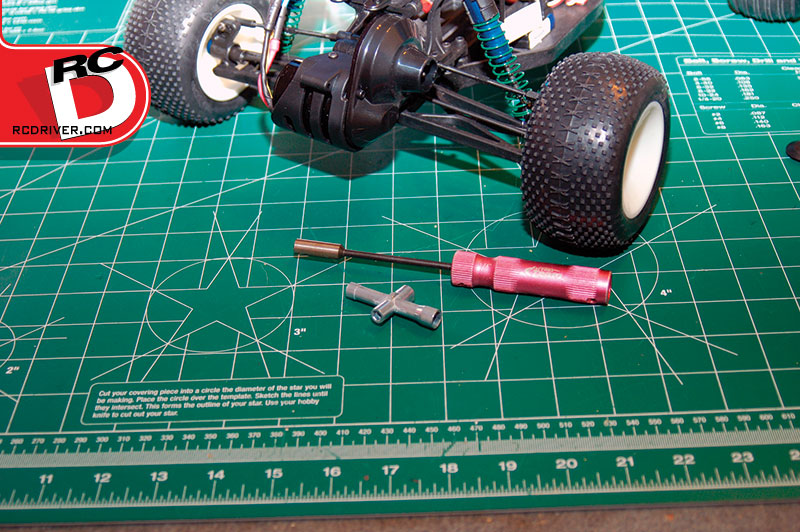
1. Tools Required
Most buggies and trucks come with a four-way tool or something similar that allows you to adjust the slipper clutch. If not, you’ll need to pick yourself up a hex driver that will fit your slipper nut.
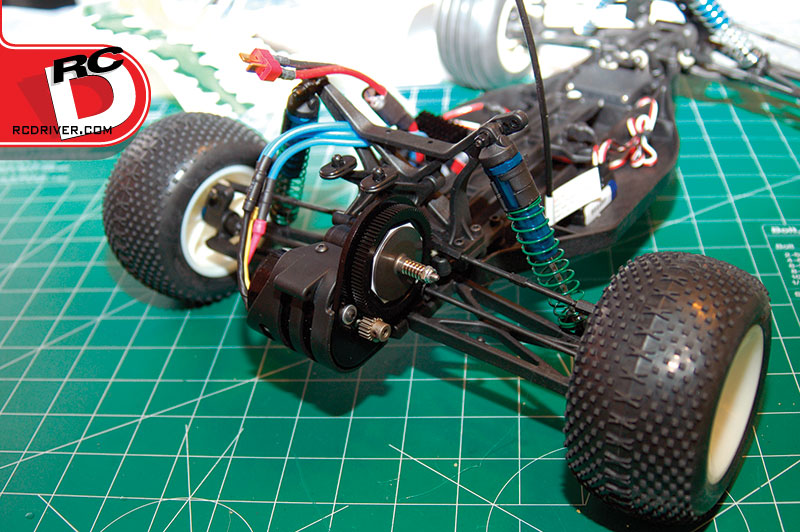
2. Initial Setting
If you own an RTR, the slipper clutch was probably set close to the correct position from the factory. You can use this as your initial setting. If you own a kit, go ahead and tighten it down as shown in the instruction manual. This should also set you close to the correct position for an initial setting.

3. Initial Test
Turn your transmitter on, followed by your vehicle. Now, with the vehicle facing away from you, place your left forearm on the left rear tire and your right hand on the right rear tire. Hold firmly! Now apply full throttle, but only a short burst. The front of your vehicle should lift off the ground approximately five to six inches.
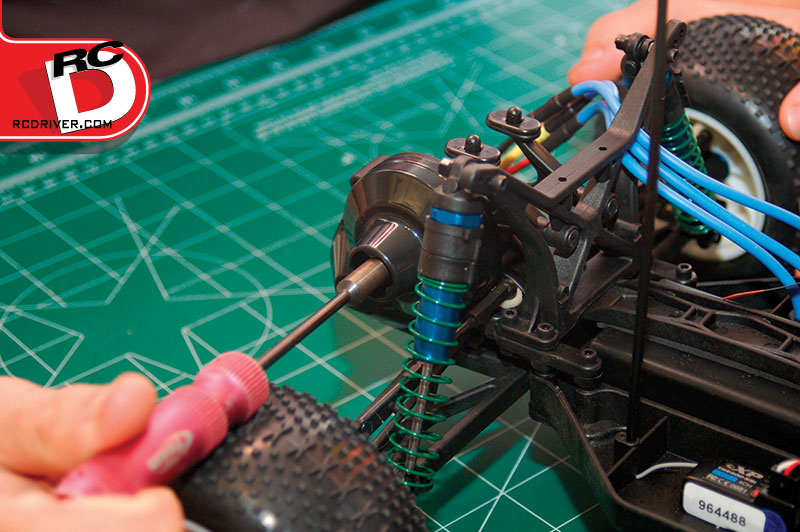
4. Make Any Adjustments
If the front of your vehicle doesn’t lift off the ground, your slipper is too loose. Tighten it approximately ¼-turn and repeat step three. If the front end jacks up higher than six inches, your slipper is too tight. Loosen it approximately ¼-turn and repeat step three. Once you have the front end lifting approximately five to six inches, the slipper is set in a good starting position.
5. Hit the Track
The true test of how well your slipper is set will be on the track (against the track conditions). Take a few laps and see how it feels; if you feel you need to make further adjustments, do so in smaller, 1/8-turn increments.


")

One comment
Pingback: Set Your RC Car's Slipper Clutch for Success - RC Driver