Vaterra Ascender K5 Blazer Build – Part 5 – Installing the Electronics
The Build – Part 5
The electronics install is next; servo in the front, ESC/receiver in the rear. We’ll also install the floating battery tray in this step to help gauge how long our battery wires need to be.
Vaterra Ascender K5 Blazer Build Step 87
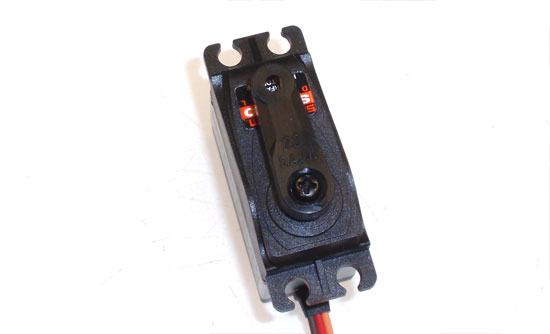
Before installing the servo, make sure you’ve done your pre-test to make sure it is centered. Install the servo horn as shown.
Vaterra Ascender K5 Blazer Build Step 88
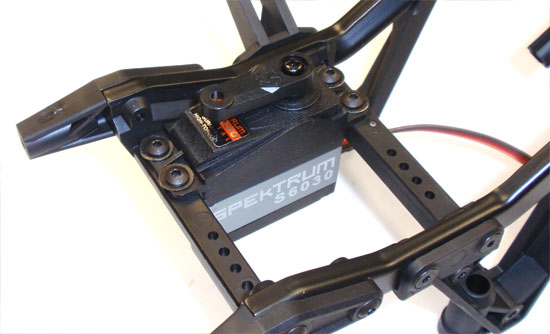
Install the servo with the M3x10mm screws. It’s easier if you flip the chassis over; note the direction the servo sits.
Vaterra Ascender K5 Blazer Build Step 89
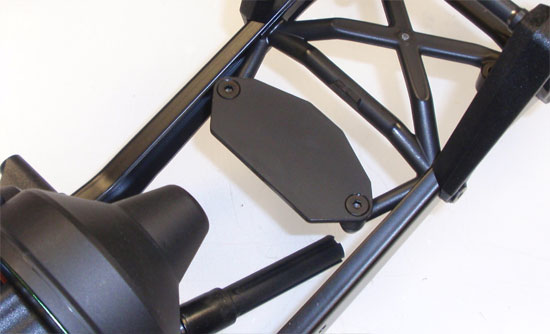
Attach the ESC mounting plate.
Vaterra Ascender K5 Blazer Build Step 90
Attach the receiver box. Make sure the antenna mount is to the back.
Vaterra Ascender K5 Blazer Build Step 91
You can mount the receiver and any lighting controllers in the box. I did put the receiver but, since my Tekin FX-R is not waterproof, that went in here as well. Feed the wires through the little gap at the front of the box.
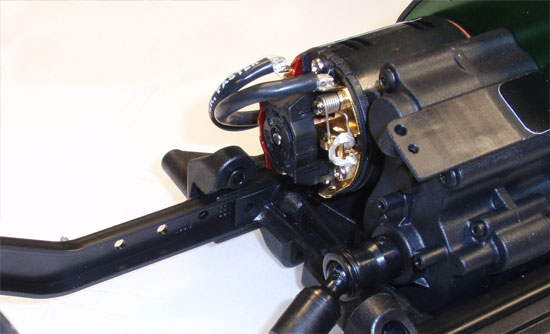
Vaterra Ascender K5 Blazer Build Step 92
Attach the wires to the motor.
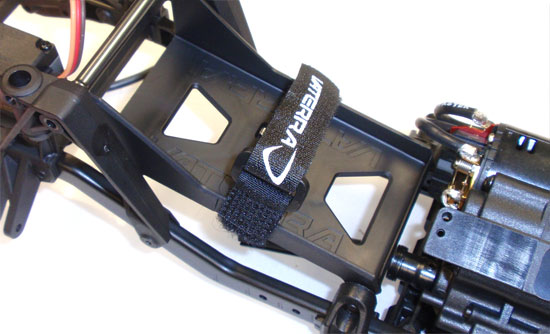
Vaterra Ascender K5 Blazer Build Step 93
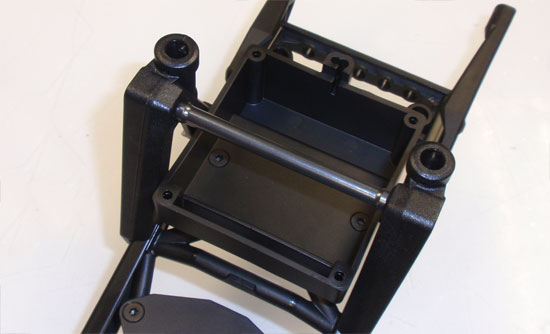
I chose to install the floating battery tray at this time so I could measure how long my battery wires needed to be. Installing now won’t get in the way of anything later. It’s more of a convenience thing.
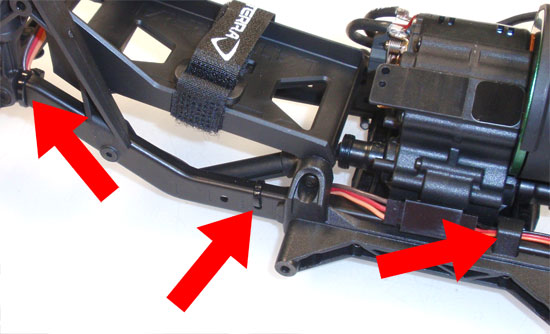
Vaterra Ascender K5 Blazer Build Step 94
After you attached your servo extention (it’s not included), you can run the wires through the looms long the side of the chassis. There were not looms up front so I added 2 zip-ties to keep the wires close to the chassis.
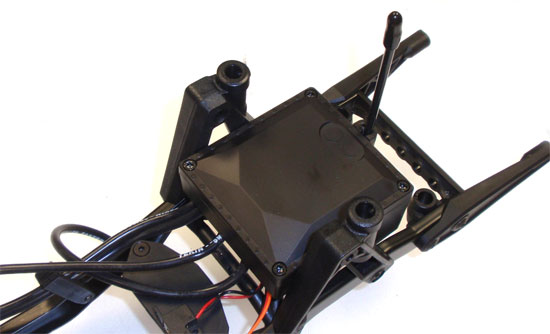
Vaterra Ascender K5 Blazer Build Step 95
Now that you’re all wired up you can put the top on the radio box. I attached the on/off switch to the original ESC mounting plate. You can also, at this time, install your battery and finish wiring that up.
 RC Driver The Best In RC Car & Truck News, Reviews & Video