


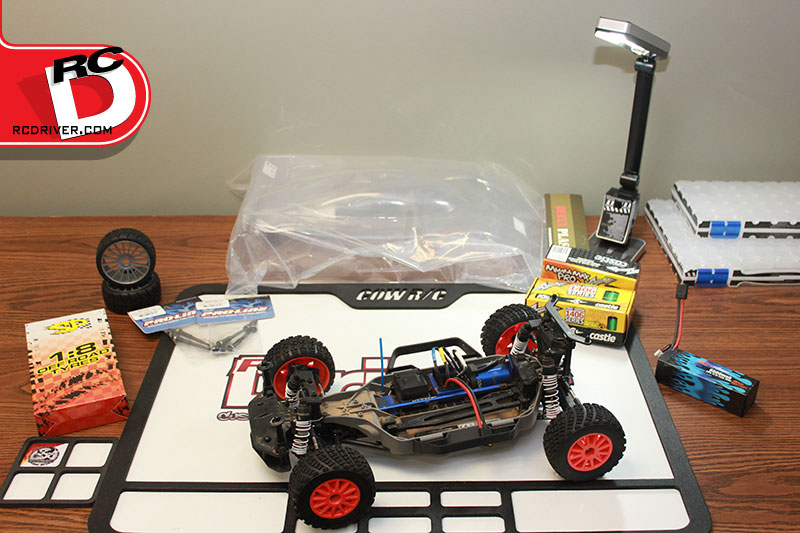
CLICK HERE TO ENTER FOR A CHANCE TO WIN OUR TRAXXAS SUPER SPEED 4X4 BUILD!
RC Driver’s information packed newsletter just got more exciting! For the next two months we’ll be turning our Traxxas Rally 4×4 from a feature article into a Super Speed 4×4 road ripping machine.
• Follow in each newsletter as we add hop-ups to the Rally 4×4 to increase its speed and durability.
• Check out the cool photos and see what we have to say about project as it progresses.
But that’s not all!
THIS AWESOME MACHINE IS ALL BUILT UP AND READY FOR YOU TO PULL THE TRIGGER!
CLICK HERE TO ENTER FOR A CHANCE TO WIN OUR TRAXXAS SUPER SPEED 4X4 BUILD!
UPDATE 1:
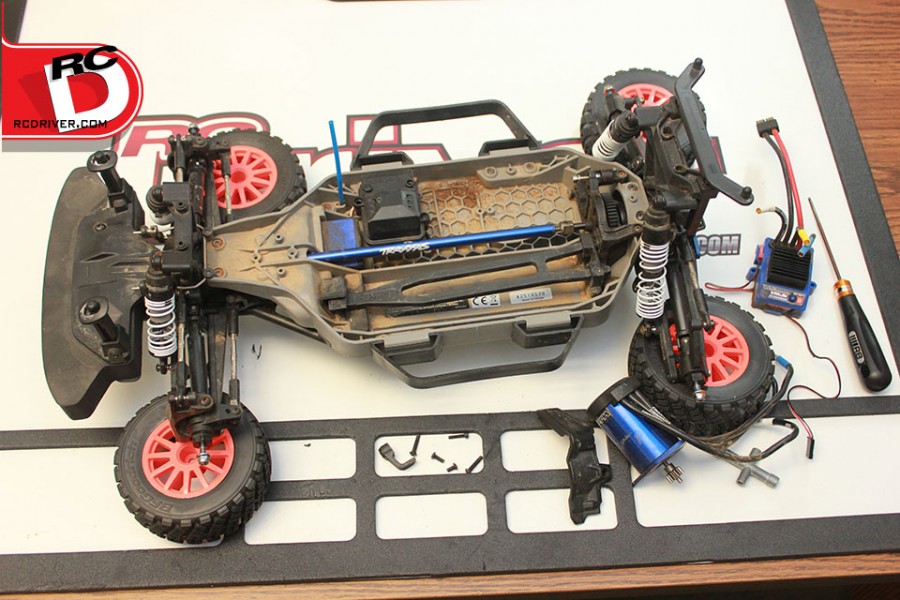
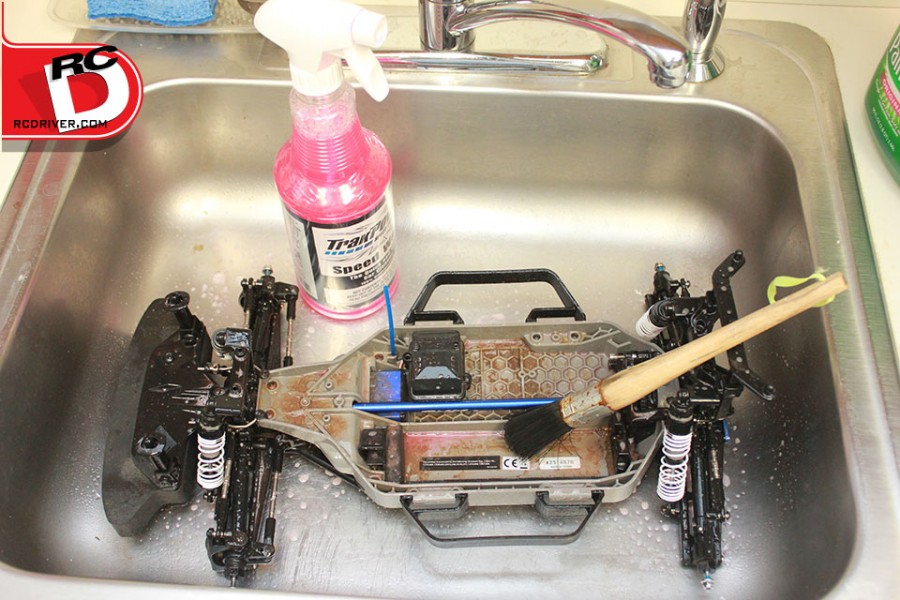
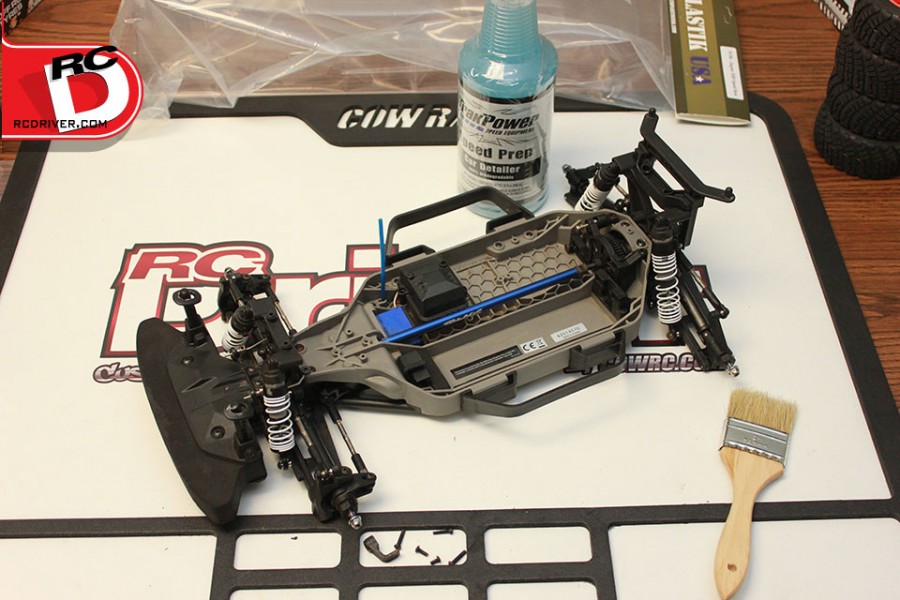
Our Traxxas Super Speed 4×4 is going to be a fun project, but first we need to get the donor Rally 4×4 cleaned up for its new mission. Step one we stripped out the electronics and pulled the wheels off so we could clean the chassis off with Trakpower Speed Wash and water. After the car’s bath, it was quickly dried off and then sprayed it with Trakpower Speed Prep to give the plastics an almost new look. Working on the CowRC custom work mat does a great job of containing our mess while giving us a spot to store screws and parts in its integrated foam lined trays. In next week’s newsletter we’ll start with the fun stuff of installing some aftermarket components. Check back often for details on when we’ll give away this awesome speed machine!
UPDATE: 1-13-2016
Project Traxxas Super Speed 4×4: DRIVESHAFT UPGRADE
Now that we have our Traxxas Rally 4×4 donor car all cleaned up, it’s time to get to the fun stuff, the upgrades! We’re going to start off with swapping out the driveshafts. The stock Traxxas composite telescoping shafts work well, but Pro-Line Racing offers an awesome HD upgrade axle for both the front and rear of the Slash or Rally 4×4. We picked up a full set for the swap seeing the drivetrain is going to be getting a dose of high power once we swap out the electronics. Let’s go over the axle swap.
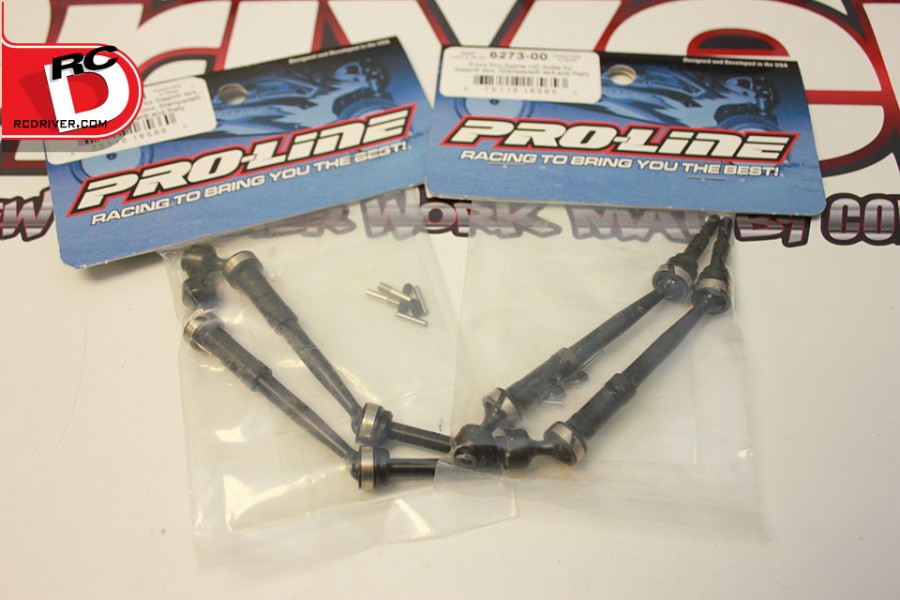
Pro-Line Axles
Here are the packages of new Pro-Line HD axles. As you can see the axles already come assembled which will make installation that much more of a breeze. The axles are machined in steel and hard coated. The spines on the axles allow the two pieces to slide smoothly as the suspension compresses while offering maximum strength. Pro-Line even includes all necessary hardware for the install. Part 6273-00 for the front set and part 6273-01 for the rears.
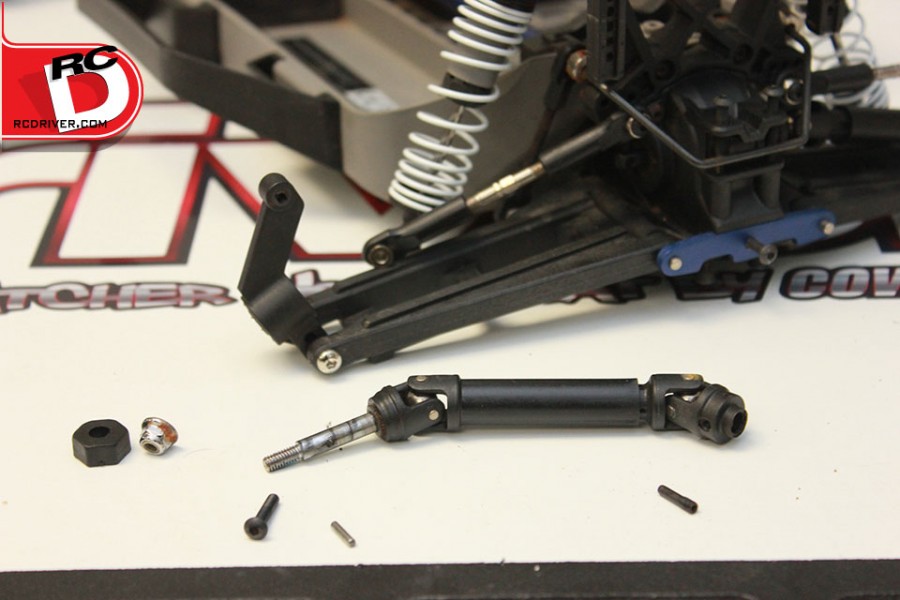
Swap Step 1
First we’ll need to remove the stock shafts. To do so, remove the wheel nut, wheel, 12mm wheel hex and cross pin. Next remove the 2mm screw from the hub carrier and then remove the 1.5mm head screw pin from the axle outdrive. Now you’ll be able to pull the stock shaft from the car.
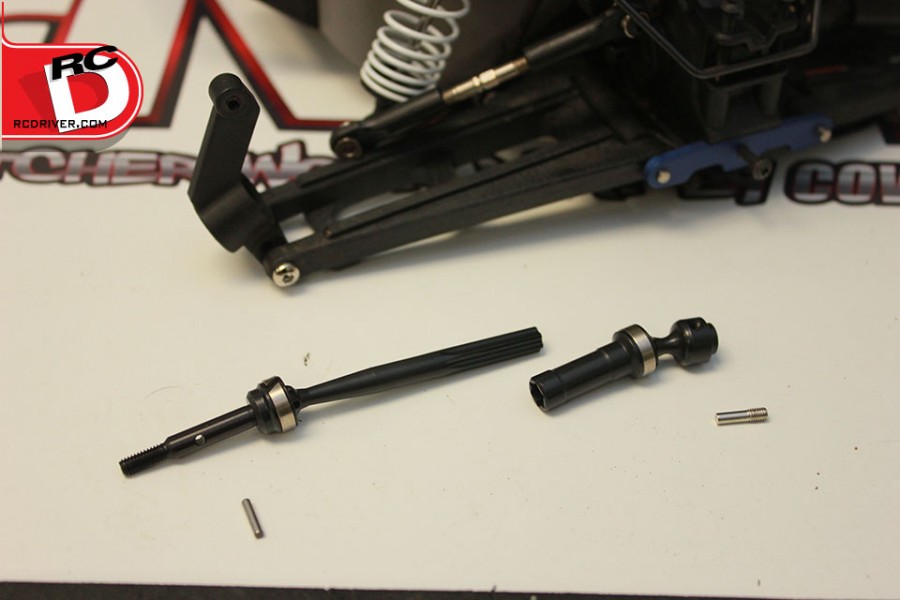
Swap Step 2
Here we’ve laid out the new Pro-Line axle with new hardware for the install.
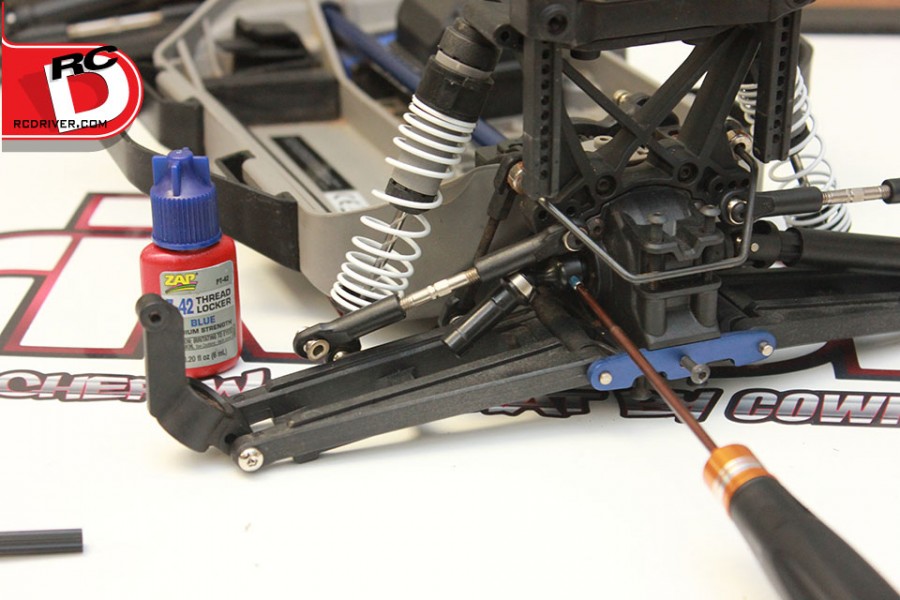
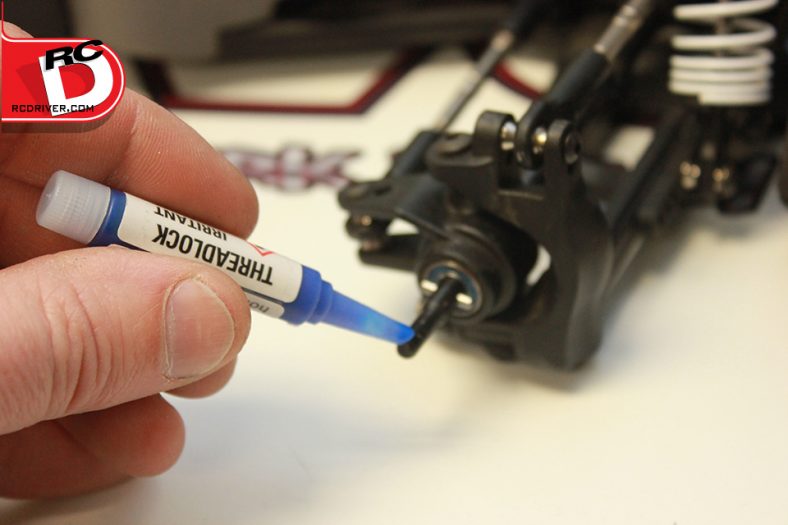
Swap Step 3
The female end of the driveshaft gets installed first. We put a dab of ZAP blue thread locking compound on the outdrive screw pin before tightening it down for extra security.
Swap Step 4
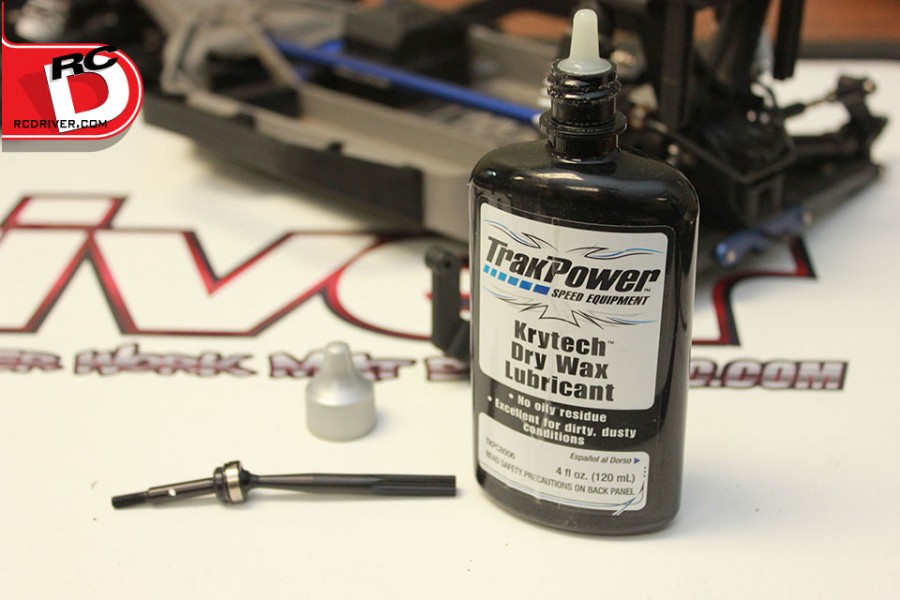
The male side of the driveshaft gets installed next. Before sliding it into place we added TrakPower Krytech Dry Wax Lubricant to the spine area so it glides smoothly when the suspension is compressed.
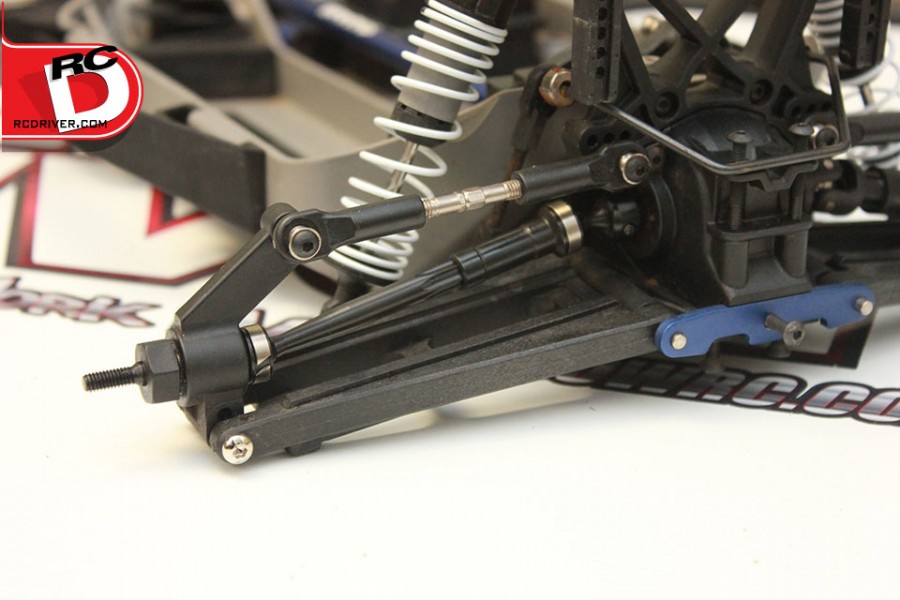
Swap Step 5
After sliding the shafts axle into the hub and mating the two shaft halves together, we simply reconnected the upper link to the hub with the 2mm screw, snapped our 12mm hex in place and our rear axle swap is complete.
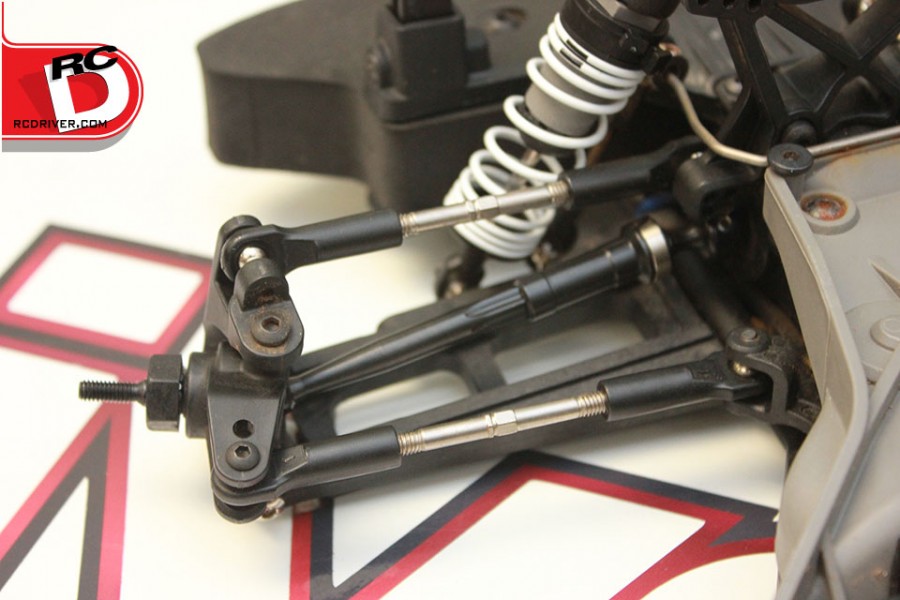
Swap Step 6
We swapped out the front axle shafts in a similar fashion to the rear shafts. The only difference here was we also removed the lower screw type hinge pin to swing the hub out of the way for the axle install.
UPDATE: 1-21-2016
Project Traxxas Super Speed 4×4: Gear Swap
More drivetrain mods are on the agenda for this week’s buildup of our Project Super Speed 4×4. Since we are going for speed we’re looking to swap out the spur gear for something that will get us to that crazy top end speed we are looking for. We’re also looking to improve durability. That’s why we always turn to the gear experts at Robinson Racing. Let’s gear up!
Robinson Slash Driveline Parts
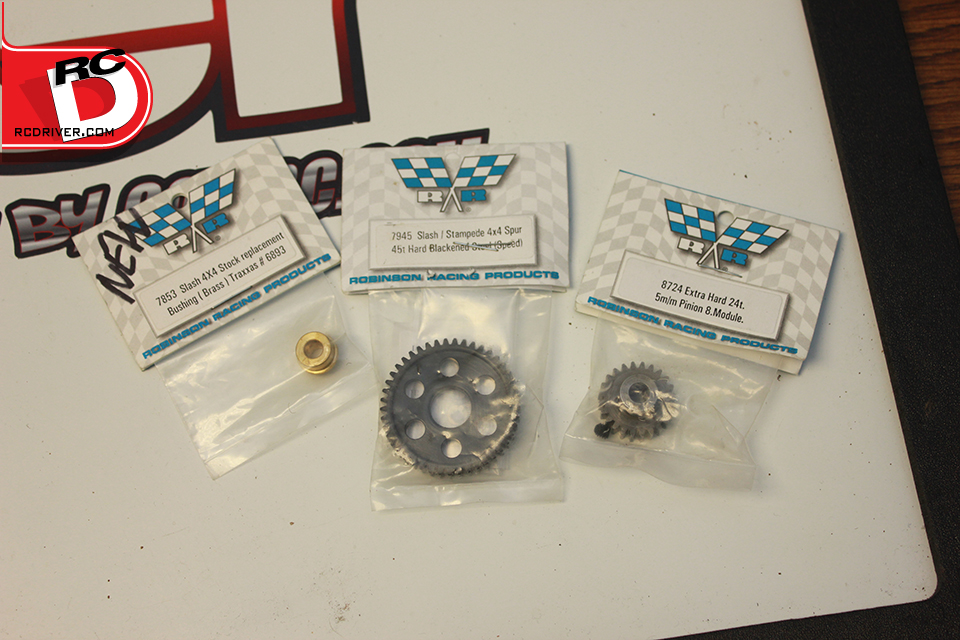 For this driveline component swap we’re going to install the Robinson Hard Blackened 45-tooth speed spur (Part 7945), the Robinson Bushing replacement (Part 7853) and 24-Tooth .8 mod pinion (Part 8724) or it can be any pinion from Robinsons selection (Part 8711 to 8725) if you want to play with gearing on your own.
Step 1
Let’s get that stock gear out. Its best to remove the top cover and motor just for easy viewing of the area you are working on in the 4×4.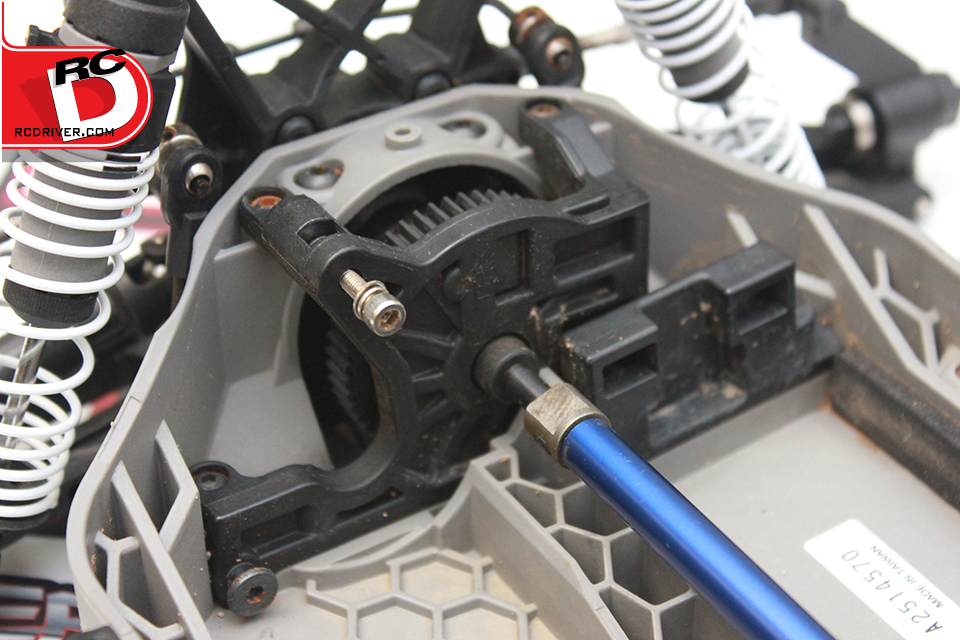
Step 2
Remove the rear clip by unscrewing the four screws that hold the rear assembly to the chassis.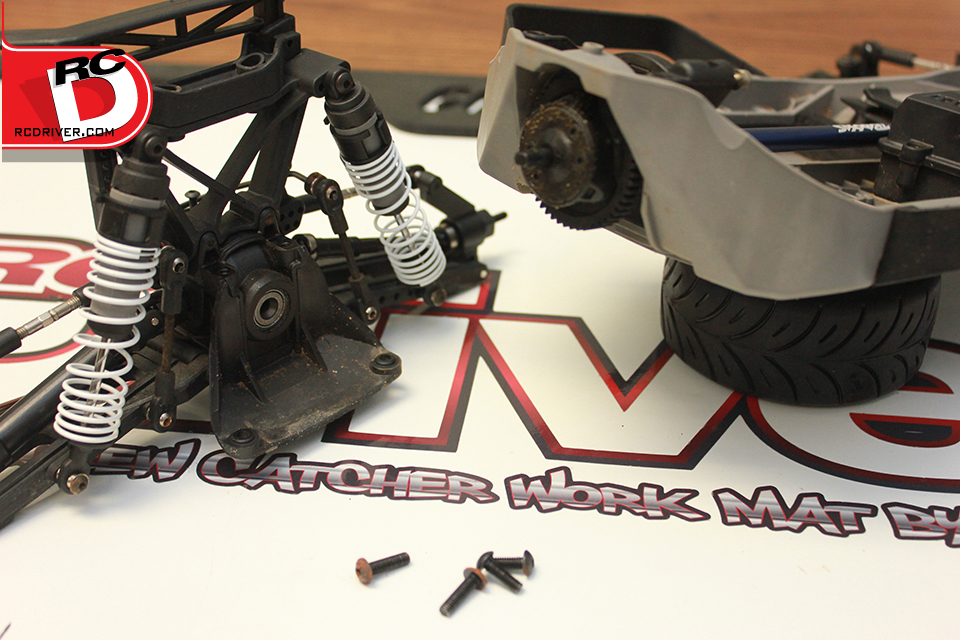
Step 3
Our 4×4 had a center differential installed, but for our speed run car we’re just going to install a slipper. This is the stock slipper assembly that comes with the Rally 4×4, we dug it out of our spare parts pile. We’re RC hoarders and never toss anything.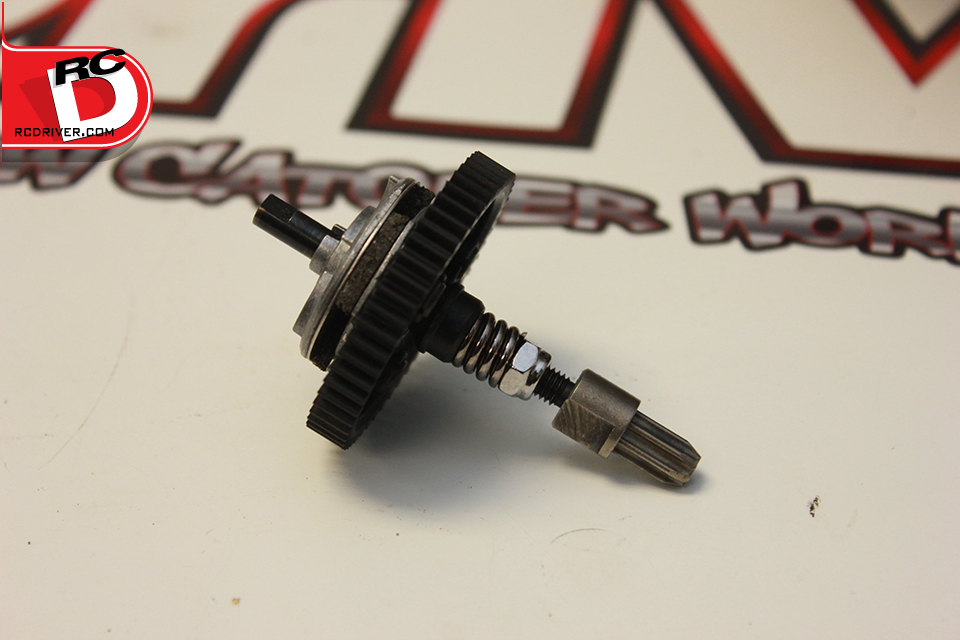
Step 4
Disassembling the slipper is easy in order to install the new bushing and spur from Robinson. Unscrew the front spine hub using a 2mm hex driver. Then take a 8mm nut driver and remove the slipper nut. Then just slide the parts off the shaft. It will look like this.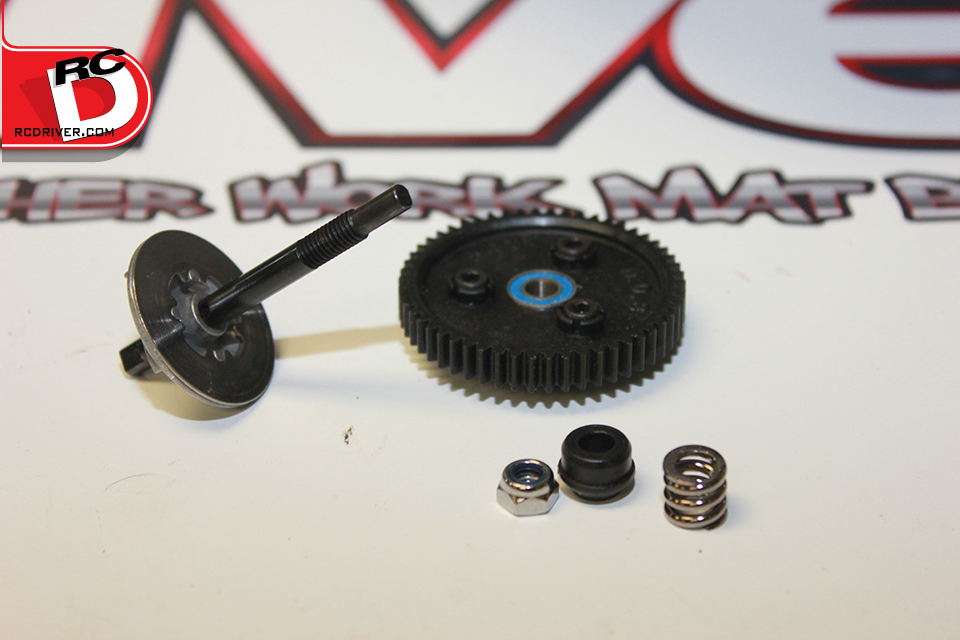
Step 5
Assembling the slipper is just as easy as disassembly. Use the slipper screws (that held the stock gear in place) along with the lock-washers Robinson includes with the spur to retain the spur on the slipper plate. Slide the gear and plate on the shaft followed by the stock ball bearing. Then replace the stock plastic bushing with Robinson’s more robust bronze bushing. Then slip the spring on and tighten the slipper nut.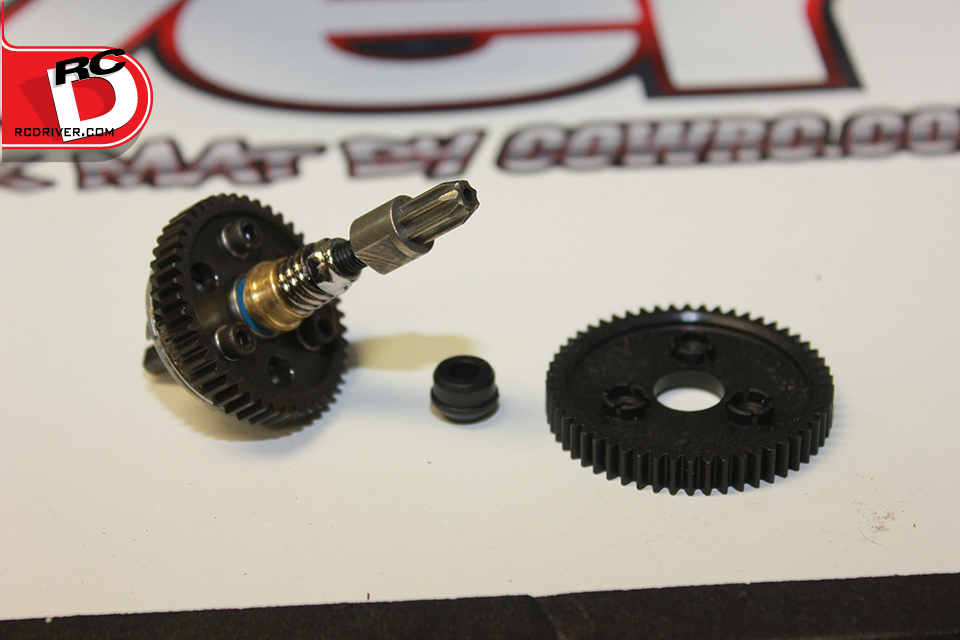
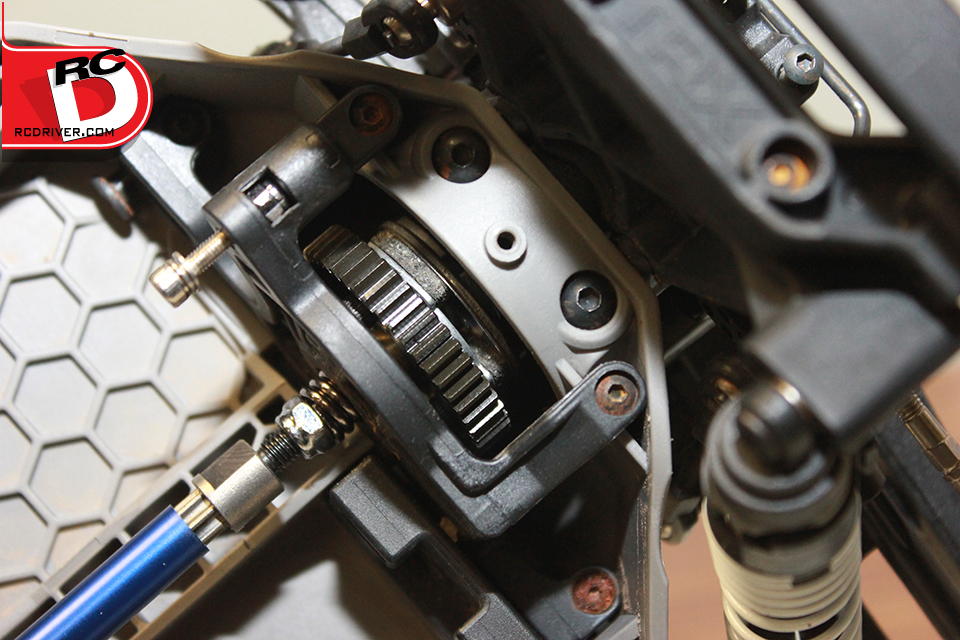
Step 6
With the new speed gear slipper assembly back together, slip it back into the driveshaft and mount in the 4×4.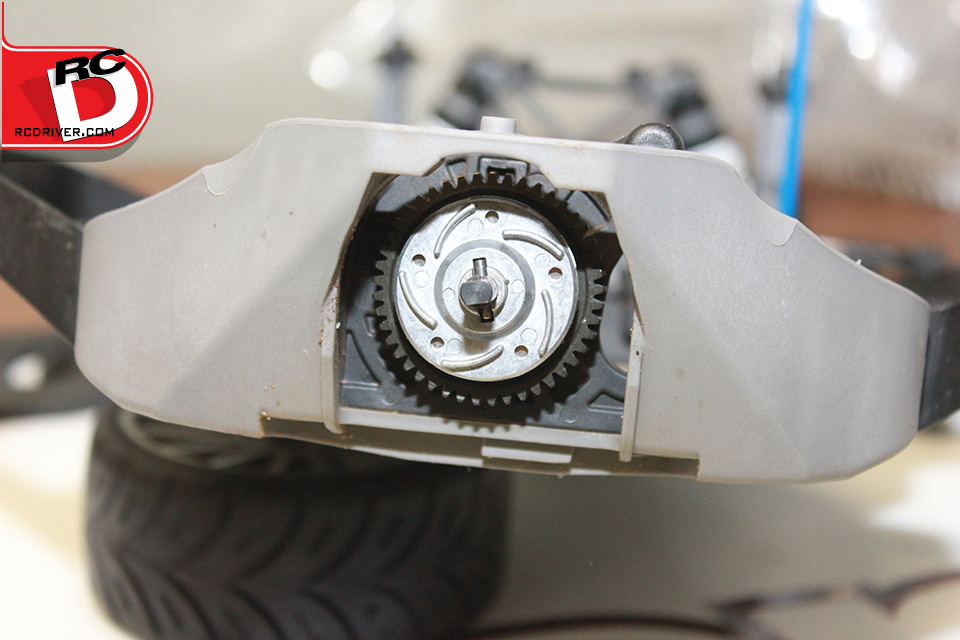
Wrap-Up
The new spur is in place and it looks great. We’ll install the pinion gear in another segment when we go to install the upgraded motor.
UPDATE: 2-4-2016
Project Traxxas Super Speed 4×4: Road Wheel Install
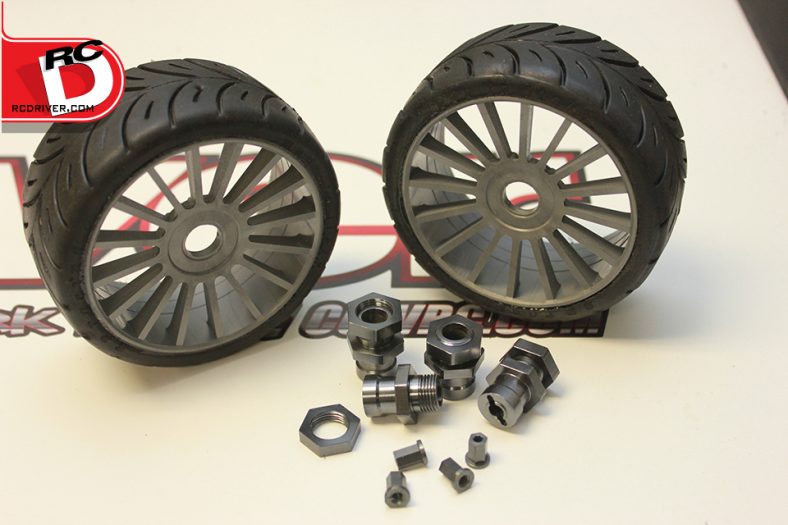
Since our Project Super Speed 4×4 will be hugging the tarmac, it only makes sense to bolt on some killer road rubber. SP Racing’s 1/8 Rally tires caught our eye so we called up Delta Plastik USA and ordered a full set of their medium compound Rally tires on silver rims (SP4020-1.5). The tires are mounted on 1/8 rims so they have a 17mm hex. The 4×4 has a 12mm hex so we needed to find an adapter to bolt the new wheels on the 4×4 driveline. Luckily STRC makes an adapter to bolt a 17mm hex wheel onto the 4×4 axle. Let’s get to work.

STEP 1
First we’ll remove the stock 12mm wheel hexes and wheel nut, we won’t be needing these. The axle pin should remain in place, make sure you don’t lose it.
STEP 2
Before installing the new STRC wheel adapters, you’ll want to put some threadlock on the axle threads. The new STRC wheel nuts do not have a ny-lock in them so the threadlock will help keep the new nuts secure.
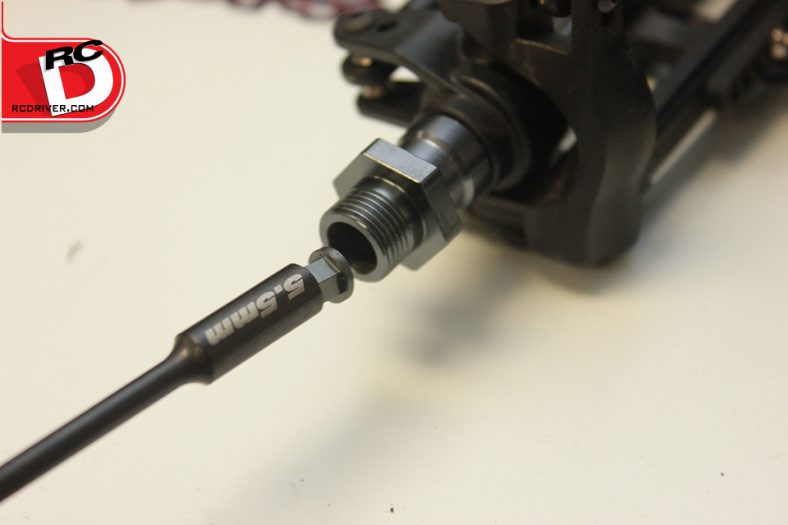
STEP 3
Slide the STRC 17mm adapter onto the axle shaft making sure to line up the axle pin with the slot in the adapter. Then with a 5.5mm hex driver tighten the new wheel nut down to secure the adapter.

WRAP-UP
Now we can bolt the new SP wheels onto our Traxxas Super Speed 4×4 project. Use some threadlock on the adapters before tightening the 17mm wheel nut. These tires and wheels look trick!
UPDATE: 2-11-2016
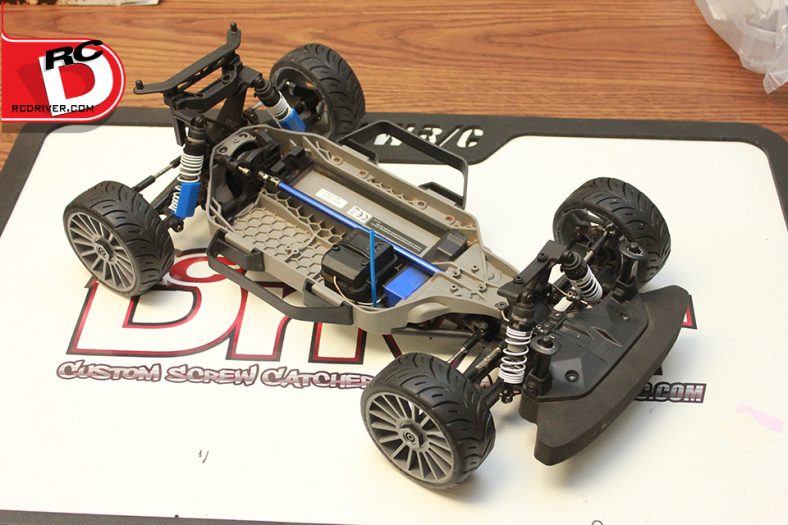
Project Traxxas Super Speed 4×4: On Hold
Here we are a week later and we have to admit we were a little late on some of our parts orders. So for this week, we’ll just leave you with a photo of the projects as it sits right now. See you next week.
UPDATE: 2-18-2016
Project Traxxas Super Speed 4×4: Castle Sidewinder 3 and RPM ESC Cage Install
Lets skip over to some fun go fast stuff such as installing a Castle Creations Sidewinder 3 ESC. Castle is known for making quality electronic speed controls that will handle the abuse bashers dish out on their rides. The Sidewinder 3 is one of their latest ESC releases and will handles LiPo’s up to 3S, perfect for our intended applications. To install the ESC it needs to be installed on some sort of place once the stock ESC is removed. There are several aftermarket plates available, however, RPM came out with a cool cage that captures and bolts the ESC securely in place on the chassis. Time to wrench.
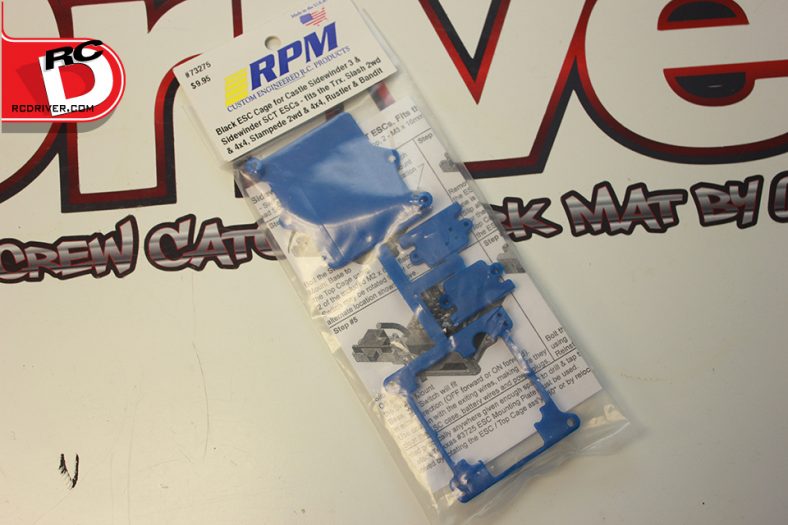
RPM’s ESC cage comes in blue and black and fits the Castle Sidwinder 3 and Sidewinder SCT ESC’s. What’s great about this ESC mounting system is it secures the ESC in place to the stock location of the Traxxas Speed control. It also incorporates a switch mount to secure your switch rather than using two-sided tape.

Step 1. Clip the RPM ESC plate from the parts tree and install it on the chassis where the stock ESC used to mount using the two screws supplied by RPM.
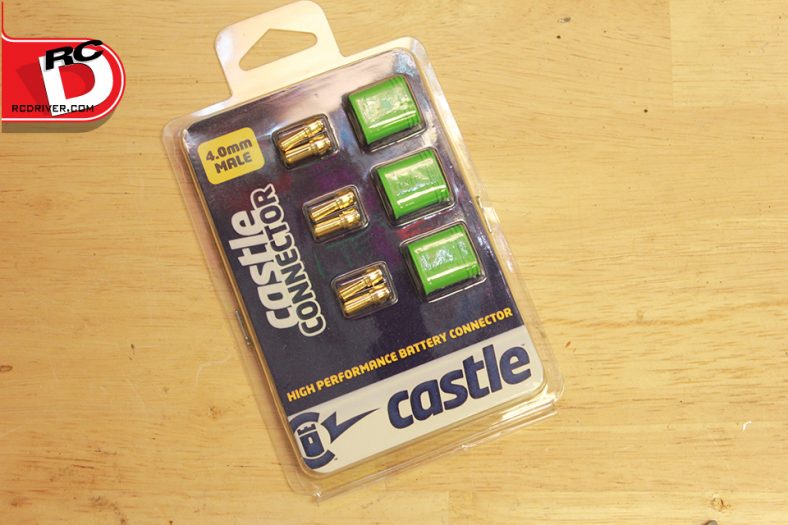
Step 2. Time to prep our electronics. We’re going to use Castle Connectors on the Castle Sidewinder 3 ESC. Its best to solder the connectors while the ESC is out of the vehicle.
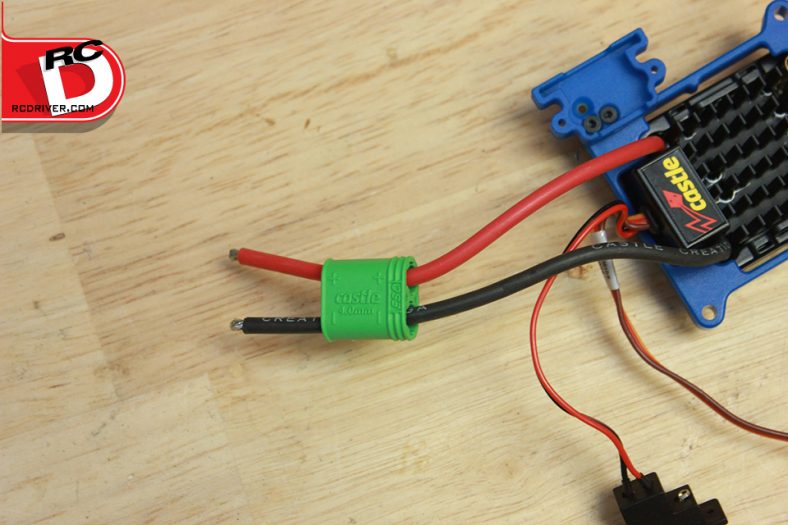
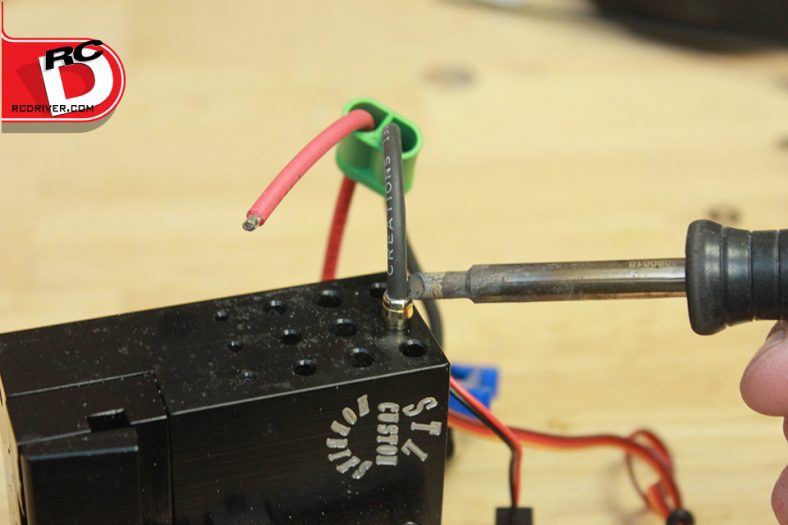

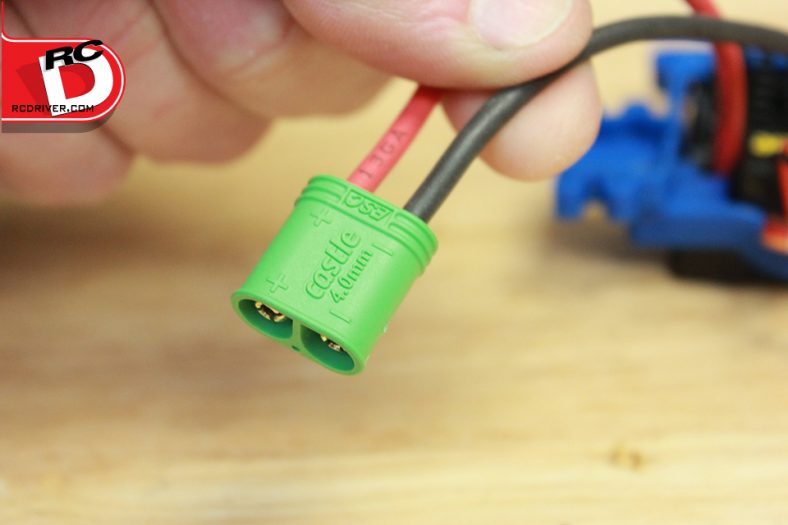
Step 3. We’re going to use Castle’s high power connectors for our 4×4 project. These require you to solder the plug on the ESC wires.
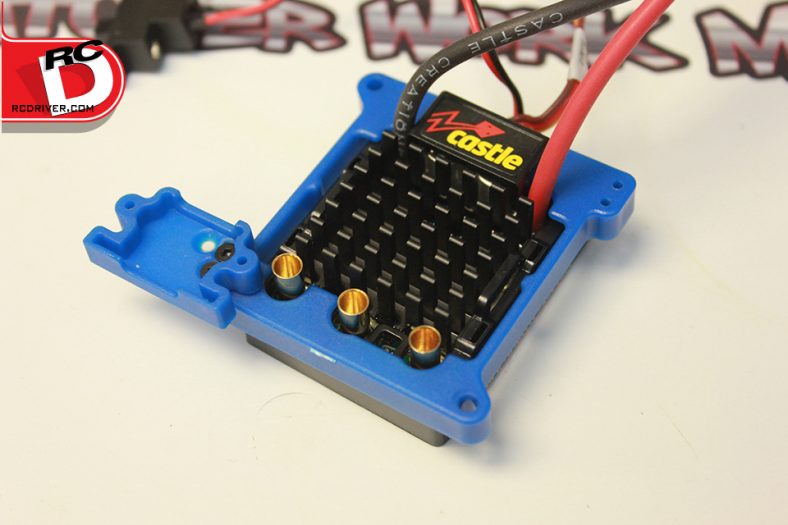
Step 4. Once the ESC is prepped, slip it onto the top of the cage. At this time you’ll also want to install the switch mount. Note the mount can be installed in several directions. Its best to test fit the unit you see here into the car to see what switch position works best for you.
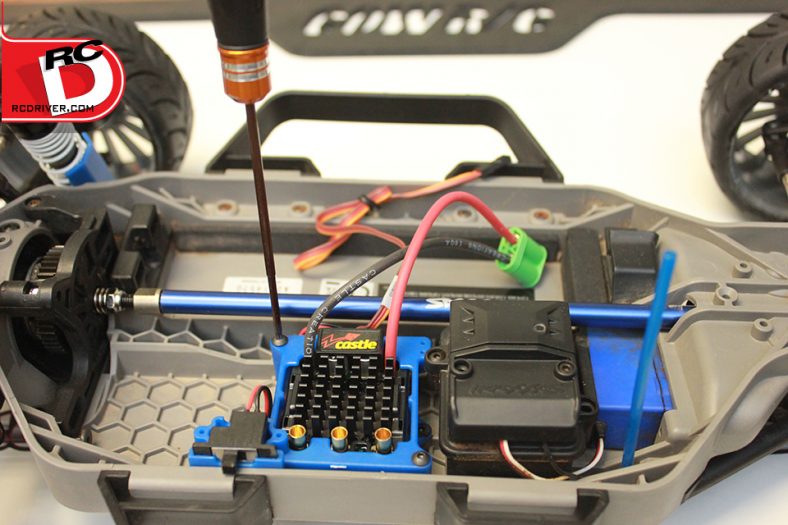
Step 5. Now you can install your prepped ESC in the car using the screws supplied with the RPM ESC cage kit.
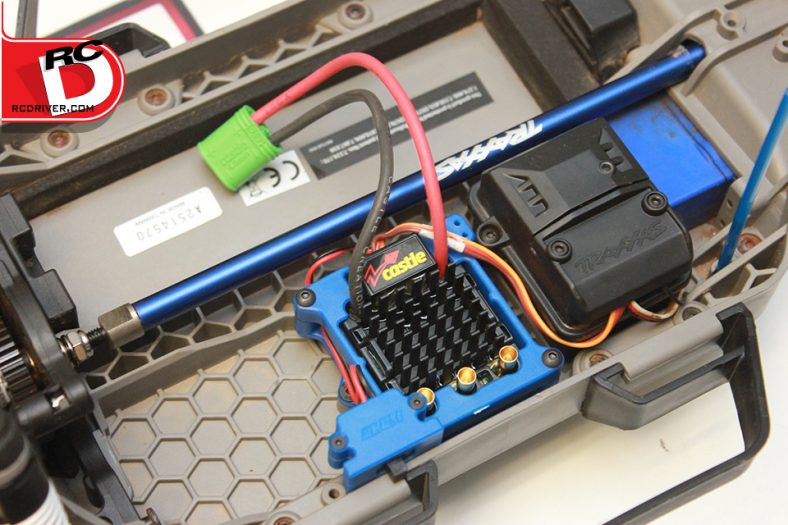
Step 6. Lets wrap this up. Position the switch into the mount and secure the top half of the switch mount with the supplied screws. RPM’s cage looks great in our project and keeps the Castle Sidewinder 3 secure for our high speed runs… and possibly tumbles.
UPDATE: 3-03-2016
Project Traxxas Super Speed 4×4: RPM Heavy Duty Suspension Arm Swap
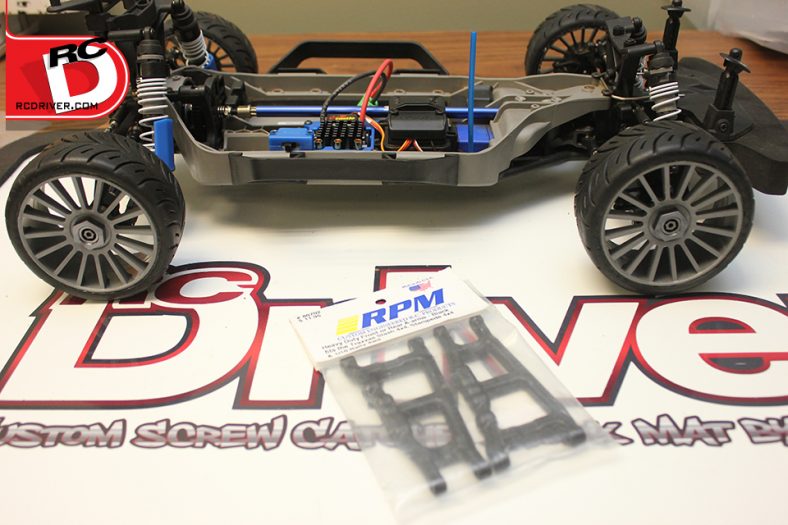
What? More RPM parts! You can never go wrong upgrading to RPM parts on your basher machine and for this speed run project, the RPM Heavy Duty Suspension arms (part 80702) is a great upgrade for the front or rear of the machine. Lets get to work.
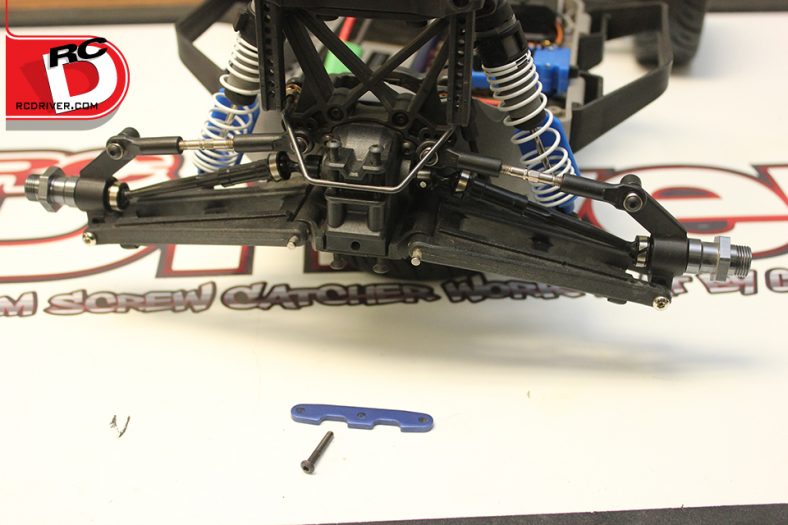
Step 1. First you’ll need to remove the rear bumper by unscrewing the upper and lower bumper mounts screws; four in total. Once you remove the bumper, remove the hinge pin brace too.
Step 2. The rear hinge pin will slide right out of the mount once the bumper is removed. The outter hinge pin will need to be unscrewed with a 2.5mm hex driver. Remove the four pins in total securing the arm.

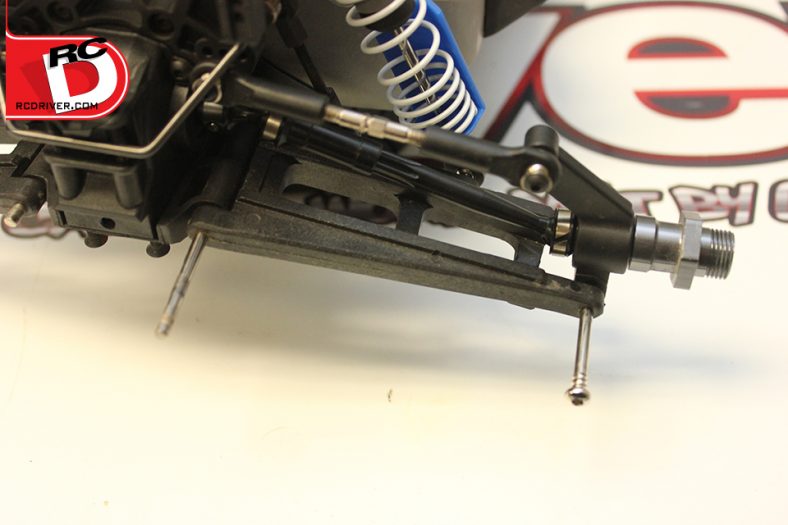
Step 3. Unscrew the shocks from the arm. If your 4×4 has swaybars, simply pop off the link and transfer the ball to the new arms in the swaybar link location.
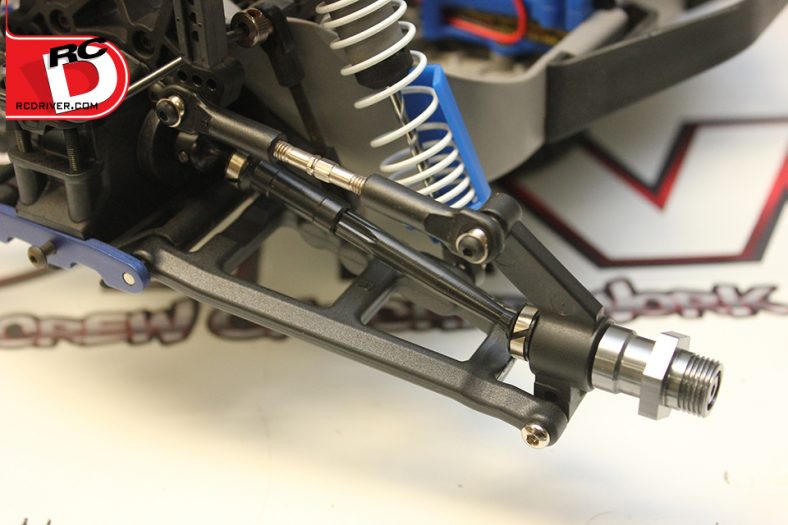
Step 4. Now just reverse your steps to install the new arms. Screw the shock to the arm in the same outer location. Snap the swaybar link in place. Slide the hinge pins in and screw the outer hinge pin in until its snug. Repeat these steps to install the front arms.
UPDATE: 3-10-2016
Project Traxxas Super Speed 4×4: Body Work
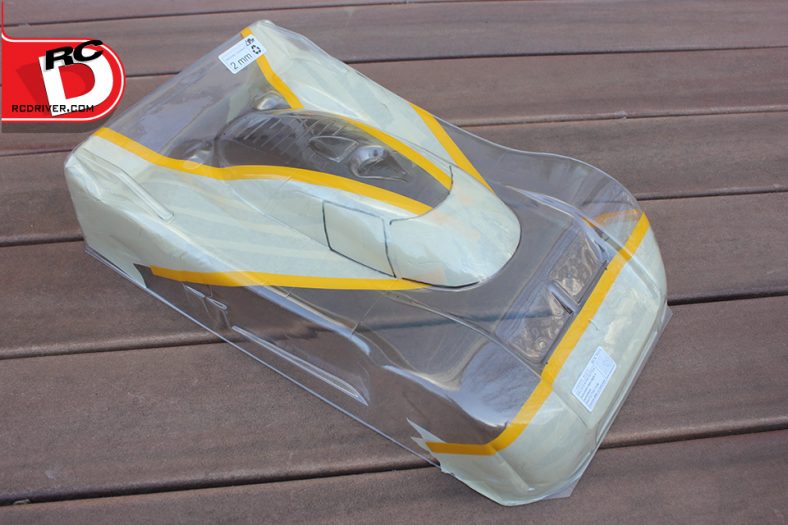
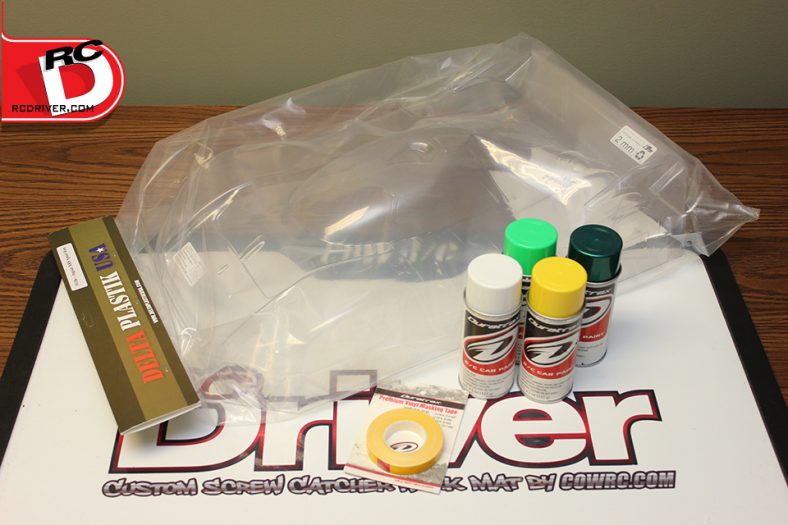 The body has been sitting on the project build work bench whispering “Paint Me, Paint me…” The body is the Delta Plastik USA Jaguar XRS Speed Run Body and its 2mm thick so its rigid as it cuts through the air at high speed. For paint we turned to the spray paint line from Duratrax along with their pin-striping tape. Let’s paint!
 Before we start painting, its a good idea to test fit a body to the car. For this install we found the rear body mounts are too tall and they were removed. We’ll put screws through the body and into the top of the shock tower to secure the body. In the front the body mounted needed to be trimmed. Use a marker to mark the body mount locations while mocking up the shell.
 Wash the body! There are chances oils and grime from the molding and shipping process may foul the paint job. So wash the body in the sink using a little bit of dish detergent then dry the body well before you start masking.
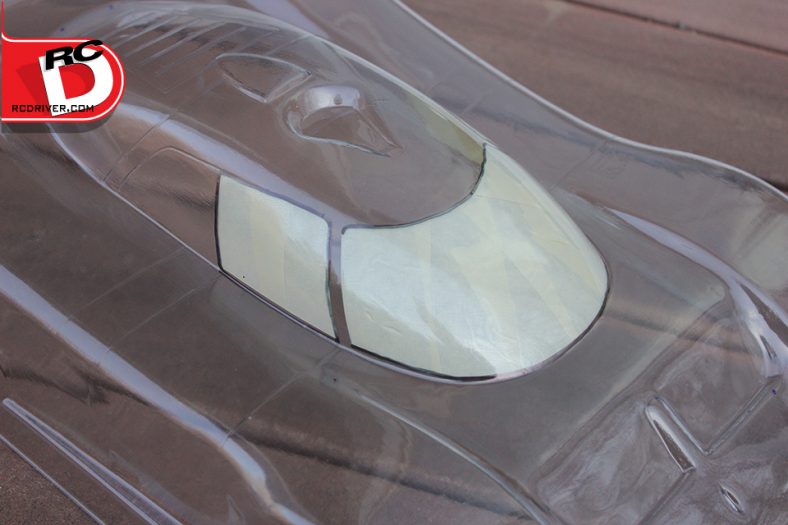 The Delta body came with window masks, but they didn’t conform well to the rounded windscreen. So I used masking tape and a hobby knife to mask off the windows. I like to outline the windows with black marker so I can see the cut lines easier.
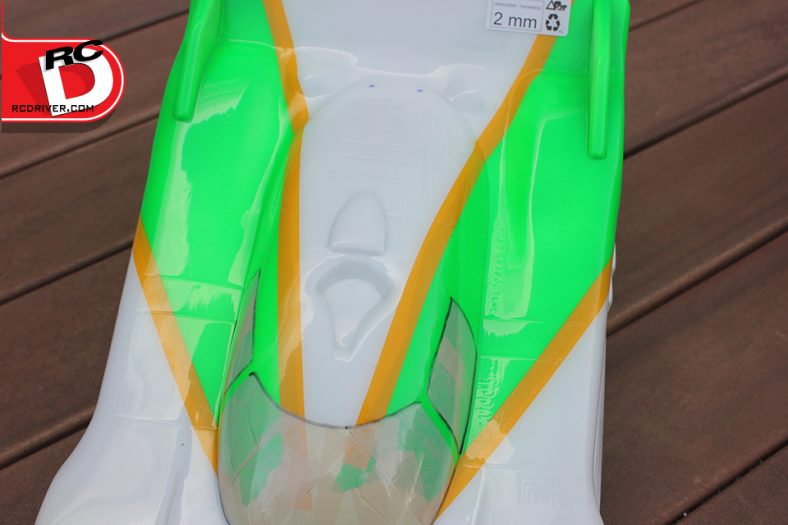
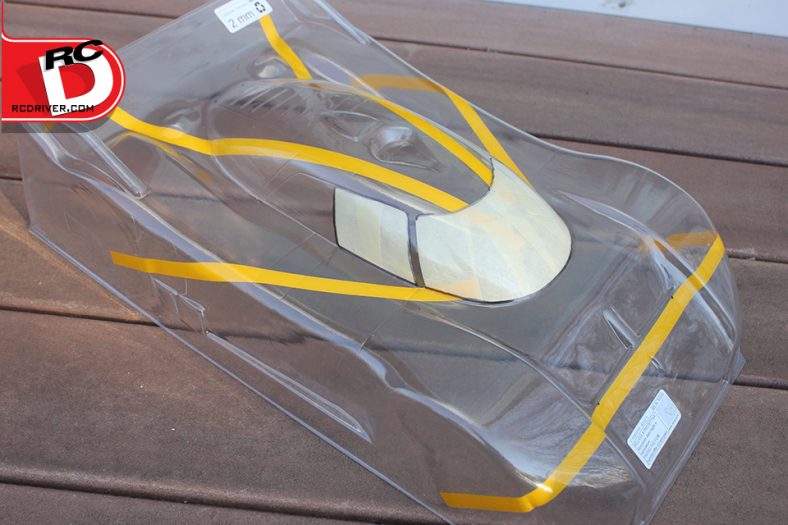 Now its time for design. I’m going with a simple scheme on the Jag and used the Duratrax striping tape to create color breaks.
 After positioning the pin stripes, I covered the areas I didn’t want to paint yet with masking tape.
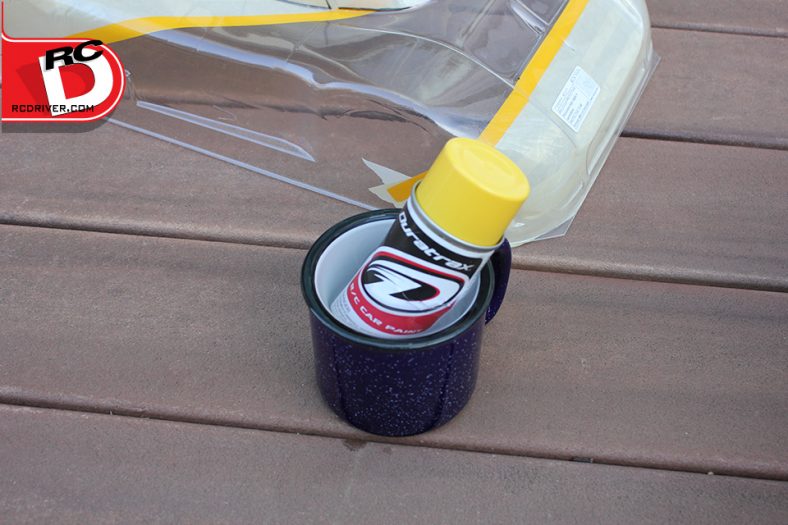 Up front I want a slight yellow fade into white. So to get a nice fade with a spray can, I first let the can sit in hot water. This builds pressure in the can and will allow the paint to spray in a much finer mist.
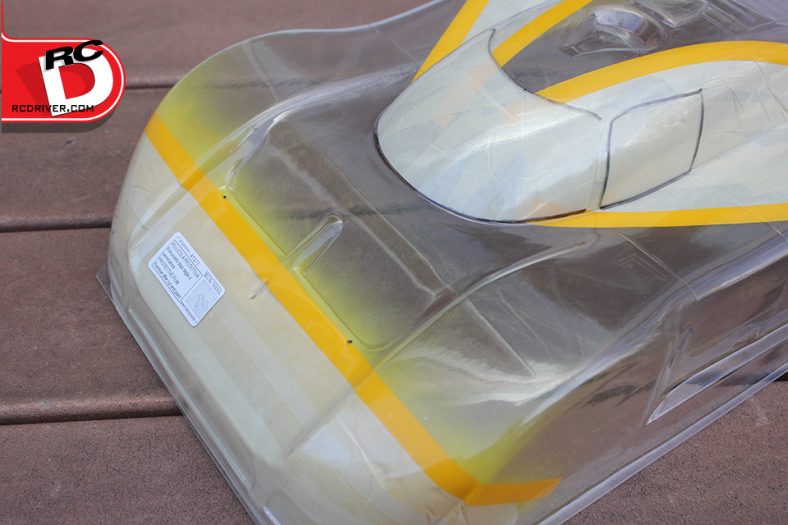 A quick few mists of yellow on the nose, most of the spray was aimed towards the masking side of the nose which gave it a slide yellow fade right behind the pin-strip mask.
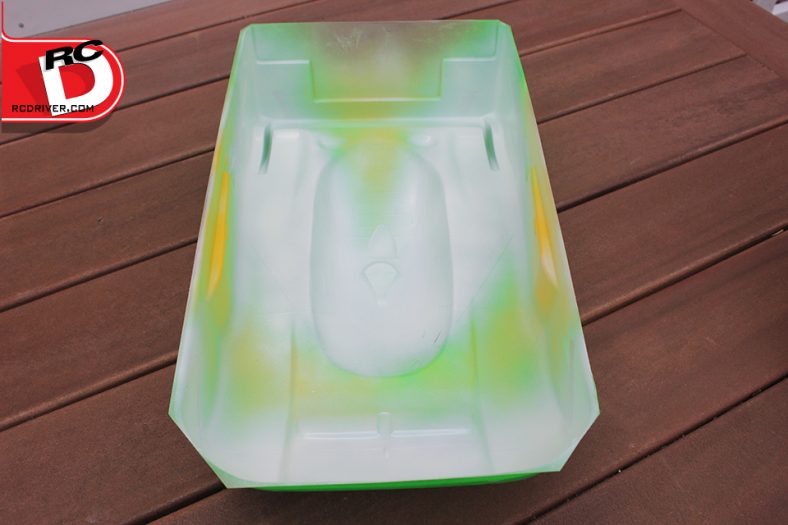
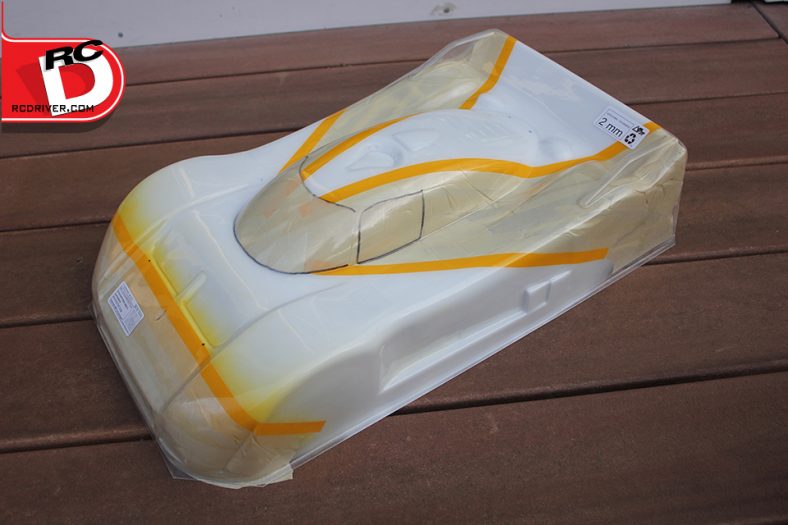 Next, I filled in the rest of the open areas with white. The Duratrax paint is nice and opaque, so I’m not worried about the darker colors I’m spraying later bleeding through.
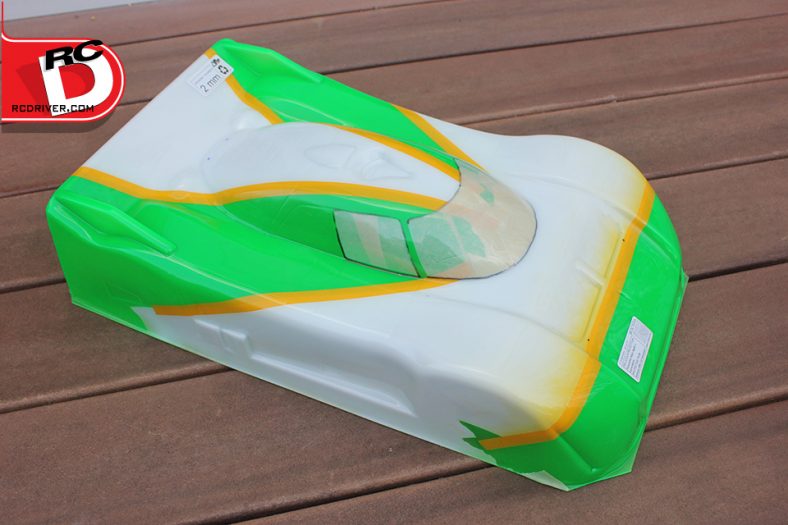 Now I was ready to spray the fluorescent green. I removed the masking tape and sprayed three coats of green until the coverage looked uniform.
Always back your fluorescent colors with white.
Get more useful tips and how to’s from RC Driver Magazine by subscribing now
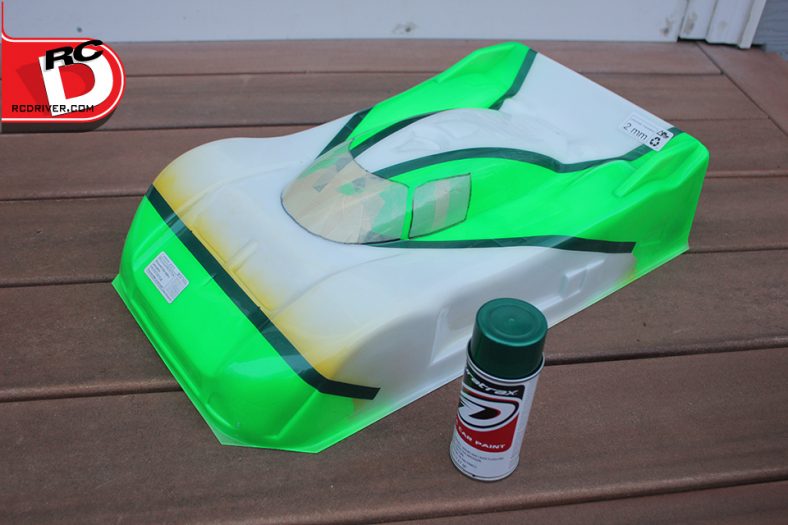 The yellow pin stripe tape didn’t look half bad on the body, but I was envisioning a dark green stripe. I simply pulled the yellow tape and sprayed a few coats of green on the exposed lexan.
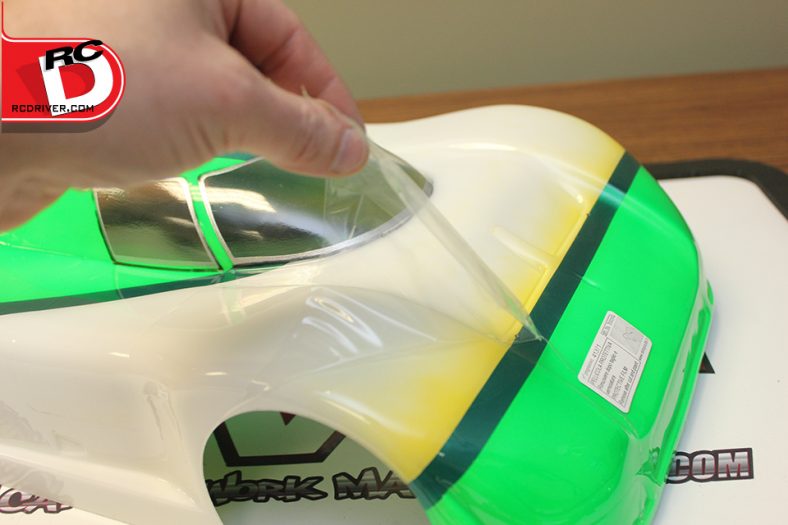
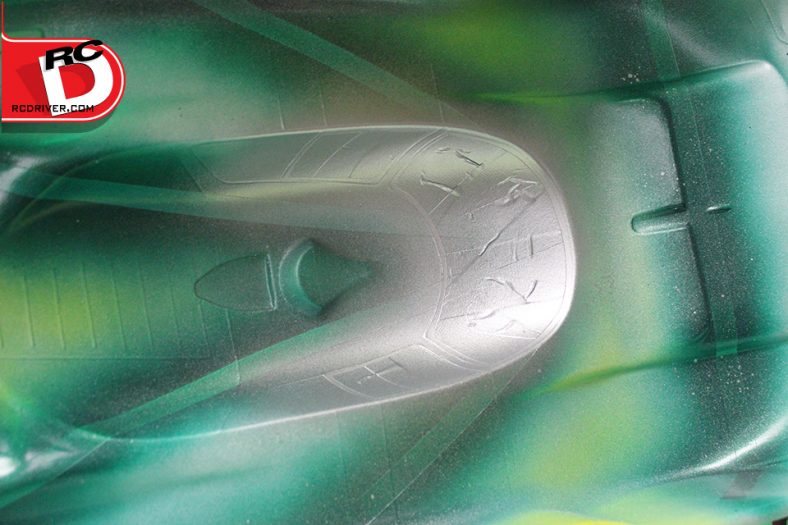 For a little extra detail, I cut a fine line around the windscreen and windows and pulled off the masking tape. I then sprayed the lexan silver to give the look of window trim.
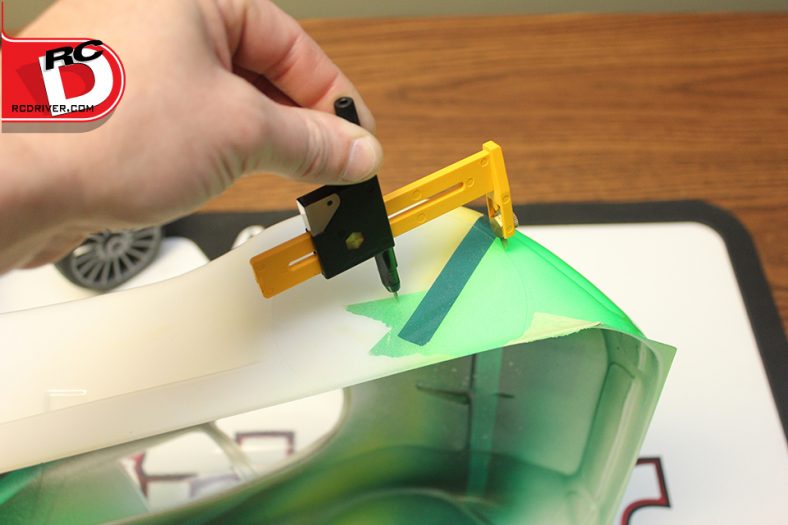 With the painting side of the body work complete, it’s time to start cutting this thick body. An Olfa circle cutter works great for trimming wheel openings.
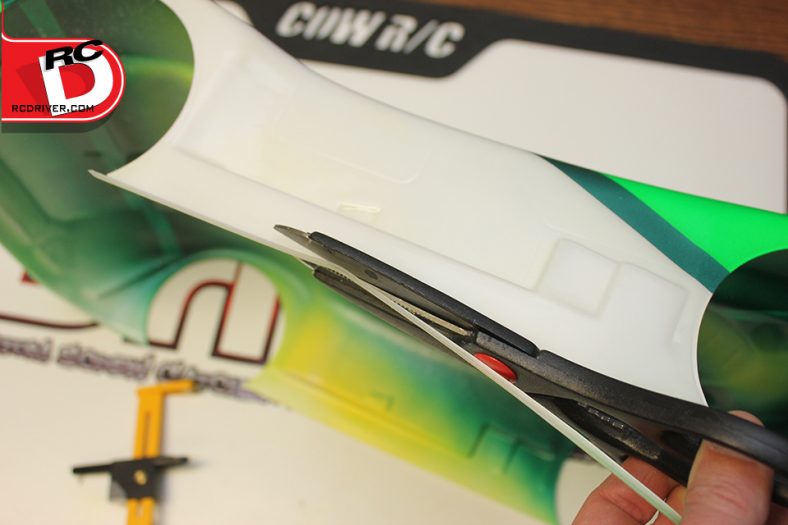 Having a good set of straight scissors works well for cutting side panels.
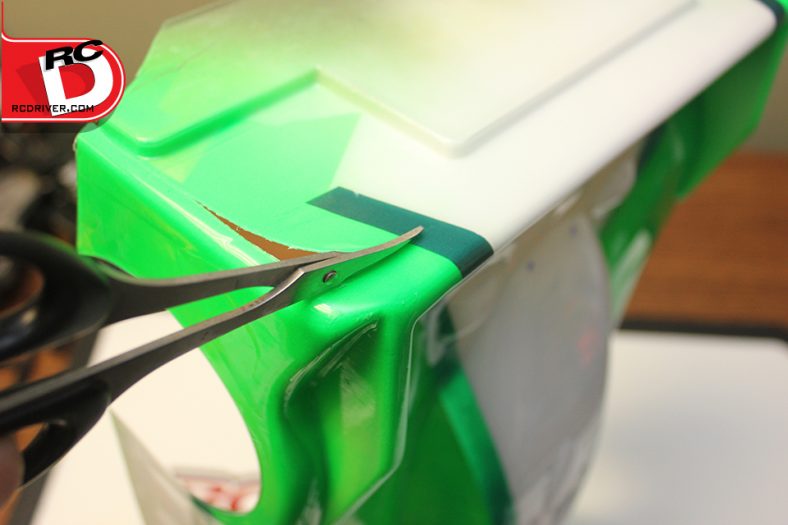 Curved lexan body scissors works great for those tight curves on the back of the body.
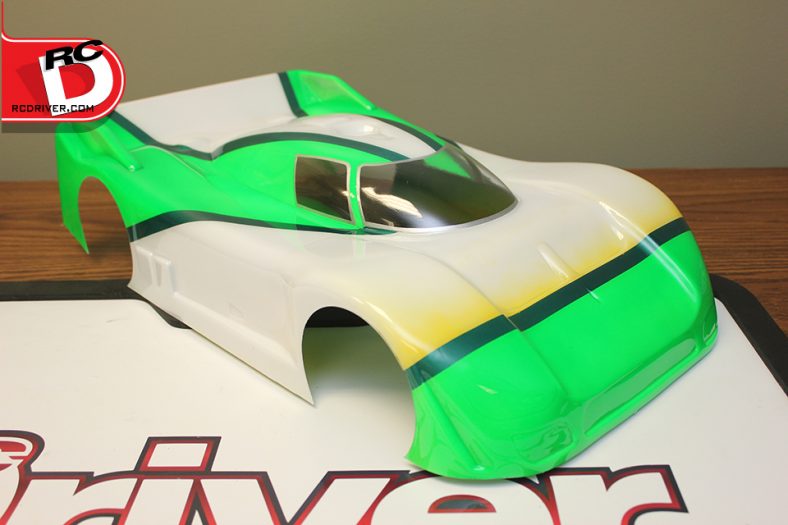
 After I have completed cutting out the body is when I remove the overspray film just to reduce any chances of scratching the body while cutting. This is the best part right here, the shiny painted body reveal. (Inside Joke: Check it out PV!)
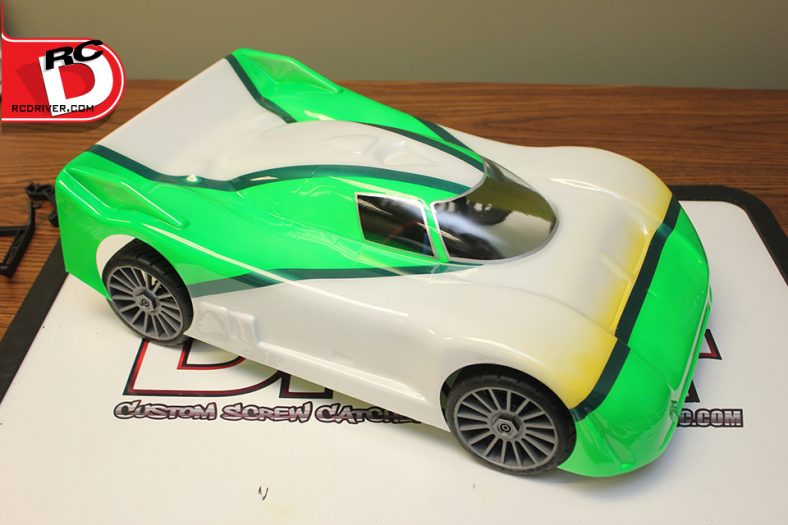
 Now sit back, relax and admire your work!
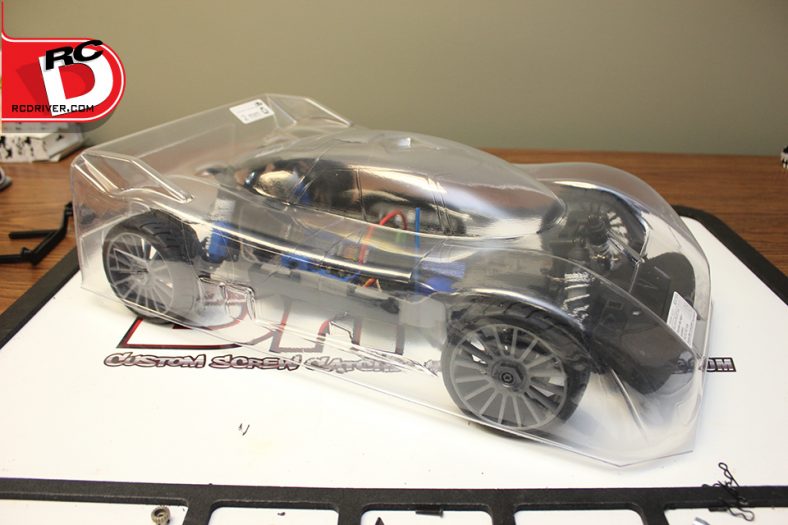
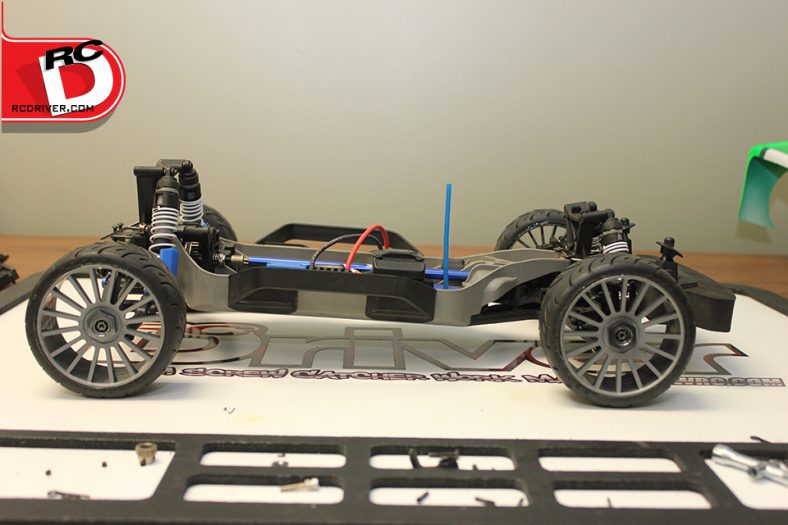
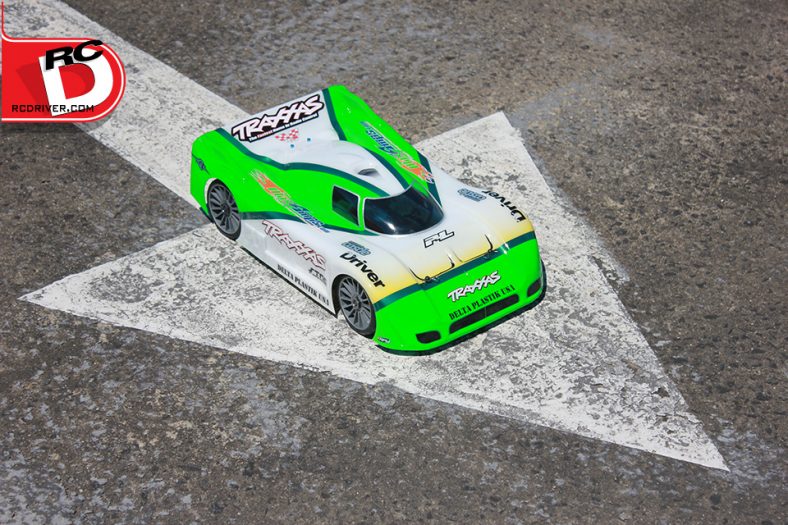
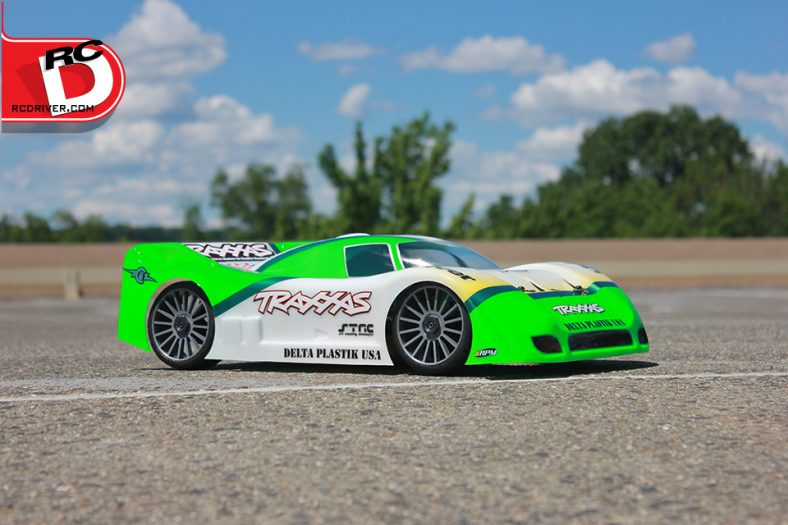
 Here is a little teaser of the body placed on the chassis. We’ll finish mounting the body and decaling it soon. Keep following our build blog to see the final results!
UPDATE: 4-07-2016
Project Traxxas Super Speed 4×4: Lowering the ride height
The 4×4 platform is meant for off-road use, so it has long travel suspension to soak up the bumps and jumps. In our project car’s new life, it will see nothing but assault and the biggest challenge for the suspension will be small bumps, cracks in the pavement and the turns. So for better handling we’re going to lower our Super Speed 4×4 the simple way with some internal shock spacers. Lets get to work.
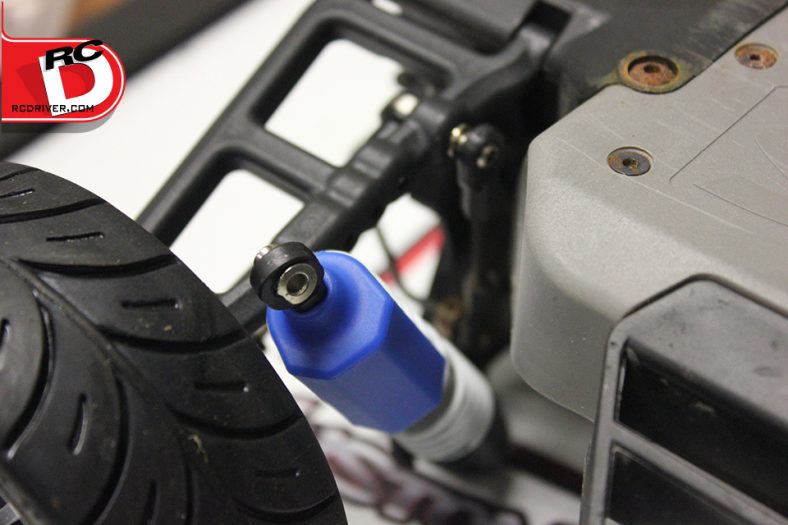
Step 1- Remove the shocks. Unscrew the shock screws that hold them to the tower and arms.
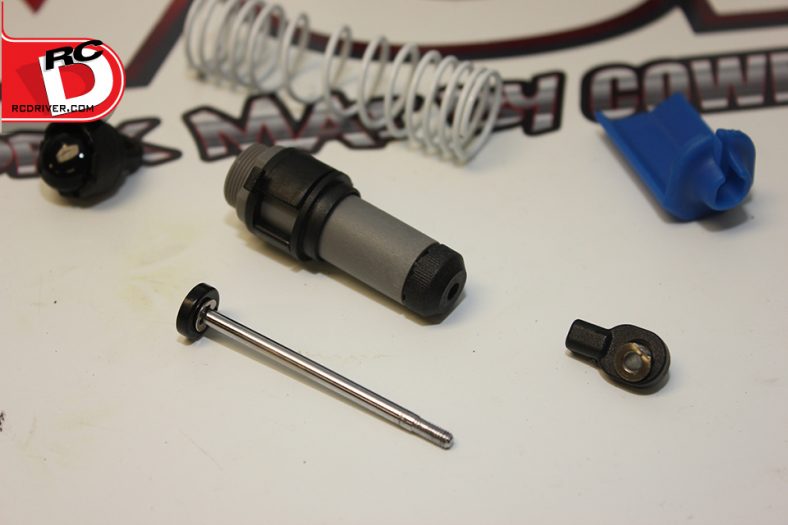
Step 2- Disassemble the shocks. Remove the spring perch and spring from the shock and set them aside. Next unscrew the shock cap and dump out the oil. Now unscrew the shock and and slide the shock shaft out of the body.
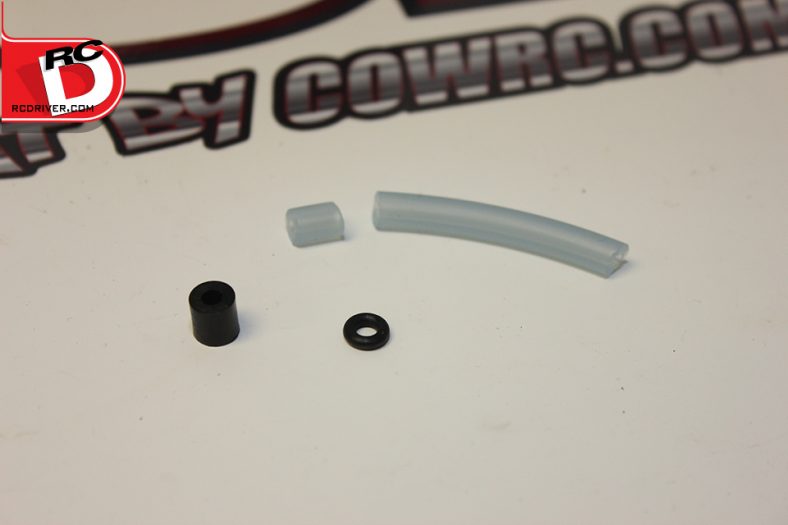
Step 3- Pick your spacers. There are several ways to limit the down travel on a car without droop screws like our 4×4. The use of limiters inside the shock will limit the suspension droop. You can use thick plastic spacers, o-rings or an inexpensive spacer like a piece of fuel tubing. Use the same size spacer for each side of the vehicle. Also you may need to try out different size spacer until you get the ride height your looking for. TIP: When determining the right spacer size, rebuild the shock without oil until you find the right size so you don’t waste oil during this modification.
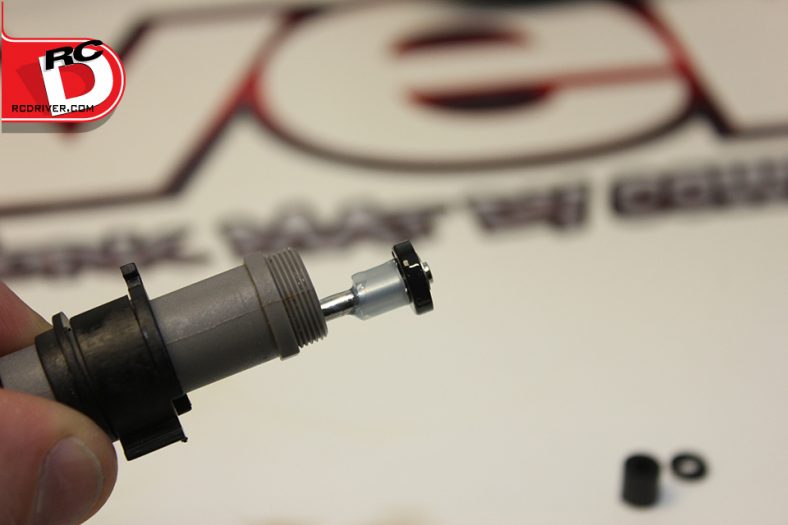
Step 4- We’re using a good old section of fuel tubing as limiters in our shocks. Slide it over the shock shaft then re-install it in the shock body.
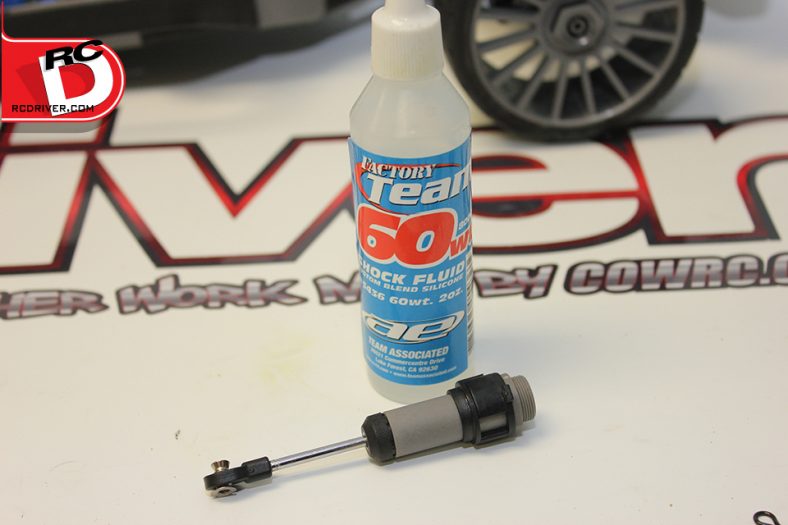
Step 5- Refill. Now its time to refill the shock with oil. Generally on-road cars use a thicker oil so we’re going with 60wt Team Associated in our shocks as a starting point.
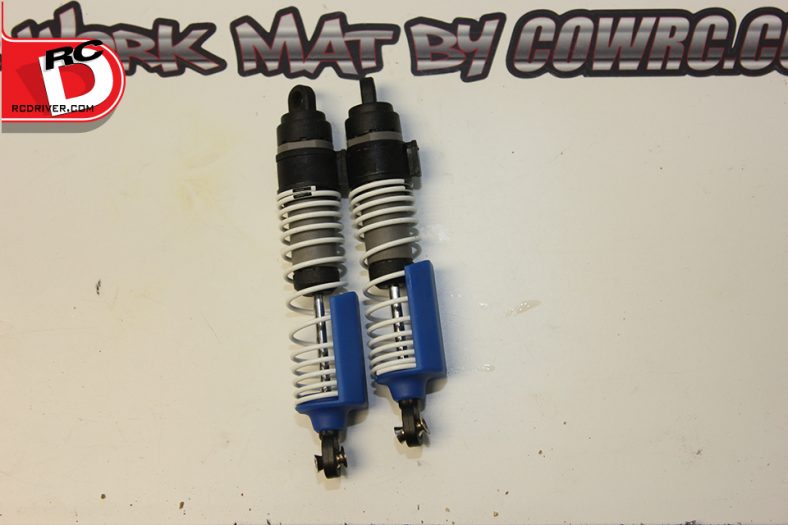
Step 6- Comparison. Here you can see the limited shock next to the stock full stroke shock. Once you’ve rebuilt your shocks, simply bolt them back on the cars arms and towers.
UPDATE: 4-07-2016
Project Traxxas Super Speed 4×4: Wrap Up
Our Traxxas Super Speed 4×4 has been missing from action on the RC Driver Build Blog, but it hasn’t been forgotten. This fun high speed build had to be shelved while we worked on some other projects, but its back and rather than draw out the build any longer, we decided to wrap it right up so we could get on to the giveaway that we know many of you have been waiting for!
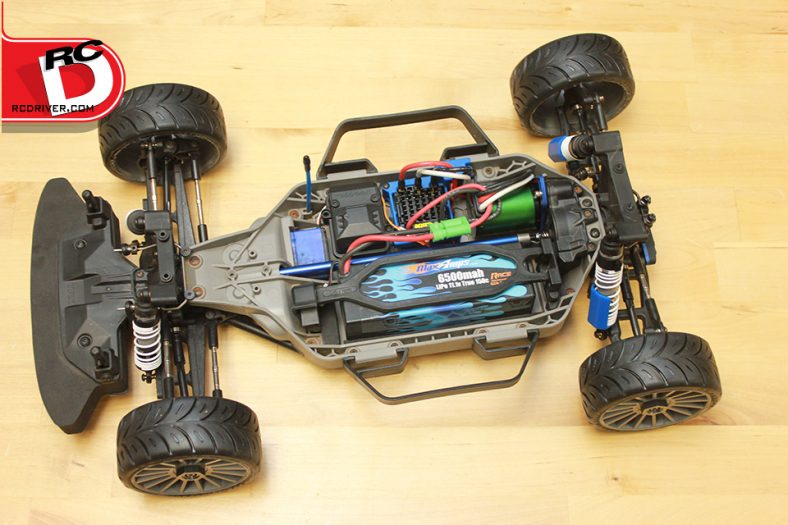
Our Project has been wrapped up with a Castle Creations 1406 4600KV motor and a MaxAmps.com 6500mAh 11.1V Race Edition LiPo battery pack. That’s it! Pretty simple and the end result is our old beat up 4×4 now has a new life as a Super Speed road racer. Now the only thing left to decide is who pulls the throttle on this machine first and that person could be you!
CLICK HERE TO ENTER FOR A CHANCE TO WIN OUR TRAXXAS SUPER SPEED 4X4 BUILD!


Please tell me this is going to get some awesome Hobbywing or Tekin electronics!
Extended battery hold down and a small 4S would make this thing scream so good.
Nice setup hope to own one someday
This will be sweet, would love to have. Its so nice to read and see the right way to do it all, that way when I want to completely redo mine I know how. Thanks again for brining us the best articles, builds,and reviews in the industry.
Nice body ,heck this whole car is awesome
i would love to have one of those too bad i dont have money
We have been waiting months for the wrap up and you leave us without laying down some numbers? Insert screams of anguish here. J/k’ing. Thanks for the write-up!
That turned out to be one incredible speed machine!
Hope to be able to have an awesome car like this someday. Great build.