Founded in 1937, Volkswagen’s first product for the civilian market was the heirloom classic, the Beetle, then known as the KDF Wagen, which was widely used during World War II and shared the same chassis as the famous military jeep Type 82 Kubelwagen barrel car. For more information about the Type82 Kubelwagen,please refer to https://www.youtube.com/watch?v=_mHQw2yjx1o&t=67s.
Today let’s take a visit at FMS factory to see how this Type 82e/87 Military Beetle is produced.
Since its release, the ROCHOBBY 1/12 Kubelwagen has received great reviews from users all over the world, not only from a large number of modelers but also from industry media, reviewers, real car collectors, military experts, and more. We are glad that people like this kind of dynamic model, and we will continue to bring you a richer line of 12th scale products that can carry figures.
#Part 1 Chassis Assembly Process
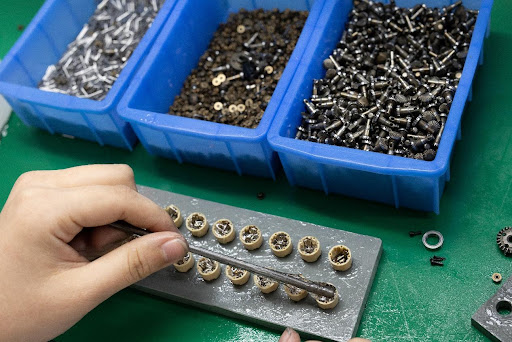
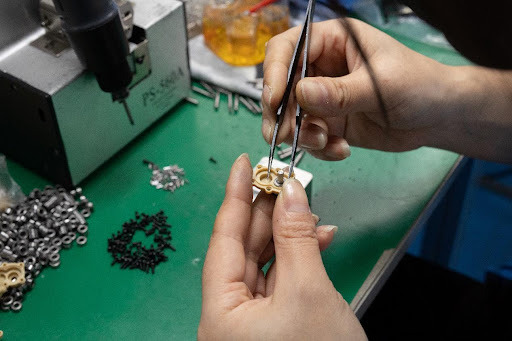
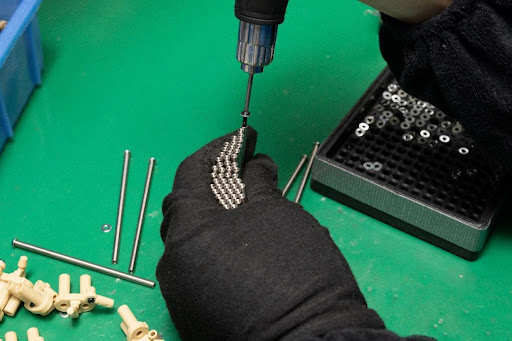
The differential is a nylon housing with a diameter of only 11.8mm, about the size of a girl’s thumbnail, and is fitted with two half-shaft gears, two planetary gears and a pin, all made of metal.
The differential of the 1/12 Kubelwagen makes it possible for smaller turning radius which is very important for the simulation of RC cars whose main scenes are driven indoors, but sacrifices a certain off-road performance, and the experience of driving outdoors is not ideal. According to the user’s suggestion and test, we fill the silicone oil with viscosity 100W CTS in the differential.
The viscosity of the silicone oil can be comparable to maltose, which makes the differential work in a semi-open state, mimicking the effect of the ZF limited-slip differential used in real cars, so that it will not slip and idle when encountering cross-axle conditions.
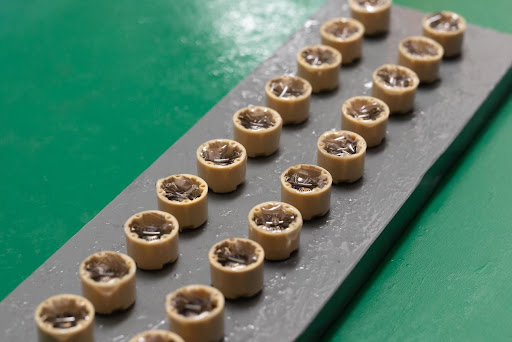
The differential filled with silicone oil should be left to stand for 2 minutes, and the fluid level should be smoothed out before installing the large gear outer cover.
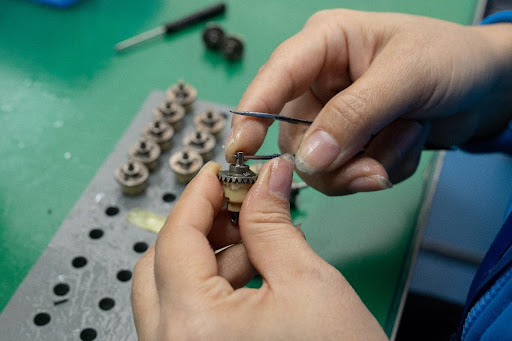
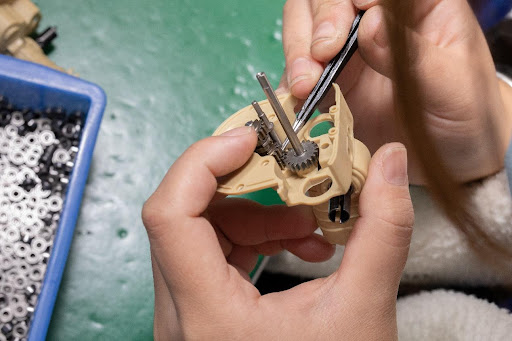
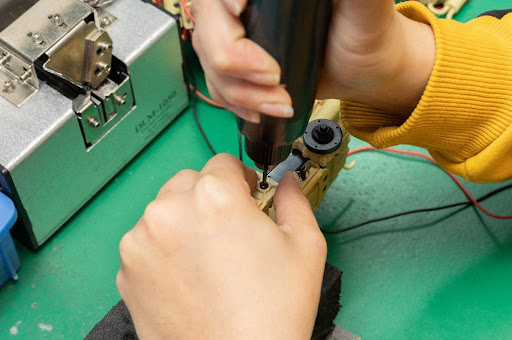
The assembled differential assembly, the worker is turning one side of the bevel gear shaft to check for smoothness.
This station is assembling a set of gears used to drive the rear axle differential in the gearbox
On this set of gears, the small bevel gears are used to drive the rear wheel differential, and above the large gears are the four-wheel drive and rear-wheel drive joiners.
A differential is fitted into the gearbox housing, and the short stainless steel shaft exposed at the front is the fork puller for switching between RWD/4WD.
The “gearbox” assembly is over for now, and next is to install the real two-speed mechanism, which is hidden in the middle of the engine cylinder.
Assembling two speed transmission fork
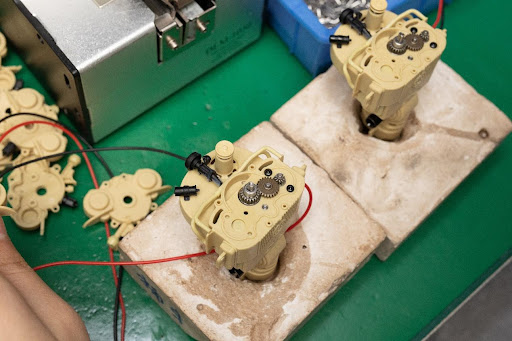
Two speed transmission has been installed, The yellow on the left is a stand-in for the 130 motor, and the space on the right is the location of the real machine.
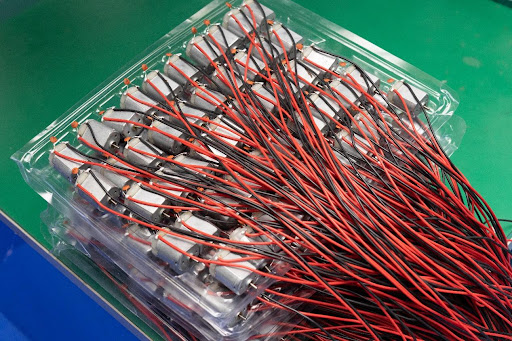
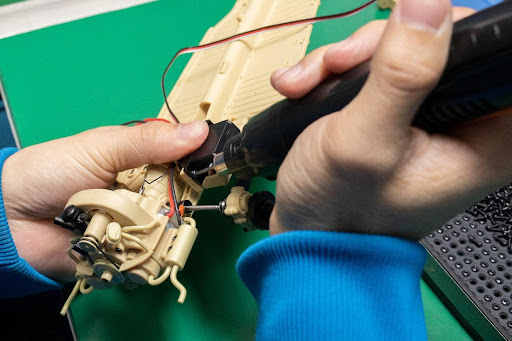
There comes the big machine! The end of the motor is a dissipative capacitor, and the motor wire is very long for it to go through the whole chassis with the head ESC round.
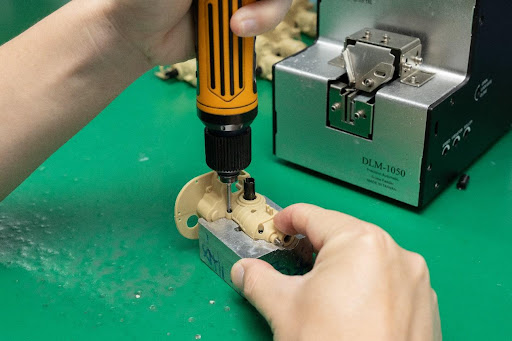
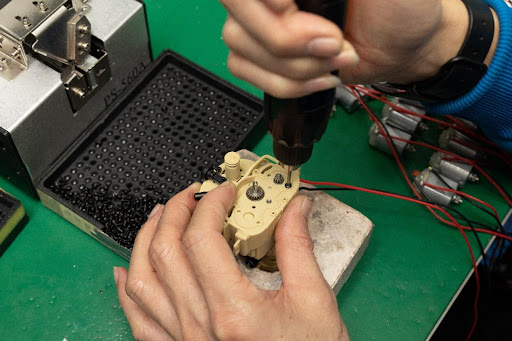
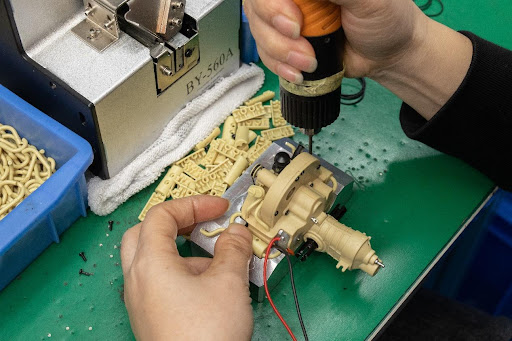
Now locking the motor, with the 130 motor mounted on the right side of the engine and the left side reserved for a future dual-motor model.
Install the primary reduction gear and the center shaft bearing.
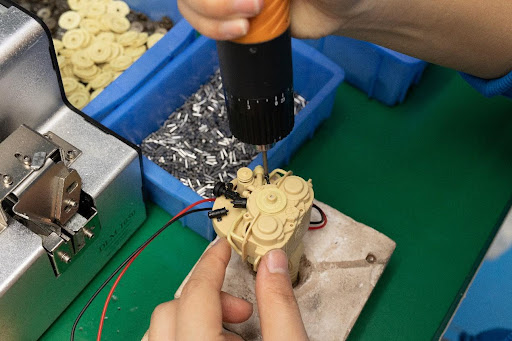
The whole engine assembly is basically completed when the engine outer cover is locked.
Power on test– each engine assembly finished needs to test the motor speed, operating current, noise.
The engine that is inspected correctly is finally fitted with the exhaust, flywheel and belt.
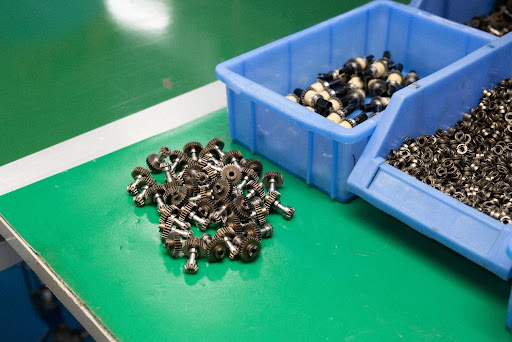
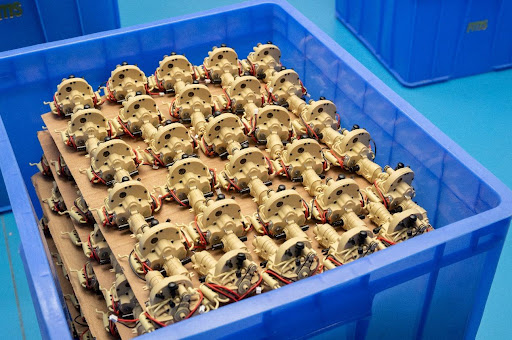
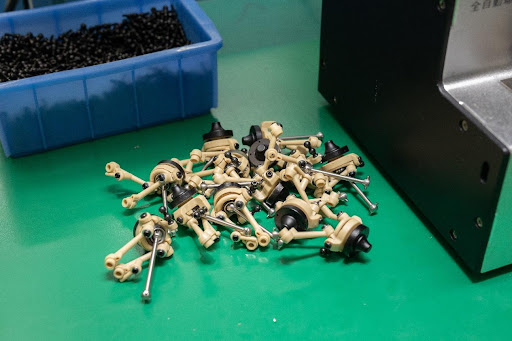
Perfect for OCD people
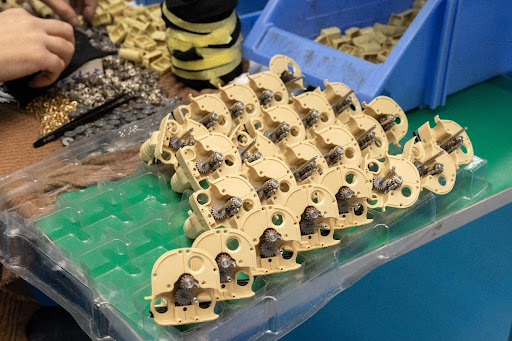
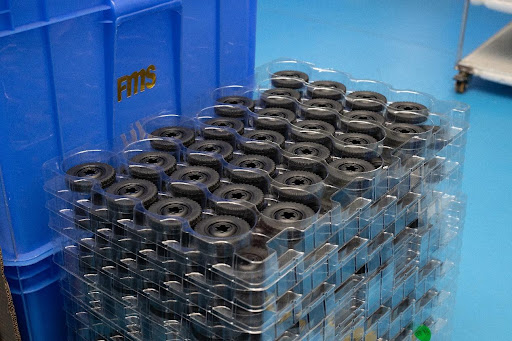
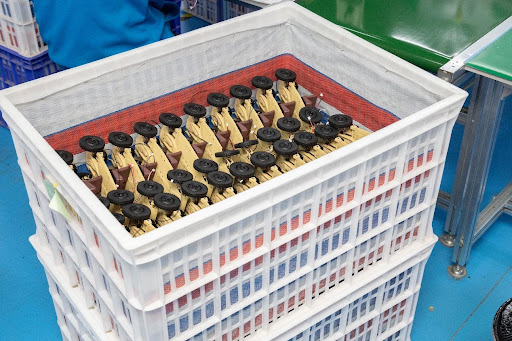
All placed neatly like crabs, waiting for the next assembly process.
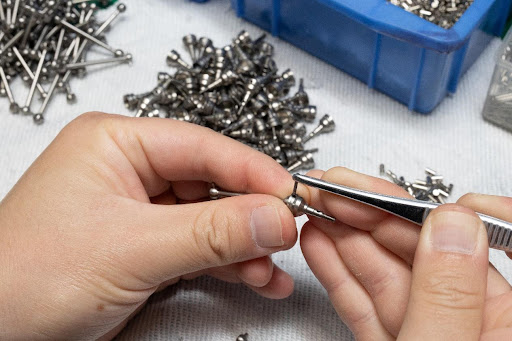
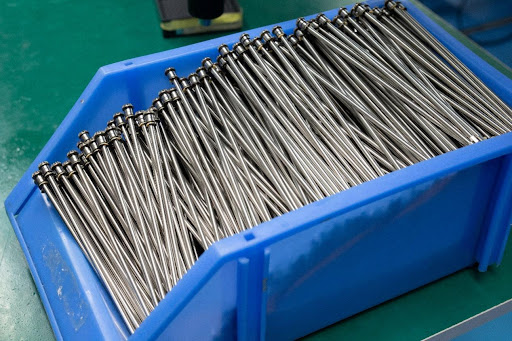
This is the front wheel CVD universal joint drive shaft that is being fixed by the threading pin, all stainless steel.
Install T-sleeve in the steering cup to reduce steering friction.
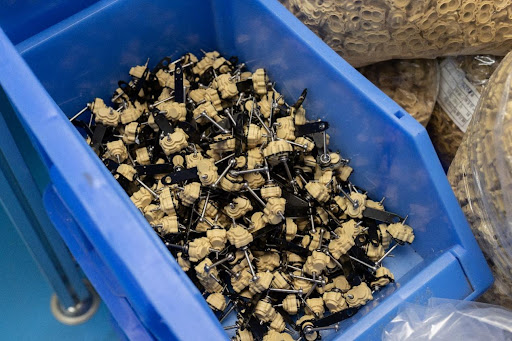
Assembly of Porsche’s patented trailing arm suspension assembly is completed.
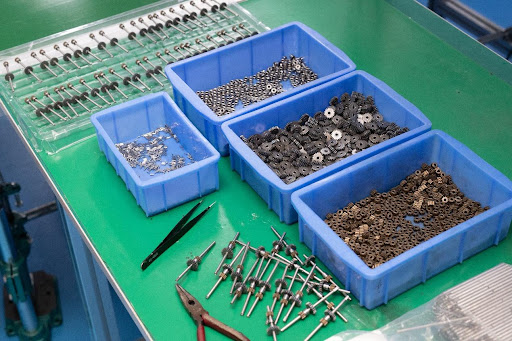
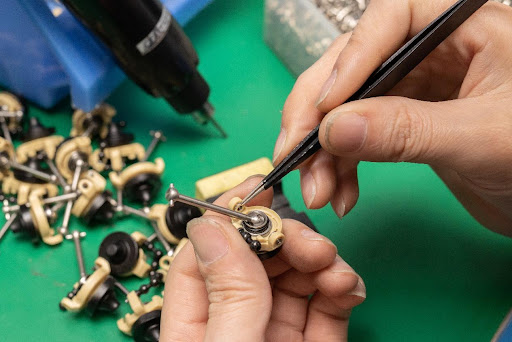
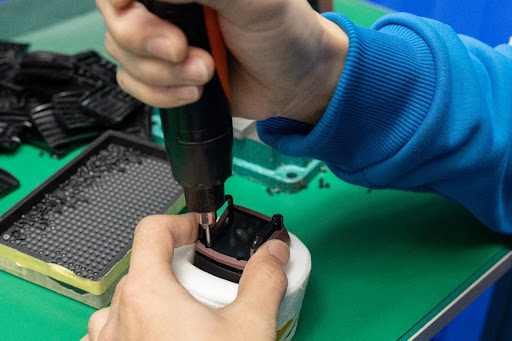
Bearings are being assembled into the rear wheel door axle, and four-ball bearings and two metal gears are being installed in each door axle.
The pic shows the assembled rear axle door axle assembly, in which the yellow is the door axle gear box, black is the metal swing arm, and silver is the CVD universal joint.
The central driveshaft is assembled and the small umbrella gear in front is used to drive the front wheels when switching to 4WD.
Installing black metal rear suspension oscillating shaft.
The front suspension will be fixed to two heeled stainless steel posts.
Install the servo, the right side is the shift servo, the left side is the RWD / 4WD switch servo.
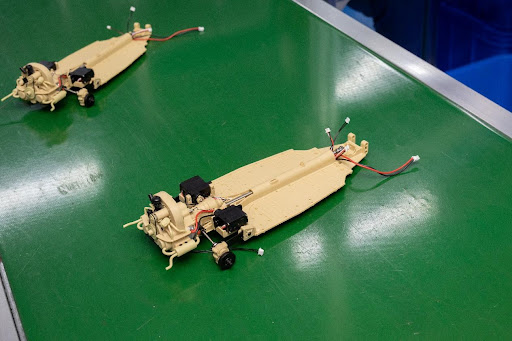
Two sets of rudder wires, two sets of light wires, and one set of motor wires all go through a central ridge tube on the chassis sticking out from the front.
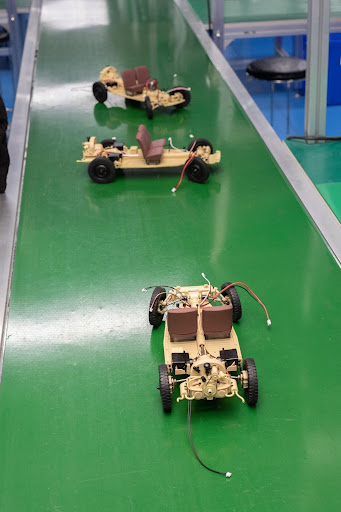
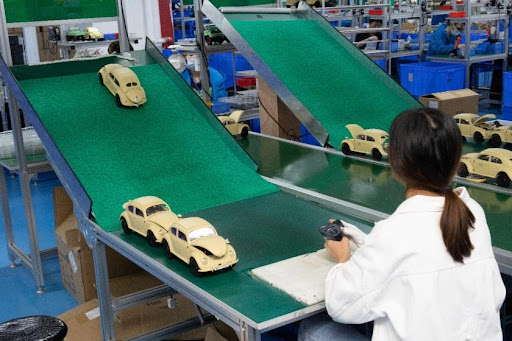
The assembled chassis are put on the conveyor belt and sent to the next station.
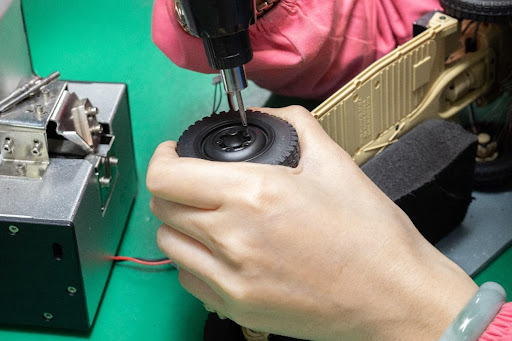
This station is responsible for wheel assembly, the wheels and tires have been assembled in advance, the wheel assembly is a clip structure without screws or glue, can be assembled with bare hands, is the patent technology of FMS.
The wheel is 5 holes fixed, and the actual car is exactly the same, the central wheel locking nut is covered by the simulation parts
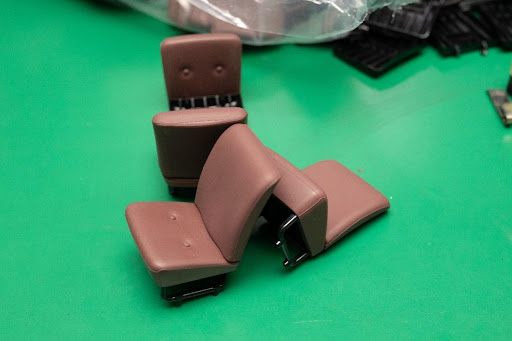
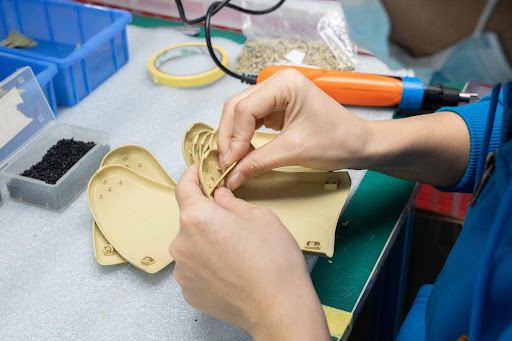
The next assembly seat.The seat and backrest are wrapped with silicone cover, very soft, easy to fix 1 / 12 dolls.
At this point, the chassis assembly is complete!
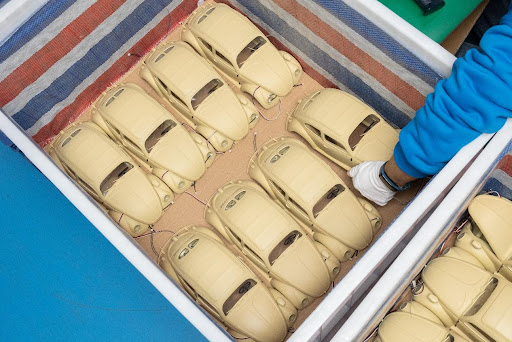
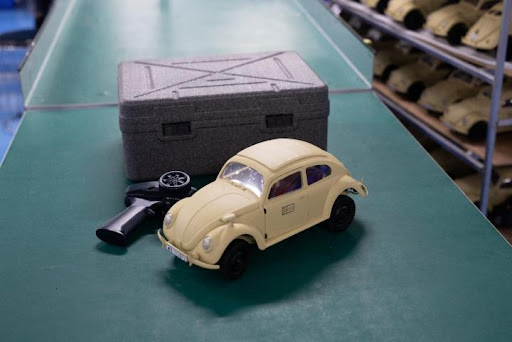
The chassis lying quietly in the trunk, waiting to be united with the car shell.
Good news! It’s now in stock in different channel. Shop now if you are interested.
#Part 2 Shells Assembly Process
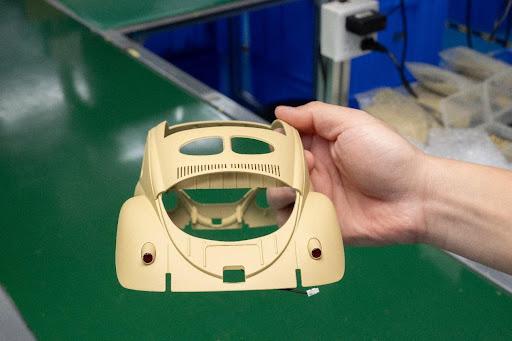
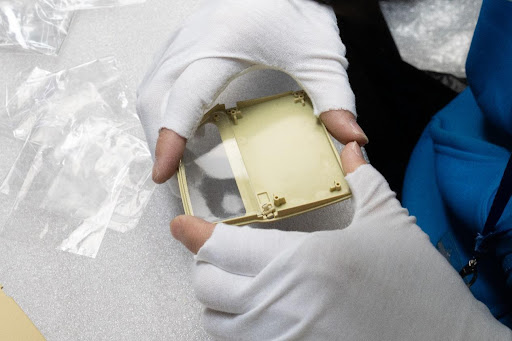
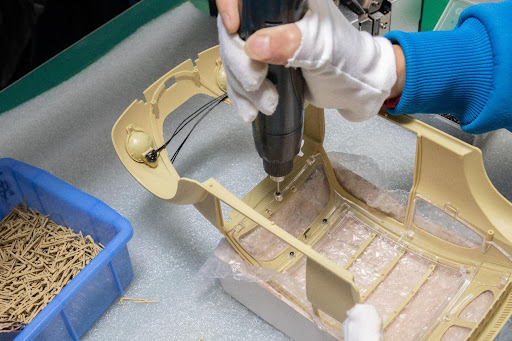
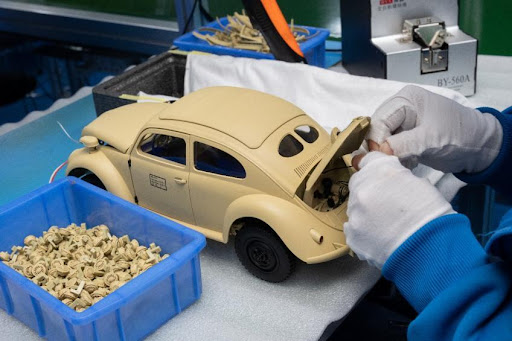
The front hood, or the front trunk lid as it should be called for the Beetle, has even sheet metal details on the inside.
Secure the handle of the luggage compartment lid from the inside.
Install the big headlight.
Then install the taillight.
Nortech Anti-aircraft Light.
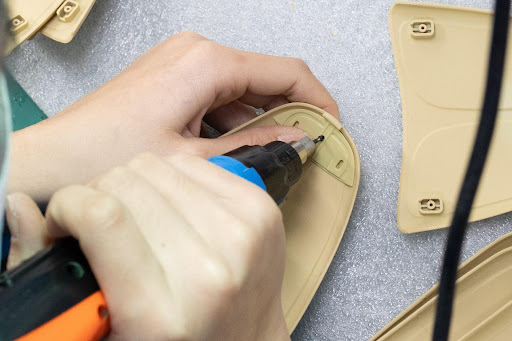
Installation of headlights and taillights, both using small size SMD LEDs, to achieve the effect of complete light shielding.
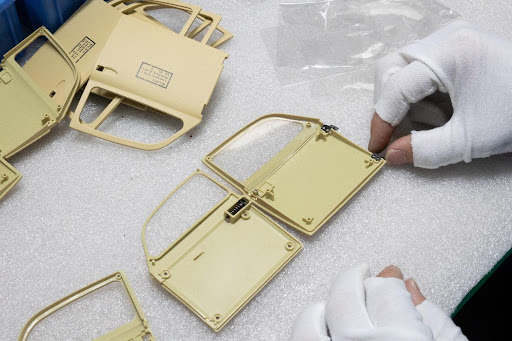
The door handle and spring lock mechanism open exactly the same way as the real car, and the specially molded corner hinges are also completely restored to the real car door activity structure.
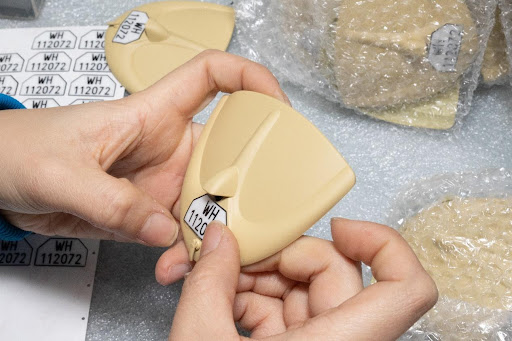
Attach the license plate to the rear hood of the car.
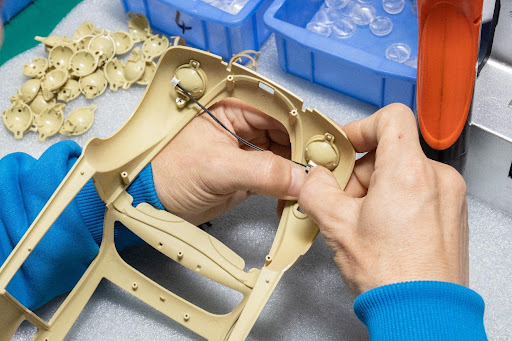
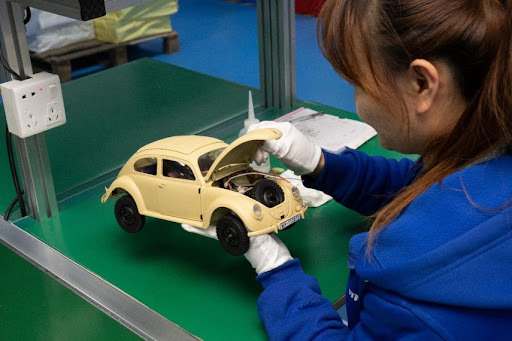
Installing the interior rear view mirror. The skeleton on the window is said to have a special function. Comment below if you know the answer.
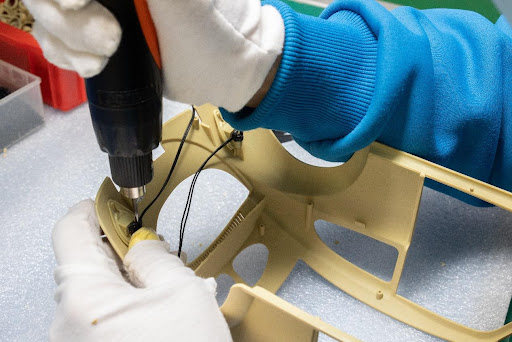
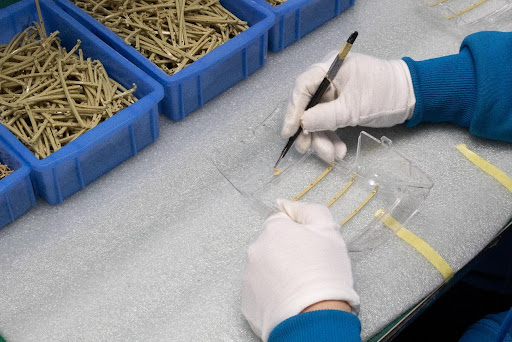
Installation of window “glass”.
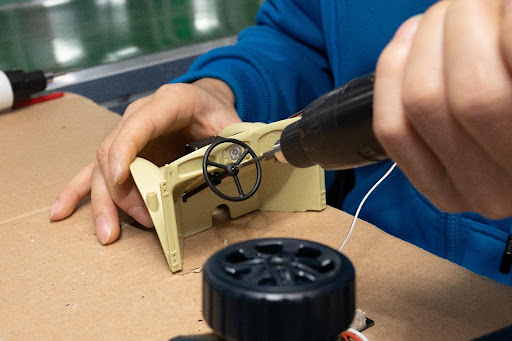
Installation of the steering wheel, by FMS standards must be linked steering wheel.
This picture clearly shows the linkage logic between the steering servo and the steering wheel.
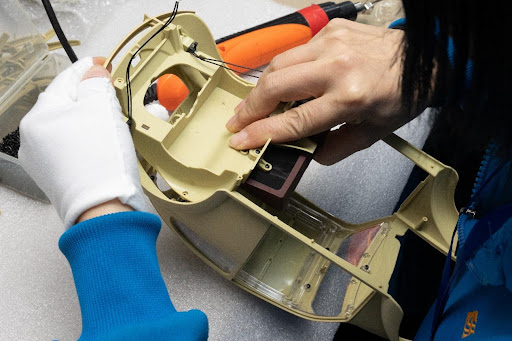
Install the rear cover and rear seat (also made of soft rubber).
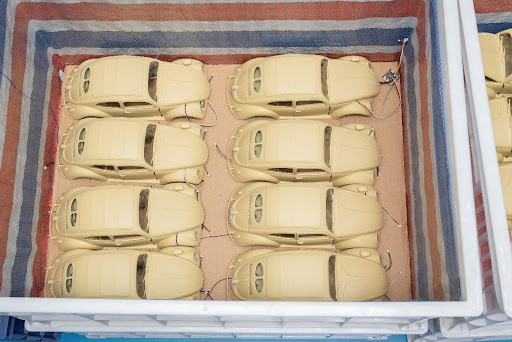
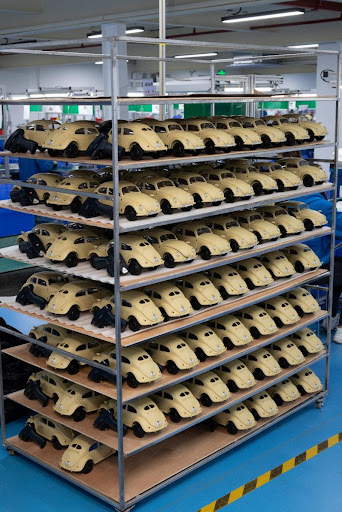
The assembled shells are neatly packed in the trunk like this for the final assembly.
Good news! It’s now in stock in different channel. Shop now if you are interested.
#Part 3 Quality Inspection
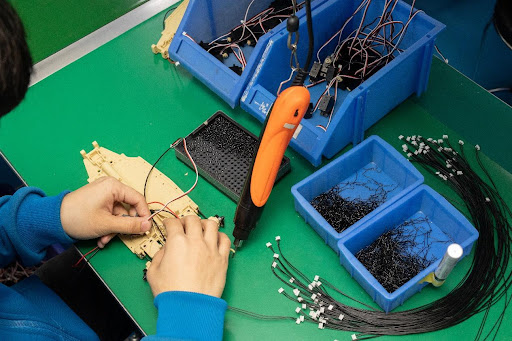
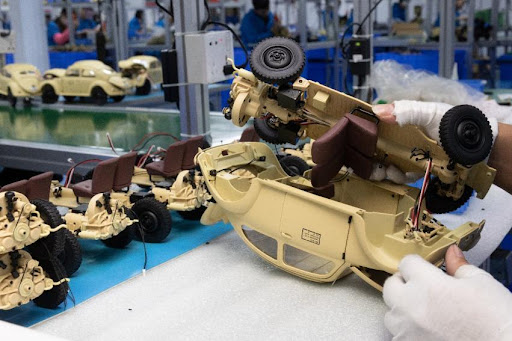
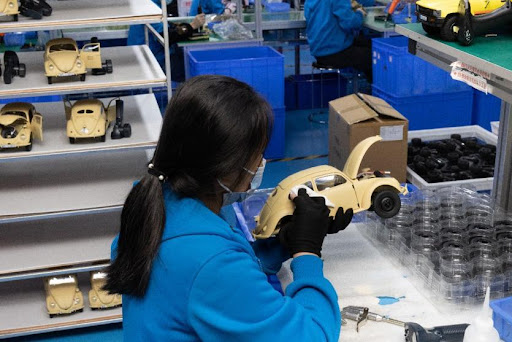
After a long assembly line and dozens of stations, finally we are in the final assembly link, because the chassis and shell have electronic equipment, so there are many wiring harnesses need to be handled carefully.
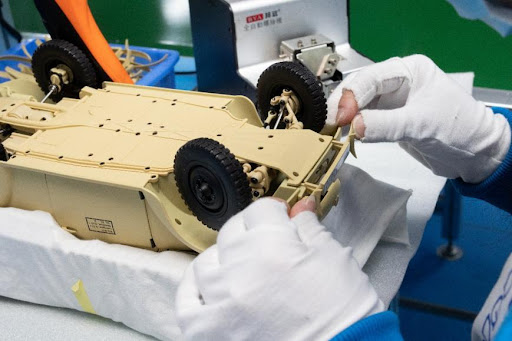
Lock the chassis screws in place after assembly.
The almost finished Beetle lies in the special jig when the workers put on her bumper, the front two screws are also chassis locking screws, considering the possibility of damage in a collision, the bumper is designed to be easy to remove and replace structure so that the user can replace it by himself after damage.
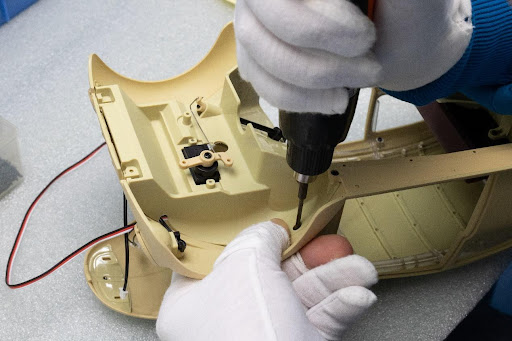
Now dealing with the light linkage at the rear of the car.
All assembly work completed and now comes to the remote control to the frequency, power on the actual running check!
The qualified products in now doing the final cleaning. The first is to blow dust to remove particles adsorbed on the shell because of static electricity, followed by alcohol cotton wipe to remove fingerprints that may be left during the assembly process.
The final step is to pass the quality inspection test.Our inspector will fully check all details of the vehicle’s appearance, pass the stamp, fail to record in the small book on the right, then rework and backtrack the relevant assembly stations.
This is the freshly produced Beetle, just like the one just produced in Wolfsburg 80 years ago, the inspection approved product waiting for packaging.
Soon, this model will take a huge ship, train, plane to go around the world, through the model store, toy store, Taobao, Amazon… to your front, not only the appearance, interior highly restored, but also the chassis mechanical structure and function according to the actual car at full strength, which is not the model should have been the way!
Good news! It’s now in stock in different channel. Shop now if you are interested.
 RC Driver The Best In RC Car & Truck News, Reviews & Video