 RC Driver The Best In RC Car & Truck News, Reviews & Video


First things first, finding the right servo horn for your needs. Here we’re using an Axial horn for our Axial Wraith. If your checking out this how to as reference and have a different vehicle, its best to go to the manufacturers option parts page for your car and see if a specific horn is offered for your vehicle. If not, you’ll need to do some research to see what best fits your vehicle, there are certainly plenty of offerings for aftermarket aluminum horns out there. Once you find a horn that fits your needs, make sure it fits your servo. Servos have different splines depending on the manufacturer. Splines are the little teeth on the servo output shaft. Futaba or a Tactic servo which is installed on our Wraith has a 25 spline output. Hitec has a 24 spline and Spektrum for example has a 23 spline servo output. Make sure you pick up a horn to match the spine of your servo. Now you can finally gather up your tools for the swap. Here we’ll be using a MIP 1.5mm and 2.0mm hex driver, a AKA nut wrench and some thread locking compound.
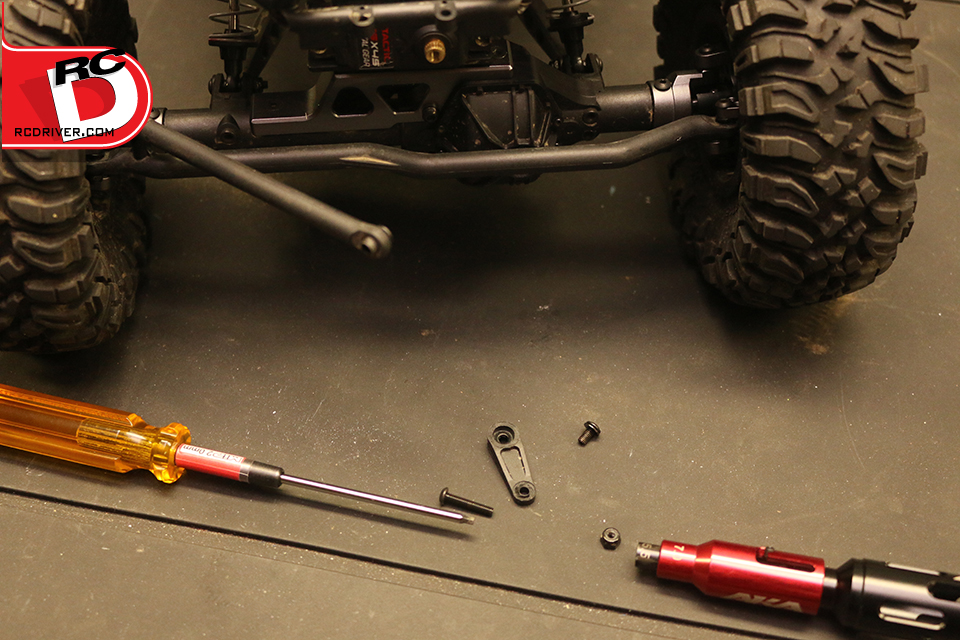
The tear-down! Taking things apart is always the easy part. Here we used the 2mm driver to remove the servo horn retaining screw and slide the horn off of the servo output. Then the 2mm driver and AKA nut wrench was used to remove the screw and hardware that secured the horn to the steering link.
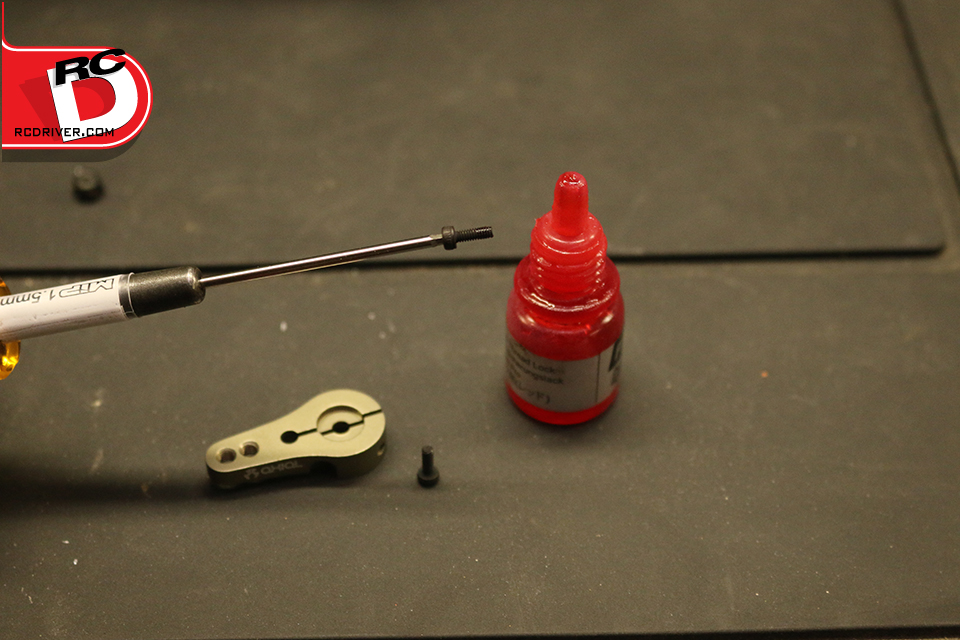
Before screwing the clamp screws into the servo horn, put a light coat of thread lock compound on the screw threads.
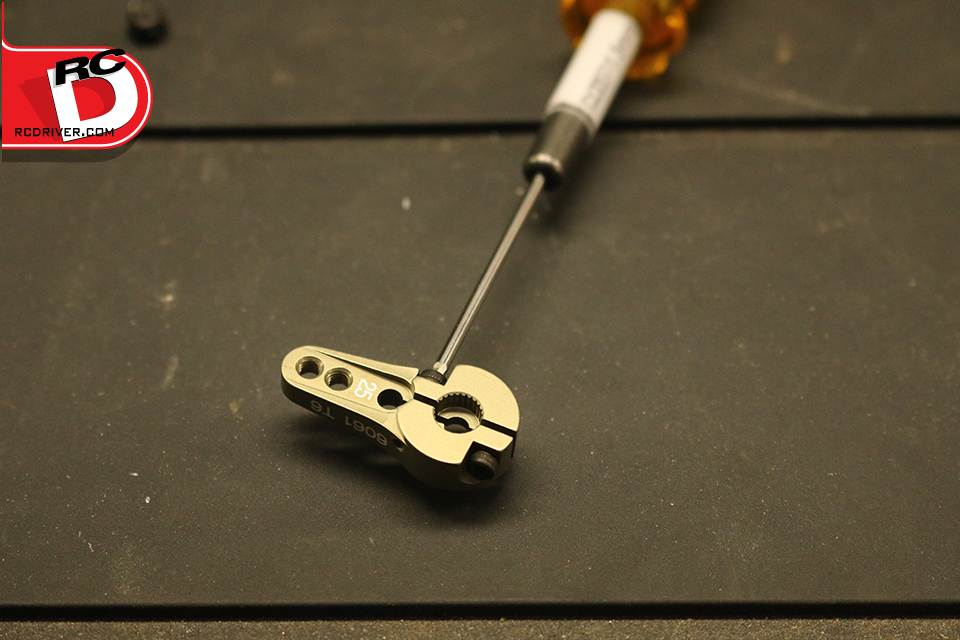 Thread the clamp screws partially into the horn, don’t tighten them down just yet.
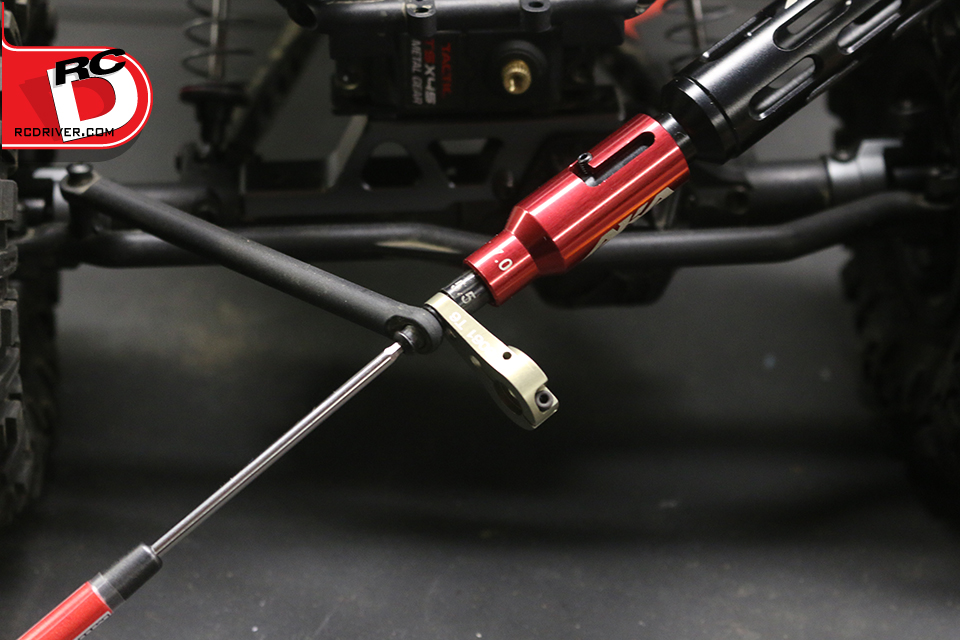
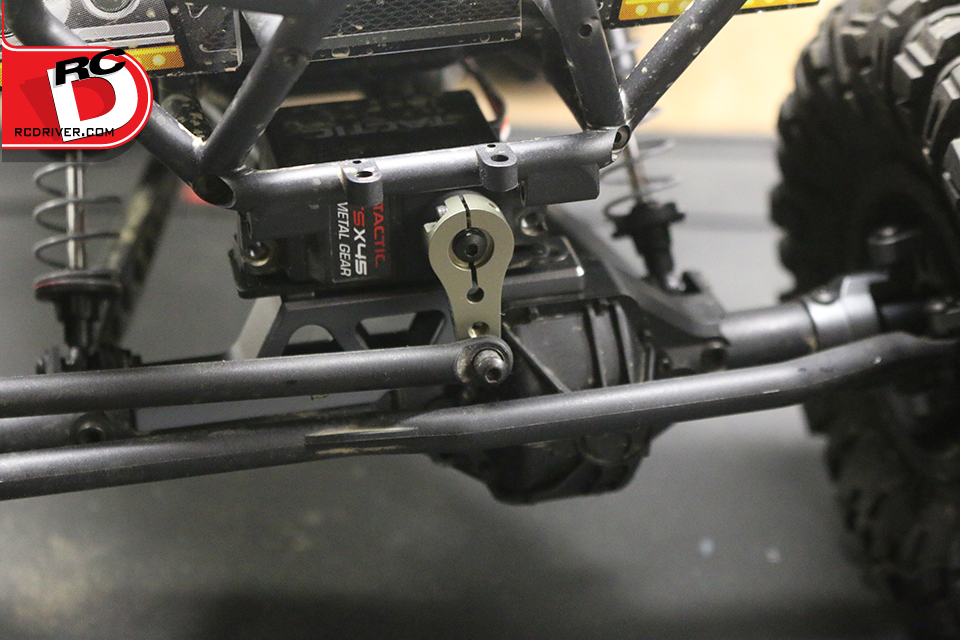
Secure the new horn to the steering link with the same hardware you took off of the stock horn. Make sure the spine side of the horn will face the servo when you swing the assembly back in place. Also make certain the link is installed on the correct side of the horn so it doesn’t bind or hit anything later once everything is installed.

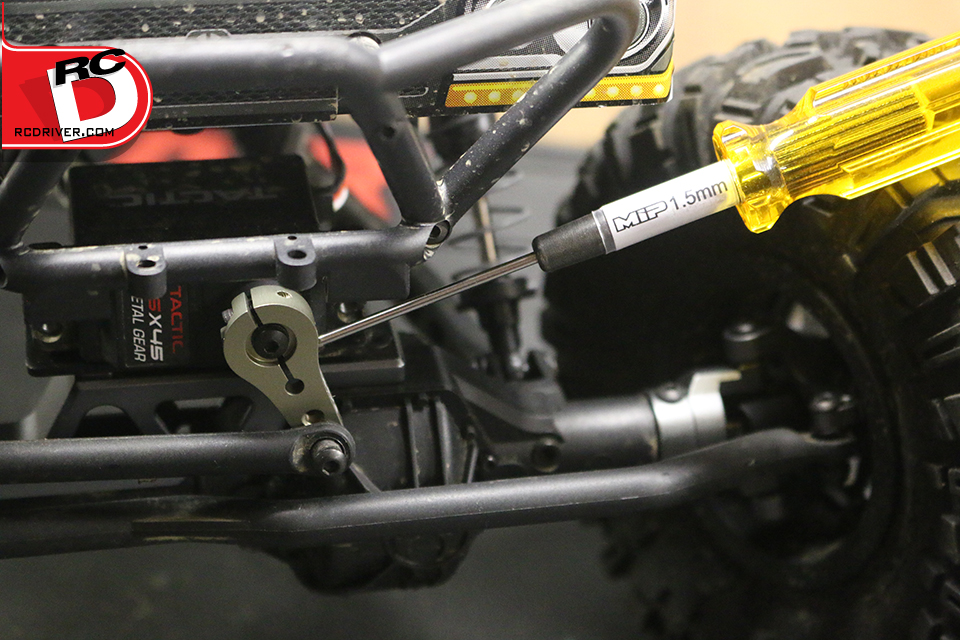
Turn your transmitter on and set the radios steering trims to zero. Point the wheels straight ahead and if the steering links are fixed like our Wraith, the horn should point down and be perpendicular to the servo. If your car has links, its often best to have your steering assembly squared up so it steers equally left to right. Put a dab of thread lock on the servo horn retainer screw and tighten it securely in place.
The final step is to tighten the clamp screws. Tighten the lower screw until its snug, then tighten the top screw until its snug. Now go back and tighten both screws a little bit more. You want them to be tight, but not tighten them to the point of possibly stripping out the fine screw threads in the aluminum horn. Done, go play!


")