 RC Driver The Best In RC Car & Truck News, Reviews & Video


SPONSORED ARTICLE
For nearly 40 years, Pro-Line has been deeply immersed in the RC industry producing high-quality products that we the hobbyist have come to love and count on. All the way back in 1982, Pro-Line started out making off-road tires and wheels to meet the needs of the quickly growing off-road market and soon became the go-to aftermarket company for RC accessories. A few years later in 1995, Pro-Line teamed up with PROTOform Race Bodies to expand its presence in the on-road market as well as grow the company’s range of bodies. Pro-Line continued to reinvest in itself and is well known for its excellence in product development. They offer many products beyond bodies, wheels and tires like RC vehicles, performance chassis and body components, scale accessories, pit gear, etc. One item that Pro-Line has not touched on, until now is RC body paint. It makes perfect sense that a company that produces so many types of bodies for all different scales of vehicles to now offer their own paint for those bodies. Let’s take a look at the Pro-Line Airbrush Paint.

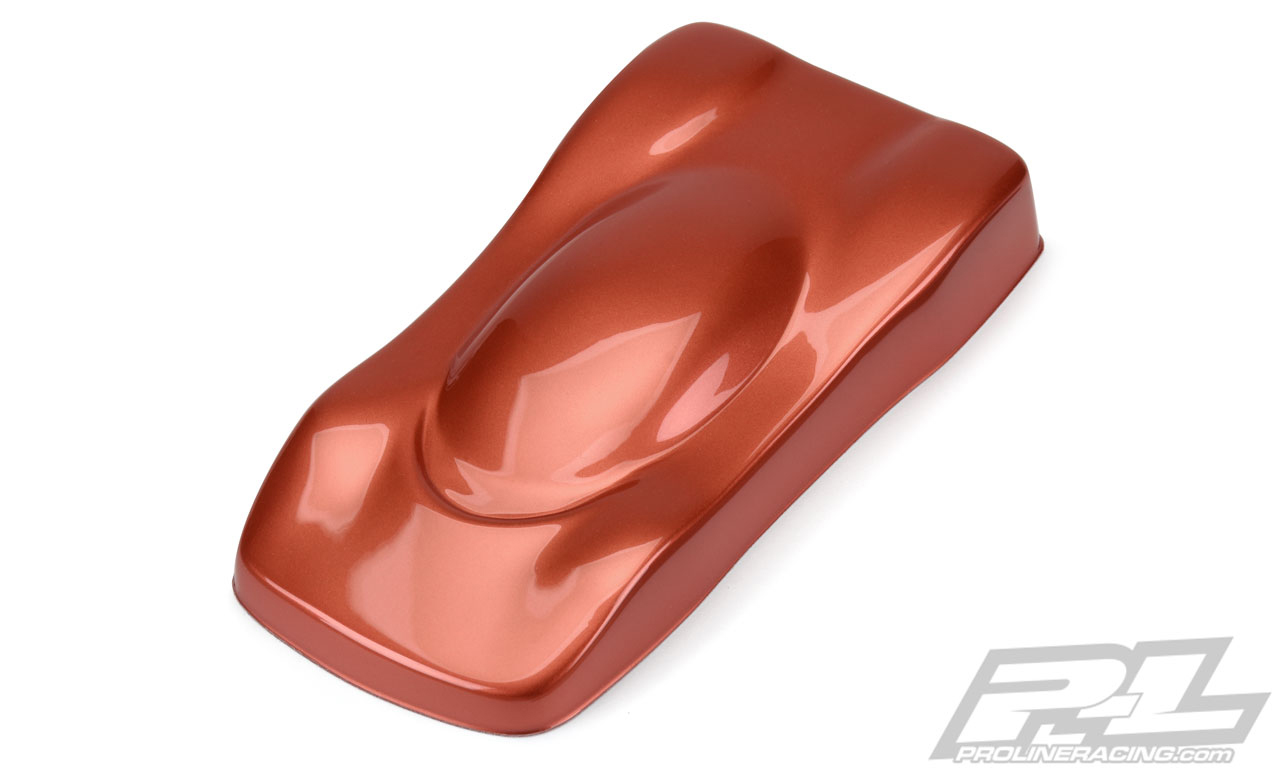
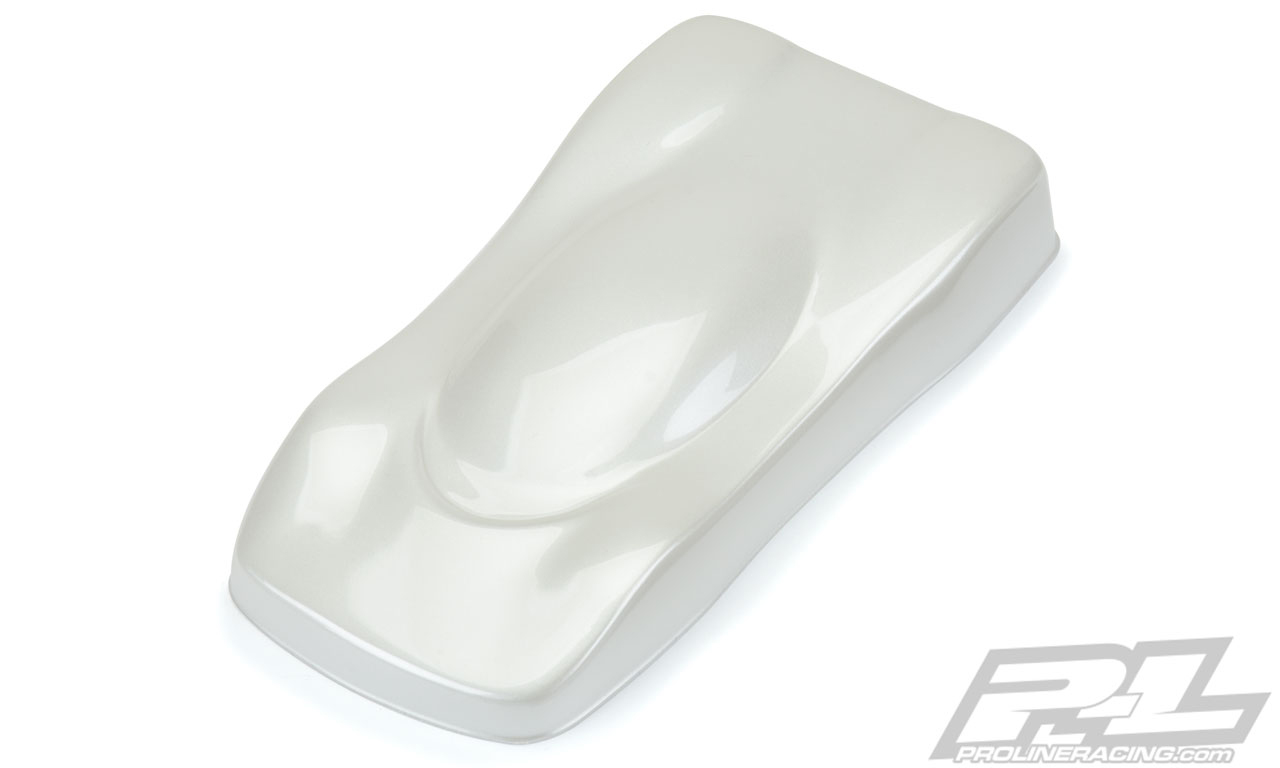
The Pro-Line RC Body Paint is a high-performance water-based airbrush paint that is specially formulated for polycarbonate bodies and is ready to spray right out of the bottle for super easy use. Other brands of airbrush paint can be difficult to achieve the proper mixture and the right blend to flow correctly. That is not the case with the RC Body Paint because Pro-Line did that step for you. It was developed by RC body painters for painters so you can rest assured that this paint is not only easy to use, but also ultra-flexible and extremely durable to handle what our RC bodies face when racing or bashing. The paint allows the body to deform and come back to shape while not ruining the painted surface. Like the rest of Pro-Line’s awesome products, the paint is made in the USA.
Currently, Pro-Line has released 34 different colors with plans to release more. They are sold separately in 2 fl. oz. bottles and in convenient 6-pack sets. At this time there are four 6-pack sets available with more coming.
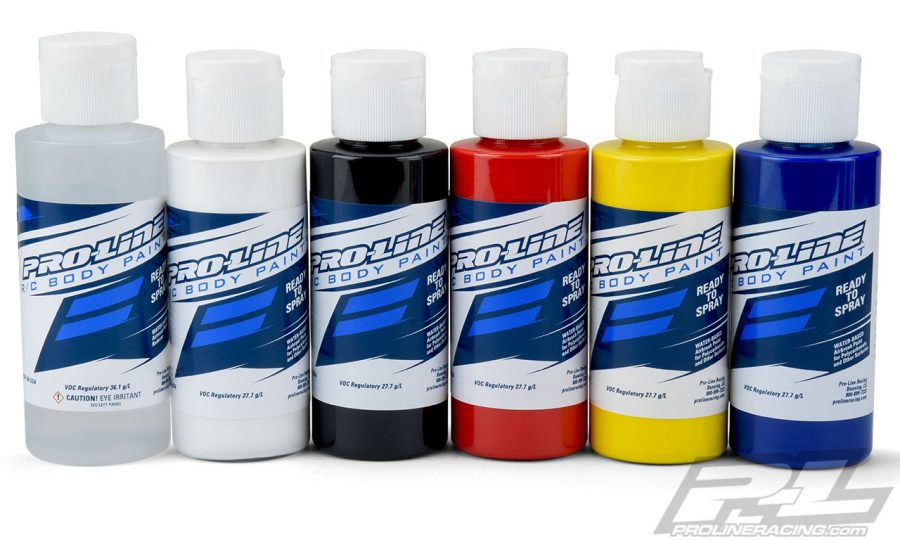
Primary Color Set (#6323-00) – Paint Reducer, White, Black, Red, Yellow, and Blue
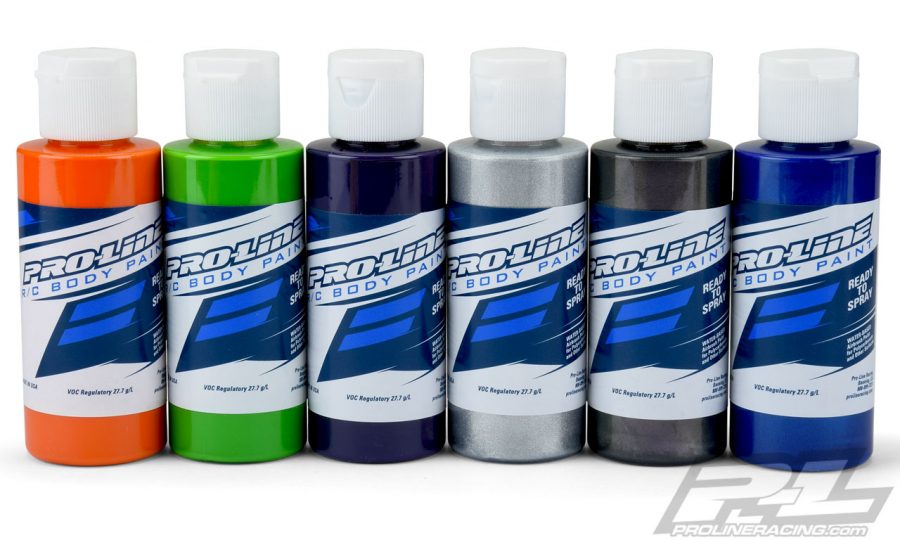
Secondary Color Set (#6323-01) – Orange, Green, Aluminum, Metallic Charcoal and Pearl Blue
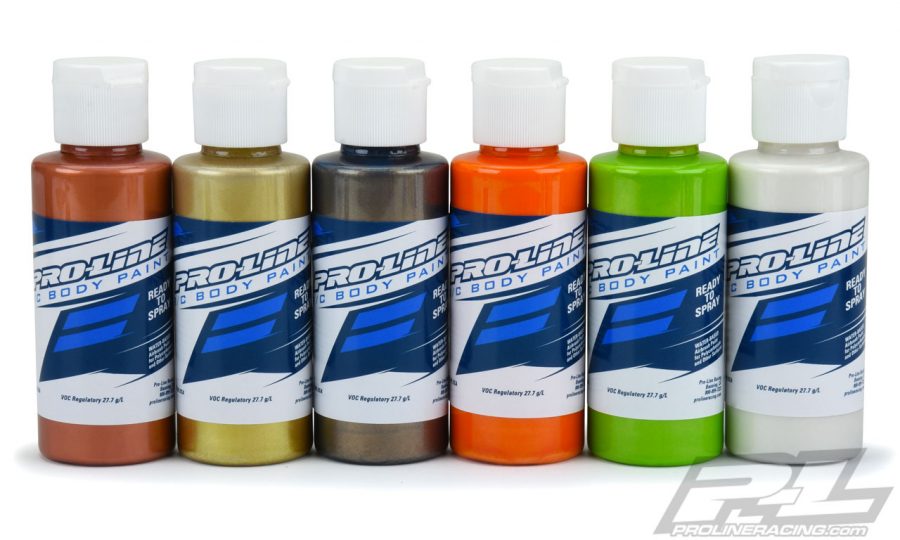
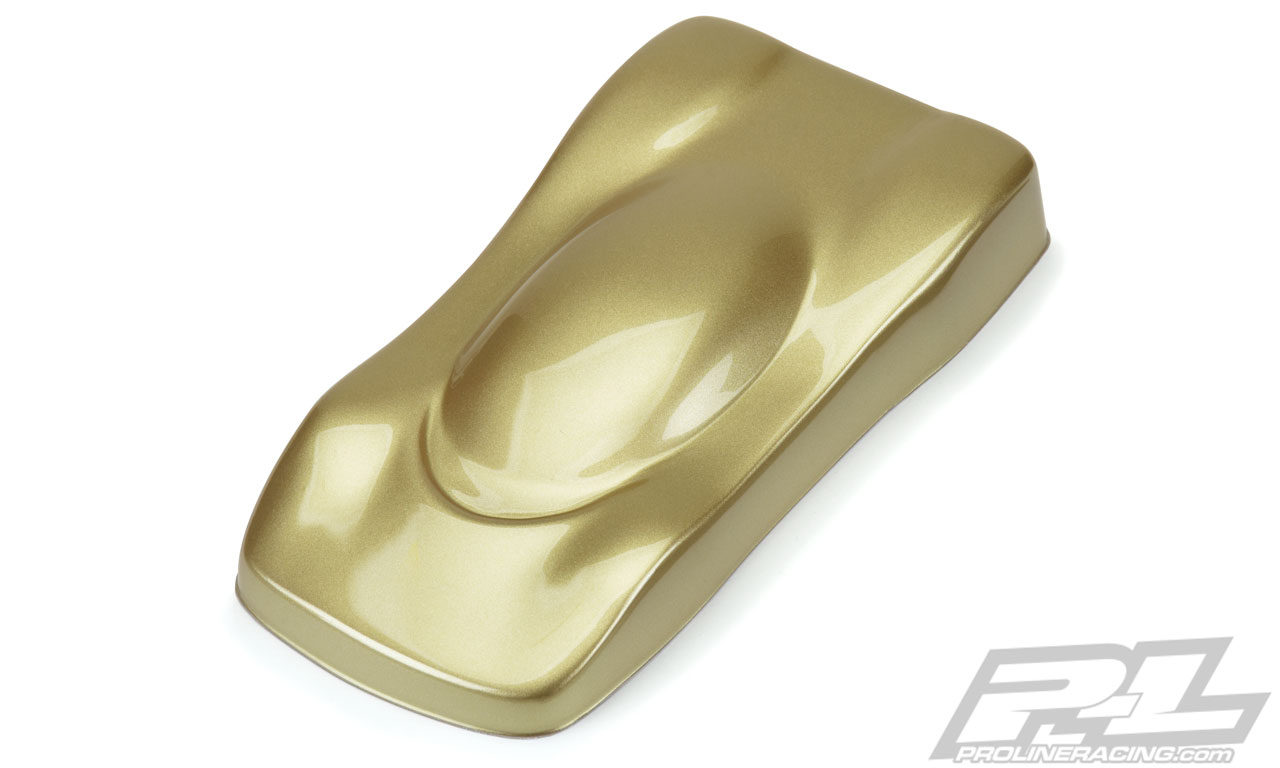
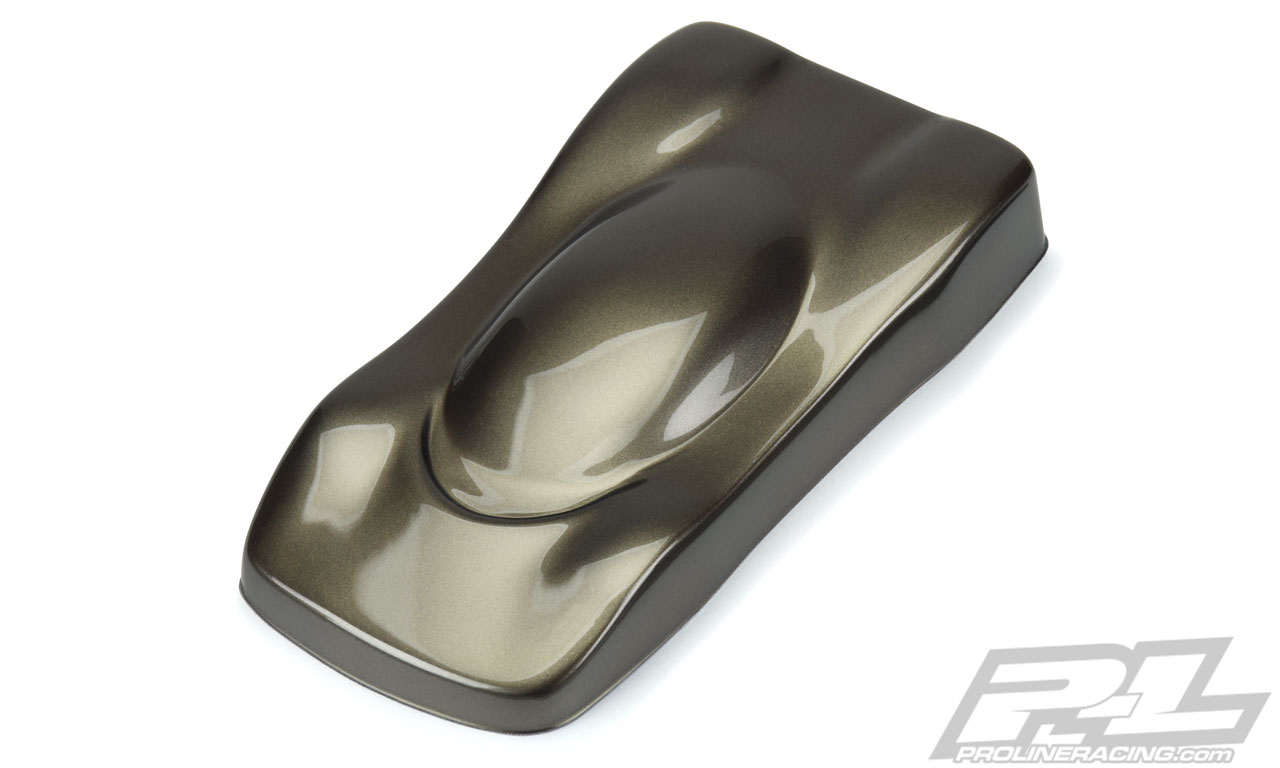
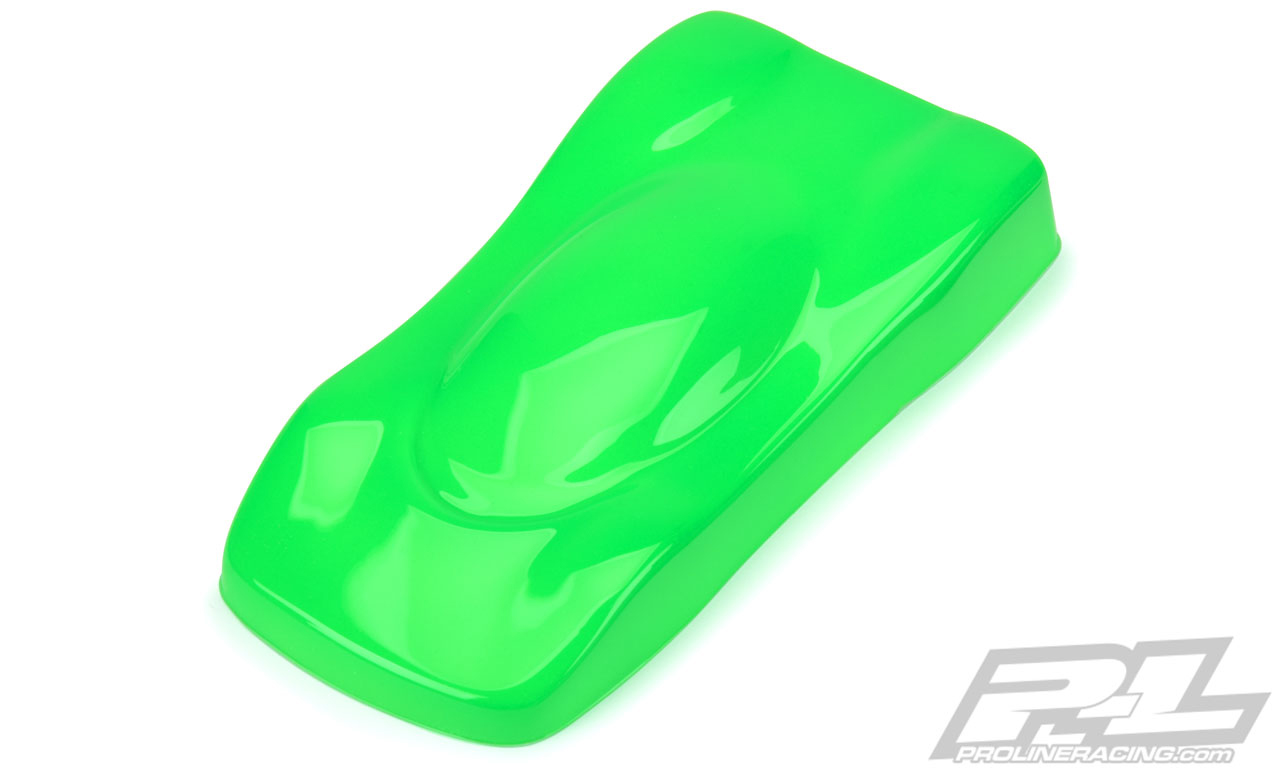
Metallic/Pearl Color Set (#6323-02) – Metallic Copper, Metallic Gold, Metallic Pewter, Pearl Orange, Pearl Lime Green and Pearl White
Here is an example of each of the Metallic and Pearl colors:
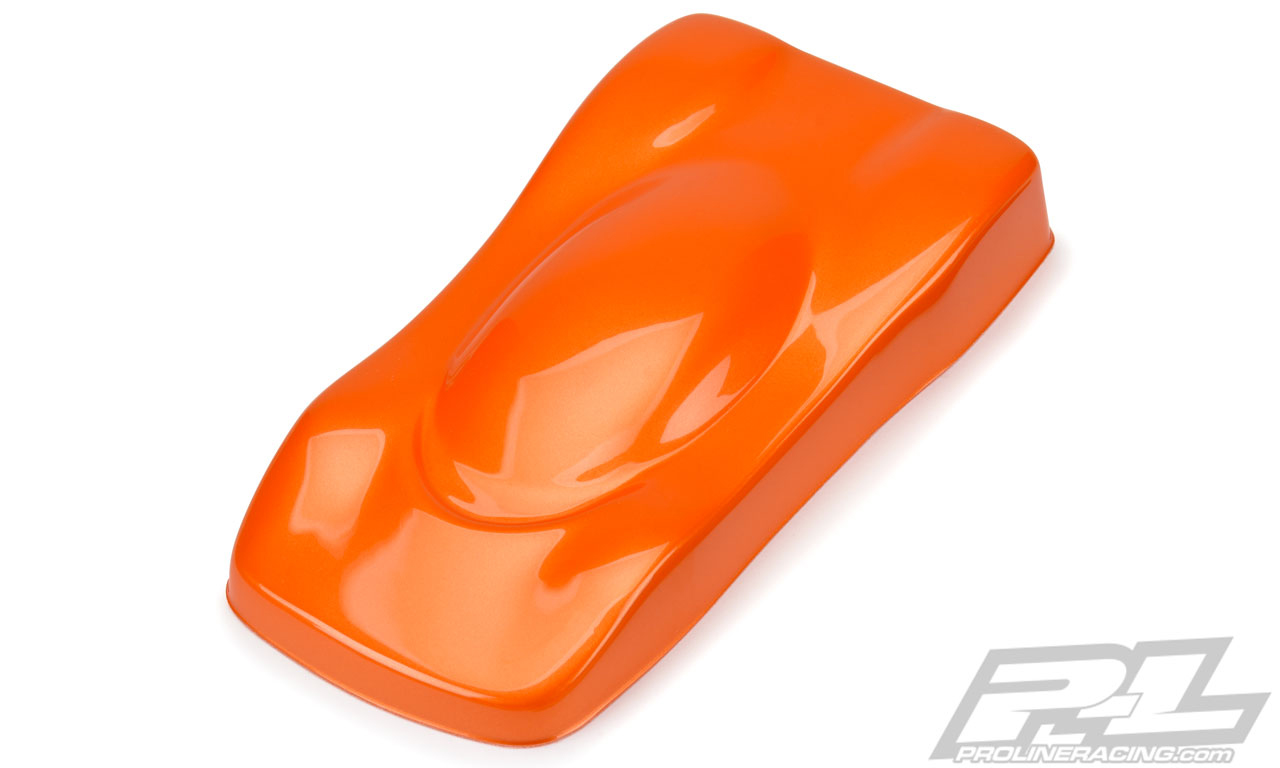
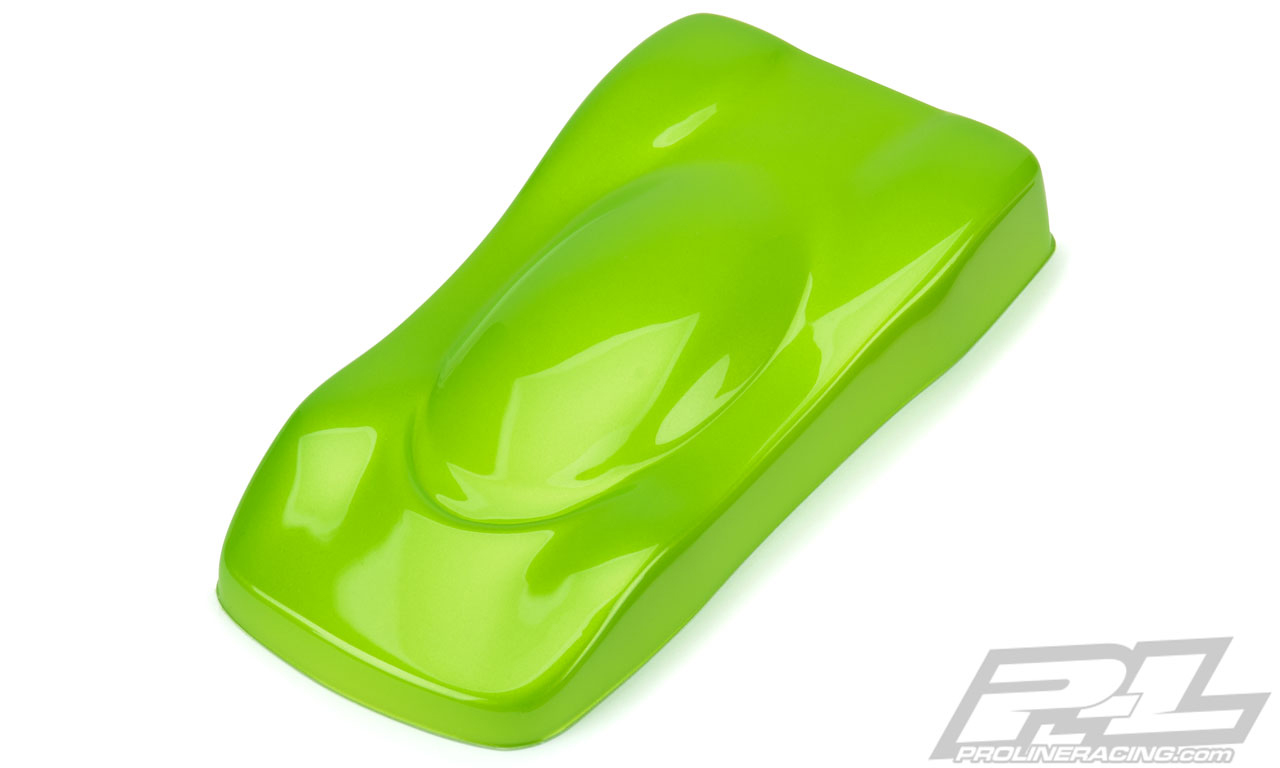
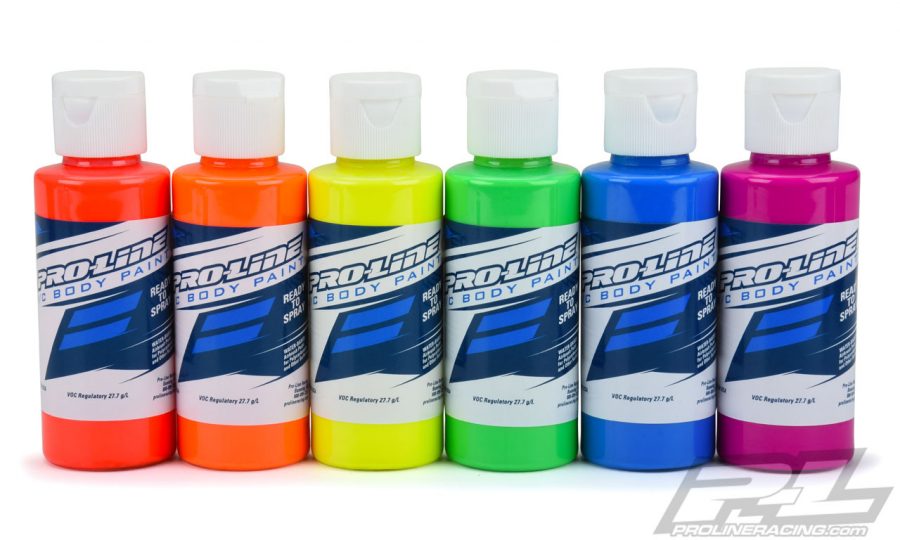
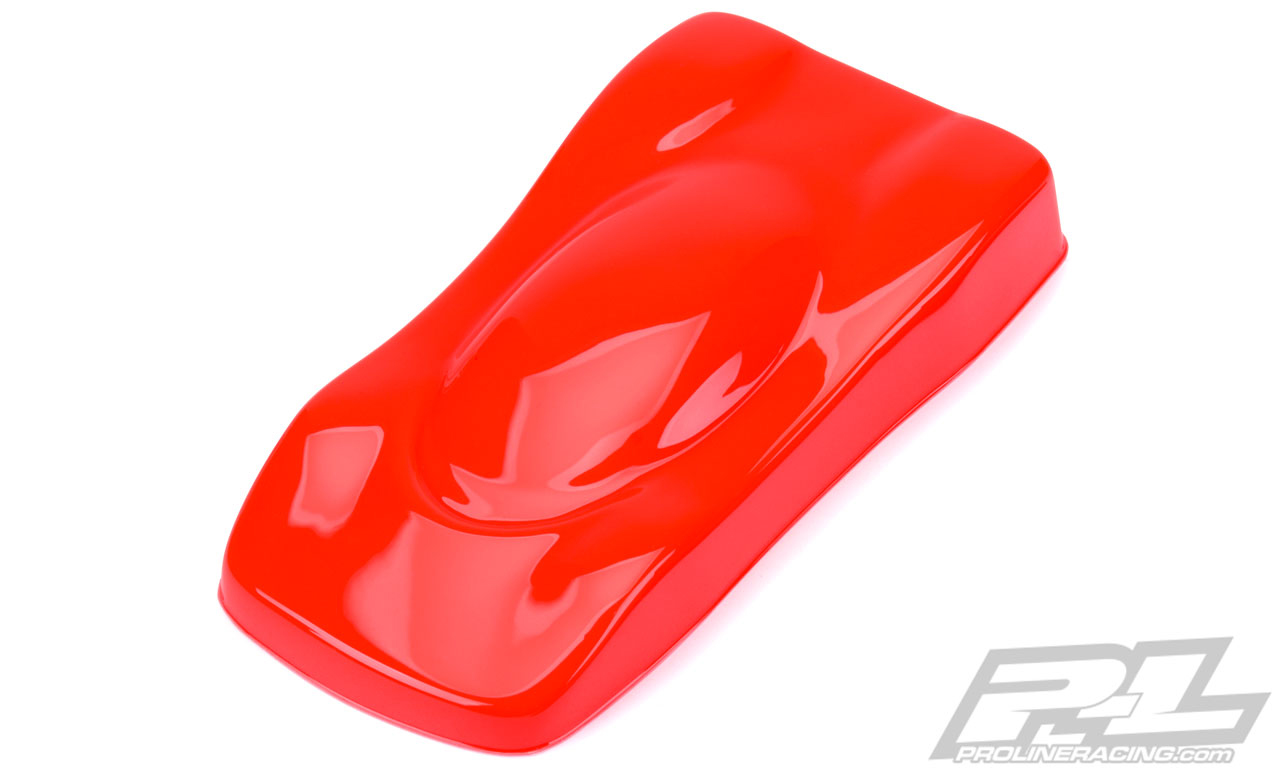
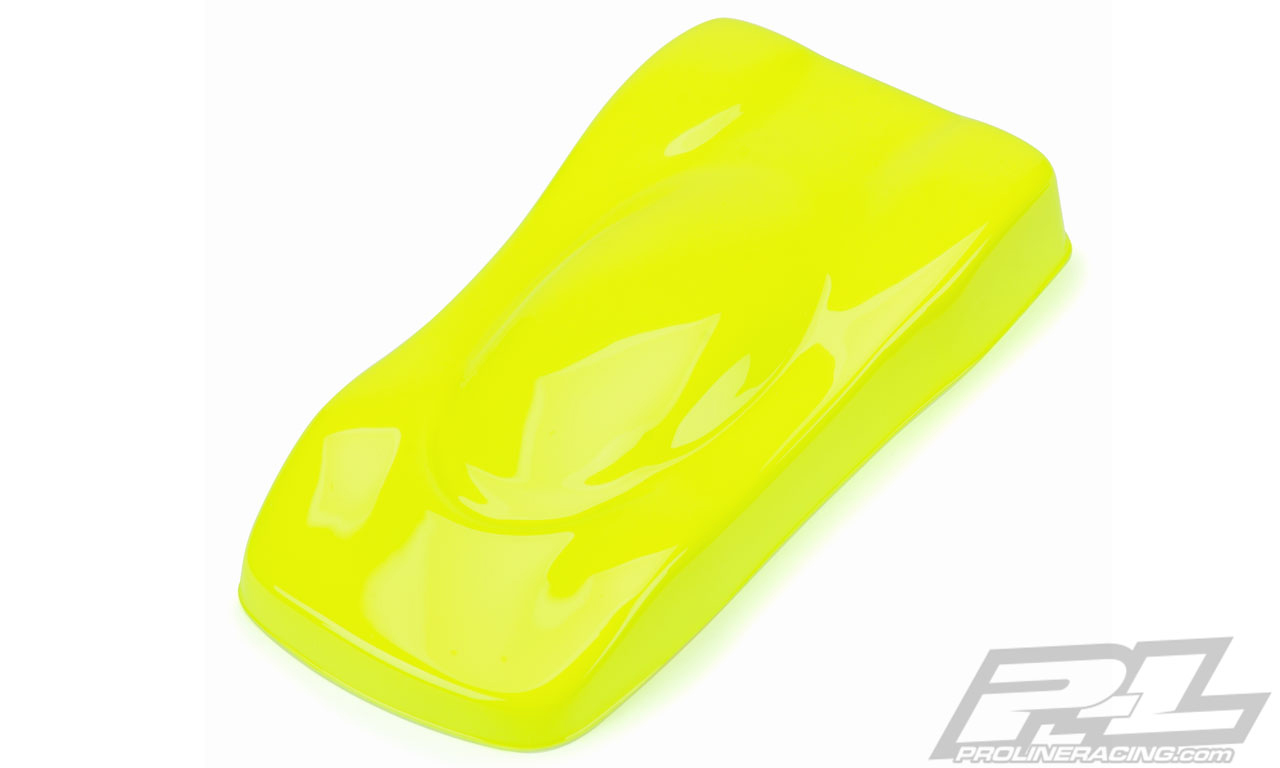
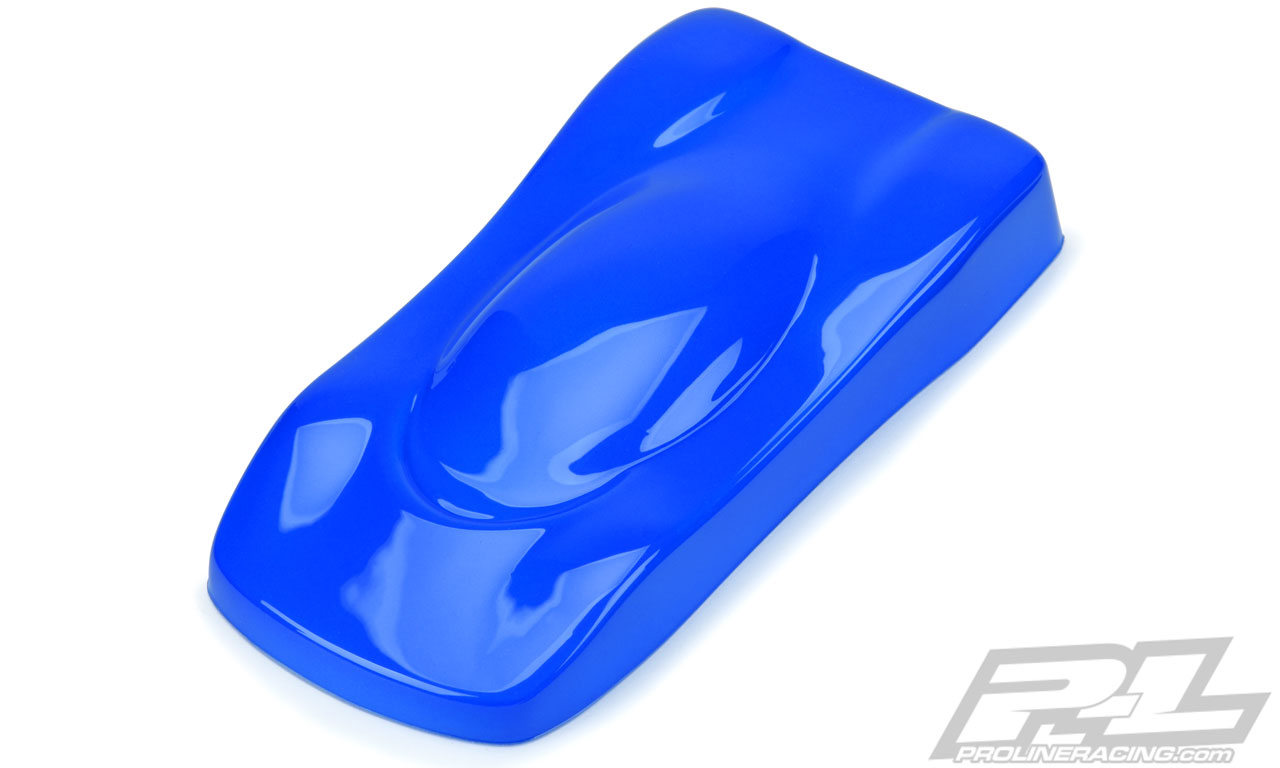
Fluorescent Color Set (#6323-03) – Fluorescent Red, Fluorescent Orange, Fluorescent Yellow, Fluorescent Green, Fluorescent Blue and Fluorescent Fuchsia
Here is an example of each of the Fluorescent colors:


Pro-Line’s goal was to ensure that the RC Body Paint would allow you to achieve professional results and have the paint ready to spray so that you could use it right out of the bottle. Each color comes pre-thinned which makes it fast and easy to simply grab the color you want and spray without the hassle of mixing. Just shake the paint for approximately 30 seconds to achieve the optimum color mixture blend and then pour into your airbrush. The RC Body Paint is formulated to be used with an airbrush set up with a 0.5mm tip @ 30psi. You also have the option to use smaller airbrush tips and for other specific applications by reducing the paint using the Pro-Line RC Body Paint Reducer (#6324-00). And for cleanup, the Paint Reducer works great to clean your airbrush when switching between colors and as a final rinse after cleaning the airbrush with water.
![]()
Matte Clear (#6324-02)
Along with the numerous colors that Pro-Line released, they also came out with Matte Clear (#6324-02). It is a great tool to add a unique flat look to the outside of your body. Just keep in mind that any paint on the outside of the body can be scratched off from crashes. It can also be used to add a protective layer to the paint on the inside of the body.
Airbrush options
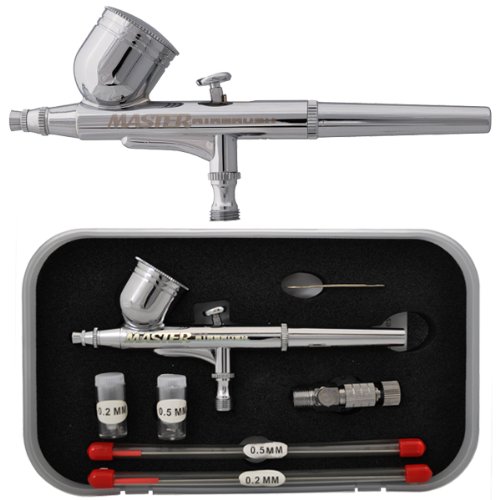
In case you don’t already own an airbrush setup, here are a couple options to consider that will get you up and running with a quality airbrush system. It can be a bit overwhelming as you look into the different airbrush options whether it be just an airbrush itself, an air compressor or a complete airbrush system due to the numerous options that are out there. Amazon has a very nice selection of airbrush setups and here are two worth checking out.
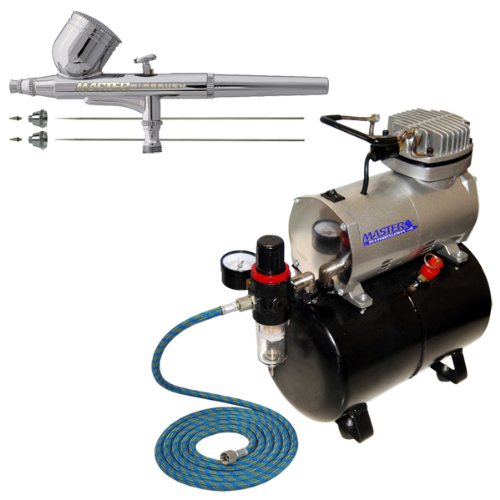
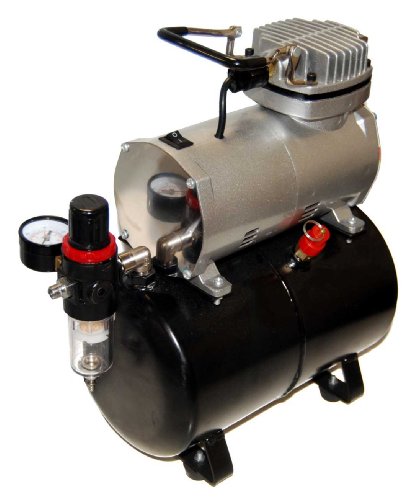
The Master Airbrush option is a gravity feed kit that includes an airbrush with three nozzle sets and a powerful compressor with air storage tank. The included airbrush is a precision dual-action gravity feed airbrush. The 1/6hp air compressor with storage tank allows it to deliver constant air pressure and zero pulsation. This setup even includes a Hot-To-Airbrush Manual and Guide Booklet.
BUY – Master Airbrush Set: https://amzn.to/2JRXSdJ

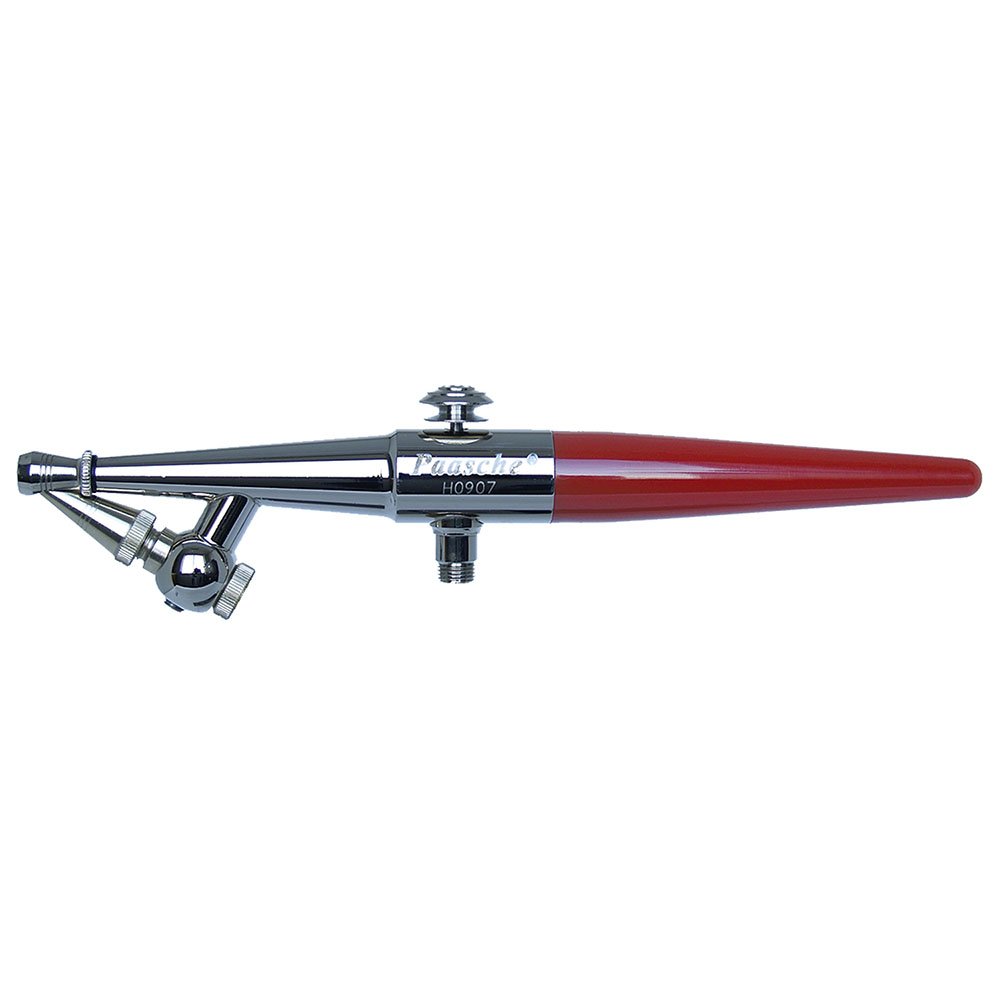
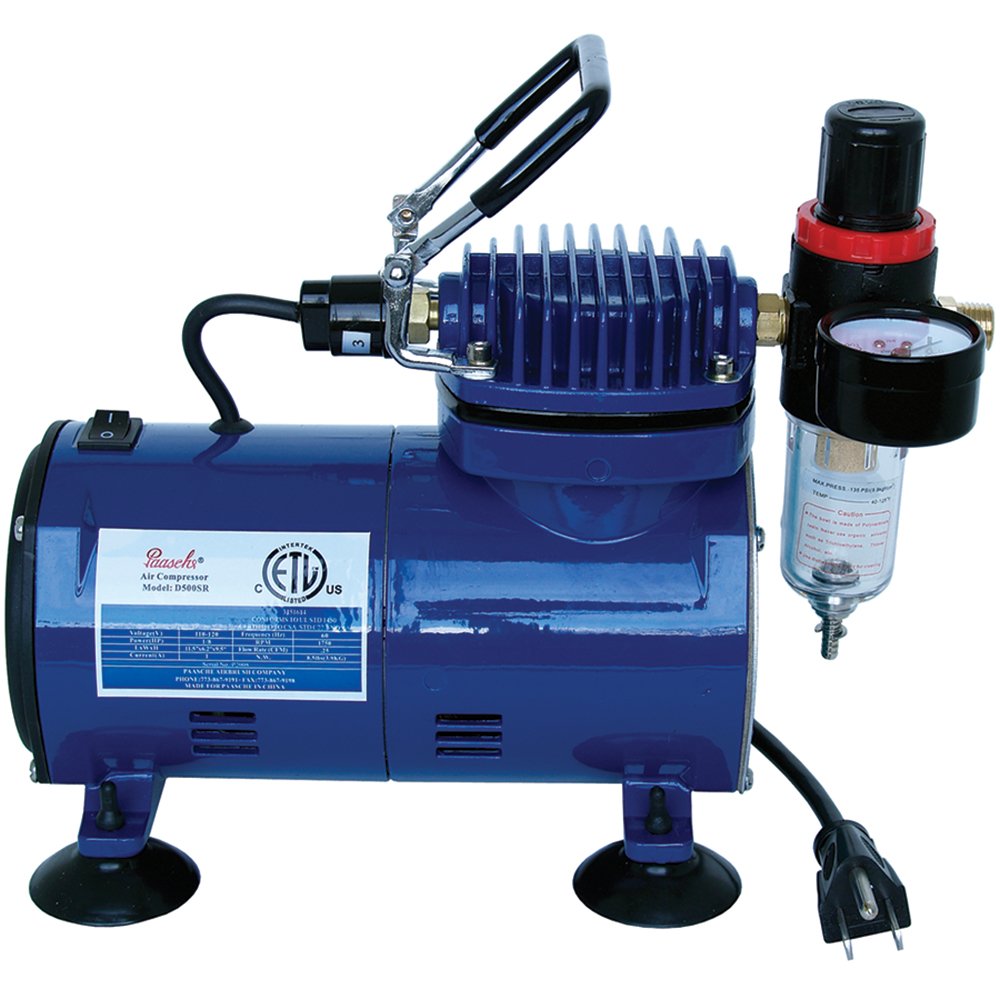
The Paasche H-100D Single Action Airbrush & Compressor Package is a very nice setup. Paasched is known for it high-quality airbrushes and this one comes with three head sizes including the one that will work perfectly with the Pro-Line RC Body Paint. It is highly polished and comes with hardened stainless steel needles for long life and reduced clogging. The compressor has a regulator and an auto shutoff feature. And to keep it running properly, a 7 brush cleaning kit is part of this package.
BUY – Paasche H-100D Single Action Airbrush & Compressor Package: https://amzn.to/2WGoj83
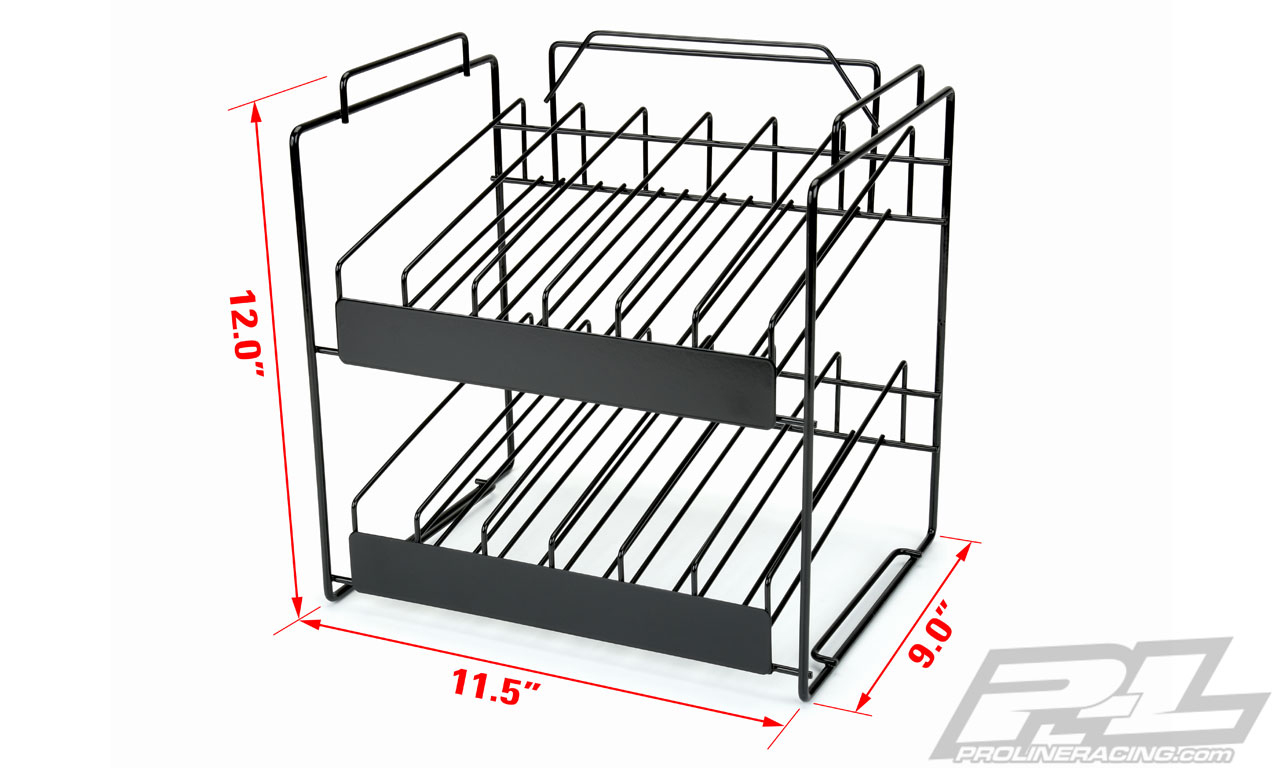
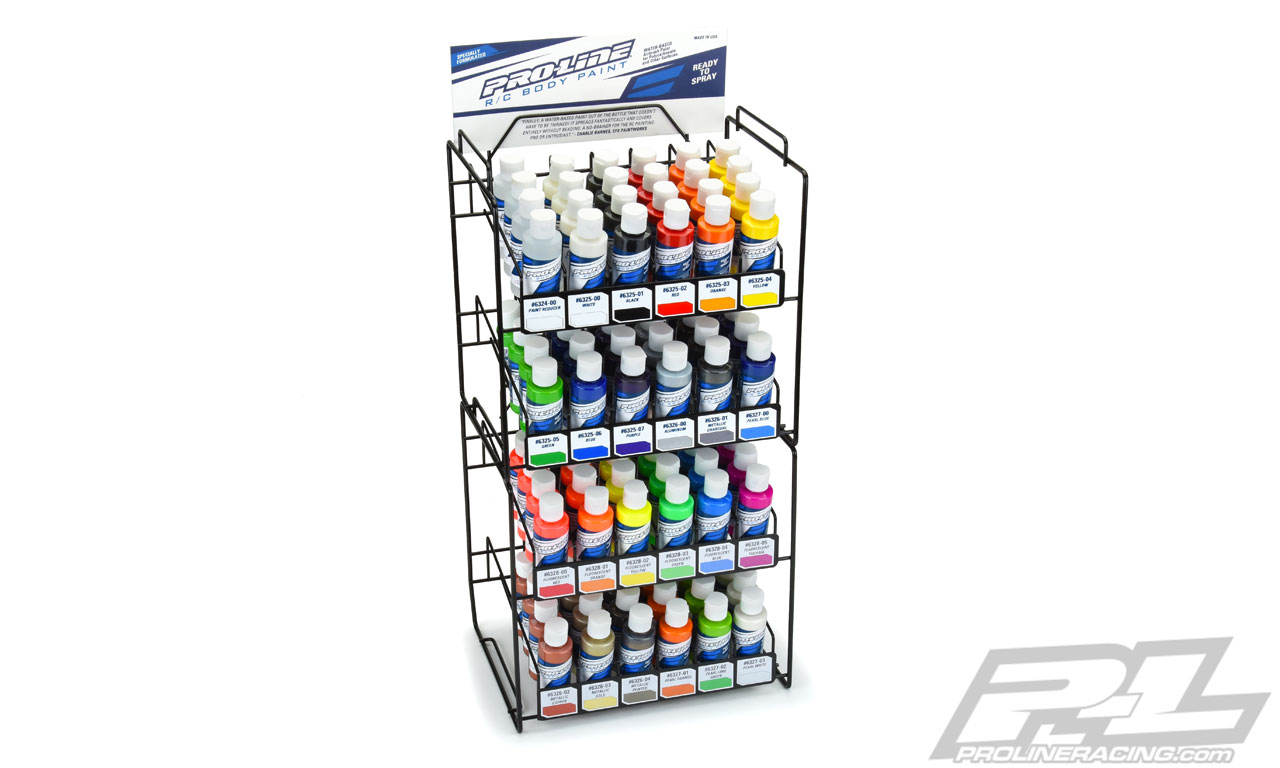
RC Body Paint rack (#9907-06)
Keep your Pro-Line RC Body Paint nicely organized and displayed with this Pro-Line RC Body Paint rack (#9907-06). It has a footprint of only 11.5”x9.0” yet it is able to hold 72 bottles of paint. There are 12 rows and each row can hold 6 bottles of the RC Body Paint. Now if you are a big time painter or own a hobby shop and want to store or display more paint, the rack is easily expandable thanks to its versatile design where a second rack can be stacked on top via interlocking tabs. This keeps the foot print the same to take up less bench/counter space. Along with the rack, Pro-Line includes a header card and paint color decals.
STEPS TO PAINTING A BODY
Once you are setup with the Pro-Line RC Body Paint and an airbrush system then it is time to paint your RC car body. To ensure that you end up with a high-quality paint job that will also last, there are a few key steps to follow and we figured we would go over them in this article.
Step 1 – Clean the body
Wash the body in the sink with some dish soap and scrub the inside of it with a paper towel. Be sure to clean the entire inside surface including the tight areas and corners. After you rinse the soap off the boy, it should make a squeaking sound when you rub your finger over it. Cleaning the body is critical so that you remove any residual mold release agent from when the body was made and to clean off any other contaminants like the oils from your fingers. Don’t skip this step even if the body looks clean or else the paint won’t properly adhere and will easily flake off.
Step 2 – Dry the body
Dry the body completely to get all of the moisture removed. You can carefully use a hairdryer for this step. Just don’t get the body too hot to where it can deform. Using a rag or paper towel can introduce lint and other fibers to the surface which will show through the paint job.
Step 3 – Apply window mask
Most body manufactures, including Pro-Line, include pre-cut window masks for their bodies. Using the masks will give you clear windows once the paint job is complete and will give your body a more realistic look. Be sure to seal the edges of the window mask to prevent paint from bleeding underneath and to give you a crisp solid line when it is removed. Your finger nail is a great ‘tool’ to seal the edge of the mask onto the body.
Step 4 – Draw the paint scheme
Using a marker, you can draw the masking line onto the protective overspray film that is on the outside of the body. This will give you a guide to lay the masking tape on the inside of the body and then trim it to the desired pattern.
Step 5 – Mask inside of the body on marked areas
Using the lines you drew on the outside of the body as a guide, mask the inside of the body. Then gently cut the outlines with a hobby knife and remove the excess tape.
Step 6 – Mask remaining areas as needed
Once you have the paint scheme masked and depending on your design, apply mask to the remaining areas of the body that need to be covered.
Step 7 – Paint most dominant color of paint scheme.
Paint most dominant color of paint scheme first. In other words, the color that will cover the majority of the body. The first coat should be sprayed on in a light even coat and allowed to dry. Then follow up that first coat with medium even coats. The first coat will act like a ‘seal’ around the masking tape to keep any bleed through from happening.
Step 8 – Remove mask for next dominant color
Remove the mask once the first color is dry and spray the next dominant color. Use space heater, fan or hairdryer sparingly to accelerate the drying process. Follow the paint process as mentioned in Step 7 for each remaining color in your paint scheme.
Painting tips
- Back white with aluminum to lock in brightness.
- For other colors, back them with white to prevent tinting.
- If you want colors to be darker, back with black. Then colors like silver will have a more metal appearance.
Step 9 – Back entire body with black
Cover the entire paint scheme with black to give the interior a ‘clean’ look. This step will also keep the body from being semitransparent where light can show through the body.
Step 10 – Remove window mask and outer protective film
This is our favorite step when painting the body…removing the window mask and overspray film. Although the overspray film is clear, it gives the body a dull look. Once it is removed, the dull look of the colors become super vibrant and glossy and your new custom paint.
Step 13 – Apply decals and mount the body
Apply the detail decals onto the body and any other decals that you want to use to dress up the body. Then it is time to mount the body and take it for a spin.
SHOP PRO-LINE RACING
Use code RCDRIVER10 to save 10% your order at https://www.prolineracing.com/
SPONSORED ARTICLE
*Notice: Some of our articles, videos and descriptions may contain affiliate links, which means that if you click on one of the product links, we may receive a small commission. This helps support the website and social media channels and allows us to continue to produce content. Thank you for the support!


