 RC Driver The Best In RC Car & Truck News, Reviews & Video


The Build – Part 9
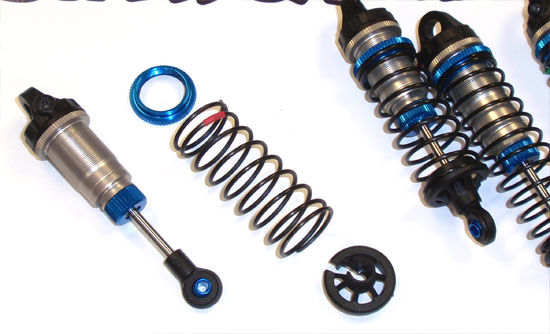
The Team Associated B44.3 comes with the super-plush V2 12mm Big Bore shocks. They’re easy to build and are top-notch at damping the buggy on just about any surface. One with the build.
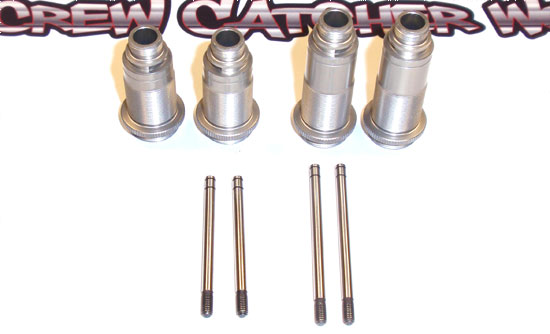
Our first order of business is to separate the parts. The short shafts go to the short bodies (front), the long shafts to the long bodies (rear).

We alo need to sort out the pistons. Since the numbers are hard to see, I usually take a Sharpie and color over them for easy visuals.
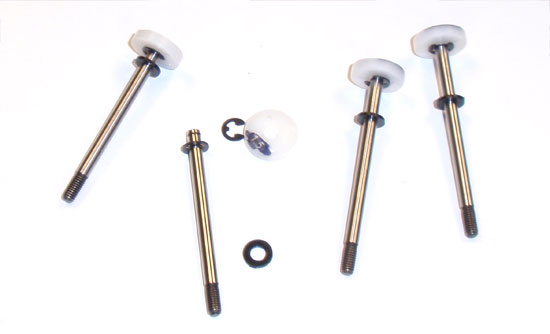
Time to assemble; snap an e-clip in the lower groove followed by the piston (1.5 in the front, 1.7 in the rear) and the second e-clip. Slide a .030 nylon washer onto the shaft as well (1 for each shock).
Slide a 12mm o-ring over the upper opening and a VCS3 o-ring over the lower opening.
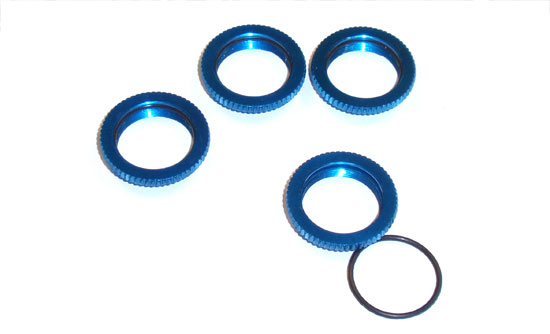
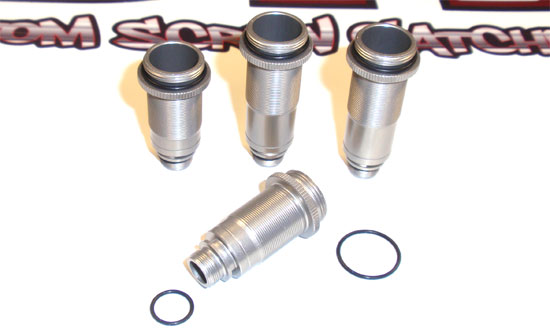
We’ll also insert the 12mm o-rings into the threaded collar. Do this now and get it out of the way while our hands are clean.
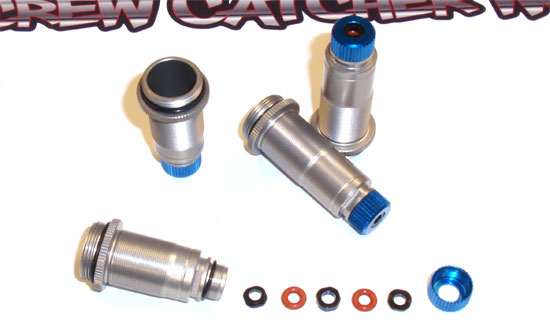
Assemble the bottom cartridge area of the shock in this order – shock hat bushing, o-ring, shock spacer, o-ring, bottom shock hat bushing and then the bottom shock cap. Make sure both hat bushings are facing away from the o-rings.
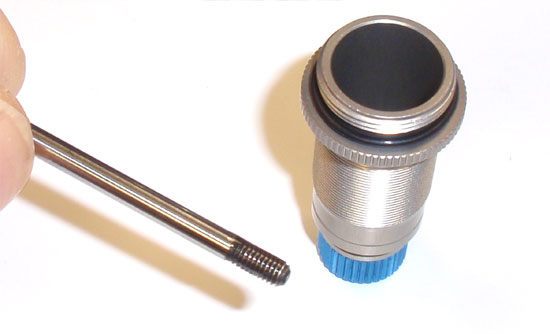
Put a small drop of oil on the threads of the shafts and slide them into the shock bodies. Make sure the short shafts go into the short bodies and the long shafts into the long bodies.
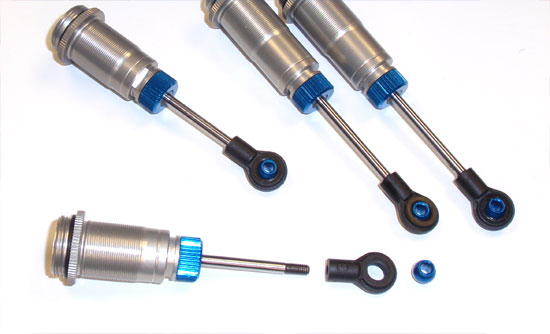
Thread the eyelet onto the shocks, making sure the lengths of the shocks are equal (front are equal, rears are equal). Pop the blue FT pivot balls into the shock eyelets.
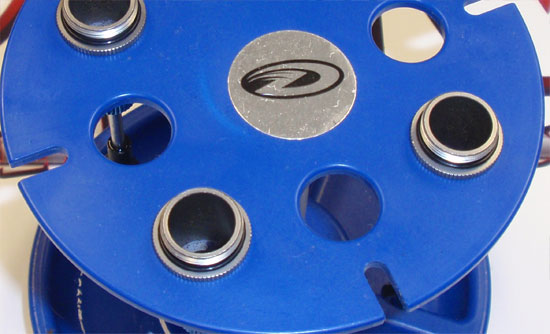
Fill the shocks to the top with fluid. Slowly run the shafts up and down until all the air bubbles rise to the top. Set the shocks into a stand (like this Duratrax one) and let them sit for about 5-10 minutes. You just want all the air to escape before final assembly.

Thread the 2-56 screws into the bleeder hole to tap; then remove. Screw the shock cap onto the shock and then slowly compress as shown. When you hit full compression, some oil might leak out the bleeder hole. Once compressed, screw the 2-56 screw back into place. Clean up any excess oil.
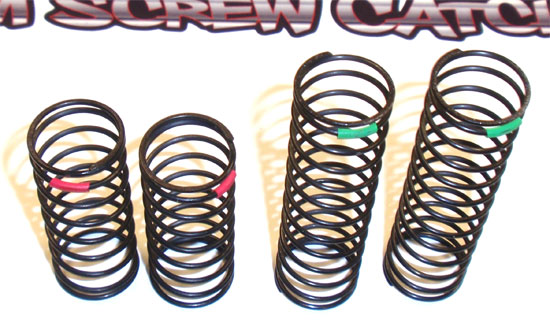
The B44.3 comes with red front springs (3.90lb) and green rears (2.00lb).
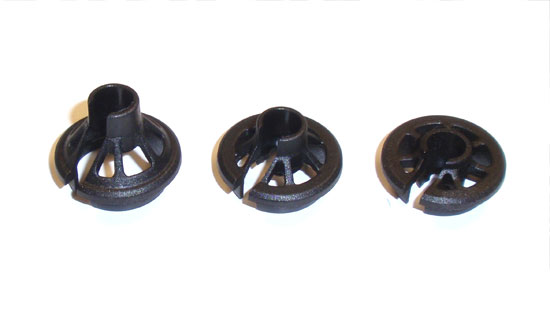
The buggy also comes with 3 different offsets of lower spring retainers (from left to right – 9mm, 5mm, 0mm). We’ll be using the 5mm retainers on all 4 shocks.

Thread the upper collar onto the shock followed by the spring and lower spring retainer.

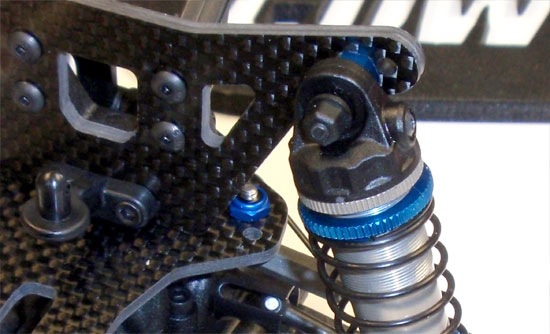
Assemble the upper shock mounts using the center hole.
Attach the upper shock and use the plastic shock nut to secure.
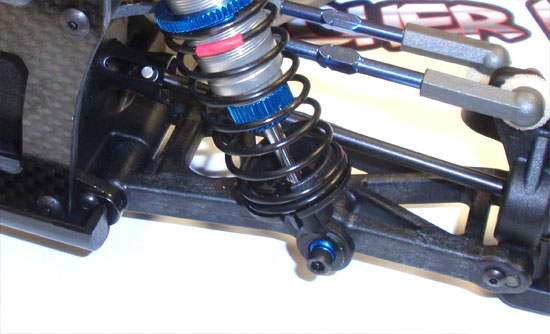
Attach the shock to the arm using the outside hole. Repeat on the other side.
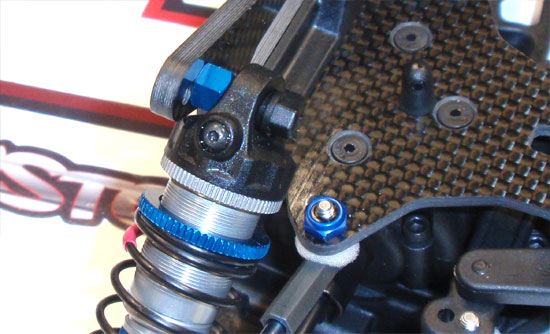
Like the front, attach the shock to the tower using the middle hole.
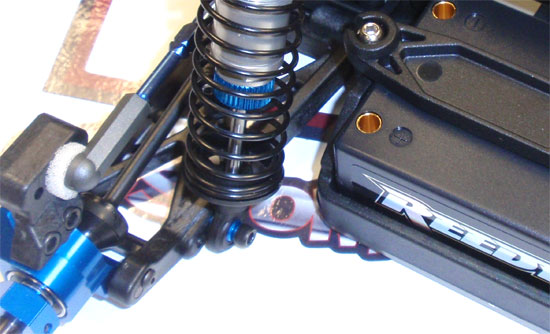
Again, ike the front, attach the shock to the arm using the inside hole. Repeat on the other side.
Part 10 – Installing the electronics.


