 RC Driver The Best In RC Car & Truck News, Reviews & Video


The Build – Part 4
The chassis is the next step in the Vaterra Ascender build. It’s a bit more tricky than a standard scale truck chassis so a little more care needs to be taken when building.

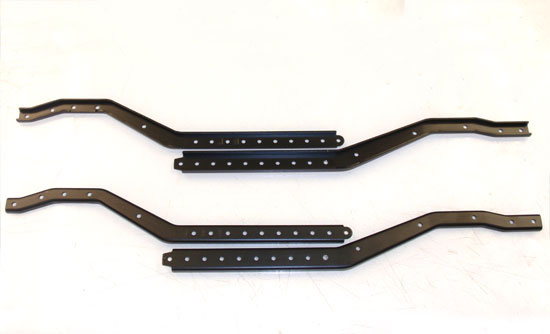
The first thing we need to do is decide what length we want to build the Ascender. I’ll be building it in the 314mm length (WB4) so all the steps (and pictures) will reflect this. If you’re building it to a different length, your steps may vary. Starting the build, I’ve set out both the left and right frame rails together so you can see them. The markings on the outside of the rails correspond to the length you plan on building. Use page 41 as a guide as to what lengths you can build.
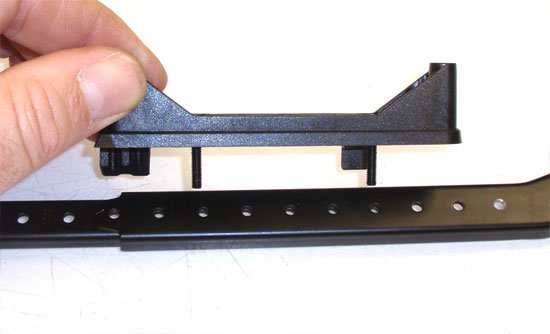
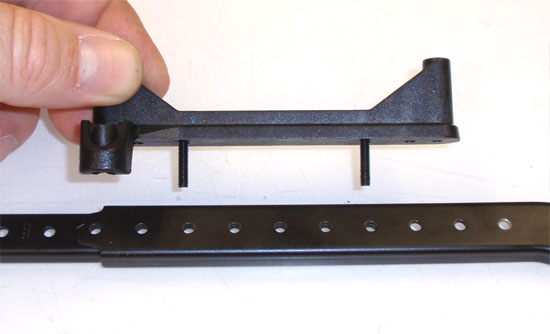
Slide the frame rails together to the length you’ve chosen to build (using the guide on Page 41). Grab the left side rail mount (the one with the wire clip to the back) and slide two screws through the inner-most holes. Now, slide the side rail mount assembly through the frame rails.
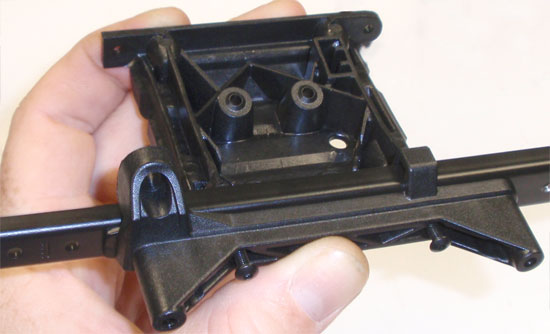
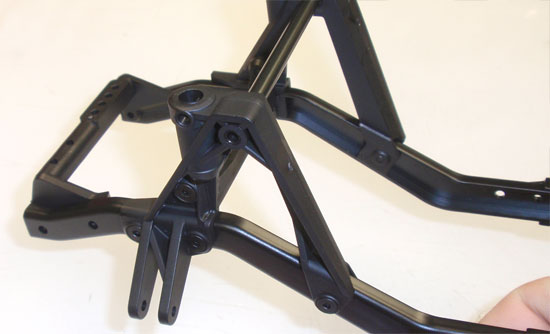
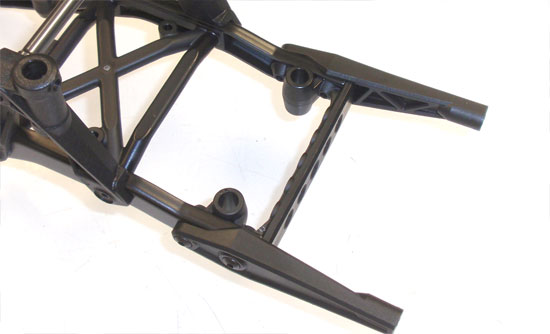
Pick up the left side frame assembly and slide the center transmission mount into place. Screw the two screws from Step 73 into the mount.
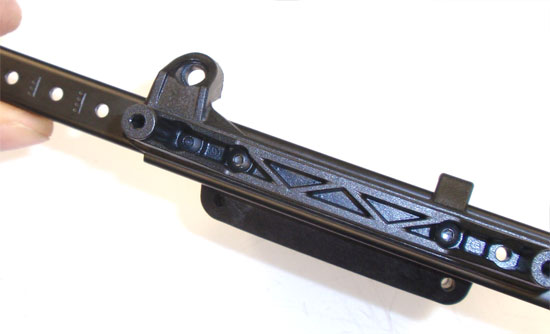
This is a side view of the left side rail mounted to the center transmission mount. Install the 3rd screw in the front-most hole, securing it on the backside with a black locknut.
The instructions have you ‘slide’ these mounts into place they do stay in place. The do stay in place, for the most part, however I decided to use some screws to keep the mounts keyed into position for most of this step. Just screw them in a short ways.
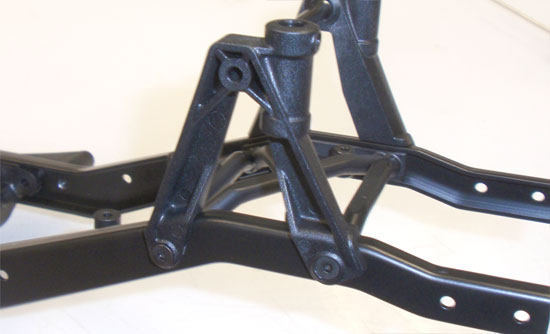
Attach the rear box mount the same way.
Slide the right-side chassis plates together as you did in Step 73. Slide two M3x16mm screws through the inner holes of the right-side side rail mount and insert them into the corresponding holes (dependent on your chassis length) as you did in Step 73.
Pick up your right-side frame assembly attach the frame to the center transmission mount as you did in Step 74. Double-check your frame length to make sure it is correct.
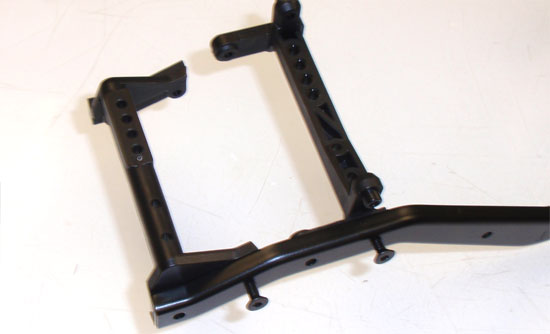
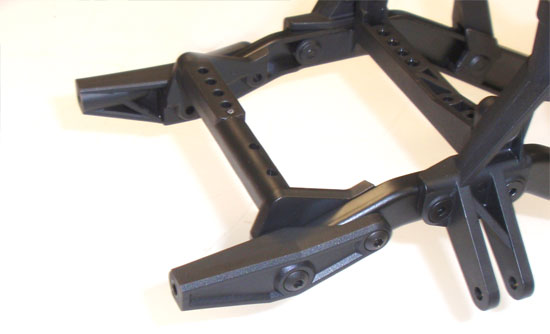
Remove the screws you used to hold the mounts into place. You may notice in this step that the front shock hoops look different than what is shown in the manual. First, make sure you have the two FRONT hoops; they’ll fit the front mounting points but may have the body mount locators to the front. Attach both of these to the front, using the plastic ‘chassis nuts’ to lock the mounts into place. Now slide the aluminum tube in-between the two mounts as shown.
Remove the screws you used to hold the rear center mount into place (if you used them) and then follow the same procedure in Step 80 to attach the rear shock hoops on the rear.
Remove the screws you used to hold the center-front mount into place (if you used it) and attach the front bumper extenders into place.
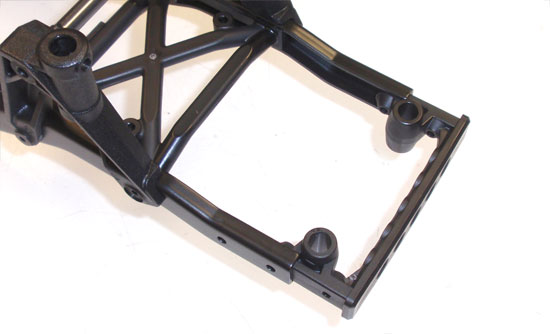
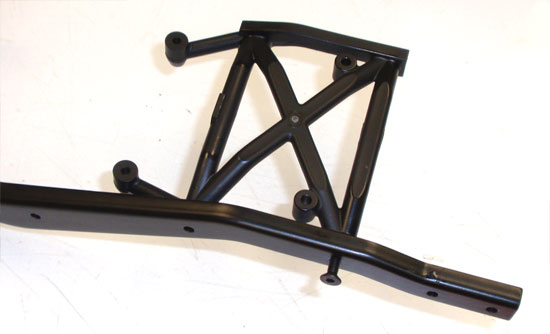
Slide the rear chassis support in-between the frame rails.
Attach the rear bumper extenders as shown.
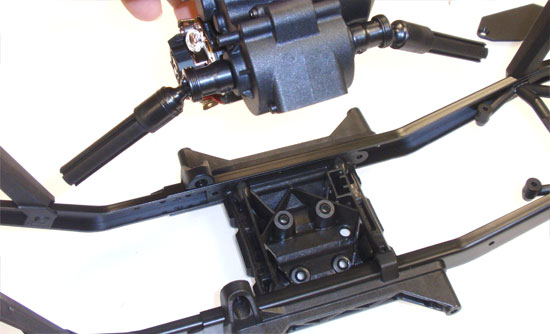
The holes in the transmission were pretty tight so, before I installed it, I pre-drilled them to make things much easier. Once you’ve done that, set the transmission into place and attach from below with the 4 M3x10mm screws.
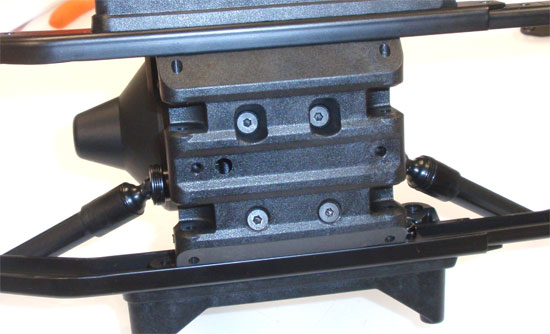
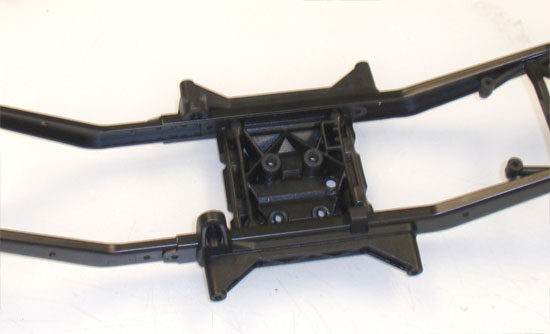
Here is an underneath look at the transmission mounting.
Chassis assembly complete!
Part 5 – Installing the electronics.


