


The Build – Part 4
In this step, we’ll be assembling the Yeti XL’s rear axle. It’s a pretty solid piece when completed and should seems like it will be able to stand up to some major abuse.
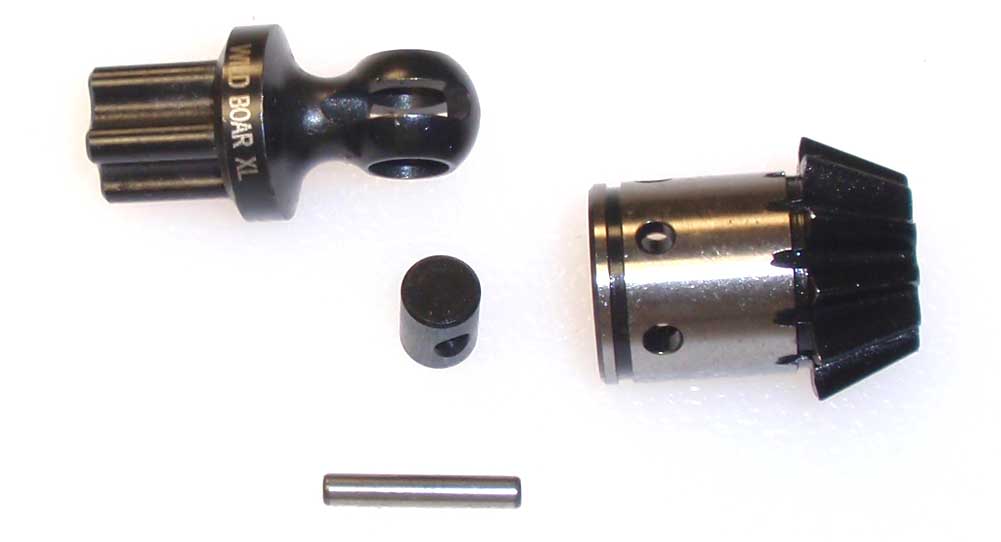
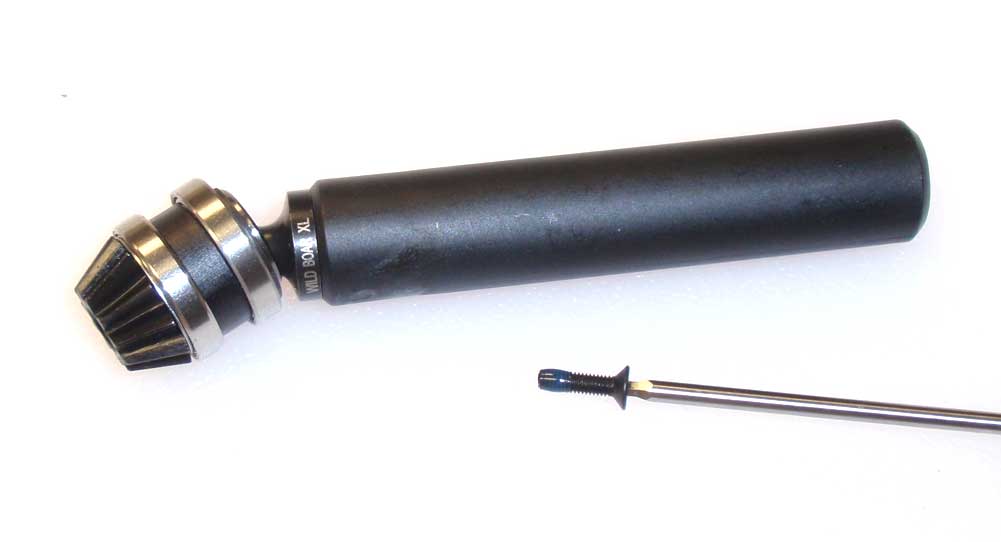
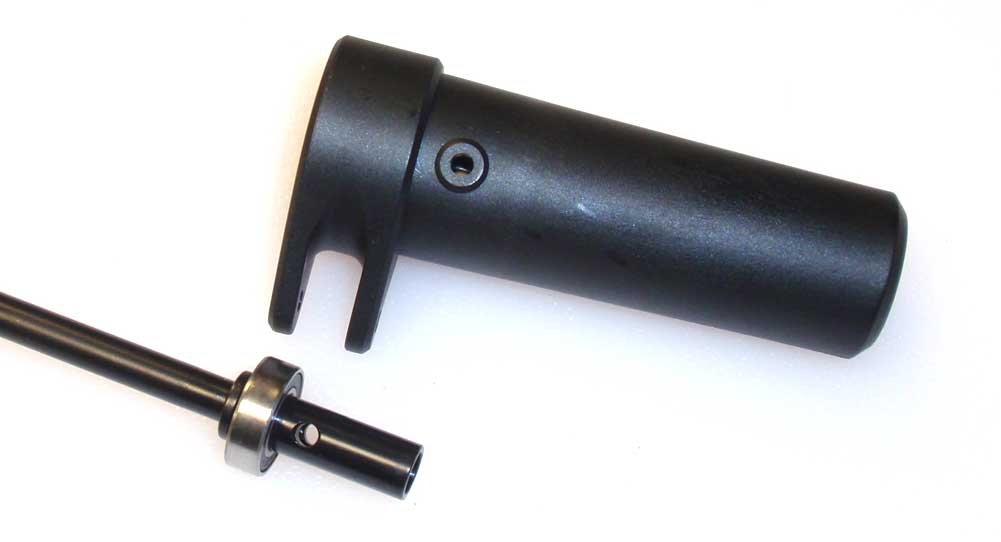
The first thing we have to do is build the input shaft, however this one is a little different. Instead of a CVD, the Yeti XL incorporates a slider shaft. Start by sliding the barrel into the CVD ball, inserting that into the output gear, line up the holes and slide the pin in place. Like all the other CVDs, put a little black grease on the ball to help keep it lubricated.
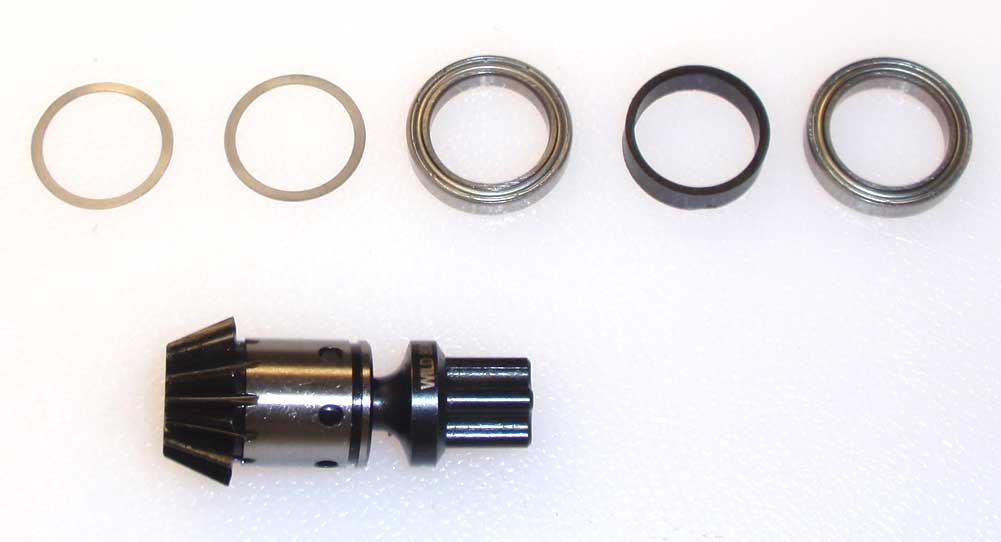
Slide a pair of the .2mm shims on to the output gear followed by a 15×21 bearing, plastic spacer and another 15×21 bearing.
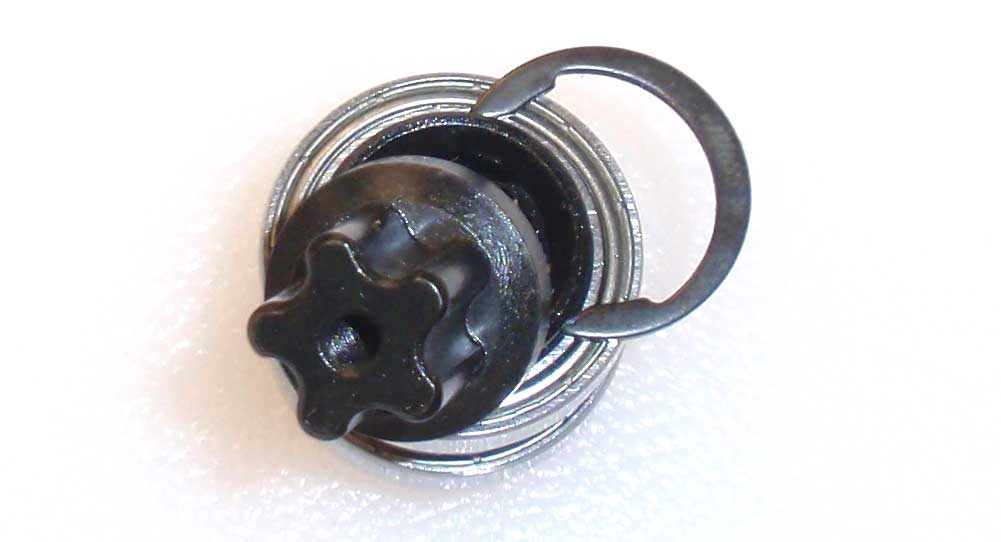
Time for the ol’ C-clip again. Press the bearings down on the output gear and slide the clip into the groove. Using needlenose pliers, snap it into place.
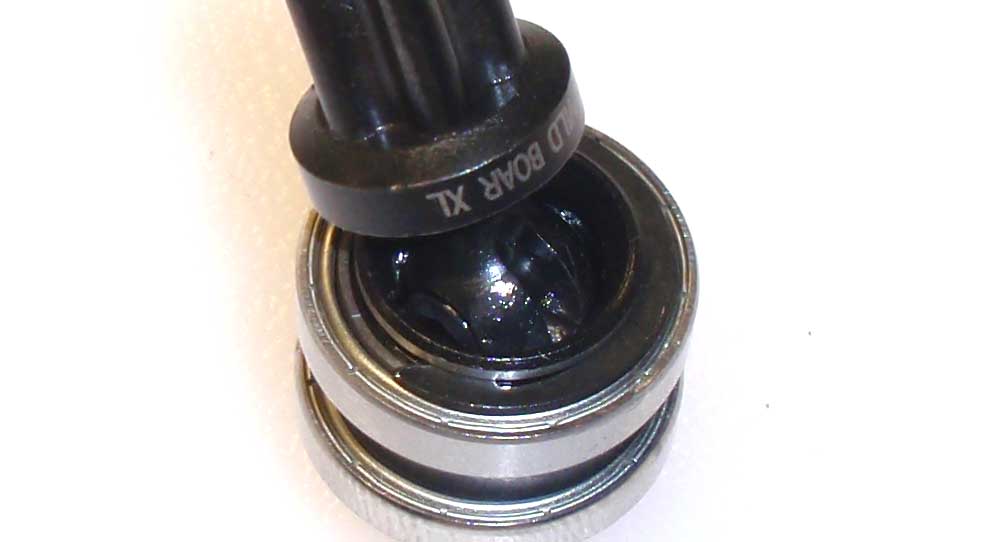
Here’s a look at the seated C-clip, all nice and snuggled down in the groove.
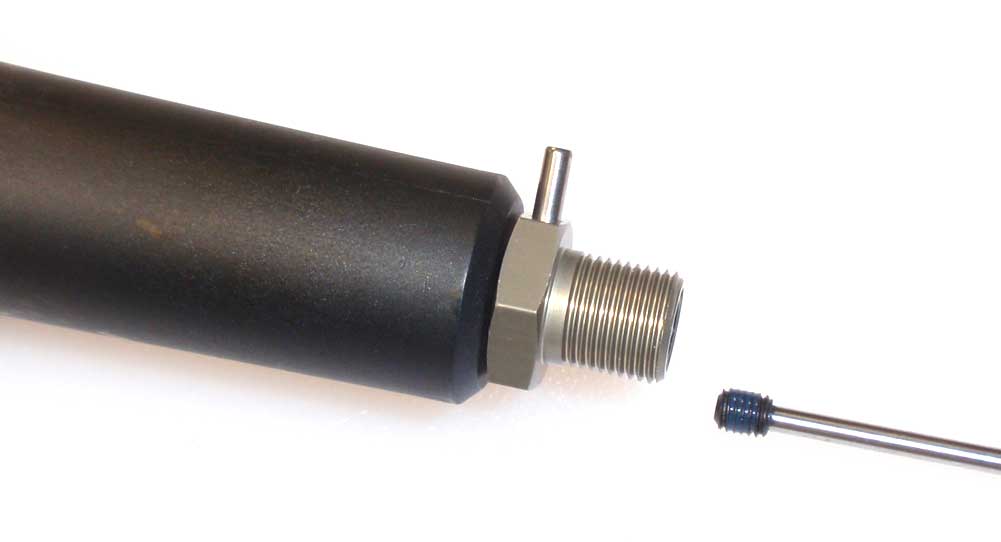
Slide the splined CVD into the splined slider shaft and secure with the 12mm screw. A dab of threadlocker is suggested here.
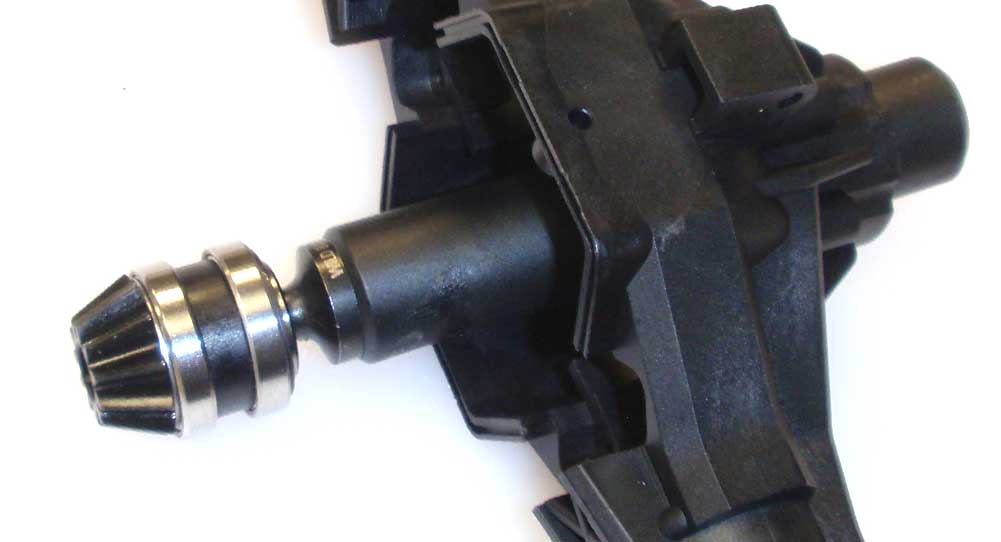
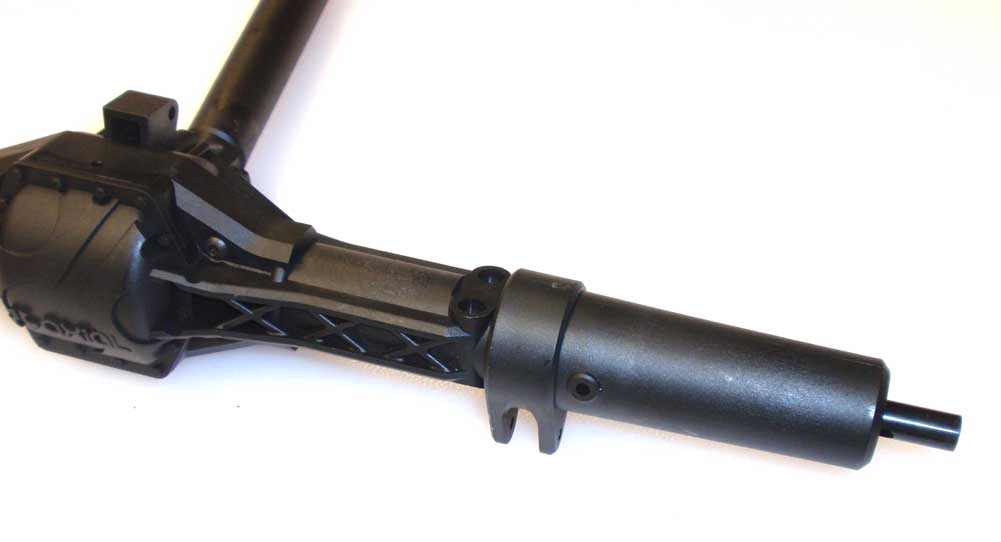
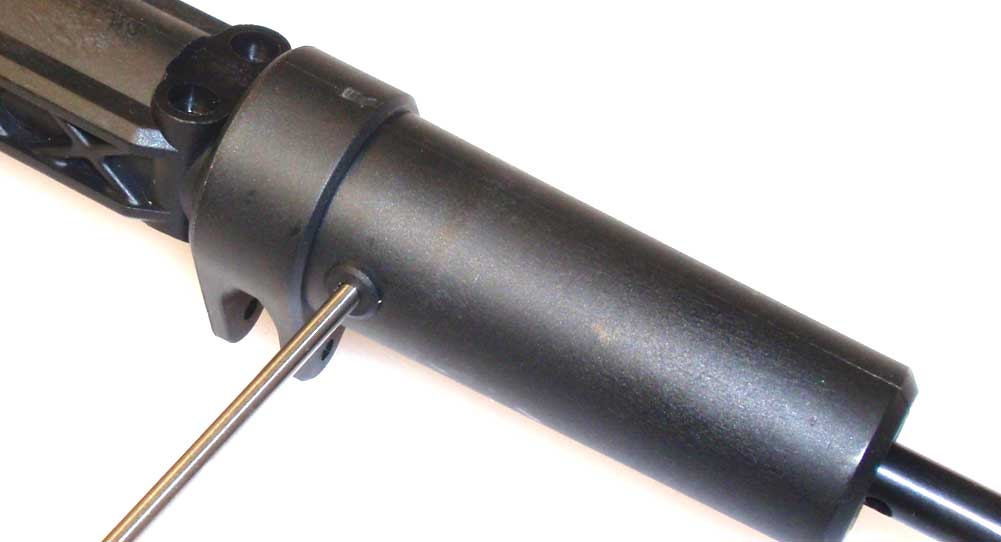
Insert the slider unit through the rear axle and press firmly into place. You want to completely seat the bearings in the axle housing.
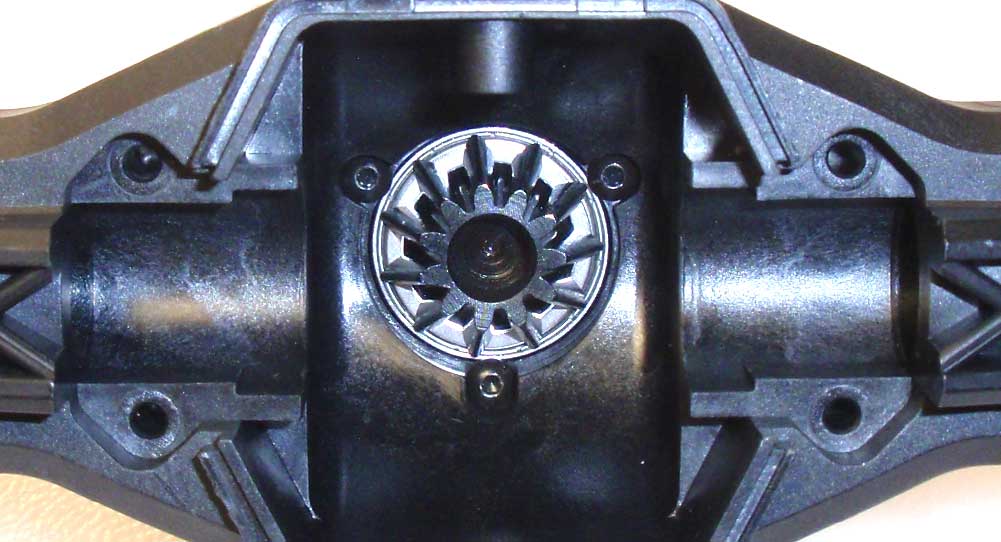
Secure the output gear with the three M2.6 screws. Like the front, you don’t want to overtighten these. Snug is good as long as there’s no movement.
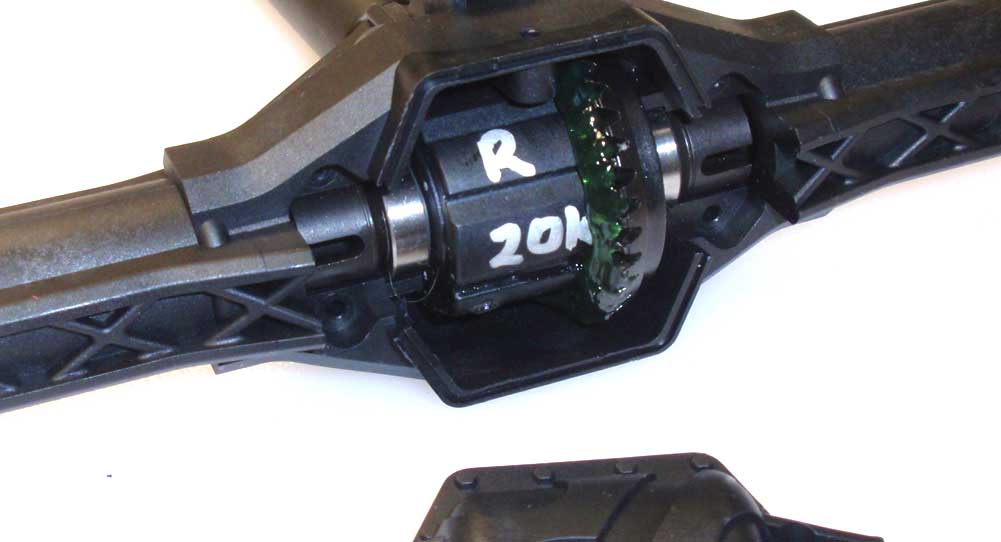
Grab your rear diff and coat the gear with the included black grease. Press the diff into the rear axle and attach the pumpkin cover.
The manual has you installing the axles now, but I found it a little easier to install them a different way. Slide a 8×16 bearing onto the axle and insert that into the rear axle carrier. Press firmly to seat the bearing inside.
Now mate that assembly to the rear axle, making sure the link tabs are facing down. Press in on the axle carrier as your rotate the axle to key it to the differential.
It was a little tricky trying to screw in the M3 screws if the holes weren’t lined up, so I used my wrench to get both holes together. Now install the four M3 screws (2 on each axle carrier).
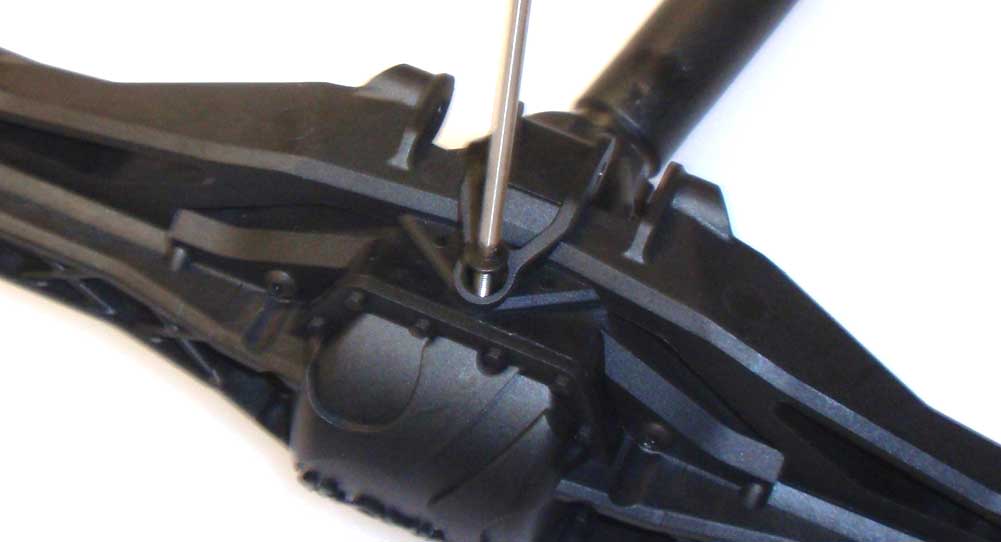
Install the center-link attachment brace. This was also quite tricky as the ends put a fight as I tried to pop them into place. I found that if you popped one end in and then used the two 25mm screws to hold it in place (tighten them down almost all the way), you could flex the brace enough to pop the other end. Screw in the other two 25mm screws. Install the 10mm screw last.
Slide the wheel hex onto the axle, install the pin and then capture the pin with the M5 set screw. A dab of threadlocker here is suggested.
There you go, a nice hefty rear axle ready to be installed on your Yeti XL! Set that aside and we’ll get cracking on the front suspension.


