


The Build – Part 9
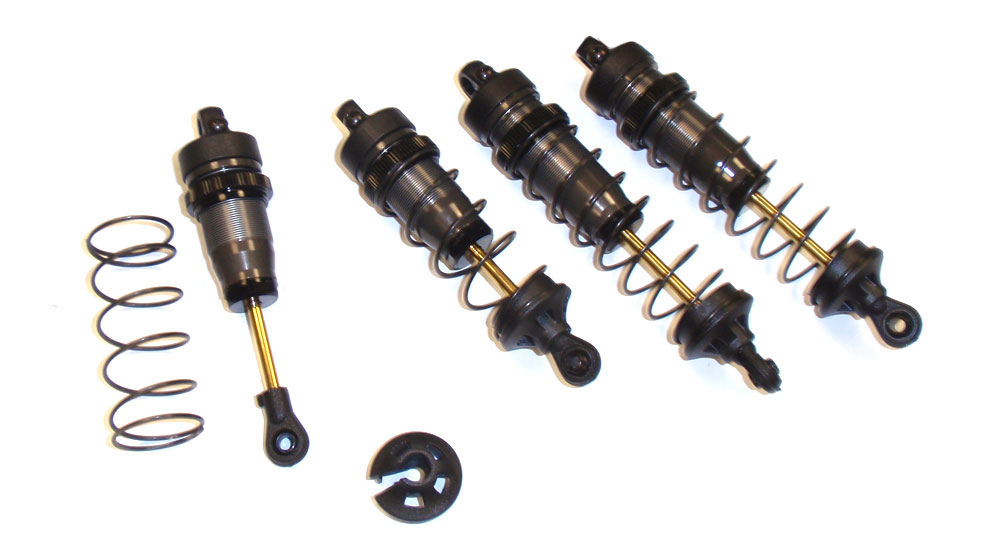
The Team C TM4 comes with a nice set of threaded shocks. They build well however they come with a spring clip to keep the cartridge together. A little unorthodox, but it seems to work fine. Might make rebuilds a bit tough for the un-initiated.
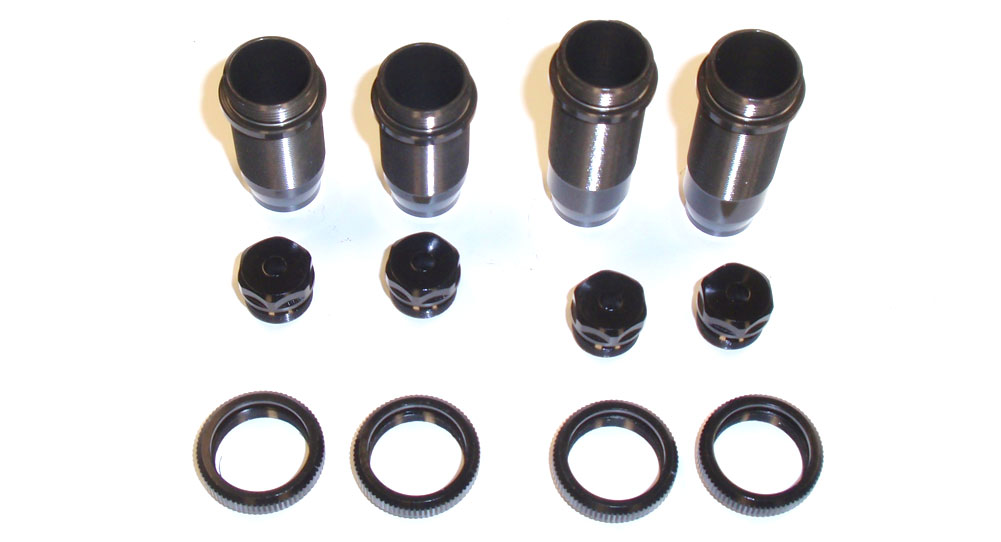
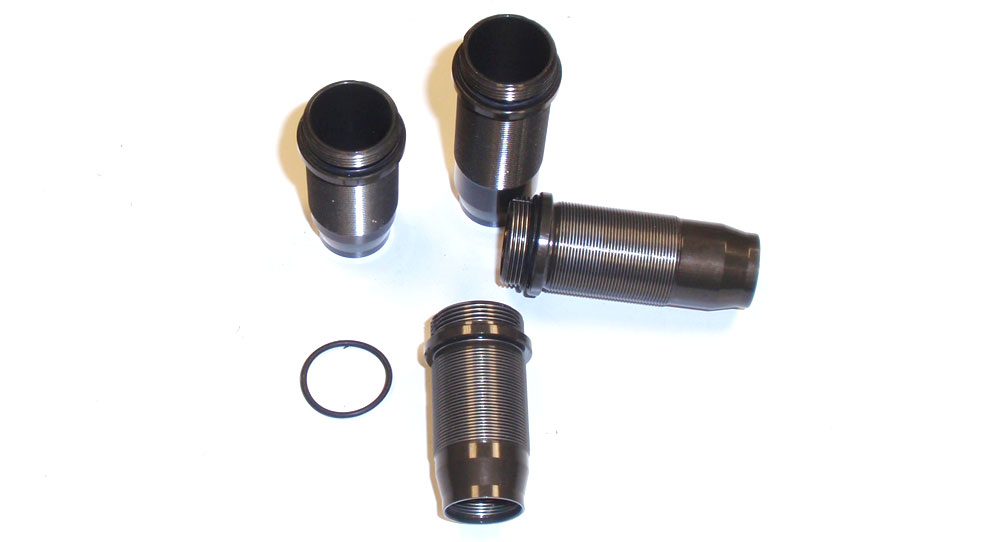
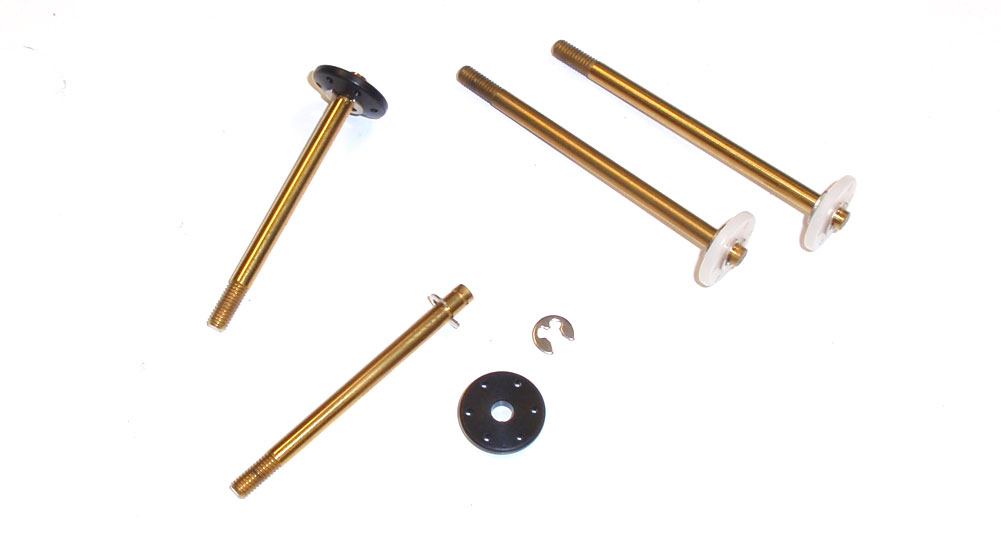
Before we begin, let’s do a quick round up of our parts. You’ll see two short bodies (the fronts) and two taller bodies (the rears). the cartridge housing and ride-height adjusters are the same for both shocks.
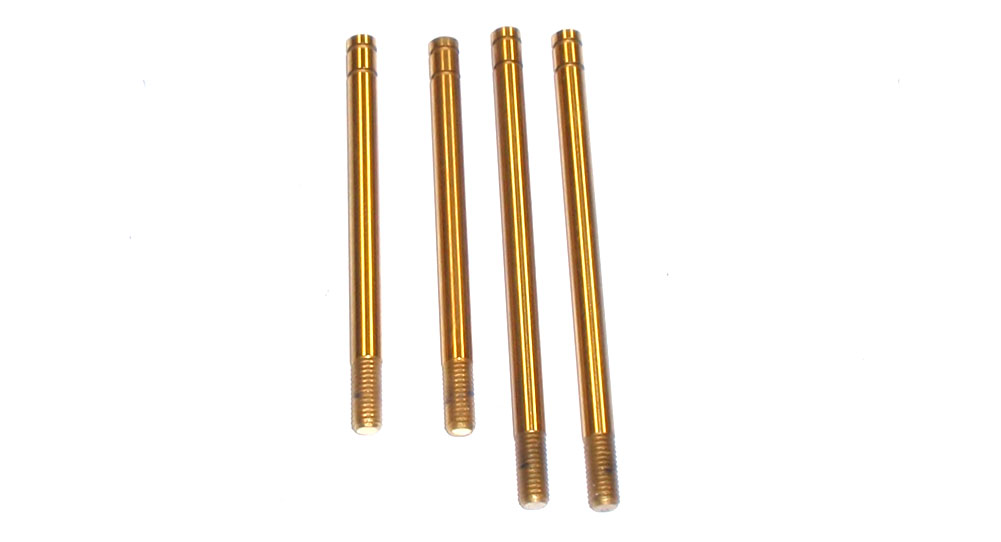
The shock shafts come in two lengths also; short for the front shocks, longer for the rears.

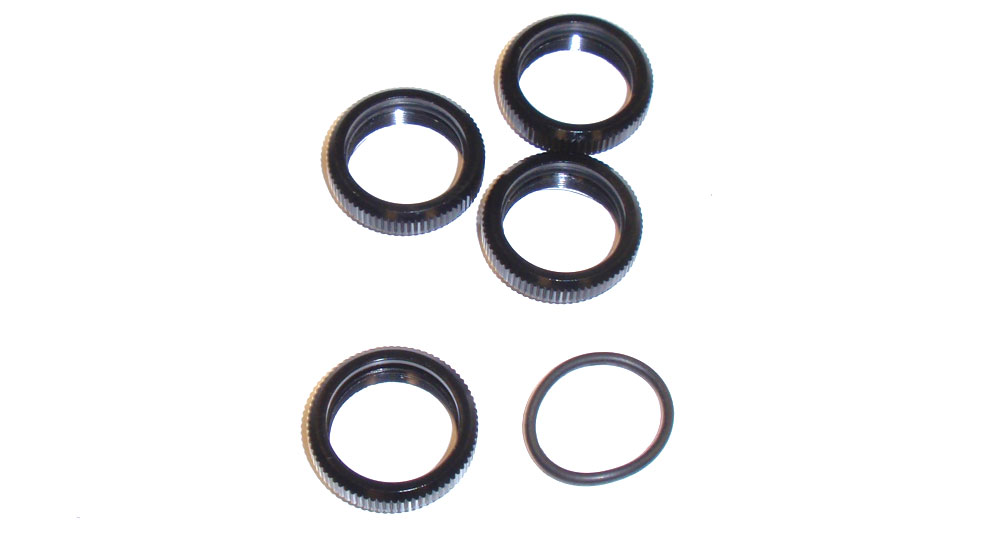
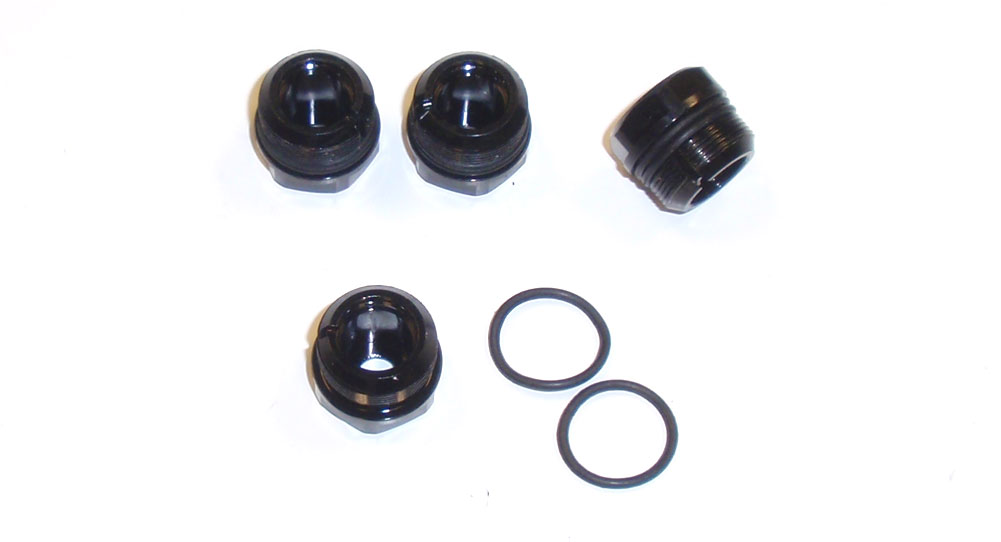
Finally, the o-rings. The upper left o-rings are for the top of the shocks where you tighten the caps. The o-rings in the upper right are for the cartridges. The o-rings on the lower left are internal cartridge sealers and the o-rings on the lower right are for the ride height adjusters. I like to keep mine separated to make assembly a little easier.
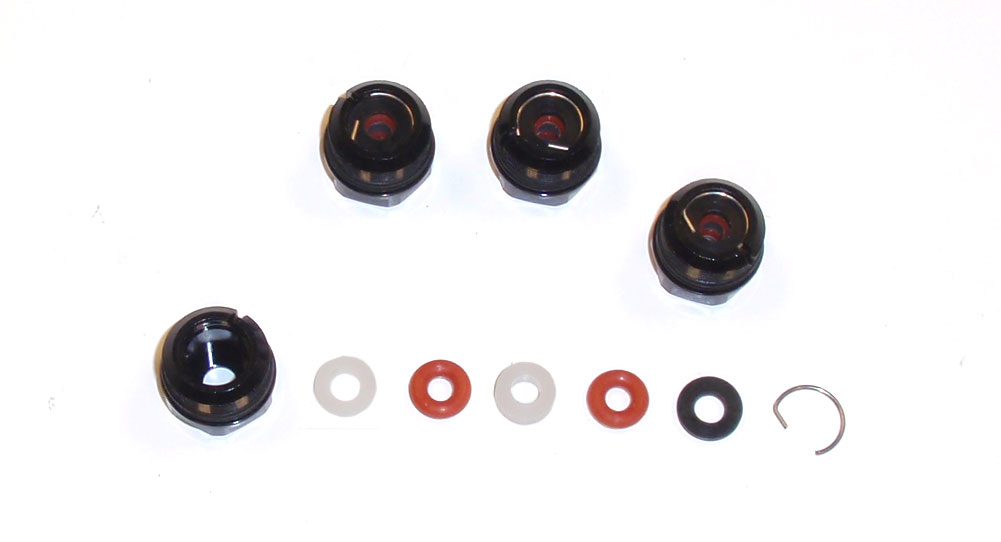
Grab the large, thick o-rings and insert them in the ride height adjusters. Do this now before you fingers get oily, making this job a P-I-T-A!
Take the smaller, black o-rings and roll them over the cartridge housings. Two will go on each housing.
Take the larger o-rings and roll them over the top of the shock bodies.
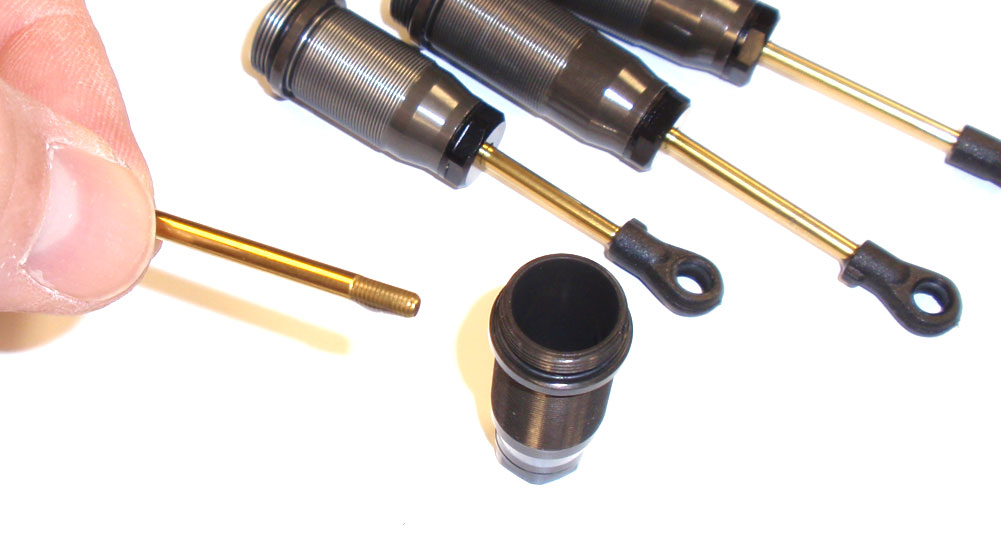
Build 4 cartridges per the manual. Snapping the little clip in might prove a difficult task to some, easy for others. Take your time and it will pop right in. If you decide to use a tool of some sort to help, be careful not to stab yourself.
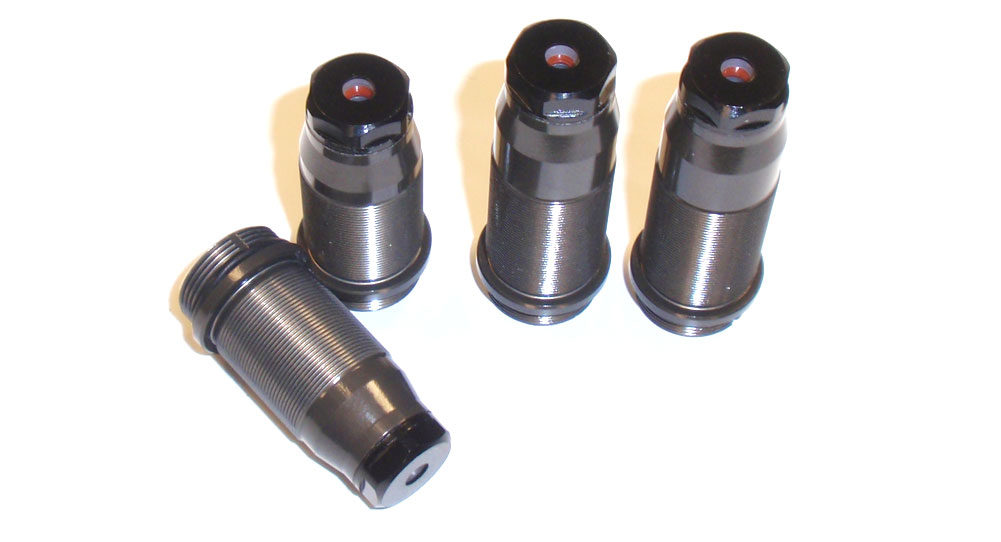
Insert the cartridges into the bottom of the shocks.
Attach the 4 pistons to the shock shafts. The black pistons go on the front shafts, the white pistons go on the rear shafts.
Put a drop of oil on the threads of each shaft and slowly guide it into the shock body. Press slowly so you don’t rip the internal o-rings. Once inserted, thread on a lower eyelet.
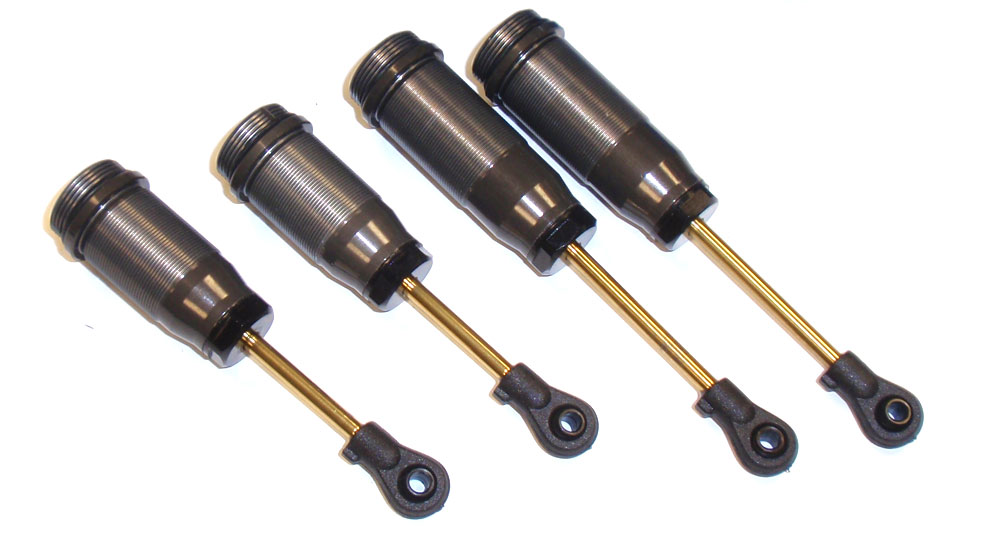
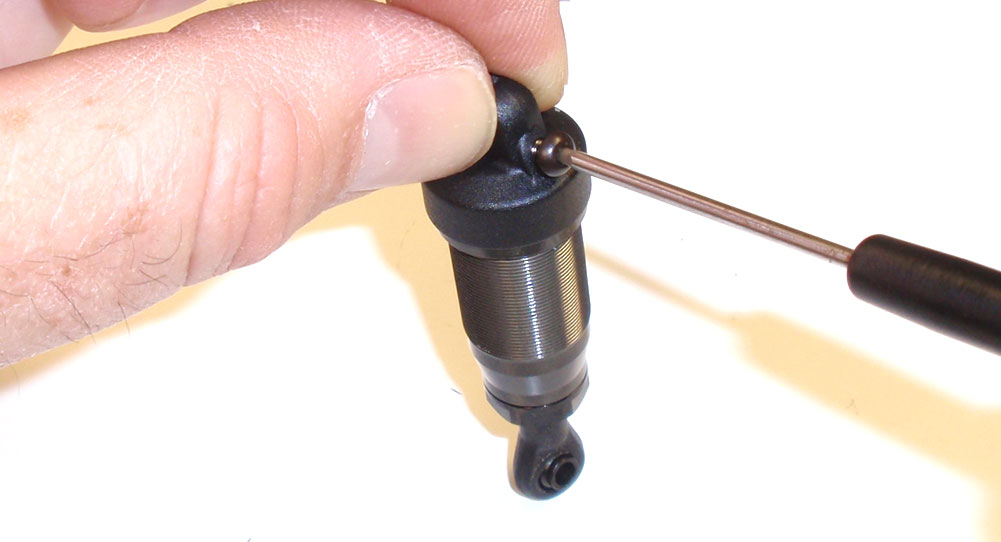
Pop a ball into each eyelet.
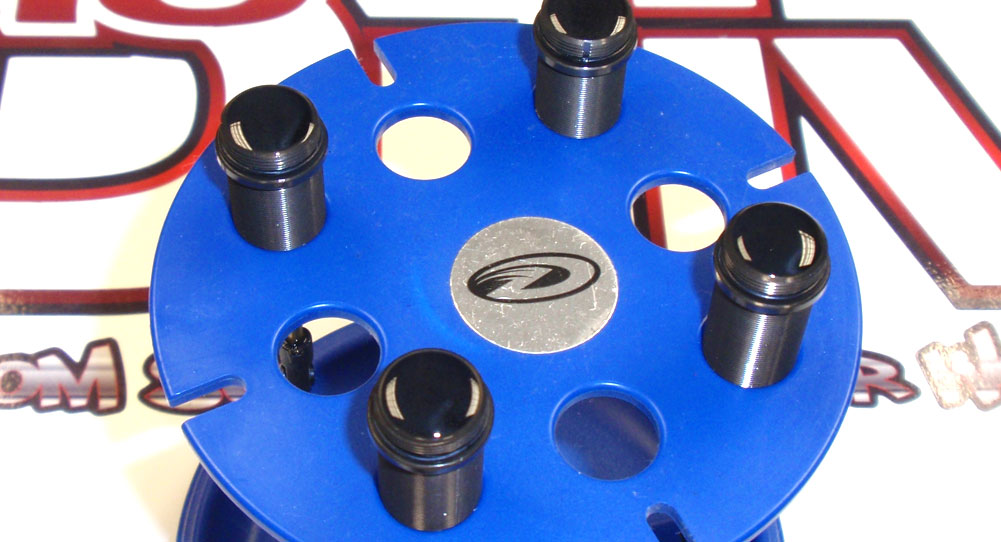
Fill a shock with oil and slowly pump the shaft up and down to let the air bubbles out; the fluid level will drop. Set it in a shock stand and refill to the top as shown. Let it sit while you fill and de-bubble the other 3 shocks. I would let them sit there for another few minutes to make sure all of the air is out of the shocks.
Screw the cap on. Slowly compress the shock; as you do, you’ll see oil leak out of the hole in the cap. When the shock is fully compressed, insert the bleeder screw into the cap. Clean off the shock (and table) of any excess oil.

Thread the ride height adjuster onto the shocks. Make sure the front adjusters are equal and the rear adjusters are equal. Slide a spring onto each shocks (shorter ones go on the front shocks) and retain with the lower spring cup. The cups have a groove in them; key that to the nub on the lower shock eyelet.
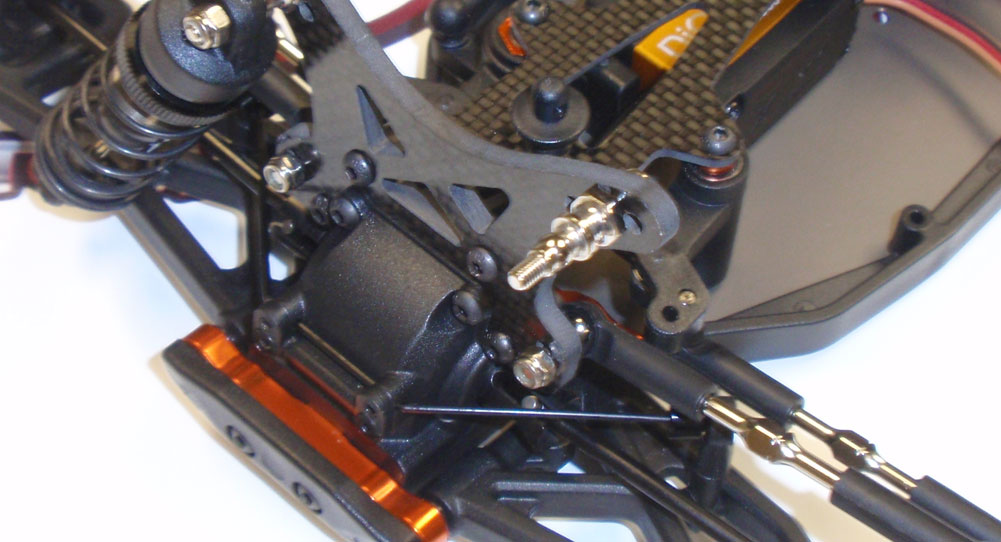
Attach the upper shock mount bolt to the tower. Use the middle hole in the tower.
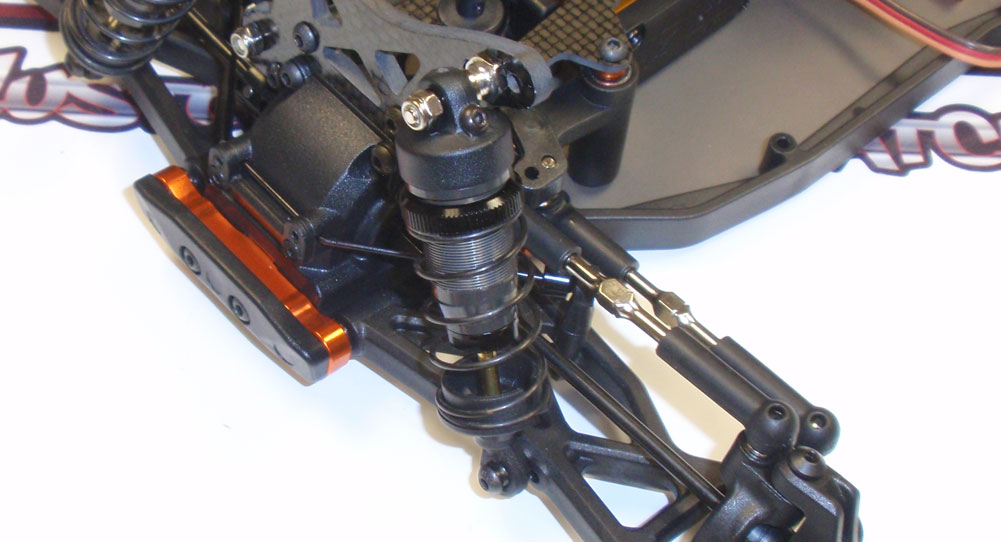
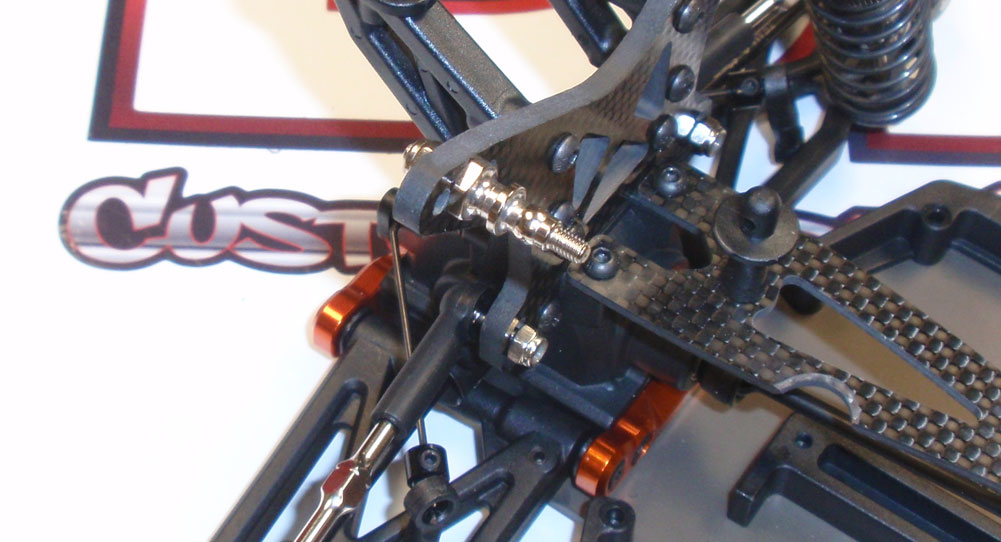
Position the shock in place and secure up top with the M3 nut. Mount the shock in the inner hole on the suspension arm.
Attach the upper shock mount bolt to the tower. Use the middle hole in the tower.

Position the shock in place and secure up top with the M3 nut. Mount the shock in the inner hole on the suspension arm.
I would suggest compressing each shock a few times to make sure there is no binding. Great job!


