The Build – Part 12
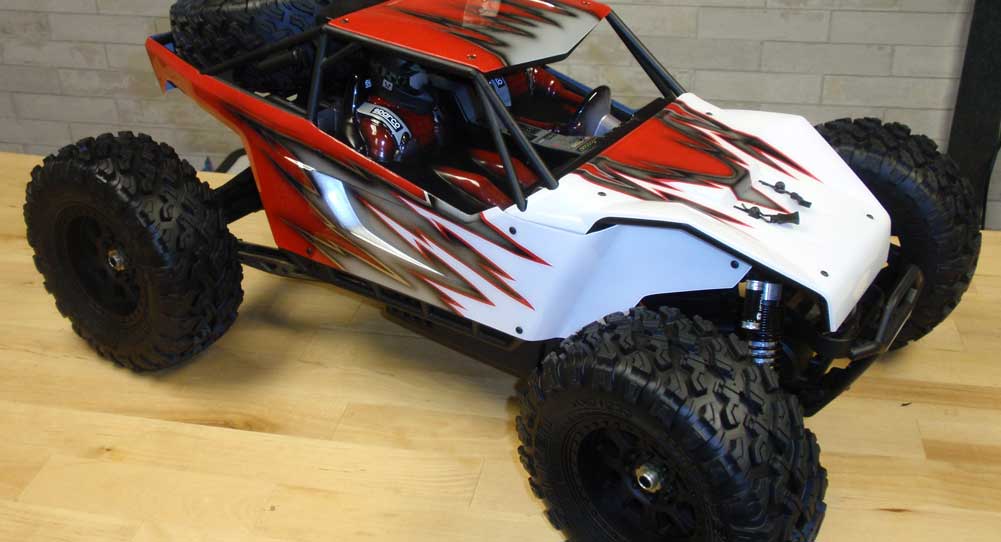
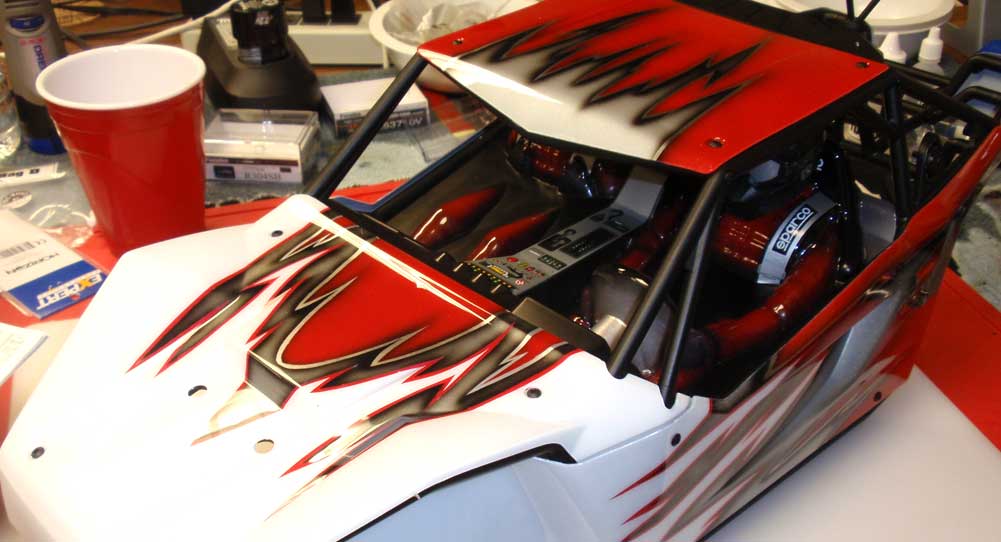
Here it is, the final assembly step with our Axial Yeti XL. We’ll be assembling the cage, attaching the body panels and installing the wheels and tires. I have to give a shout out to Larry Genova over at www.kustomrcgraphics.com for putting down the absolutely awesome paint job on my Yeti. I asked for my racing paint scheme on this and he delivered it!
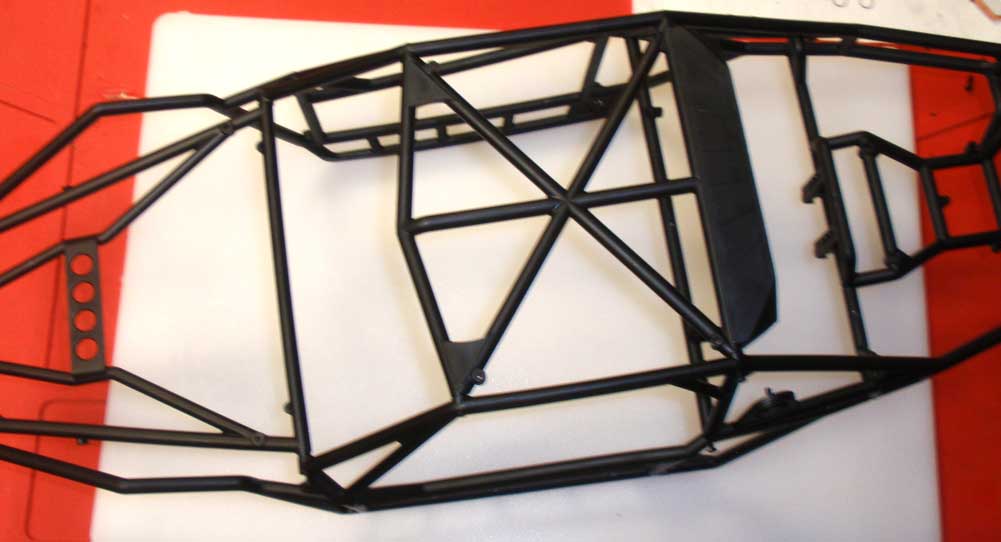
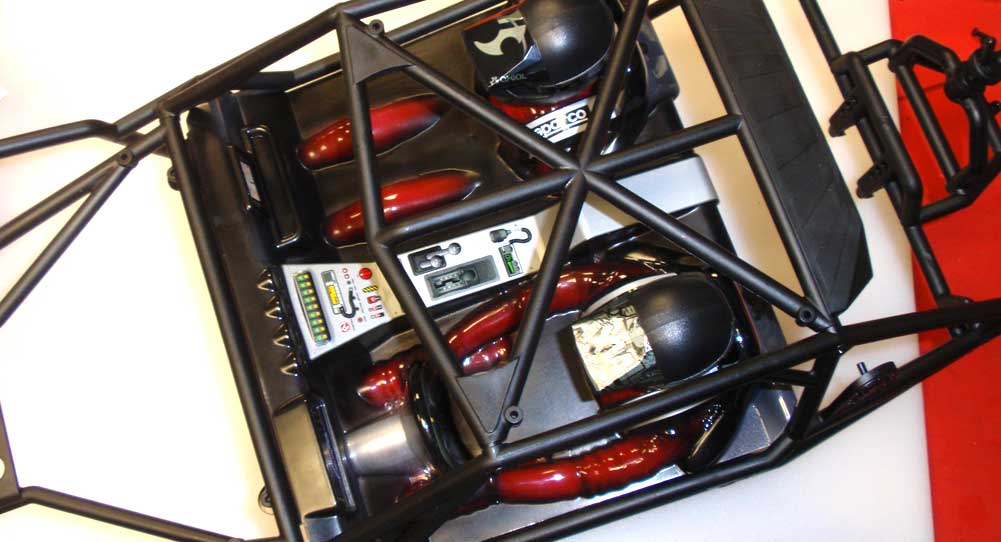
Let’s start off by assembling the cage. I didnt’ go into detail with this because it’s pretty simple, just pay close attention to the screws. My manual had a few mistakes; first off, in the sidebar is shows the top screw (shorter screw) with a quantity of 8 and being 25mm. The bottom screw (longer screw) has a quantity of 16 with a length of 20mm. This didn’t throw me as much as did the actually quantities and placement. On the lower build pictures, the manual has us installing a pair of the AXA437 screws (25mm) into the rear brace, but in fact the shorter ones are needed here (they longer ones don’t go in all the way). I had to move some screws around to accomodate this, but I’m sure you’ll get the picture when you’re building the cage … or maybe your manual has been updated. Just be aware that you may need to move some screws around.
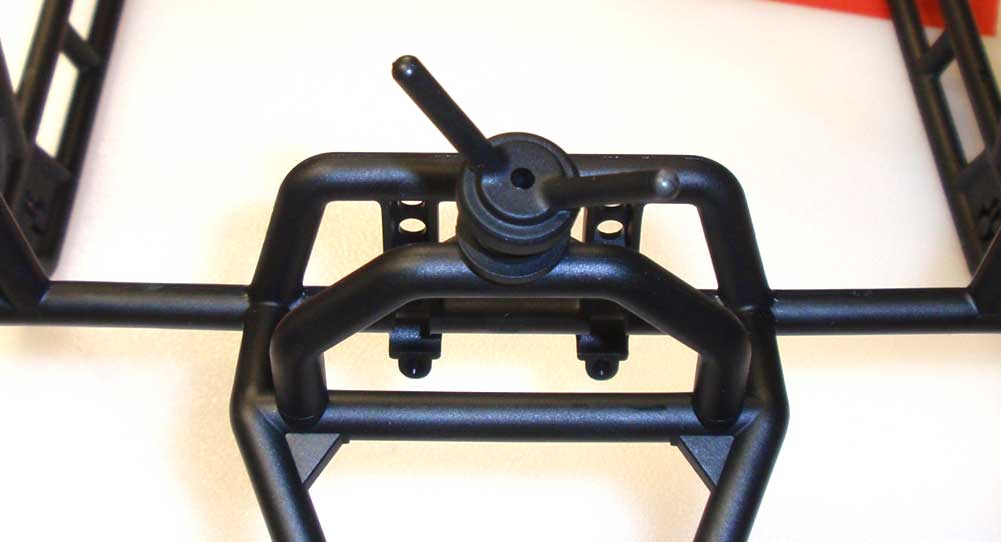
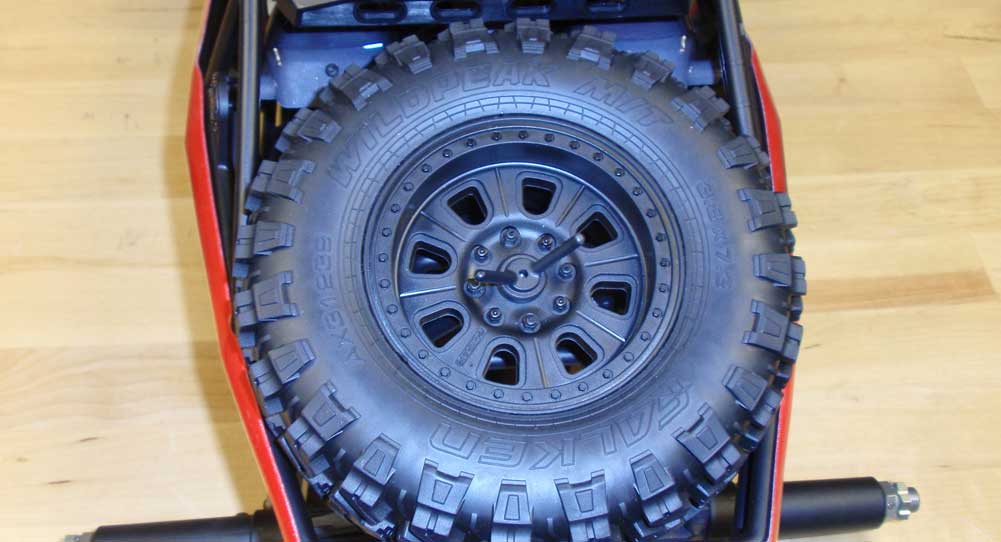
Since I was working on the cage, I went ahead and installed the spare tire carrier now. You don’t need to thread the spin-off all the way, just a few threads to get it started.
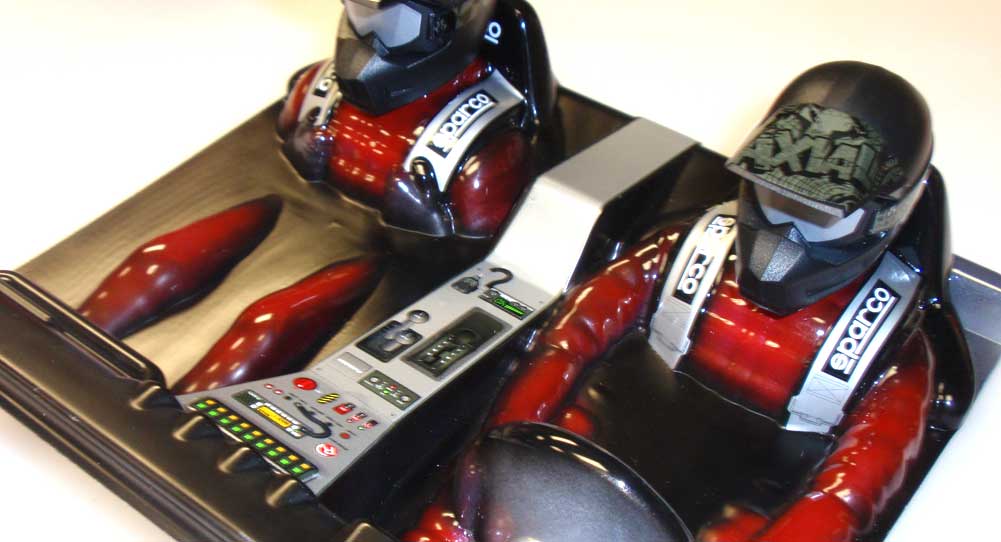
www.kustomrcgraphics.com did up my drivers as well, but I finished them off with the stickers from the sheet.
Install the drivers into the cage. You may need to rotate the rear mount to get it to line up with the drivers.
Install the body panels. Love the paint!
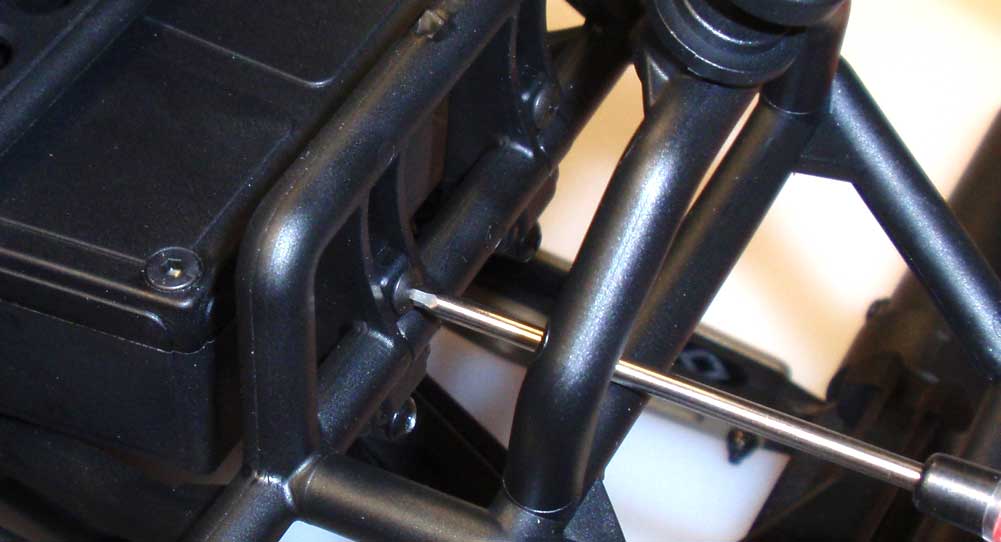
Mate the cage to the rear of the chassis and capture it with the swivel caps. Tighten these screw up nice and tight.
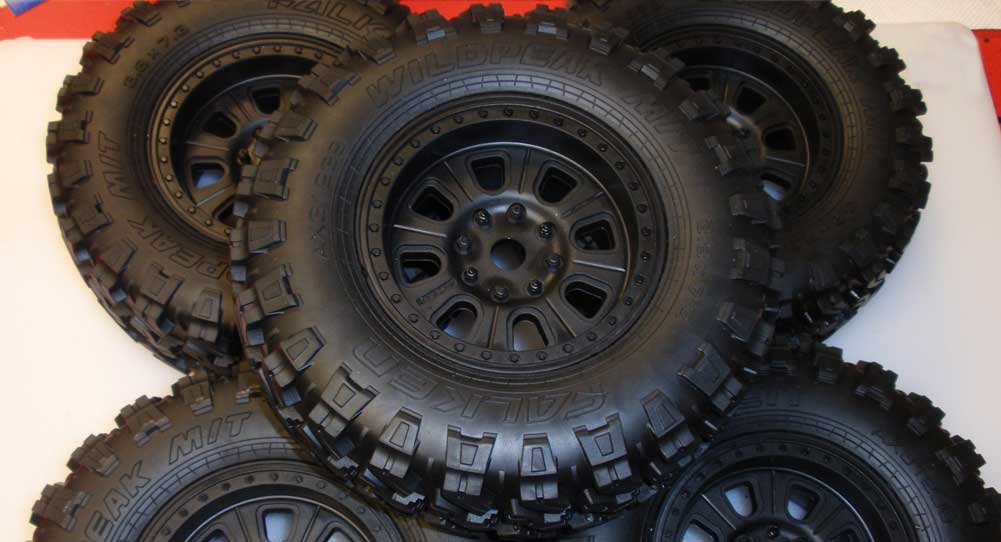
Install the wheels into the tires, making sure the tire bead seats completely into the wheels. Use your favorite CA glue to mount them all up.
Remove the spare tire spin-off and force one of the tire assemblies into place. Re-install the spin-off and tighten it all the way down.
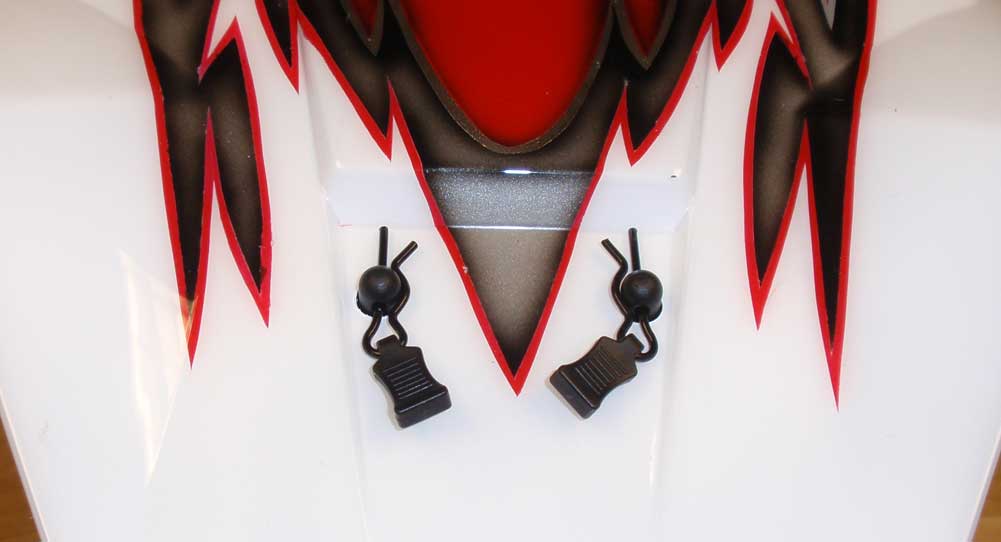
Slide the rubbery clip-pulls onto the body clips, ‘close’ the cage and insert.
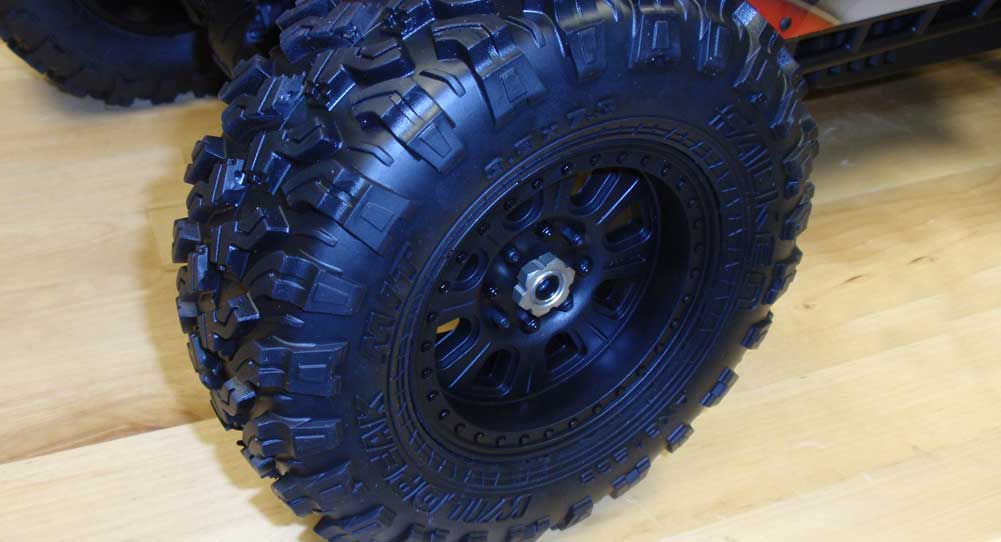
Fit the tires to each corner and secure with the wheel nut. Notice the wheel nut is knurled on one side; face that side towards the wheel.
WOO HOO! Congratulations on your Axial Yeti XL build! Charge up your batteries, get them in the truck and get to rippin’!
 RC Driver The Best In RC Car & Truck News, Reviews & Video