Keep your ride running like new!
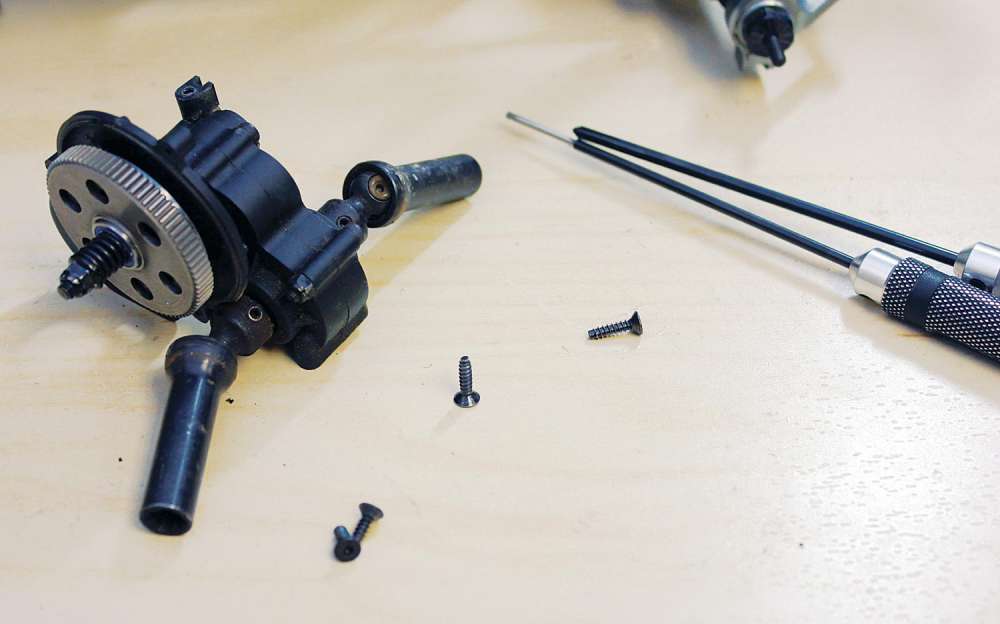
Part of owning an RC vehicle is performing maintenance to keep it running at its absolute best. Wrenching on your ride is actually one of the aspects that makes RC so much fun. Not only are you keeping your car operating at its best, but it also gets you familiar with how it works. This will make troubleshooting easier if an issue comes up and you will learn what adjustments are possible and how to make them so that your car or truck will run even better. Here we will show you what to do for RC Drivetrain Maintenance on your car or truck. The drivetrain includes the gearbox where the motor is attached and all the rotating parts that cause the tires to spin.
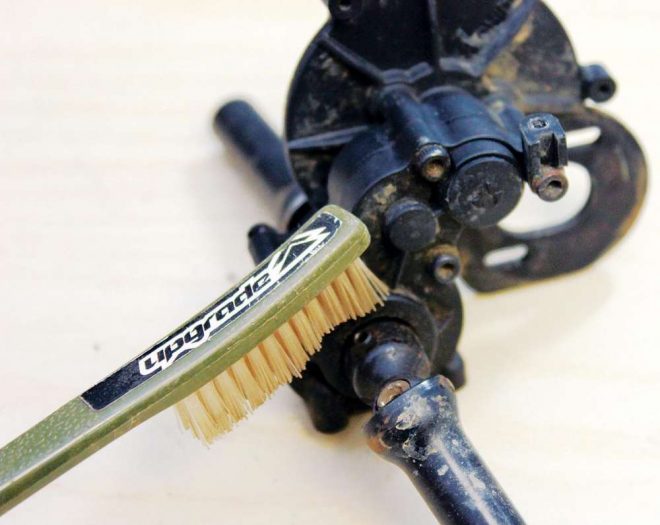
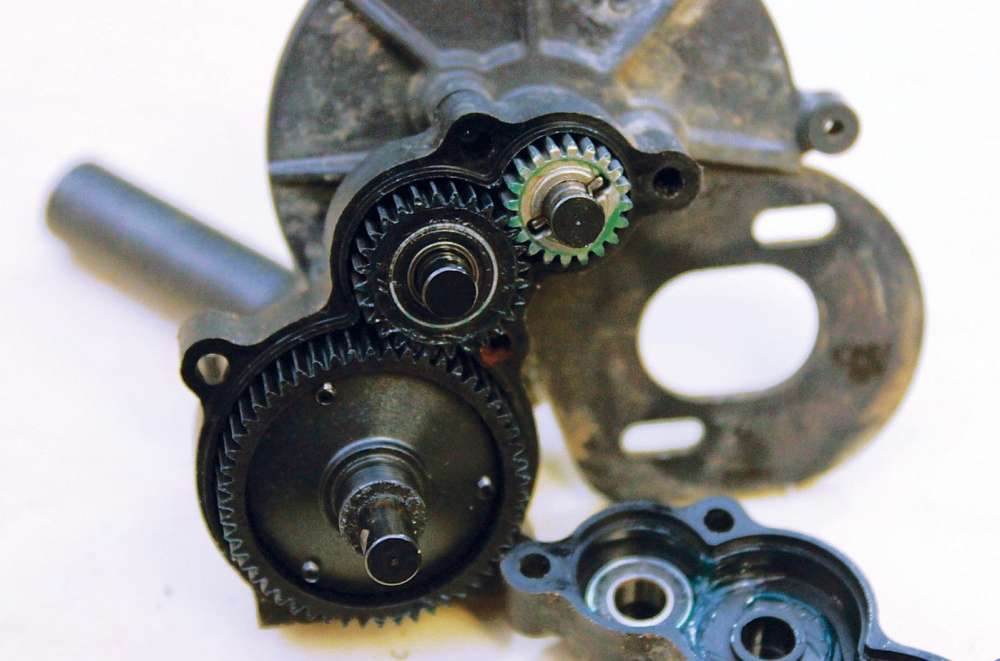 Gearbox—Once the gearbox is wiped off, open it up and give it a thorough inspection. Take note if dirt has made its way into the gearbox. Does the grease look dirty or does it look as it would when it comes out of the tube? Is there any grease left? If the grease is dirty or there is none at all, you will need to completely take the gearbox apart and remove all the gears and clean them so you can take a closer look. You are searching for any type of wear like grooves forming on any of the parts. Be sure to take note of the condition of the teeth on the gears. Do they show signs of being overly worn; to the point where they are deformed or are even missing? If you find any issues, now is the time to replace those parts. One bad gear will lead to other gears and parts getting damaged.
Driveshafts, axles and drive cups—Take your time and inspect the driveshafts, axles and drive cups for wear. Look at the cross pins and see if they are worn at all and if so you will need to switch out the part for a new one. If your vehicle uses sliders, look and see if there are any signs of them twisting. If there are, the sliders are being hindered in moving freely as the drivetrain spins and the suspension articulates. The other likely area that tends to get thrashed is where the pins come into contact with the drive cups. You will see notches appearing on the drive cups and this can cause the drivetrain to bind and eventually fail. On cars equipped with universal axles, examine the universal unit itself. Does it move freely? Are the pins that hold it together intact and secure? Is the setscrew tight?
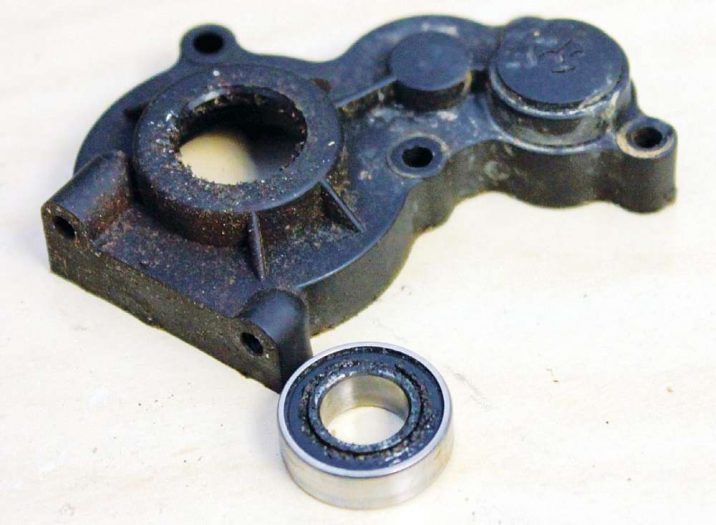 If the car is equipped with ball bearings, make sure they are spinning freely and smoothly. Bearings are key to keep power-robbing friction as low as possi- ble in your car. The motor/engine does not have to work as hard and therefore more power is getting put to the ground instead of being wasted by spin- ning a rough operating drivetrain. It does not matter if you run off-road or on-road, you have to check the bearings. If you drive in wet conditions it is like- ly that the bearings have rusted, causing them to either seize or spin roughly. In some cases they will need to be replaced if they are too far gone.
TOOL OF THE TRADE
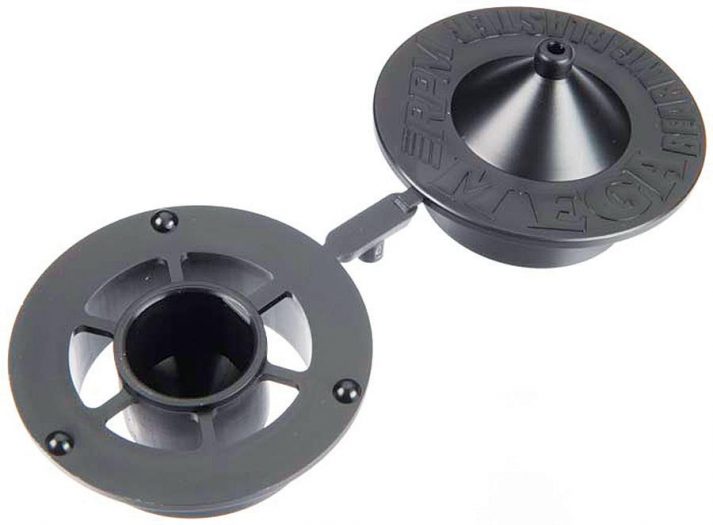
When I perform drive- train teardowns on my rides, I will give them a good cleaning regardless of whether the bearing seems to spin freely. I have always found that once I am done, the bearings will spin even bet- ter. My go-to tool to thoroughly and easily clean ball bearings is the RPM Bearing Blaster (Buy: http://amzn.to/2oiSMrb). It is an affordable investment which does an awesome job of getting debris removed from inside the bearing. The bearing goes inside of the Bearing Blaster and then you spray motor cleaner through the nozzle that is on one side of the blaster. After they are clean, don’t forget to lube them.
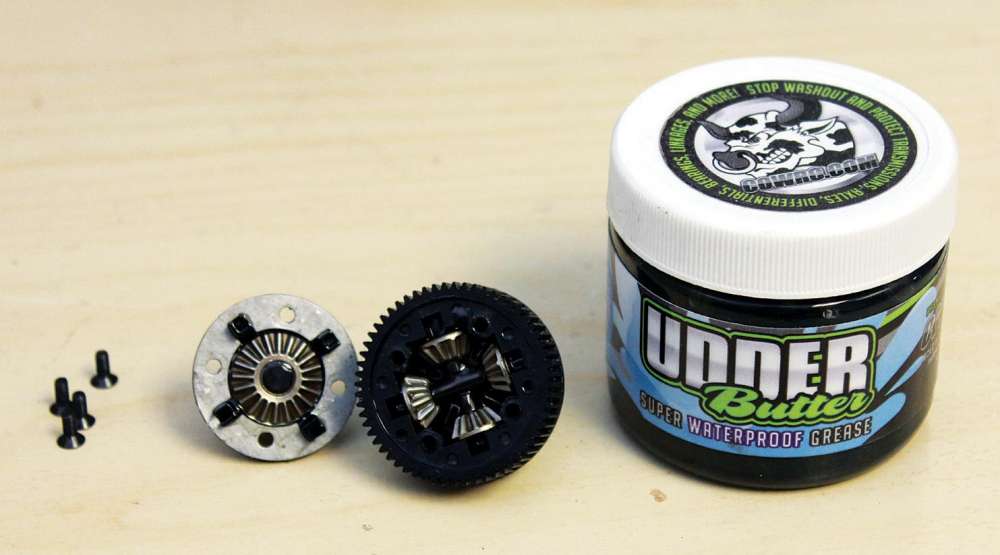 When running sealed gear diffs, replace the grease inside with fresh grease. Check the diff gears once the case is cleaned out just like you did with the rest of the gears in the drivetrain. If anything looks busted or worn, replace it. Complete this step by adding fresh diff grease and then button up the assembly.
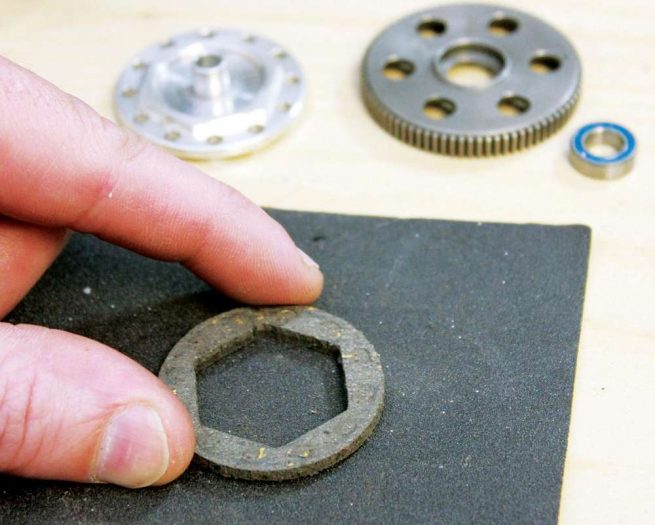 Over time, the components that make up a slipper clutch will definitely show signs of wear and can be restored most of the time without the need to replace any parts if routine maintenance is being followed. Disassemble the slipper and inspect the pads. If they are shiny/glazed, use 200 grit sandpaper to restore them back to near original condition. For a neglected slipper, look at each part to see what needs to be replaced. A lot of heat and friction can come into play with the slipper and the parts will pay the price.
STEP 7—IS IT BINDING?
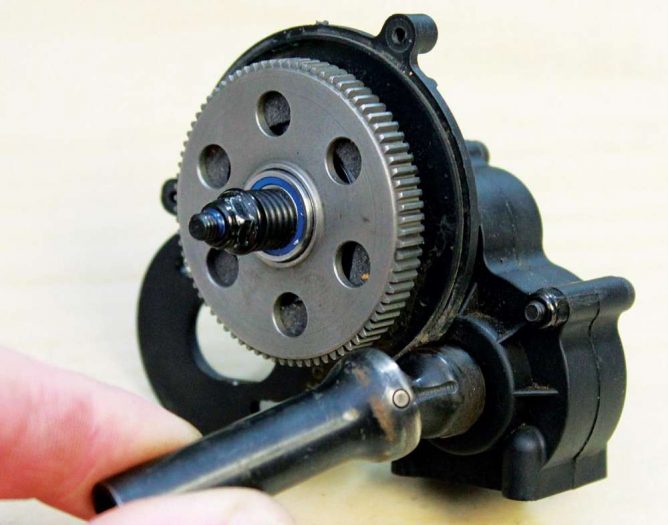 Reassemble the drivetrain while being sure to lubricate the gears and bearings. Once assembled, remove the pinion gear or on a nitro-powered ride, slide the clutch bell away from the spur gear. Now you can spin the drivetrain to check it for any binding. As you spin the drivetrain, move each of the suspension arms up and down. This will tell you if the axles or dogbones are functioning properly. If any binding is detected, go back and make sure everything is assembled properly and that you did not miss any broken or worn parts.
By Paul Onorato
Links
RPM, rpmrcproducts.com, (909) 393-0366
 RC Driver The Best In RC Car & Truck News, Reviews & Video


