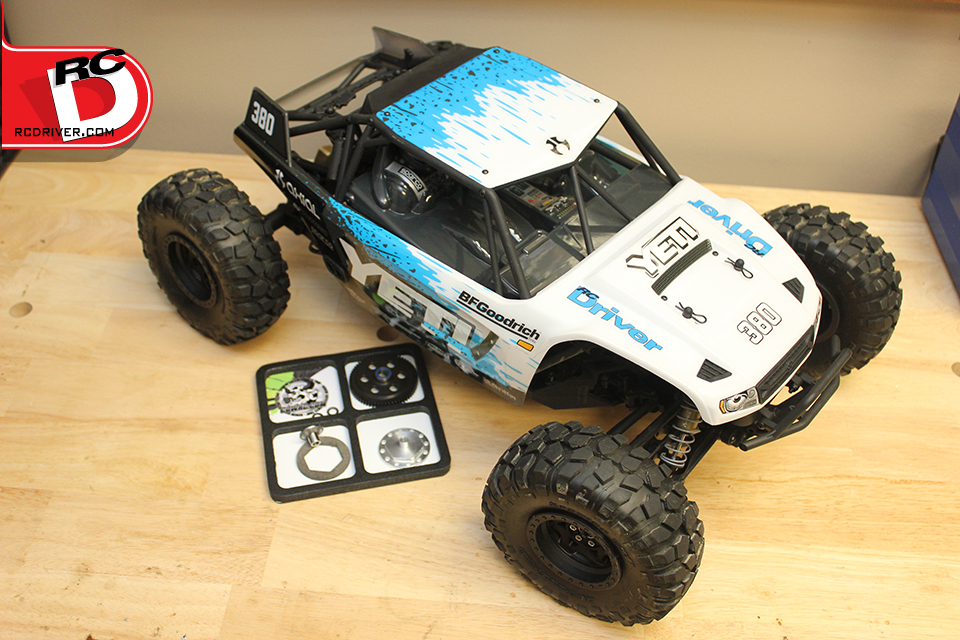
Robinson racing just released their Gen3 Slipper Unit with hardened black steel spur for the Axial Yeti. This kit comes with everything you need to swap out the stock plastic spur and slipper parts. Like Robinson’s other Gen3 units, this kit has a thick single slipper pad that is keyed to the back-plate. It is meant to keep your driveline together under harsh power and driving conditions. Time to install it in the RC Driver Yeti.
AT A GLANCE
WHO MAKES IT: Robinson Racing
WHAT IS IT: Yeti Gen3 Slipper Unit 64T Spur w/Ridged Hub
HOW MUCH: $44.99
PART NUMBER: 1564
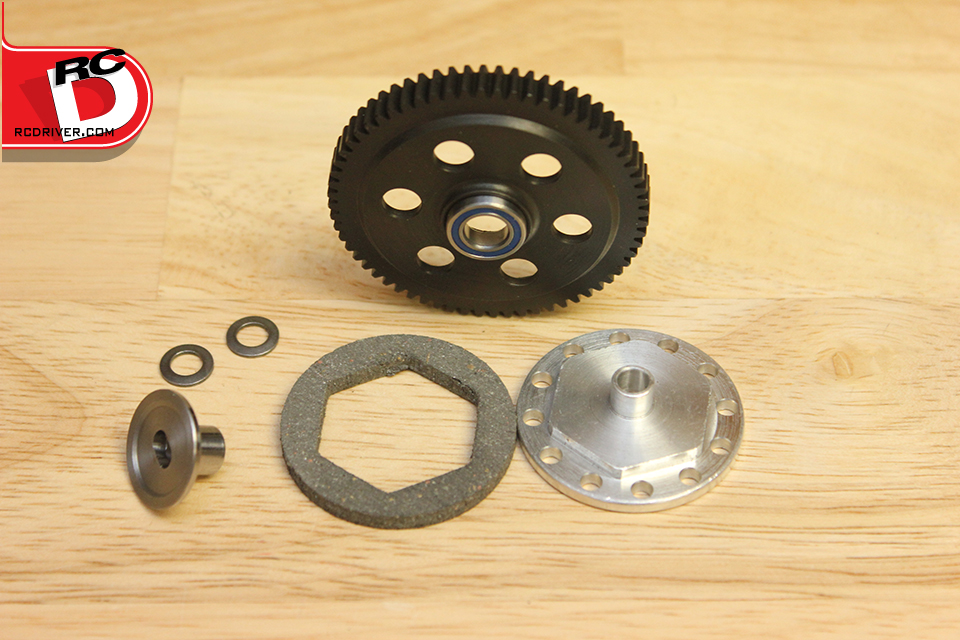
WHAT YOU GET: Steel Spur, slipper pad, slipper plate, ridged hub, bearing, washers and decals
ADDITIONAL ITEMS NEEDED: Tools for assembly
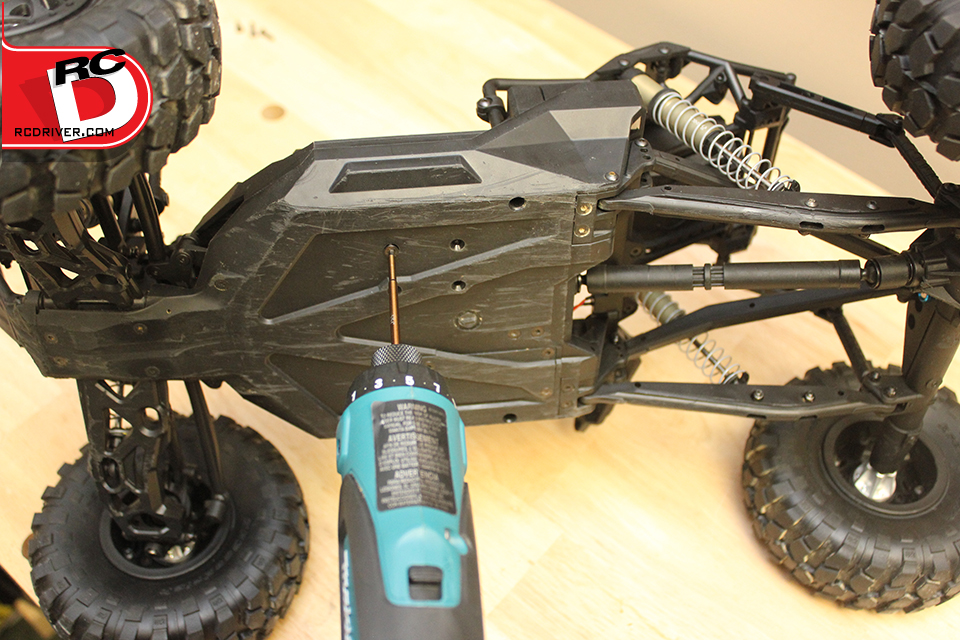
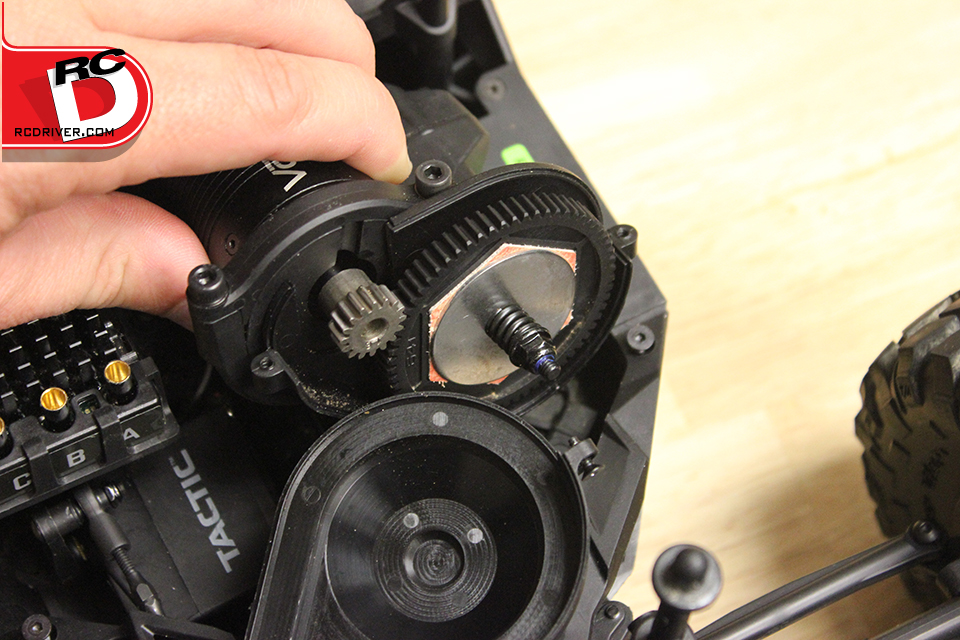
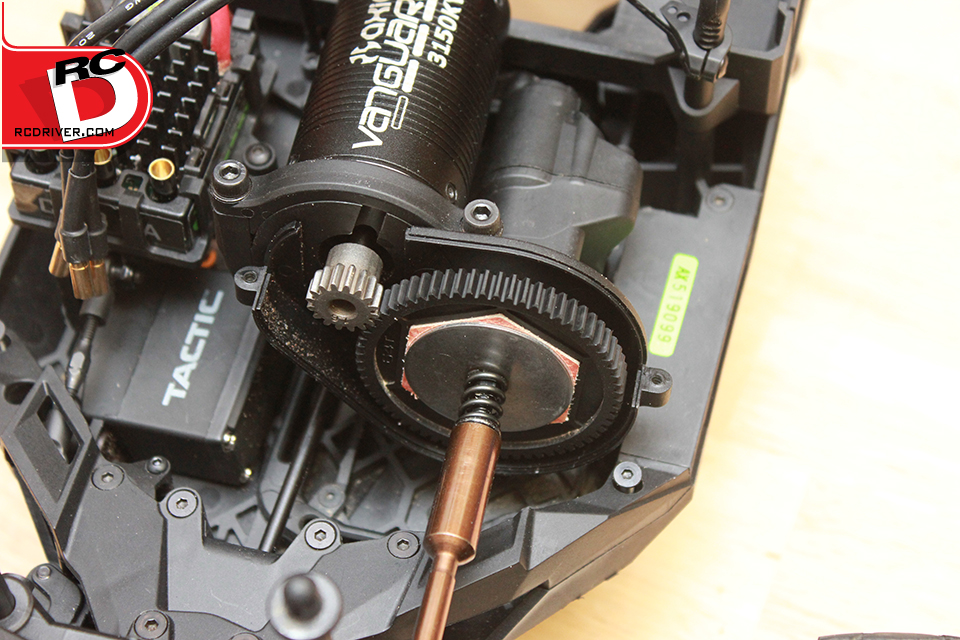
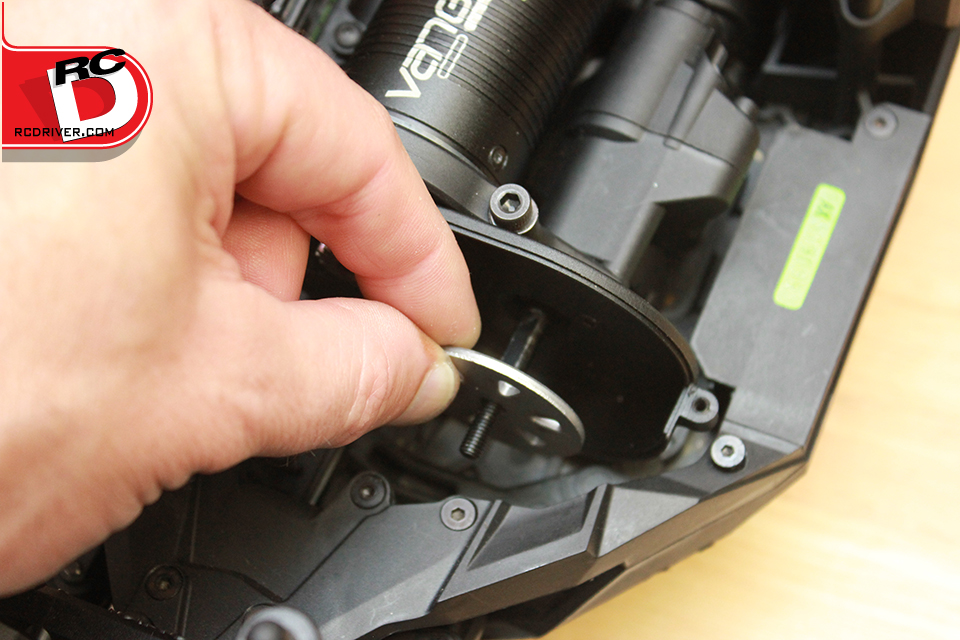
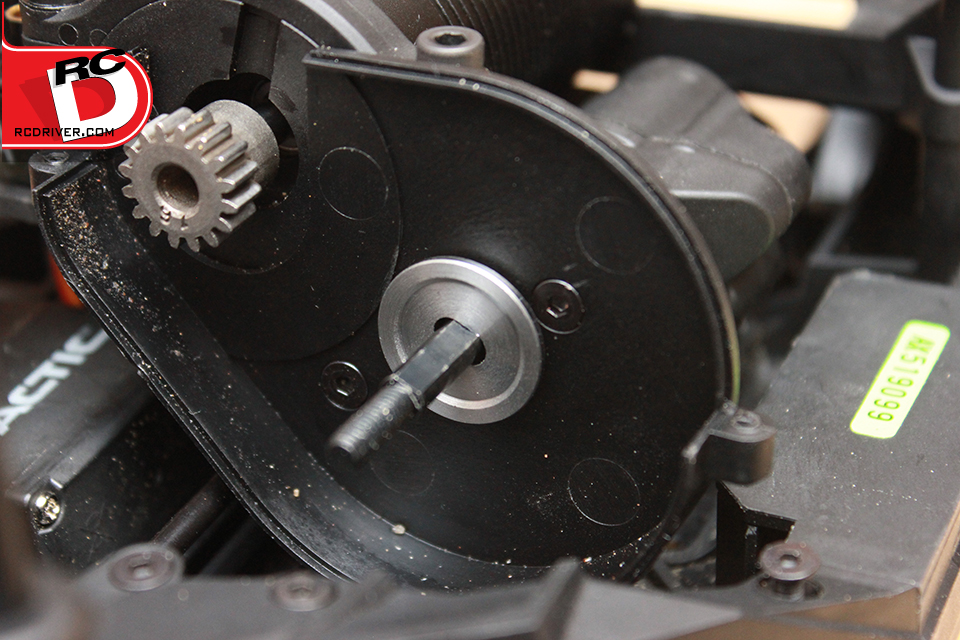
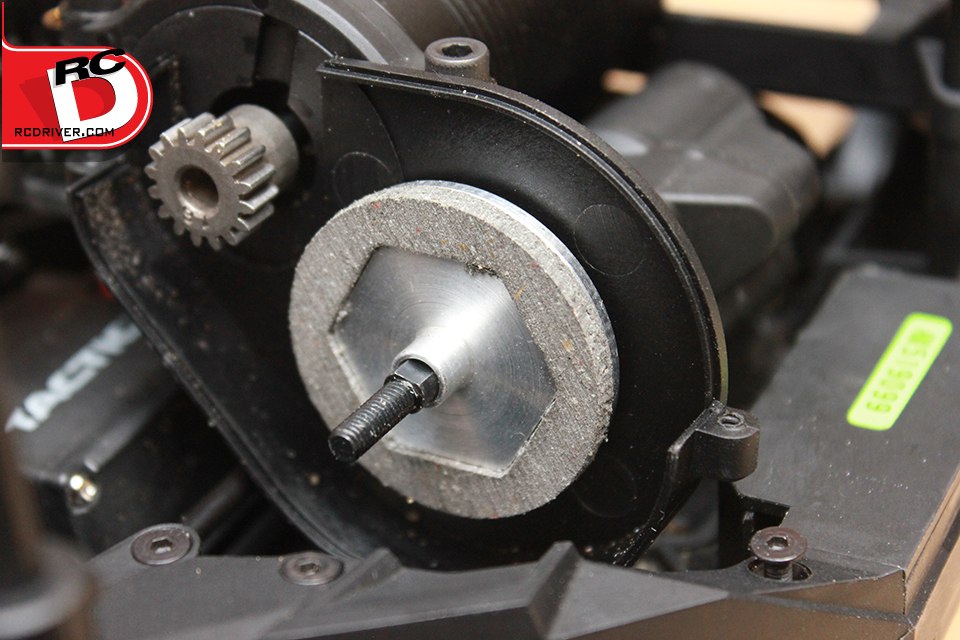
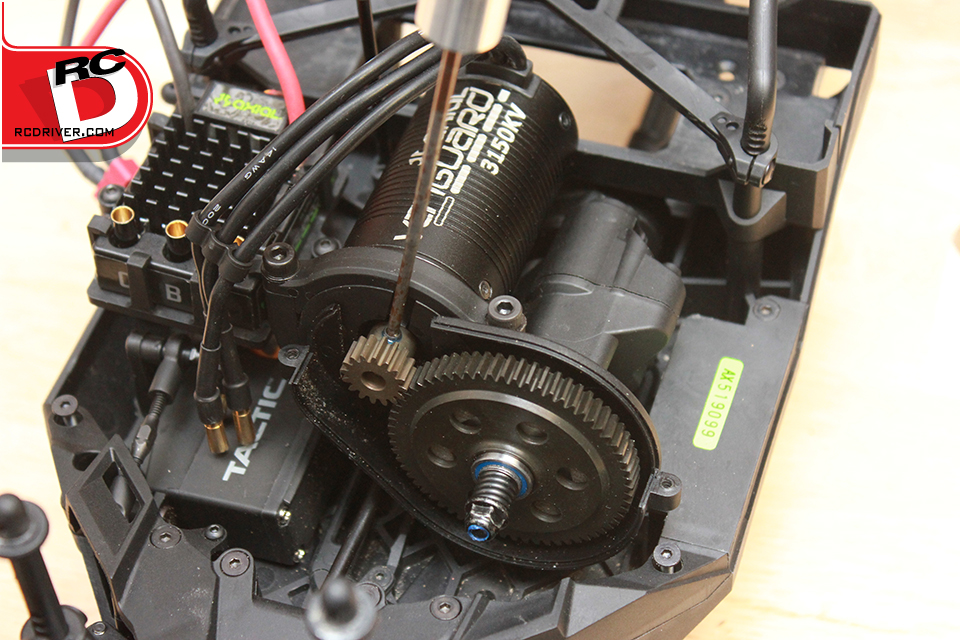
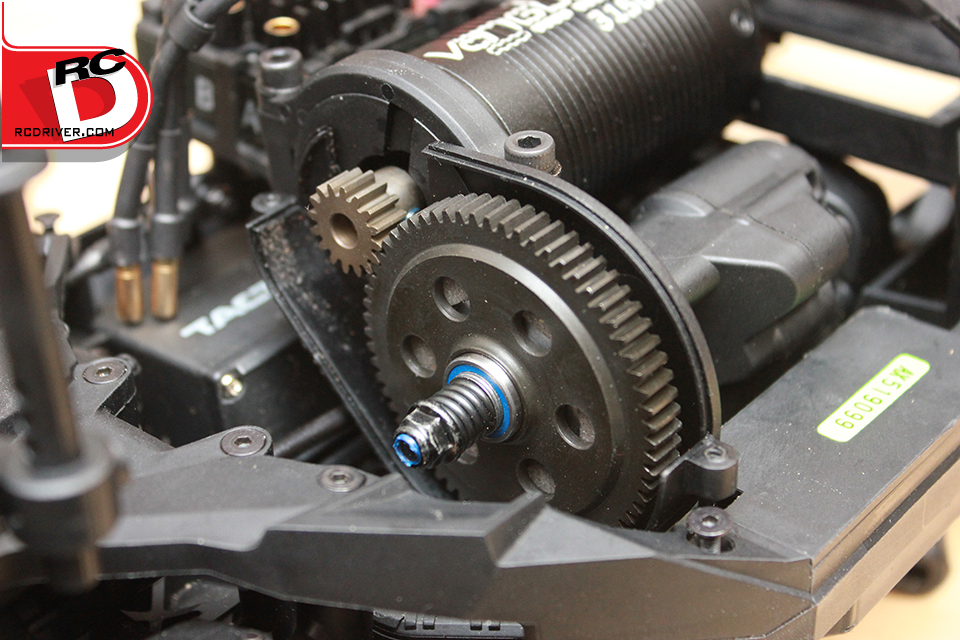
Remove the six screws on the bottom of the chassis that hold the transmission in. This will allow you to tilt the tranny up later for easy access to the slipper assembly.Unscrew the two retaining screws for the stock gear cover and tilt the tranny up to remove the cover.Unscrew the slipper nut. Save the nut and spring, you’ll reuse them with the new RRP slipper unit.Slide all of the stock slipper components off the top shaft. You may need to wiggle the slipper plate to get it off, its a tight fit.Slide the new steel RRP rigid hub onto the shaft. This hub offers better support for the unit.Slide on the RRP slipper plate and then press the new slipper pad onto the hex key.Next slide on the new steel spur gear, ball bearing and cone washers on the shaft followed by the stock spring and nut. We opted to install a Robinson Racing 16T .8 mod pinion while we had access.Here’s the new Robinson Racing’s Gen3 Unit installed in our Yeti before we put the spur cover back on. For a tension setting RRP suggests tightening the nut down and backing off 1/8-1/4 of a turn to start. The unit looks cool, can take lots of power and abuse. Time to head outside for a run!
 RC Driver The Best In RC Car & Truck News, Reviews & Video