Team Associated B44.3 Buggy Build – Part 5 – Center Bulkhead
The Build – Part 5
The next step in the Team Associated B44.3 Buggy Build has us attaching the center bulkhead and installing the center diff and motor. The manual has directions for assembling in either saddle-pack configuration or shorty pack. Pay special attention to these steps so you don’t install any parts backwards.
Team Associated B44.3 Buggy Build Step 57
Depending on which battery layout you are using, the bulkheads will install differently. I am using the shorty pack configuration so this is how the center bulkhead pieces install.
Team Associated B44.3 Buggy Build Step 58
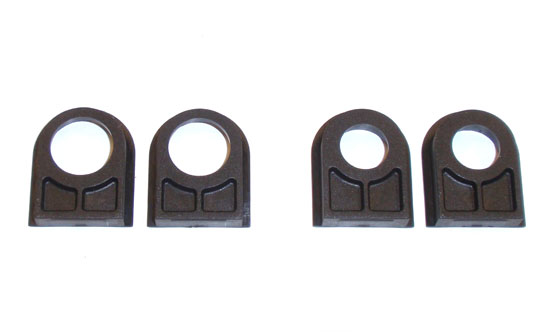
The kit comes with two sets of center bulkhead bearing inserts; the ones on the left are for the stock gear diff, the ones on the right for the optional ball diff/slipper assembly.
Team Associated B44.3 Buggy Build Step 59
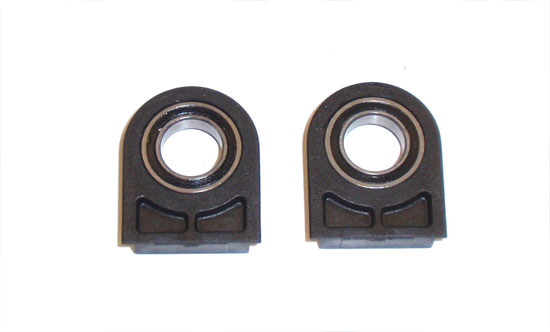
Press the two bearings into the inserts, making sure they are fully seated.
Team Associated B44.3 Buggy Build Step 60
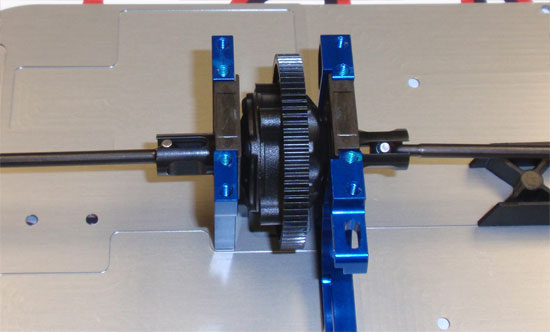
Slide both CVA ends into the center diff outdrive and slowly lower the diff into place. The bearing insert have flanges on them; keep the flanges inside the bulkheads.
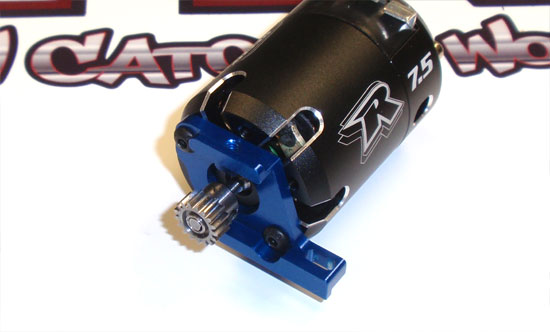
Team Associated B44.3 Buggy Build Step 61
Attach the motor to the mount, then the pinion to the motor. We will align the pinion in a later step.
Team Associated B44.3 Buggy Build Step 62
The center bulkhead has grooves on it that match the channel in the motor mount. Align these and slide the motor into place.
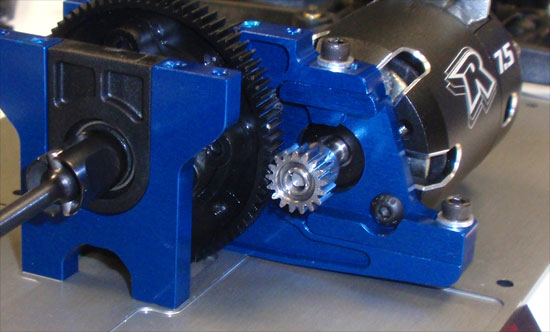
Team Associated B44.3 Buggy Build Step 63
Slide the motor mount in or out to set the mesh and lock into place with the 2 3/8″ screws. Now slide the pinion in or out to allow full contact with the spur gear.
 RC Driver The Best In RC Car & Truck News, Reviews & Video