 RC Driver The Best In RC Car & Truck News, Reviews & Video


SPONSORED ARTICLE
Are you getting ready to build your first RC kit? It is definitely not as daunting as you may think and it is actually a fun process. To assist you along the way here are some tips to build your first RC car kit. These useful tips will help ensure you have a trouble-free experience and end up with a well-built vehicle that you can be proud of.
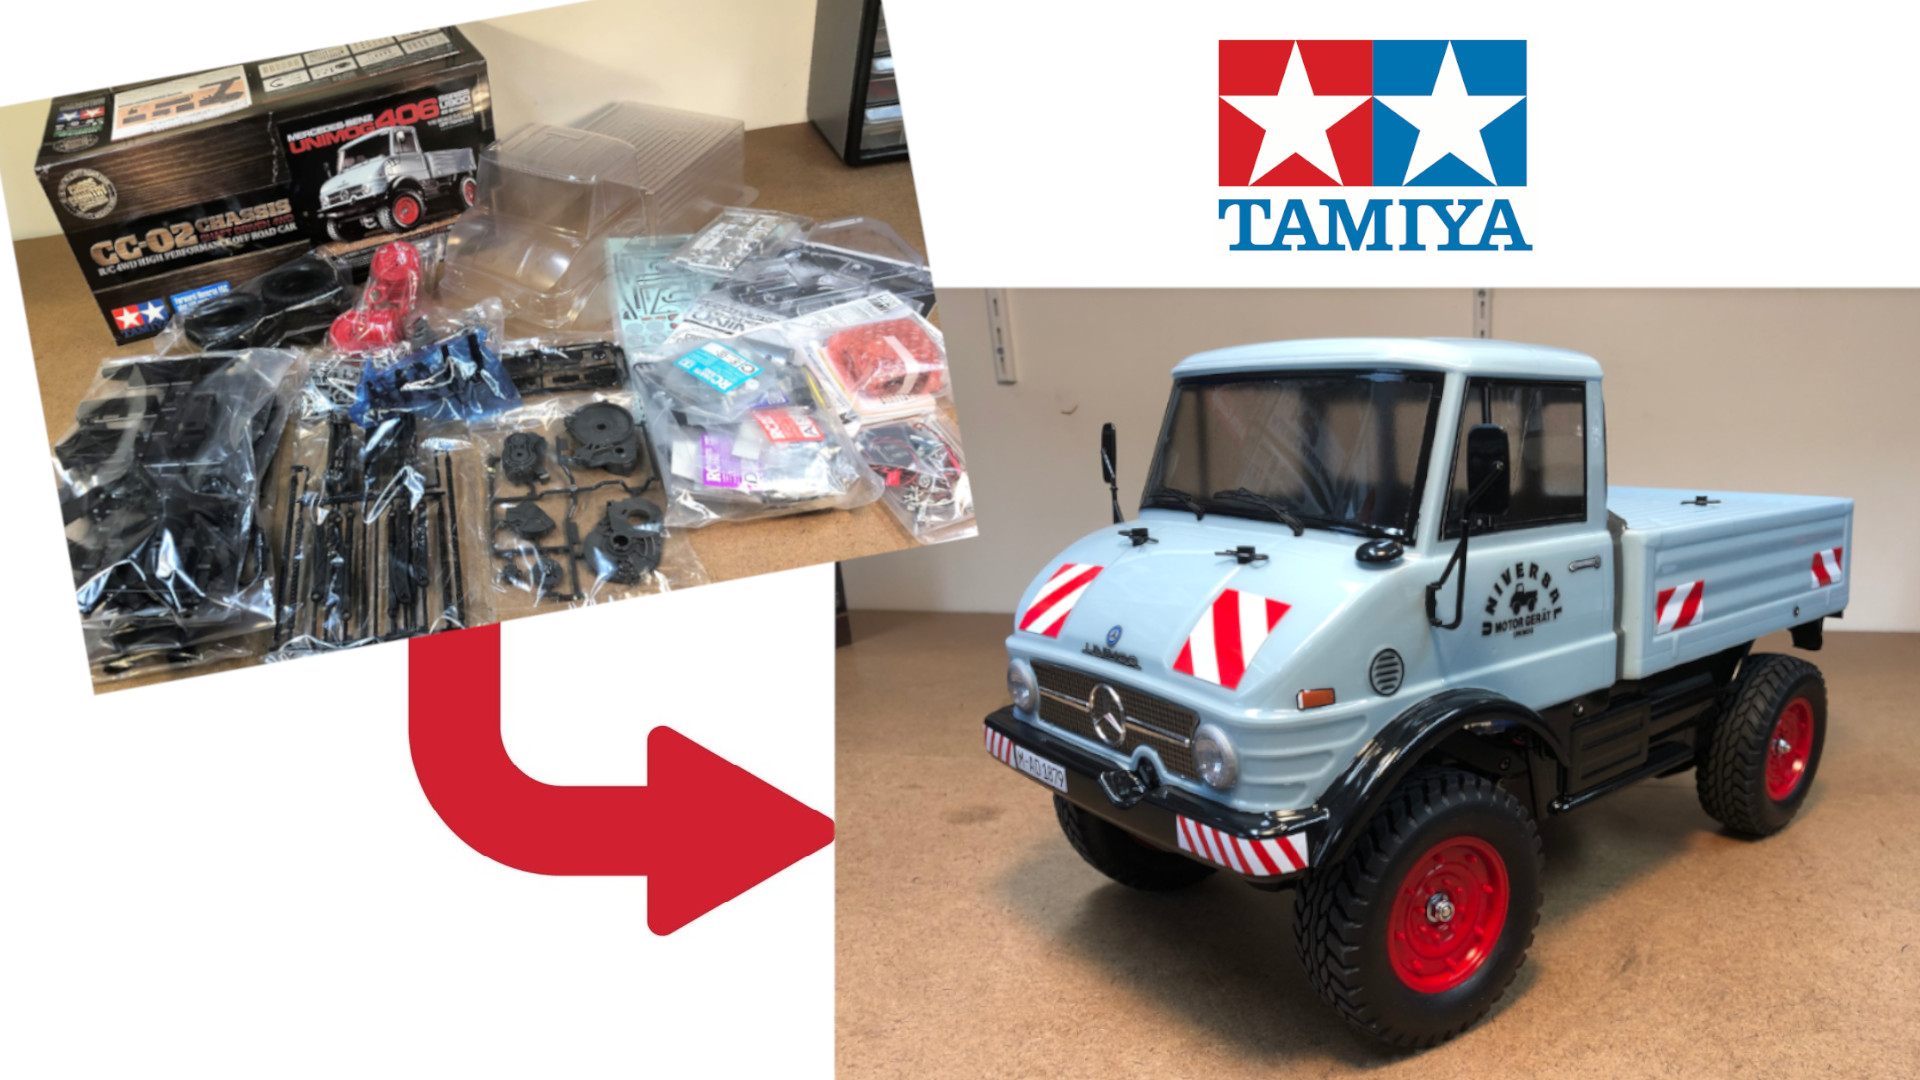
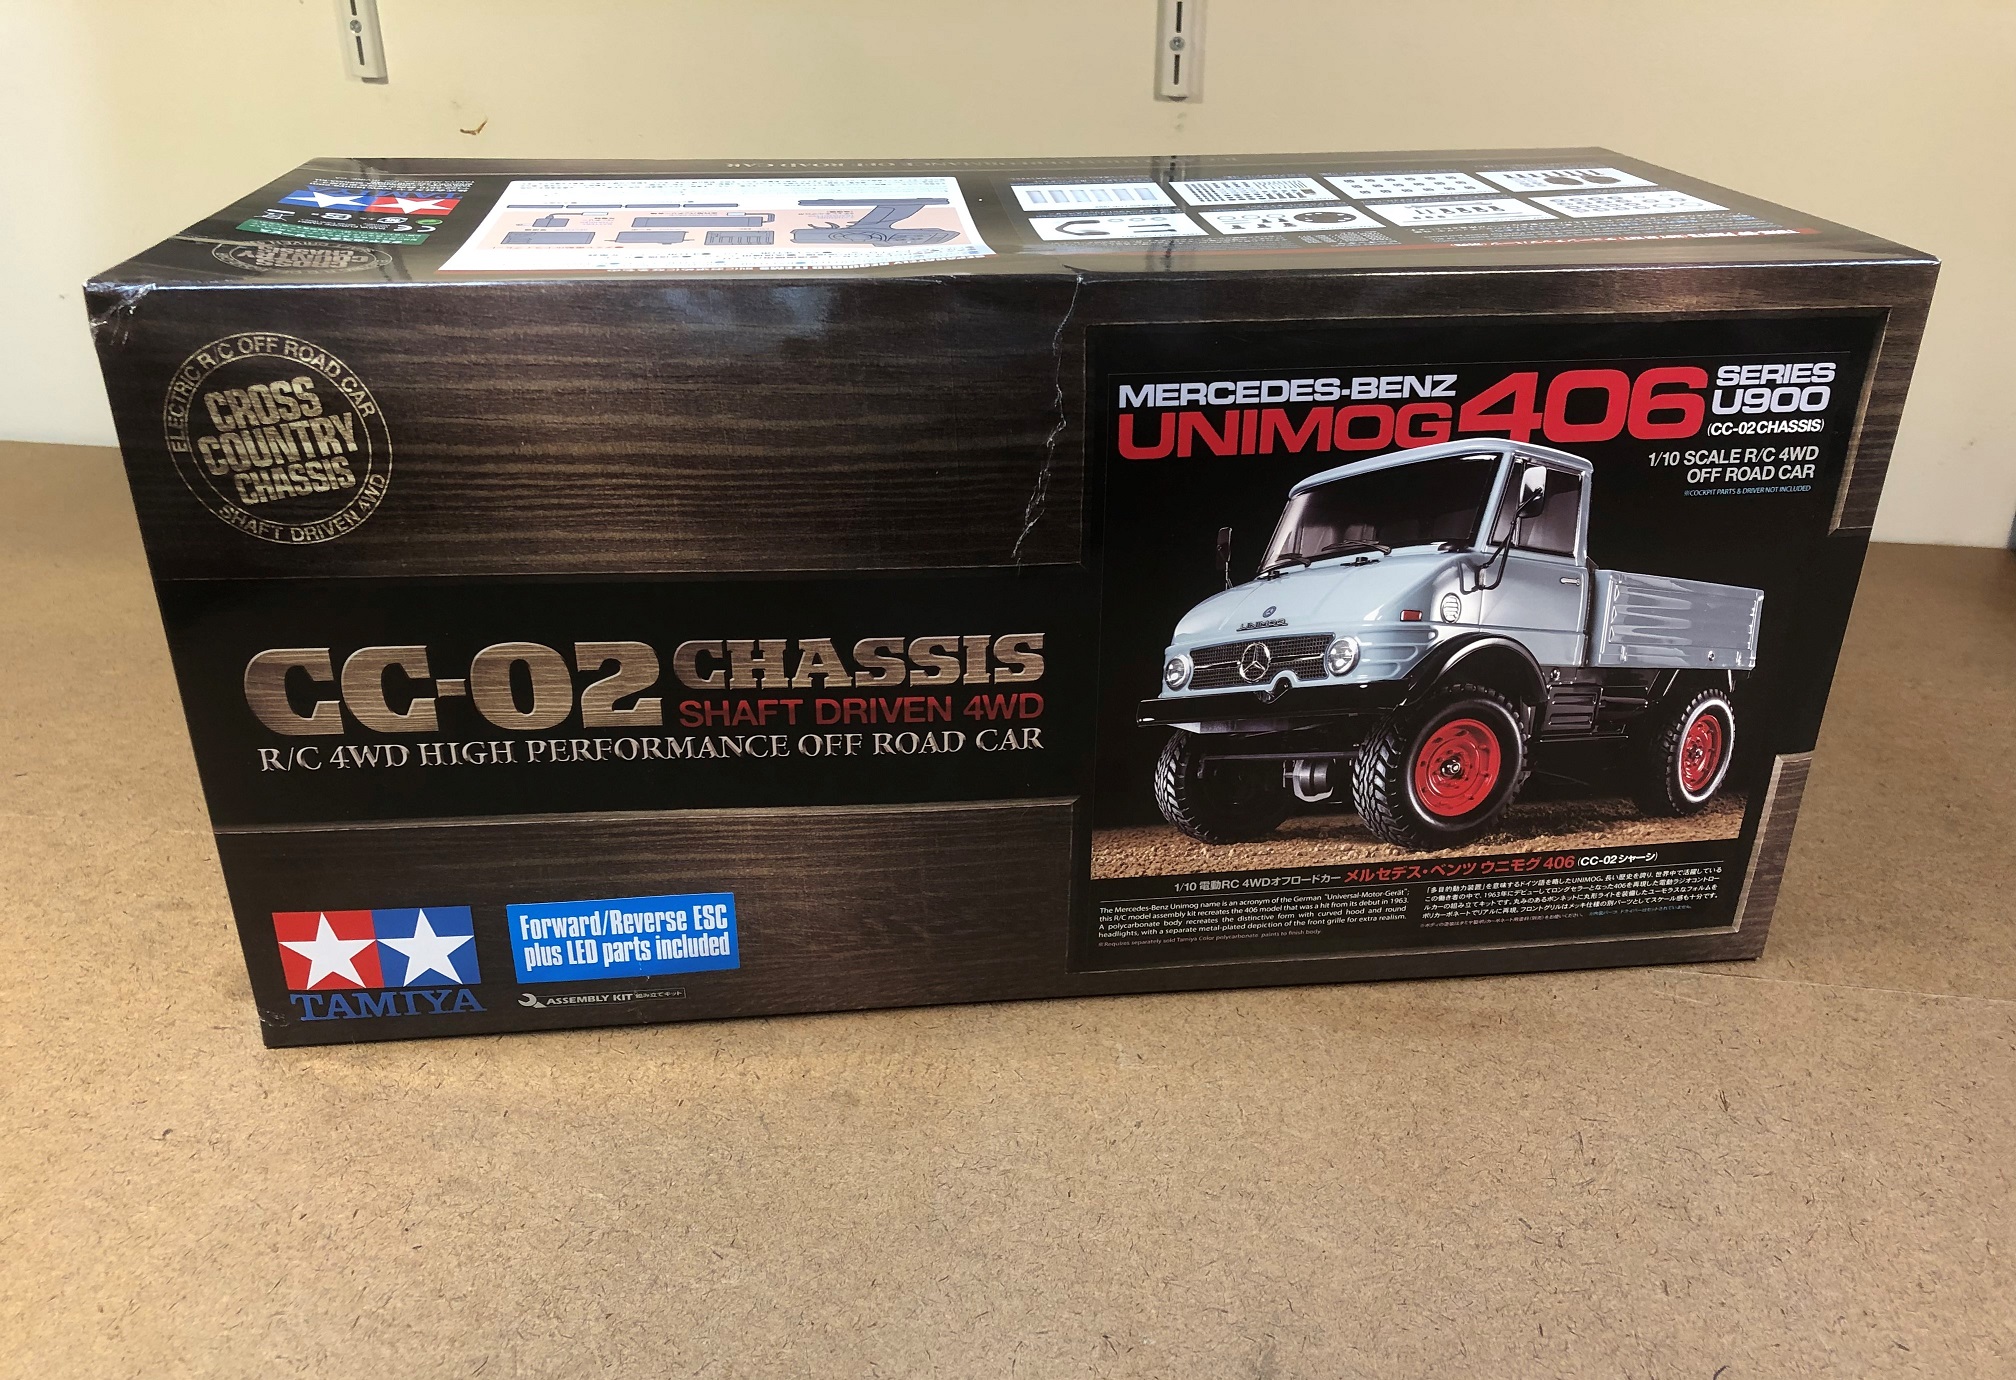
In this article, we are featuring the Tamiya Mercedes-Benz Unimog 406 Series U900 (item #58692) build up kit. This solid axle 4WD trail truck is based on Tamiya’s newest Cross Country chassis, the CC-02. Thanks to Tamiya, the build is not complicated and you end up with a capable truck for off road adventures.
Read the manual
Before getting started, take the time and read through the manual. You will find so much useful information that will aid in the build process. It is also a great way to get familiar with the kit.
Collect the electronics and accessories that are required
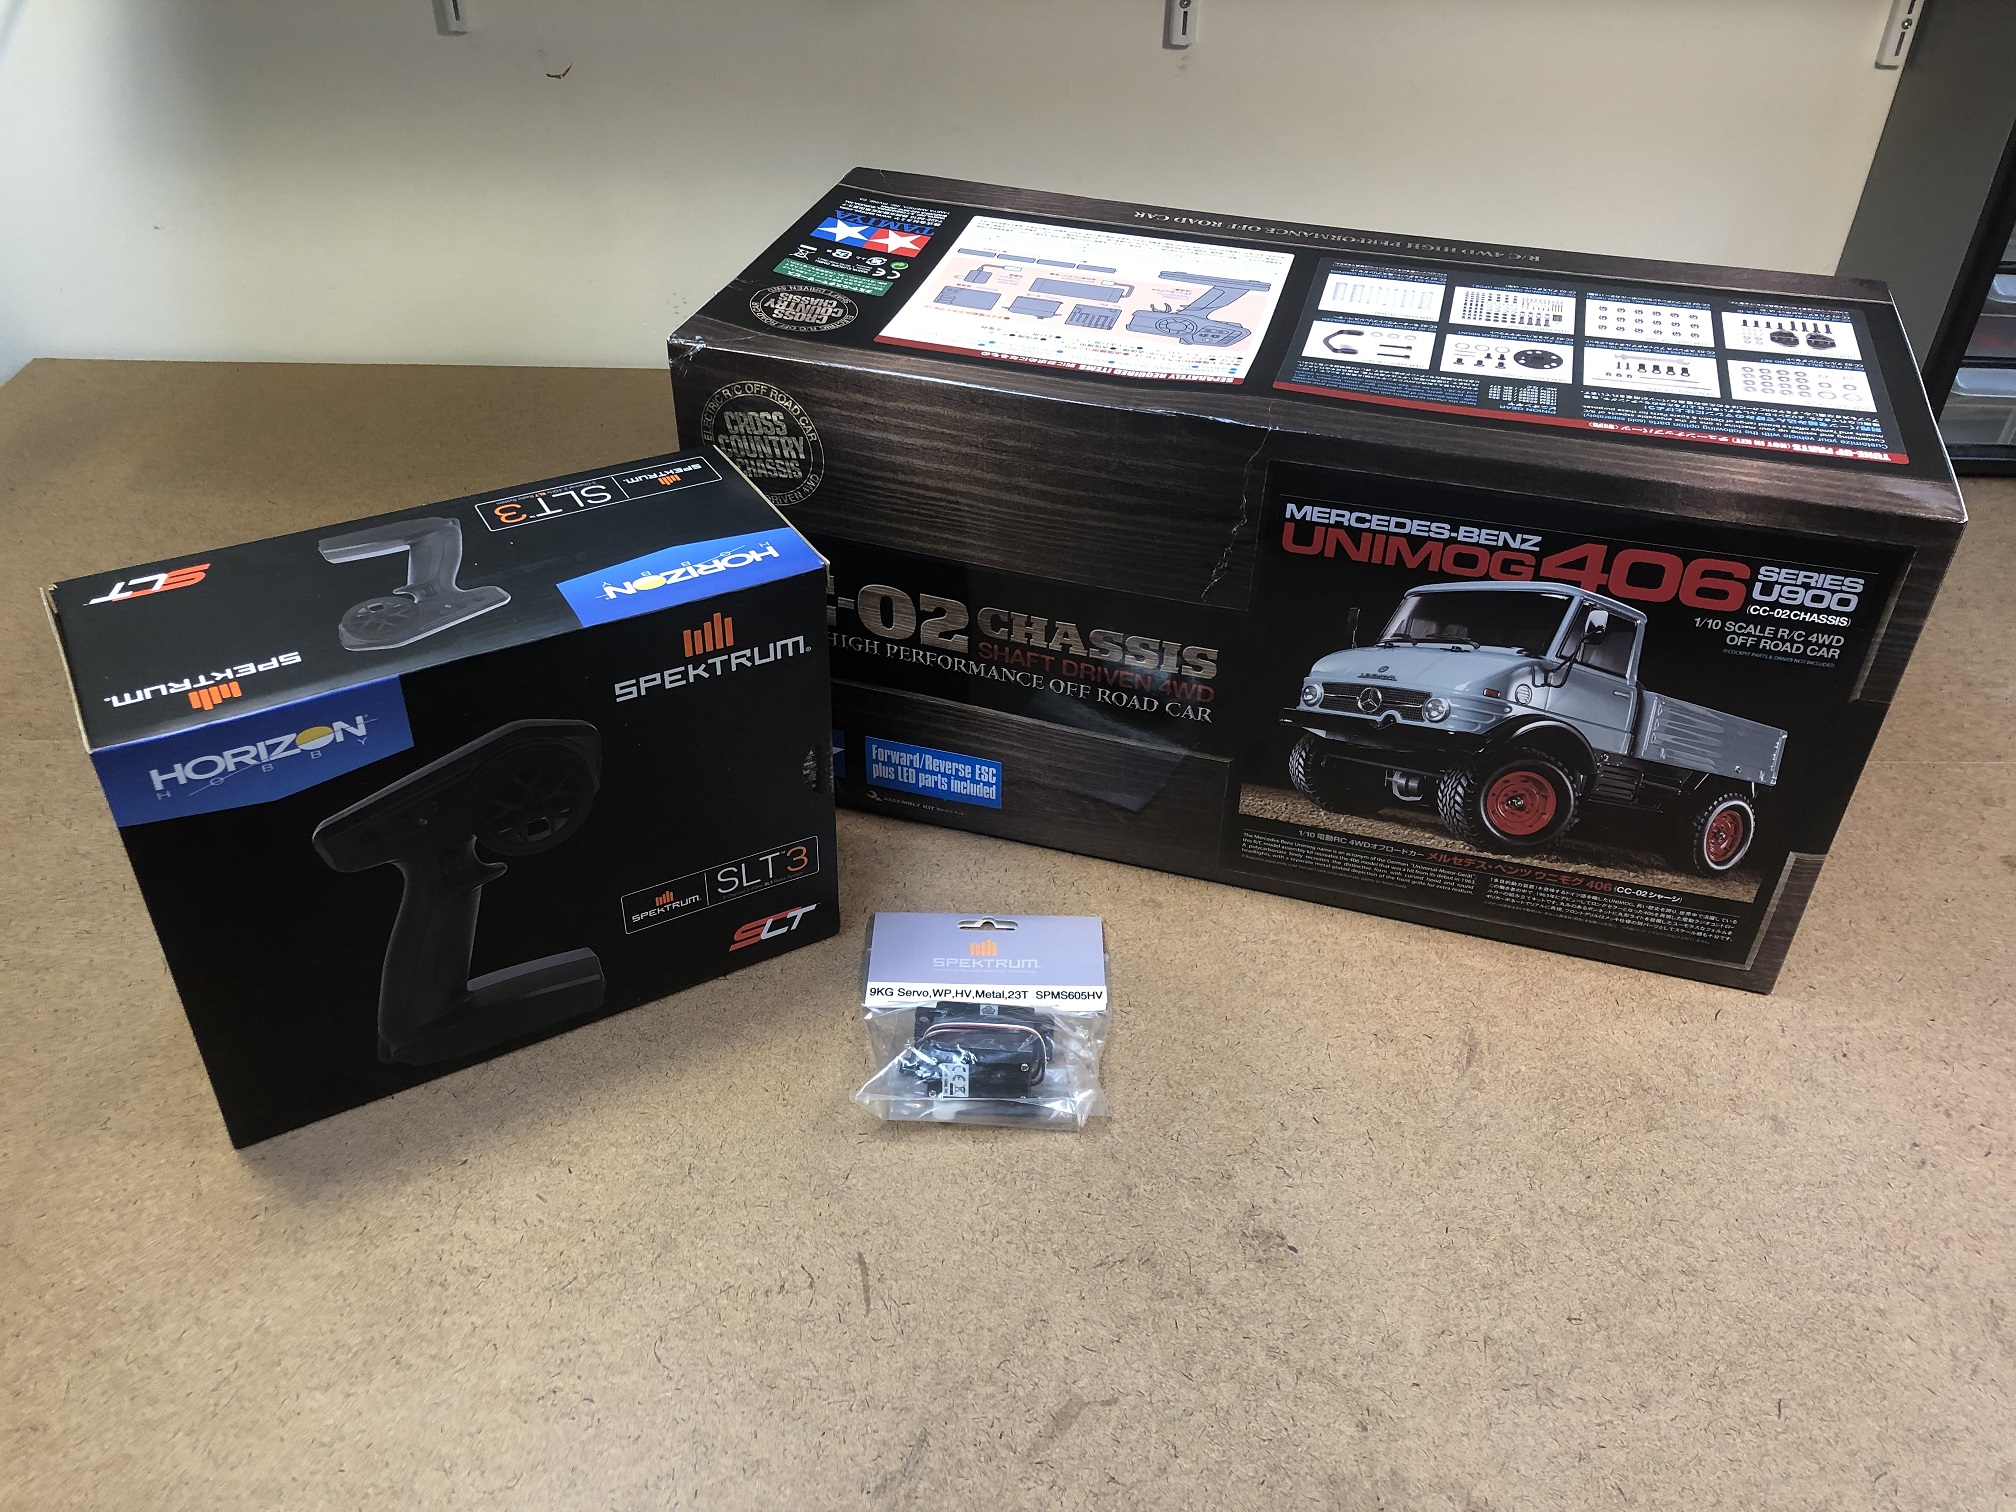
Most kits do not include all the electronics needed to get the vehicle up and running. Check the manual and see what is needed. For this Unimog CC-02, Tamiya includes a speed control and brushed 540 motor and you need to supply a steering servo and a 2-channel radio system.
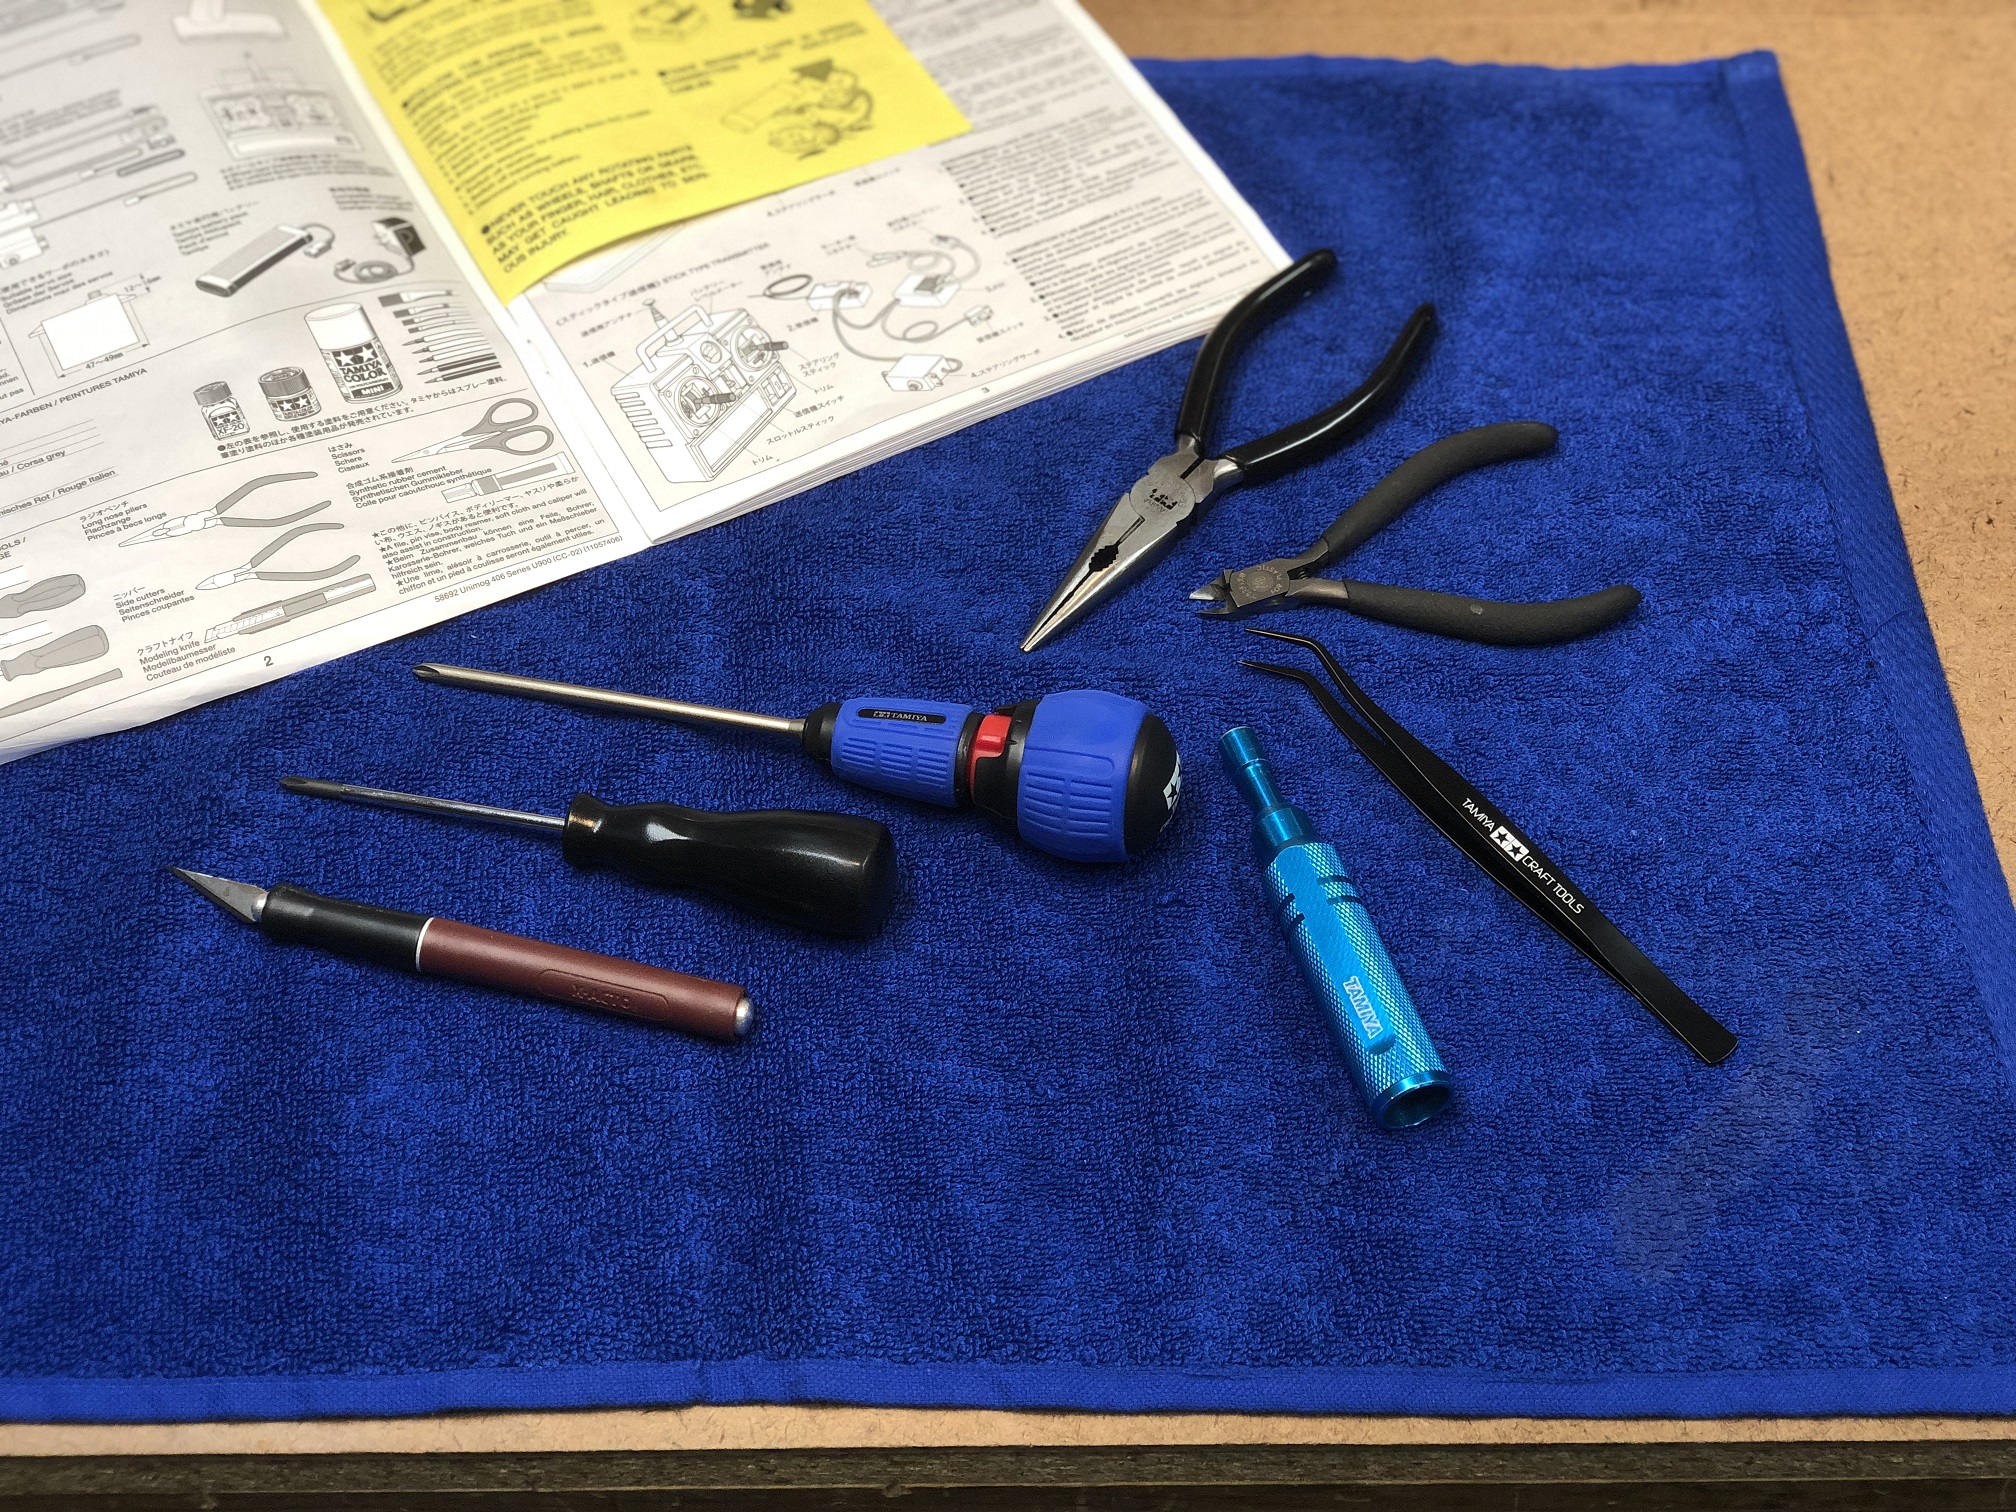
Have the right tools for the job
In the manual you will find a list of the recommended tools that are needed to assemble the car or truck you are building. Having the right tools for the job is key to ensure a smooth building experience. The Tamiya CC-02 requires synthetic rubber cement, which is not typical and would have completely stalled the building process if you did not check what items are required to complete this truck.
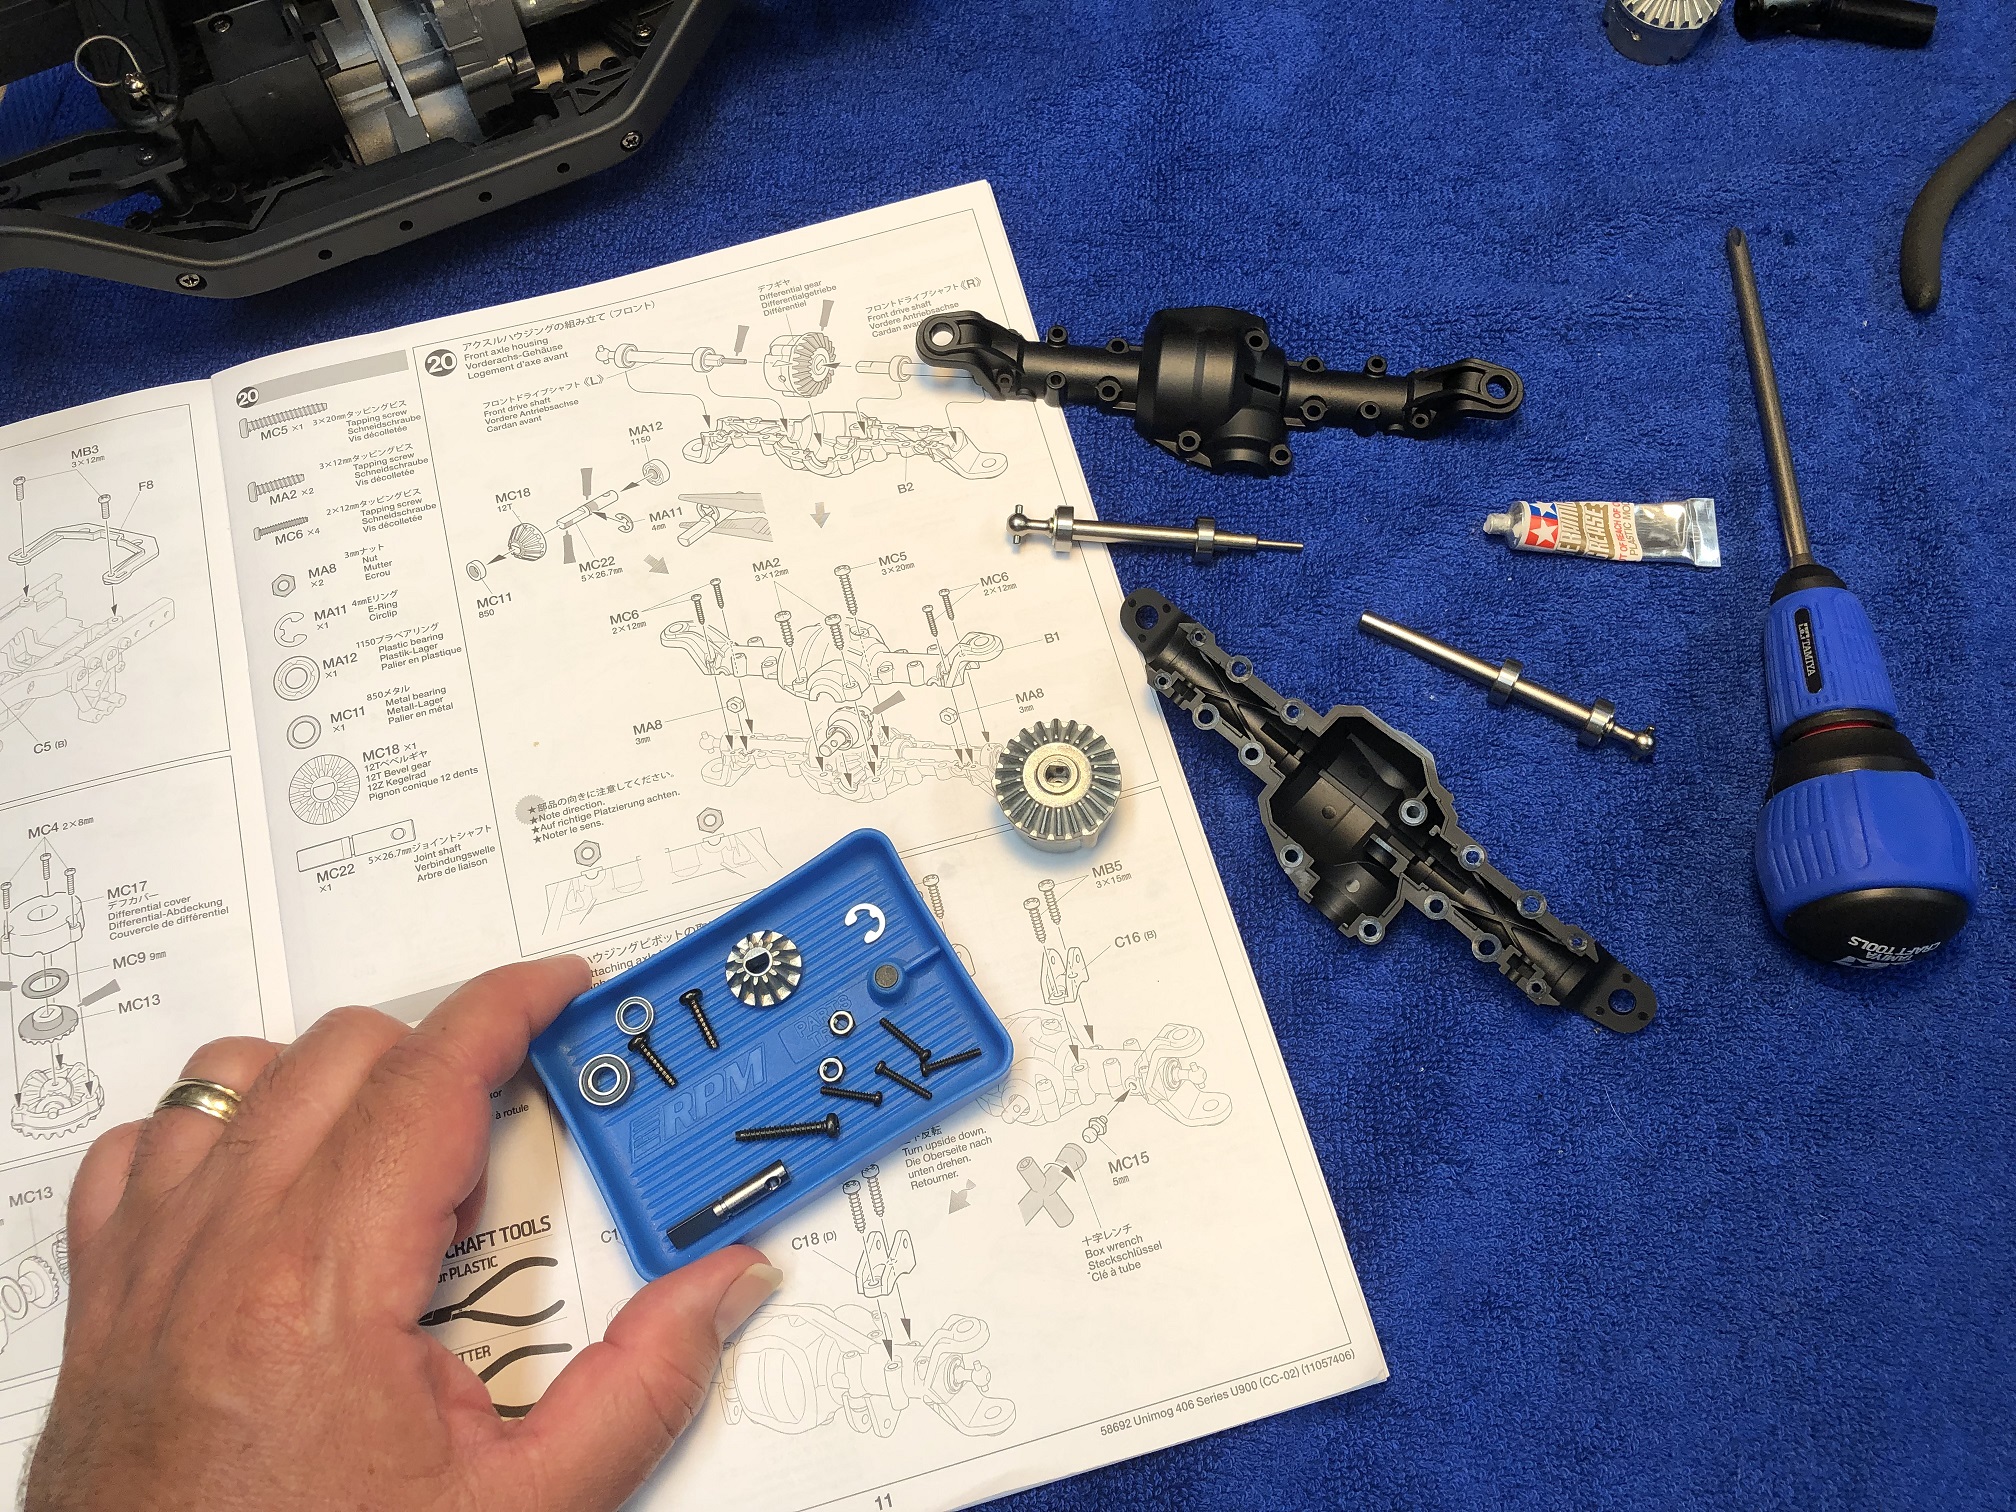
Setup a proper work area
Give yourself a large and clean workplace that is also well lit for the kit build. This allows you to spread out the parts in a logical way so they are easy to find while building. We also like to use a towel to build on top of to keep tools from rolling around and hardware from bouncing off the table if it is dropped.
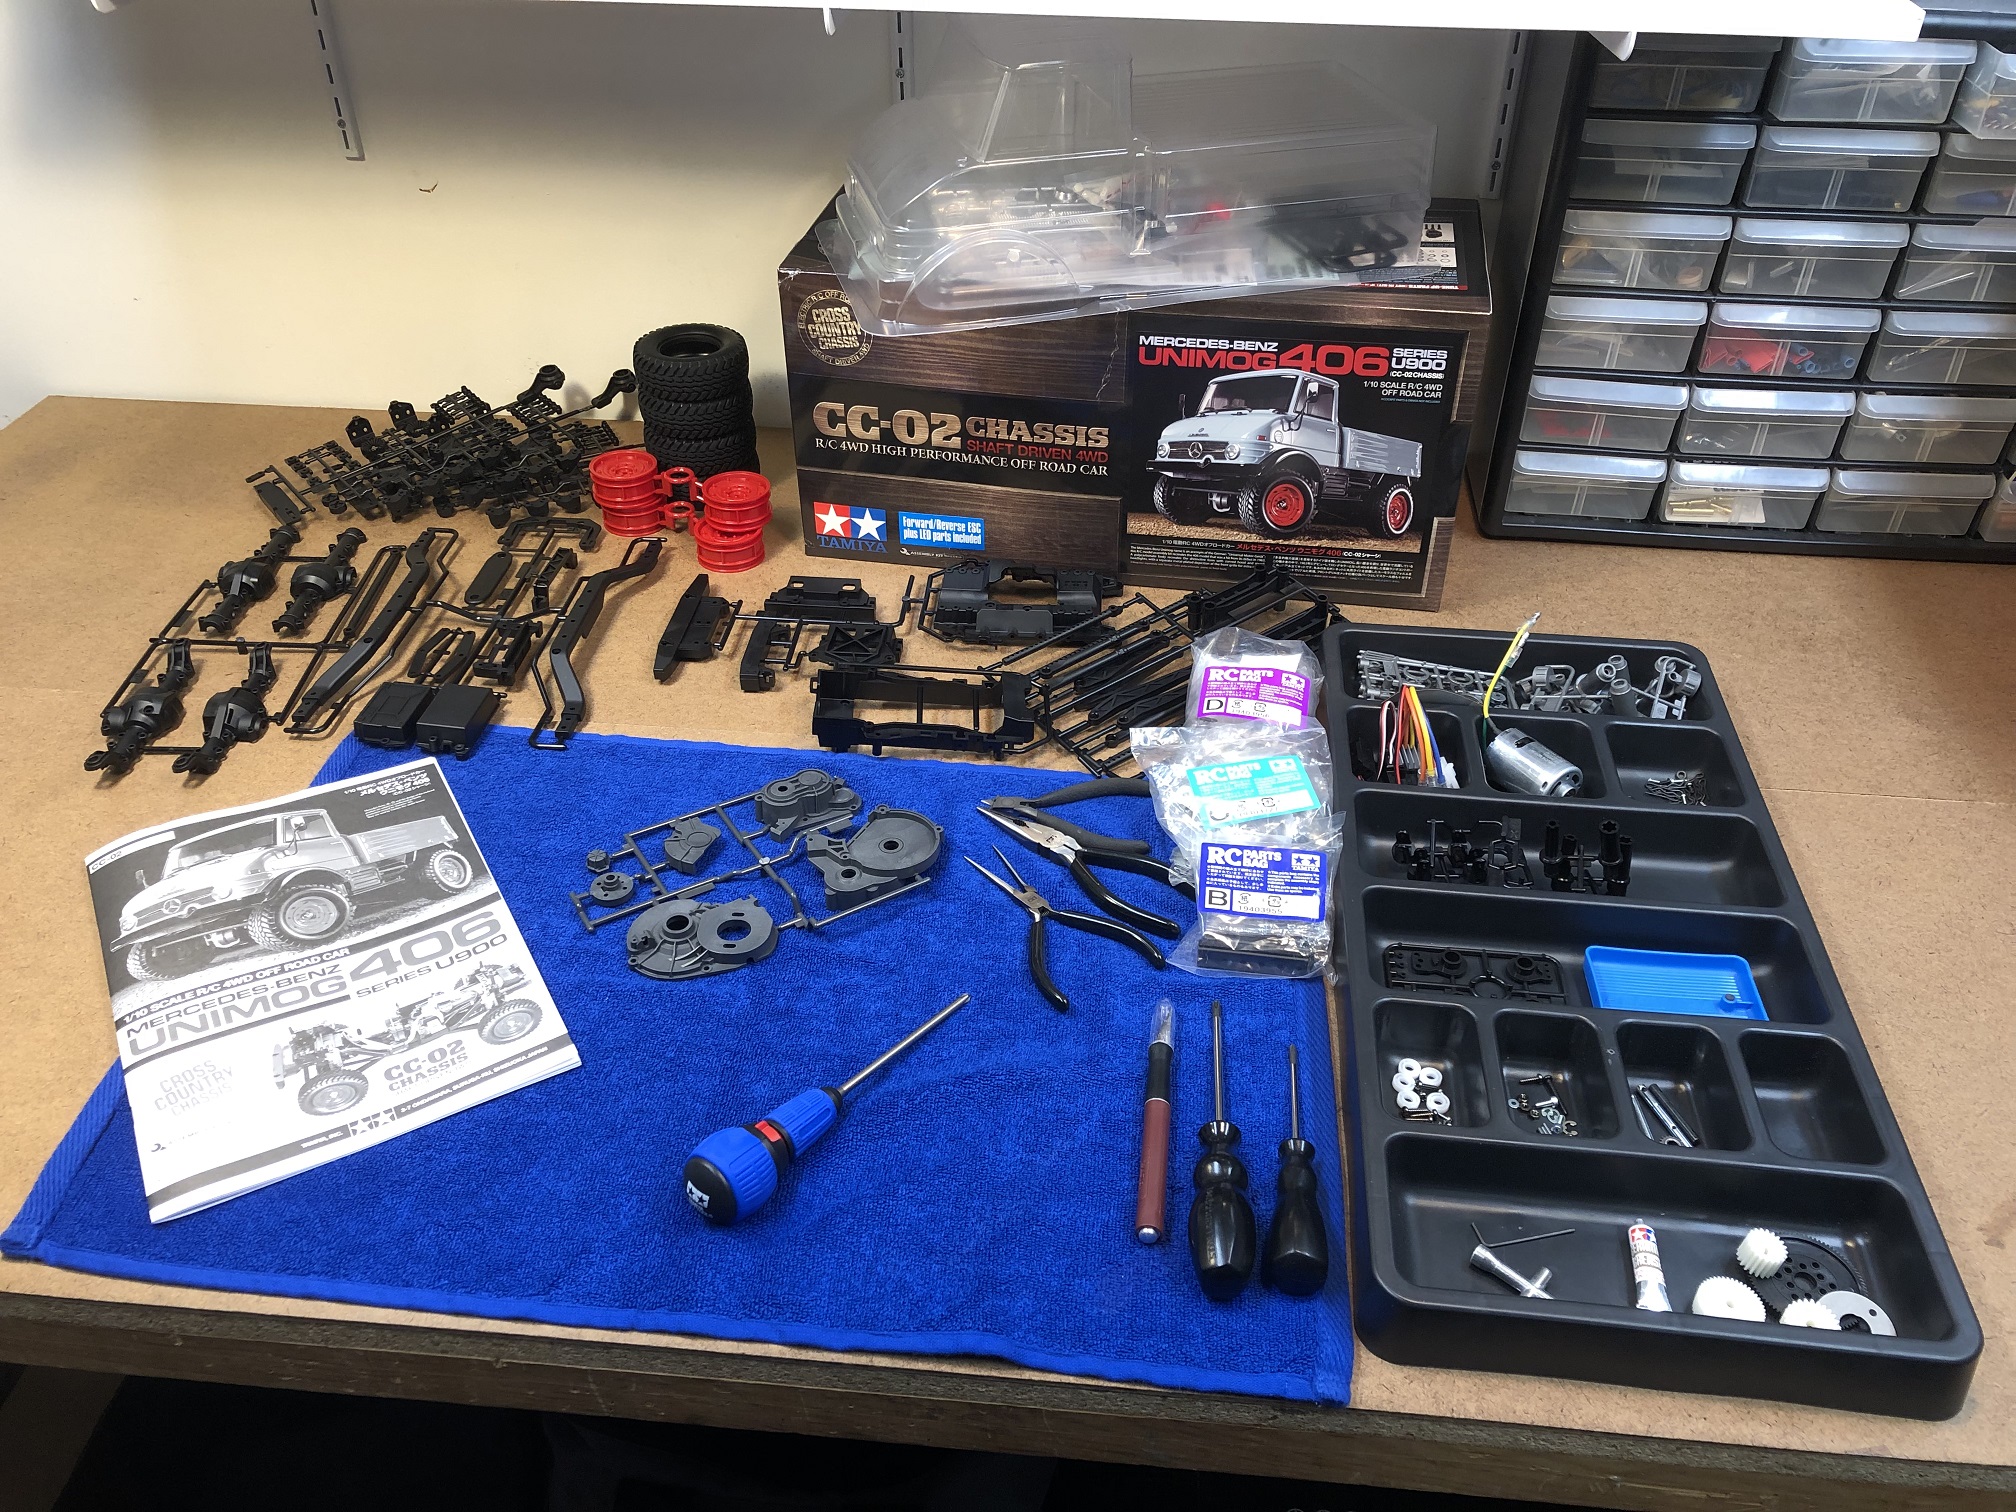
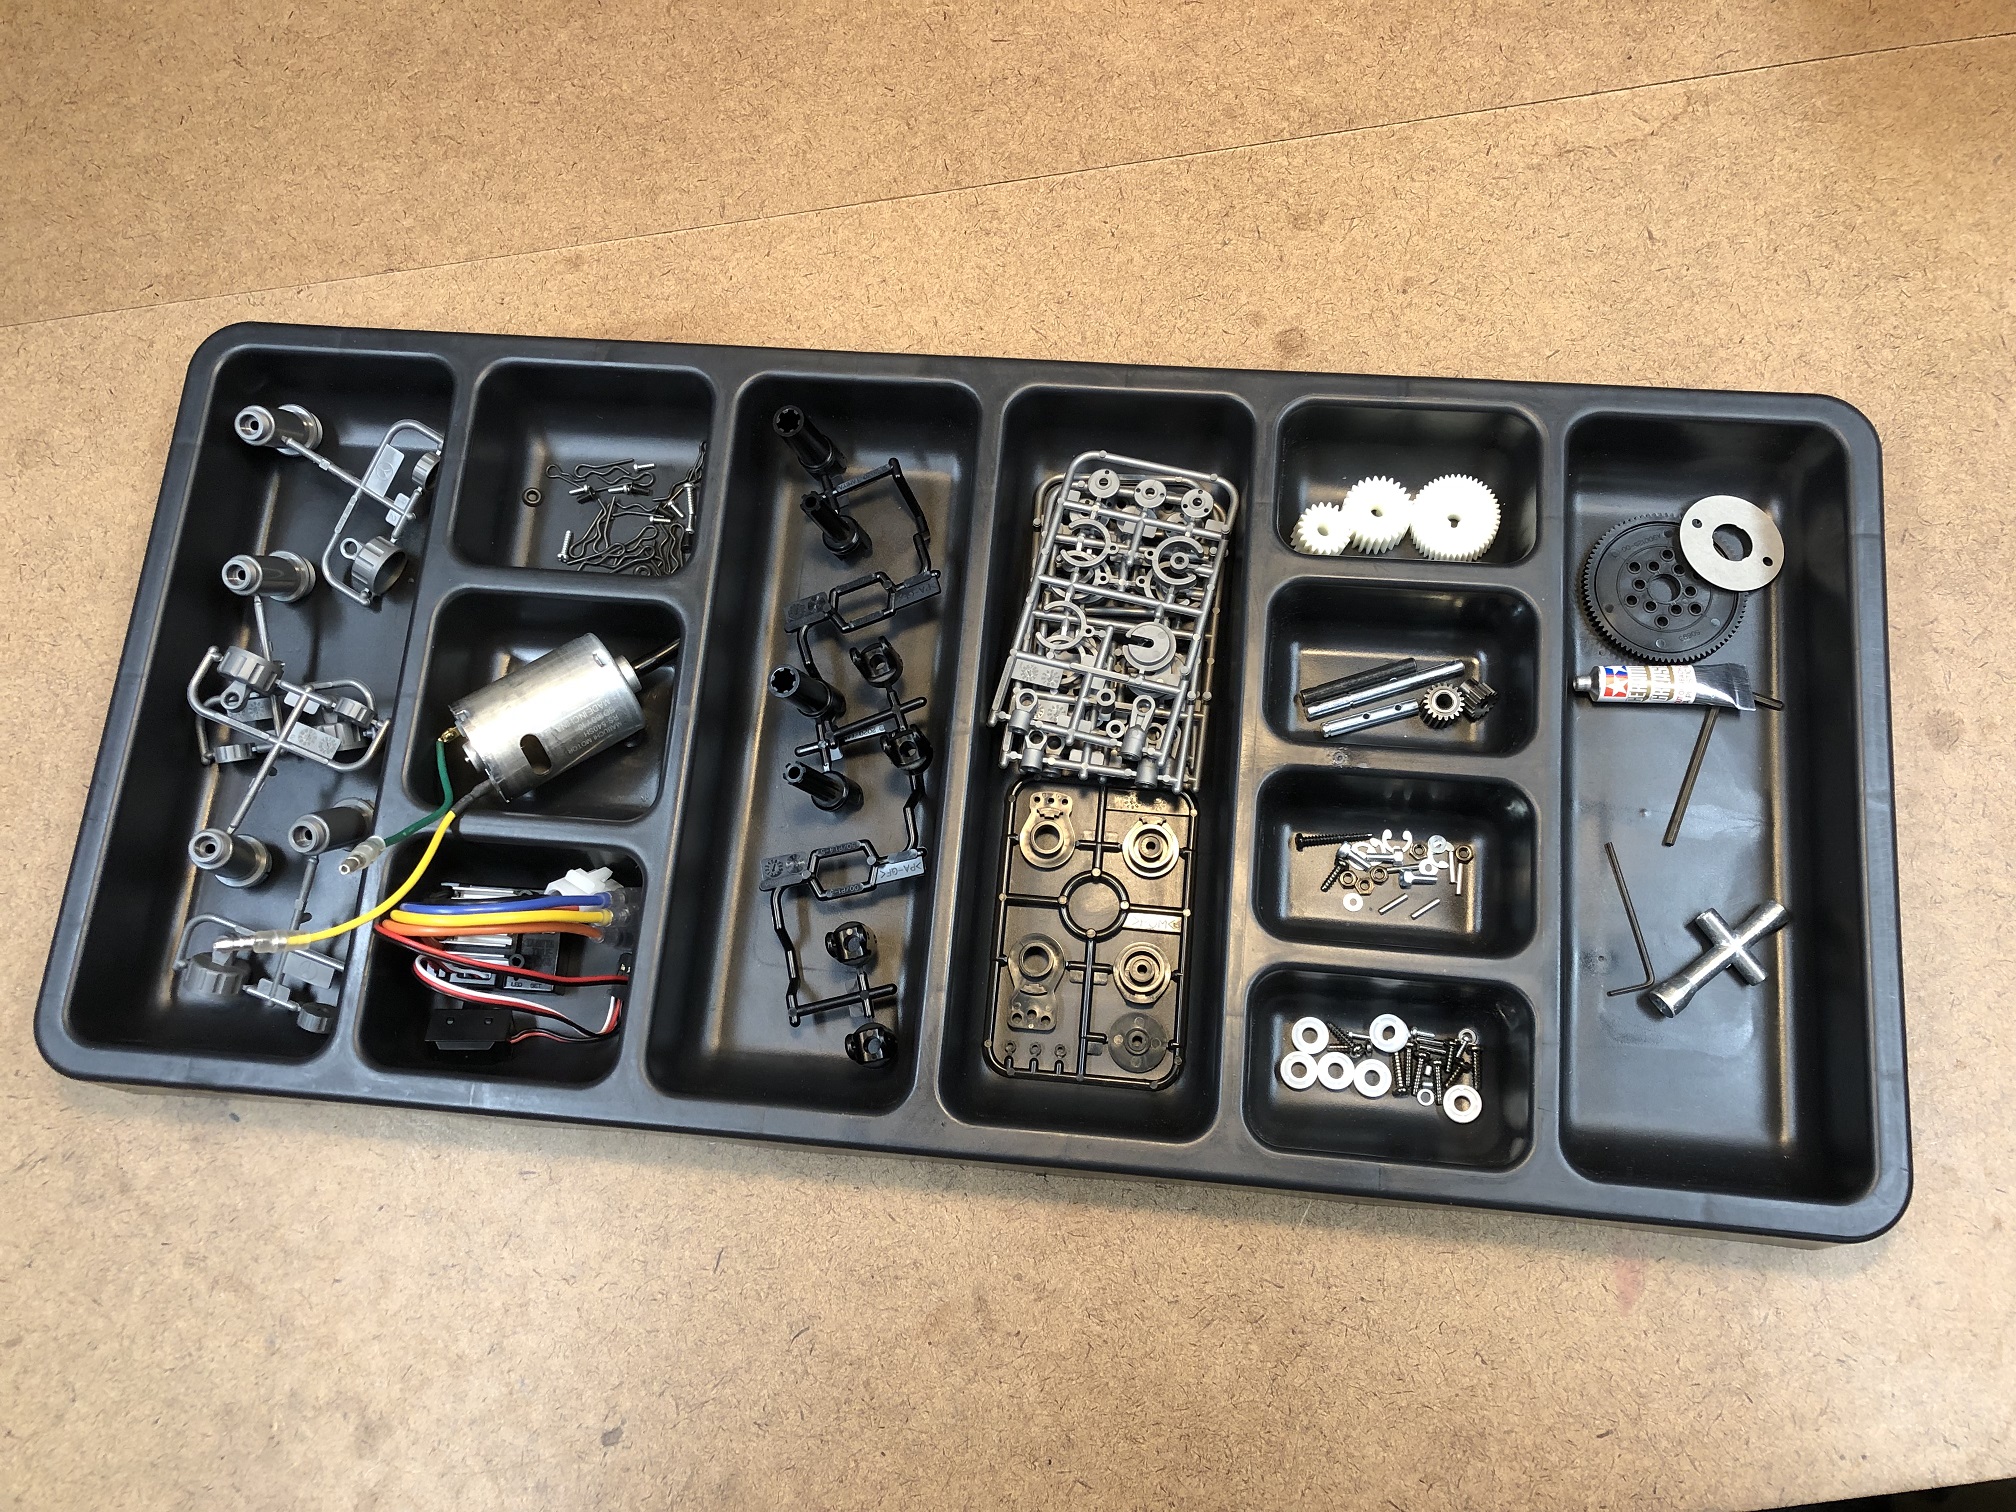
Utilize trays to organize the small parts
There are numerous small parts along with tiny bearings, gears and hardware that can get easily misplaced. Remedy this with the use of a parts tray that is divided into multiple sections. The tray shown here is intended as a tool chest drawer organizer, yet makes a perfect tray for RC kit building. Now all the parts are easy to locate and will stay organized.
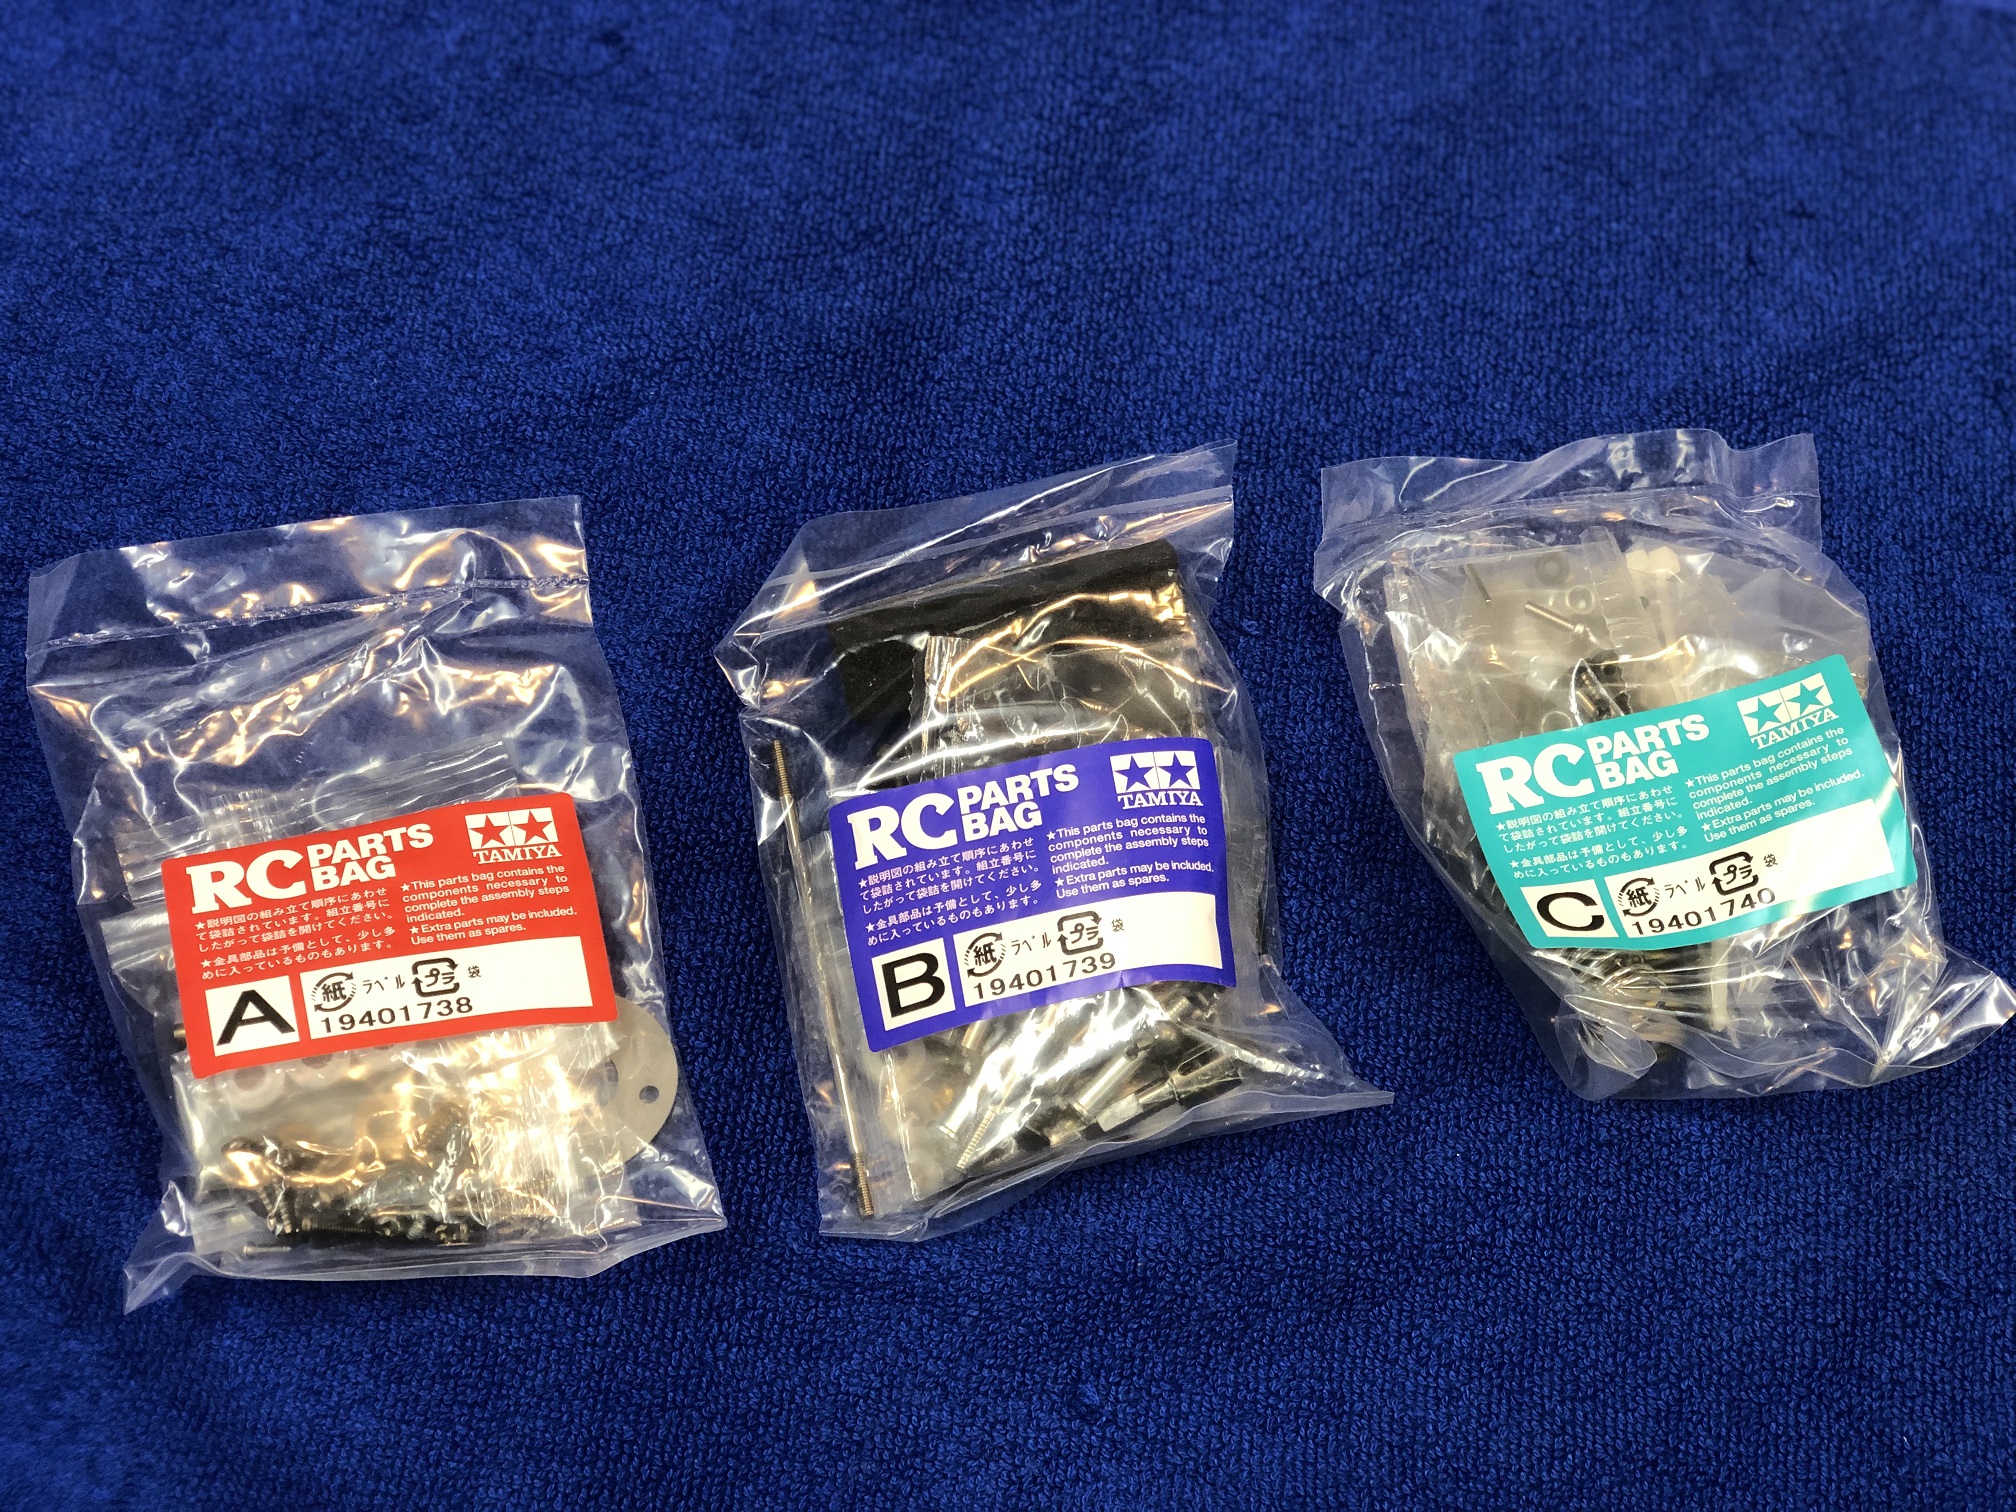
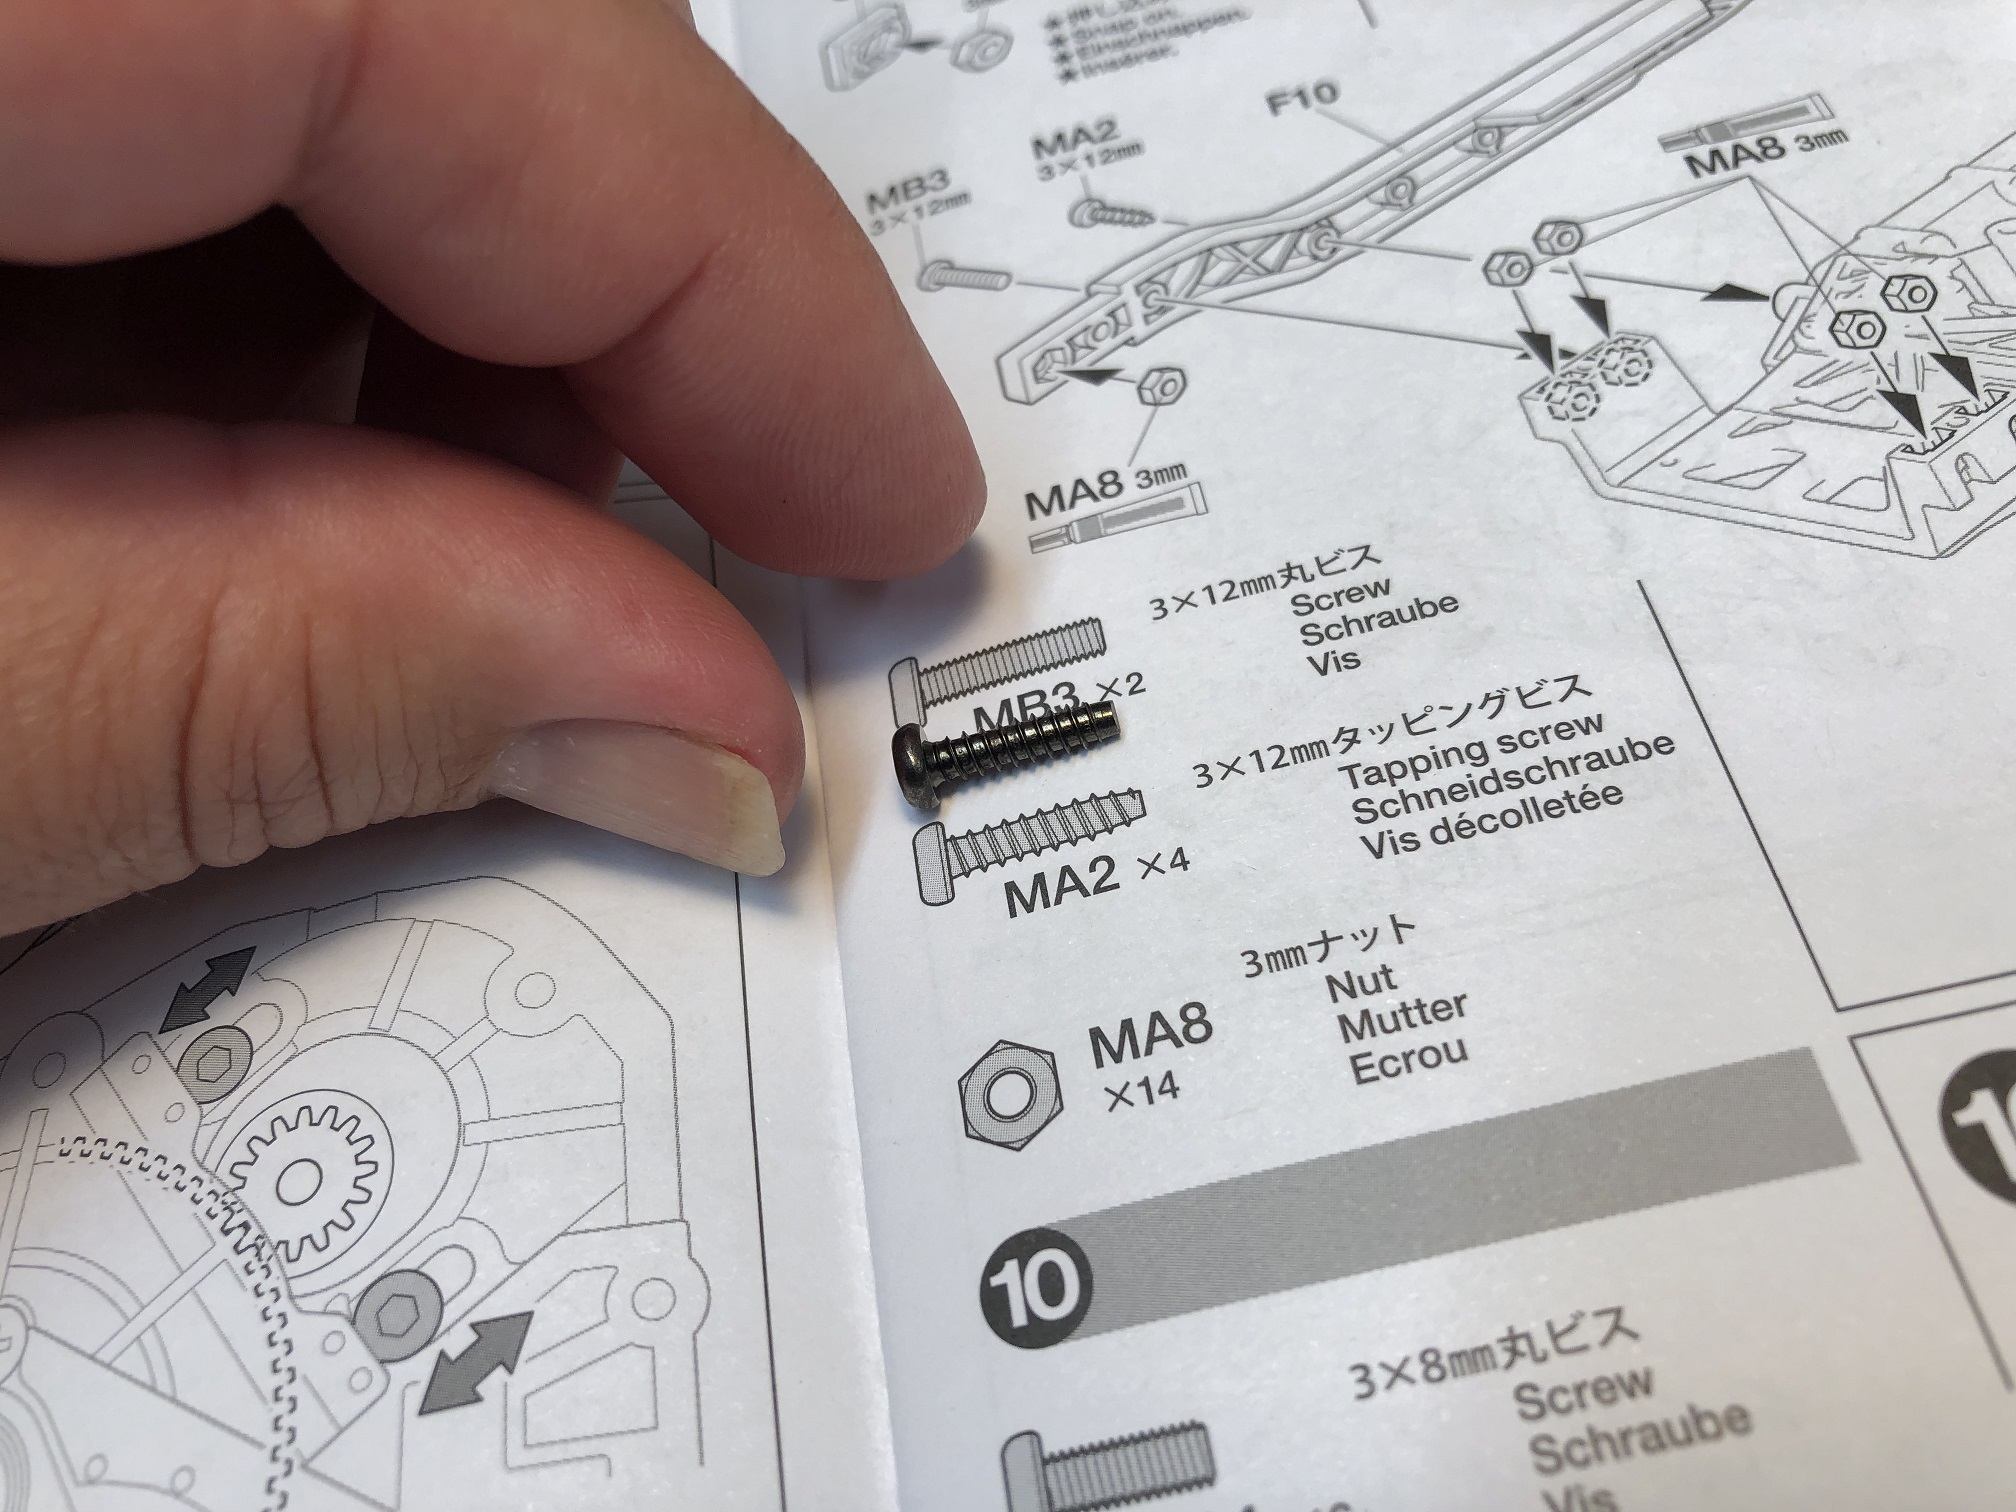
Open one bag at a time
There is a very good reason why the small parts bags are lettered or numbered. This is done so that you open one bag at a time and in alphabetic or numeric order. This makes locating the hardware for the steps you are working on much easier. Imagine how much harder it would be if all of the screws were kept together in one bag.
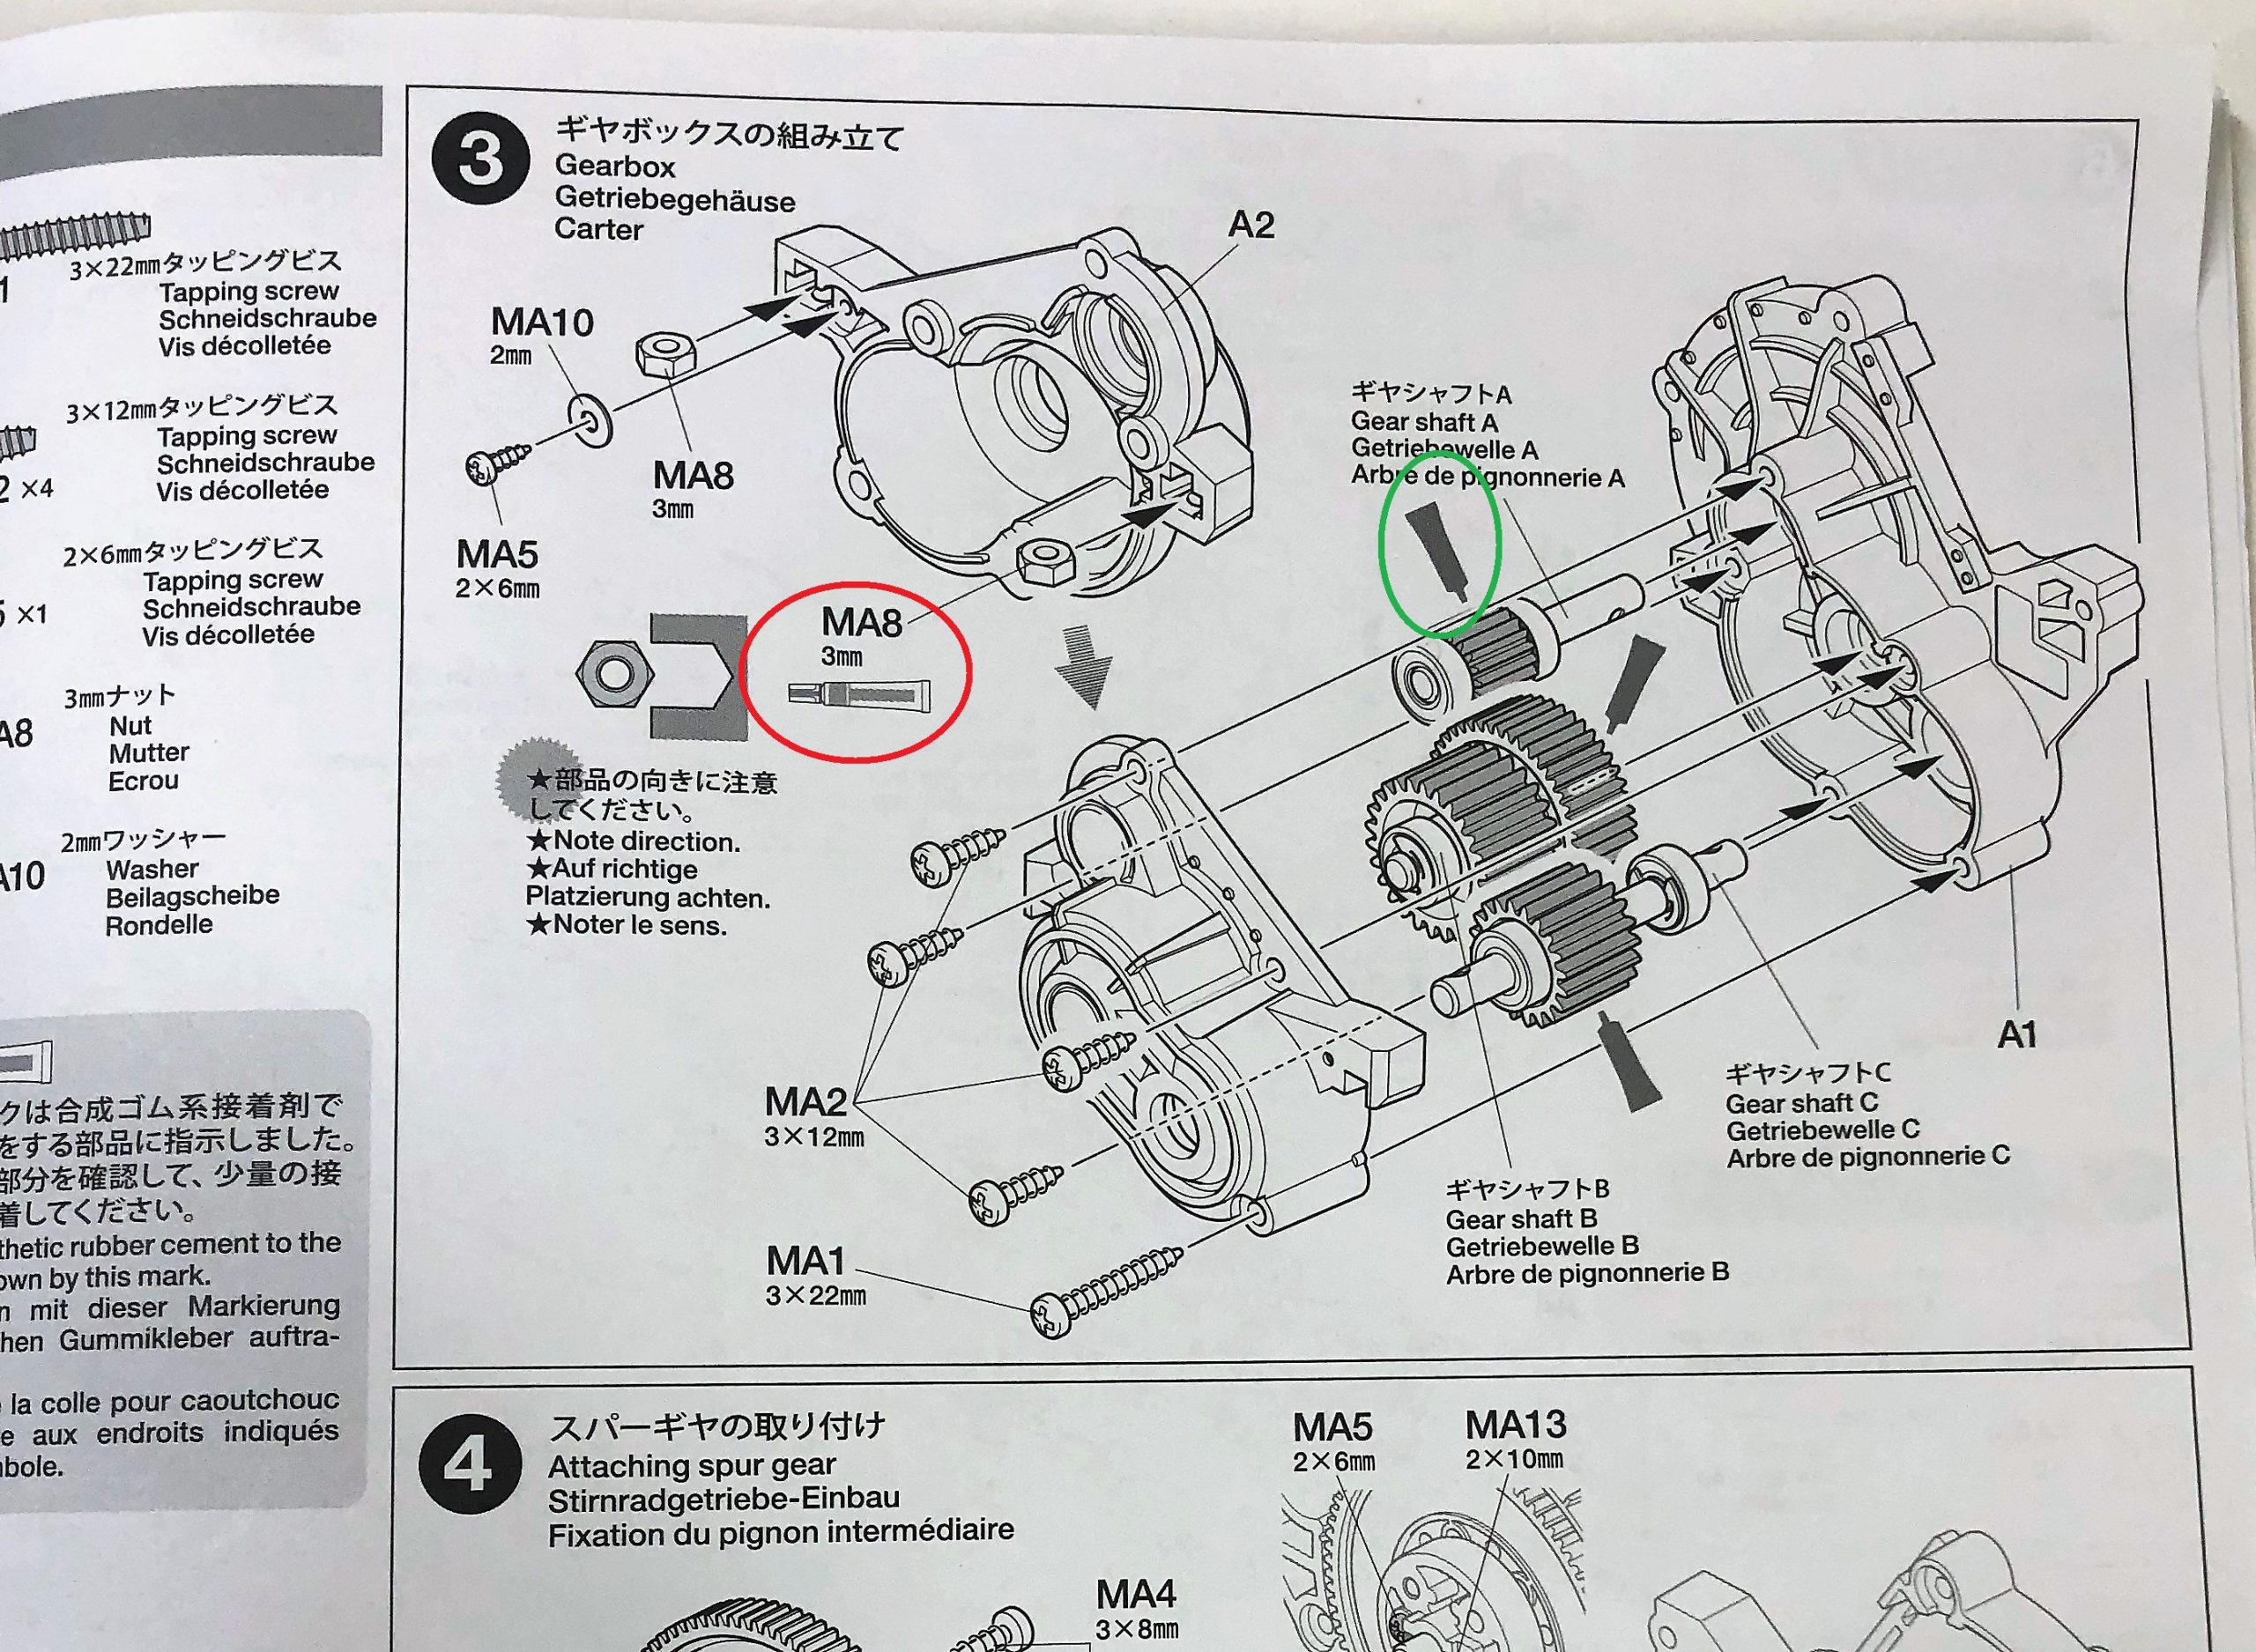
Pay close attention to symbols throughout manual
Many instruction manuals are light on text since the kits are distributed internationally where there are countless different languages. Instead, manufacturers use detailed drawings and symbols to convey what needs to be done for each step in the building process. This means you need to pay close attention to the symbols being used throughout the manual. Here is a great example where this one step requires the use of rubber cement, circled in red, and grease, circled in green.
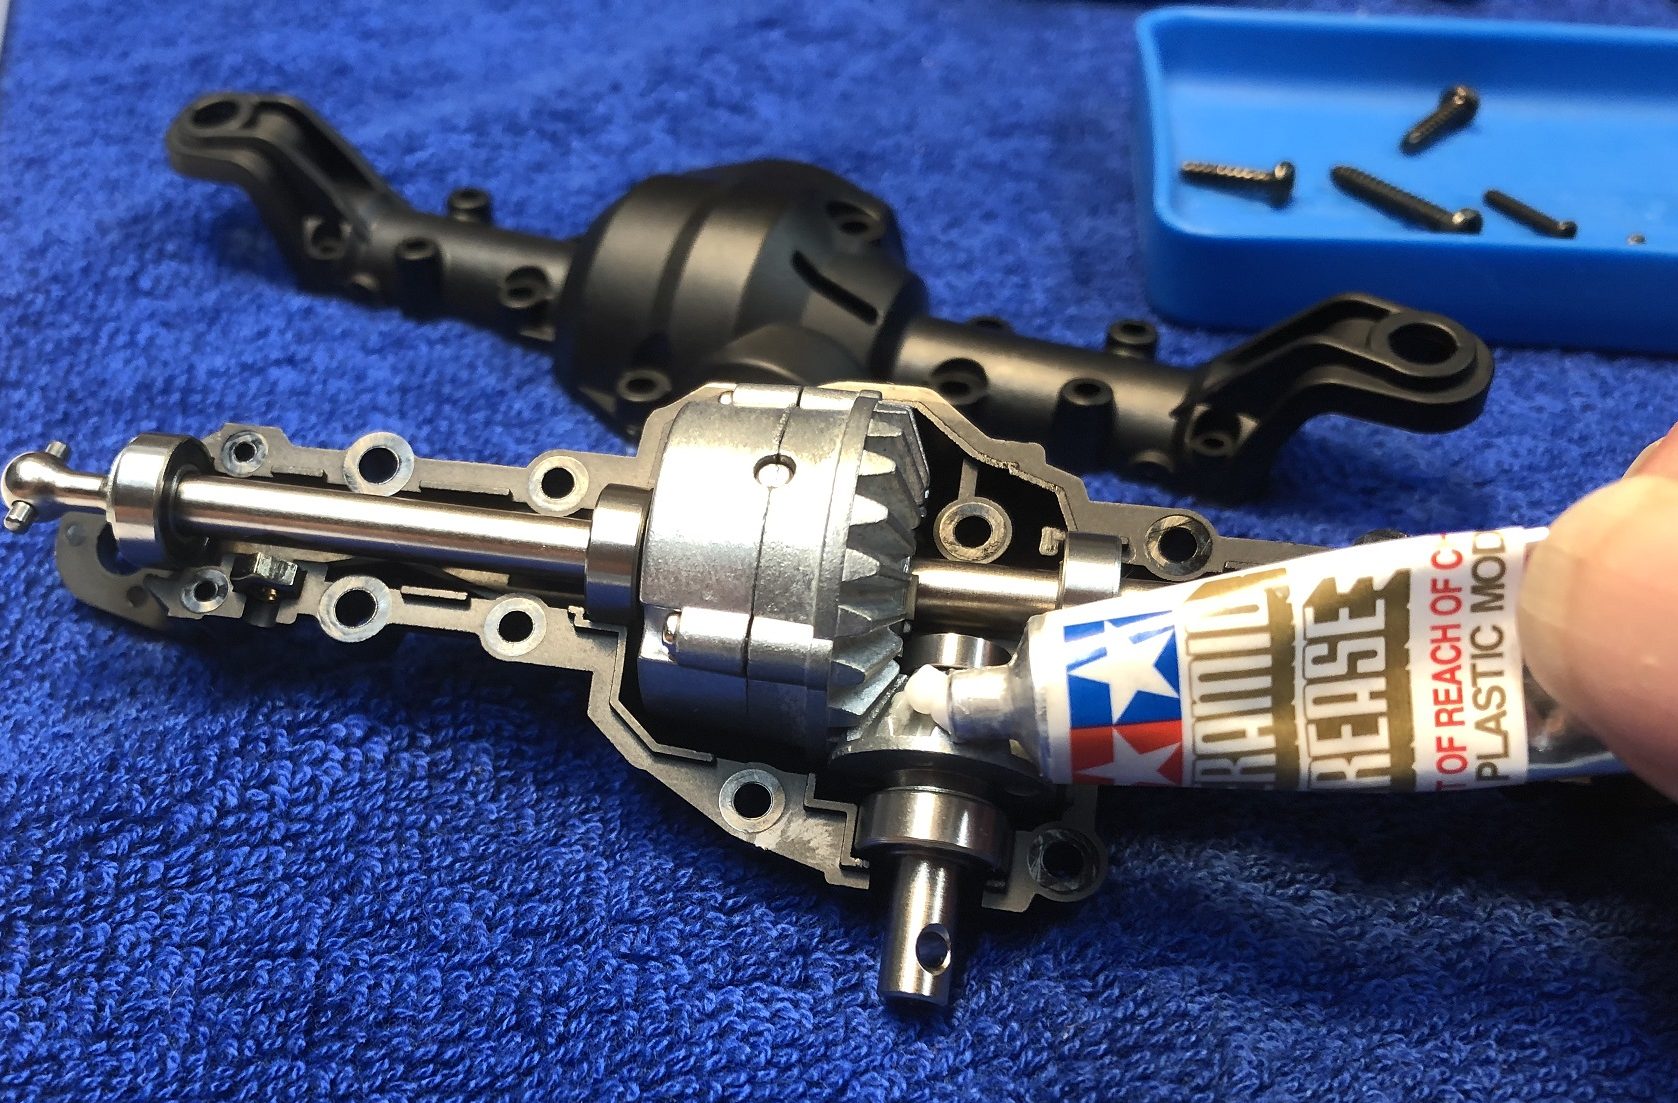
Lubricate the drivetrain
All of the spinning parts in the drivetrain should be lubricated. Tamiya includes a small tube of grease for this purpose as does many other manufacturers. The instructions will clue you in on what specifically should be greased. Take the time and do a good job of getting grease on all of the teeth on the gears; just don’t overdo it. A thin coating is all that is needed.
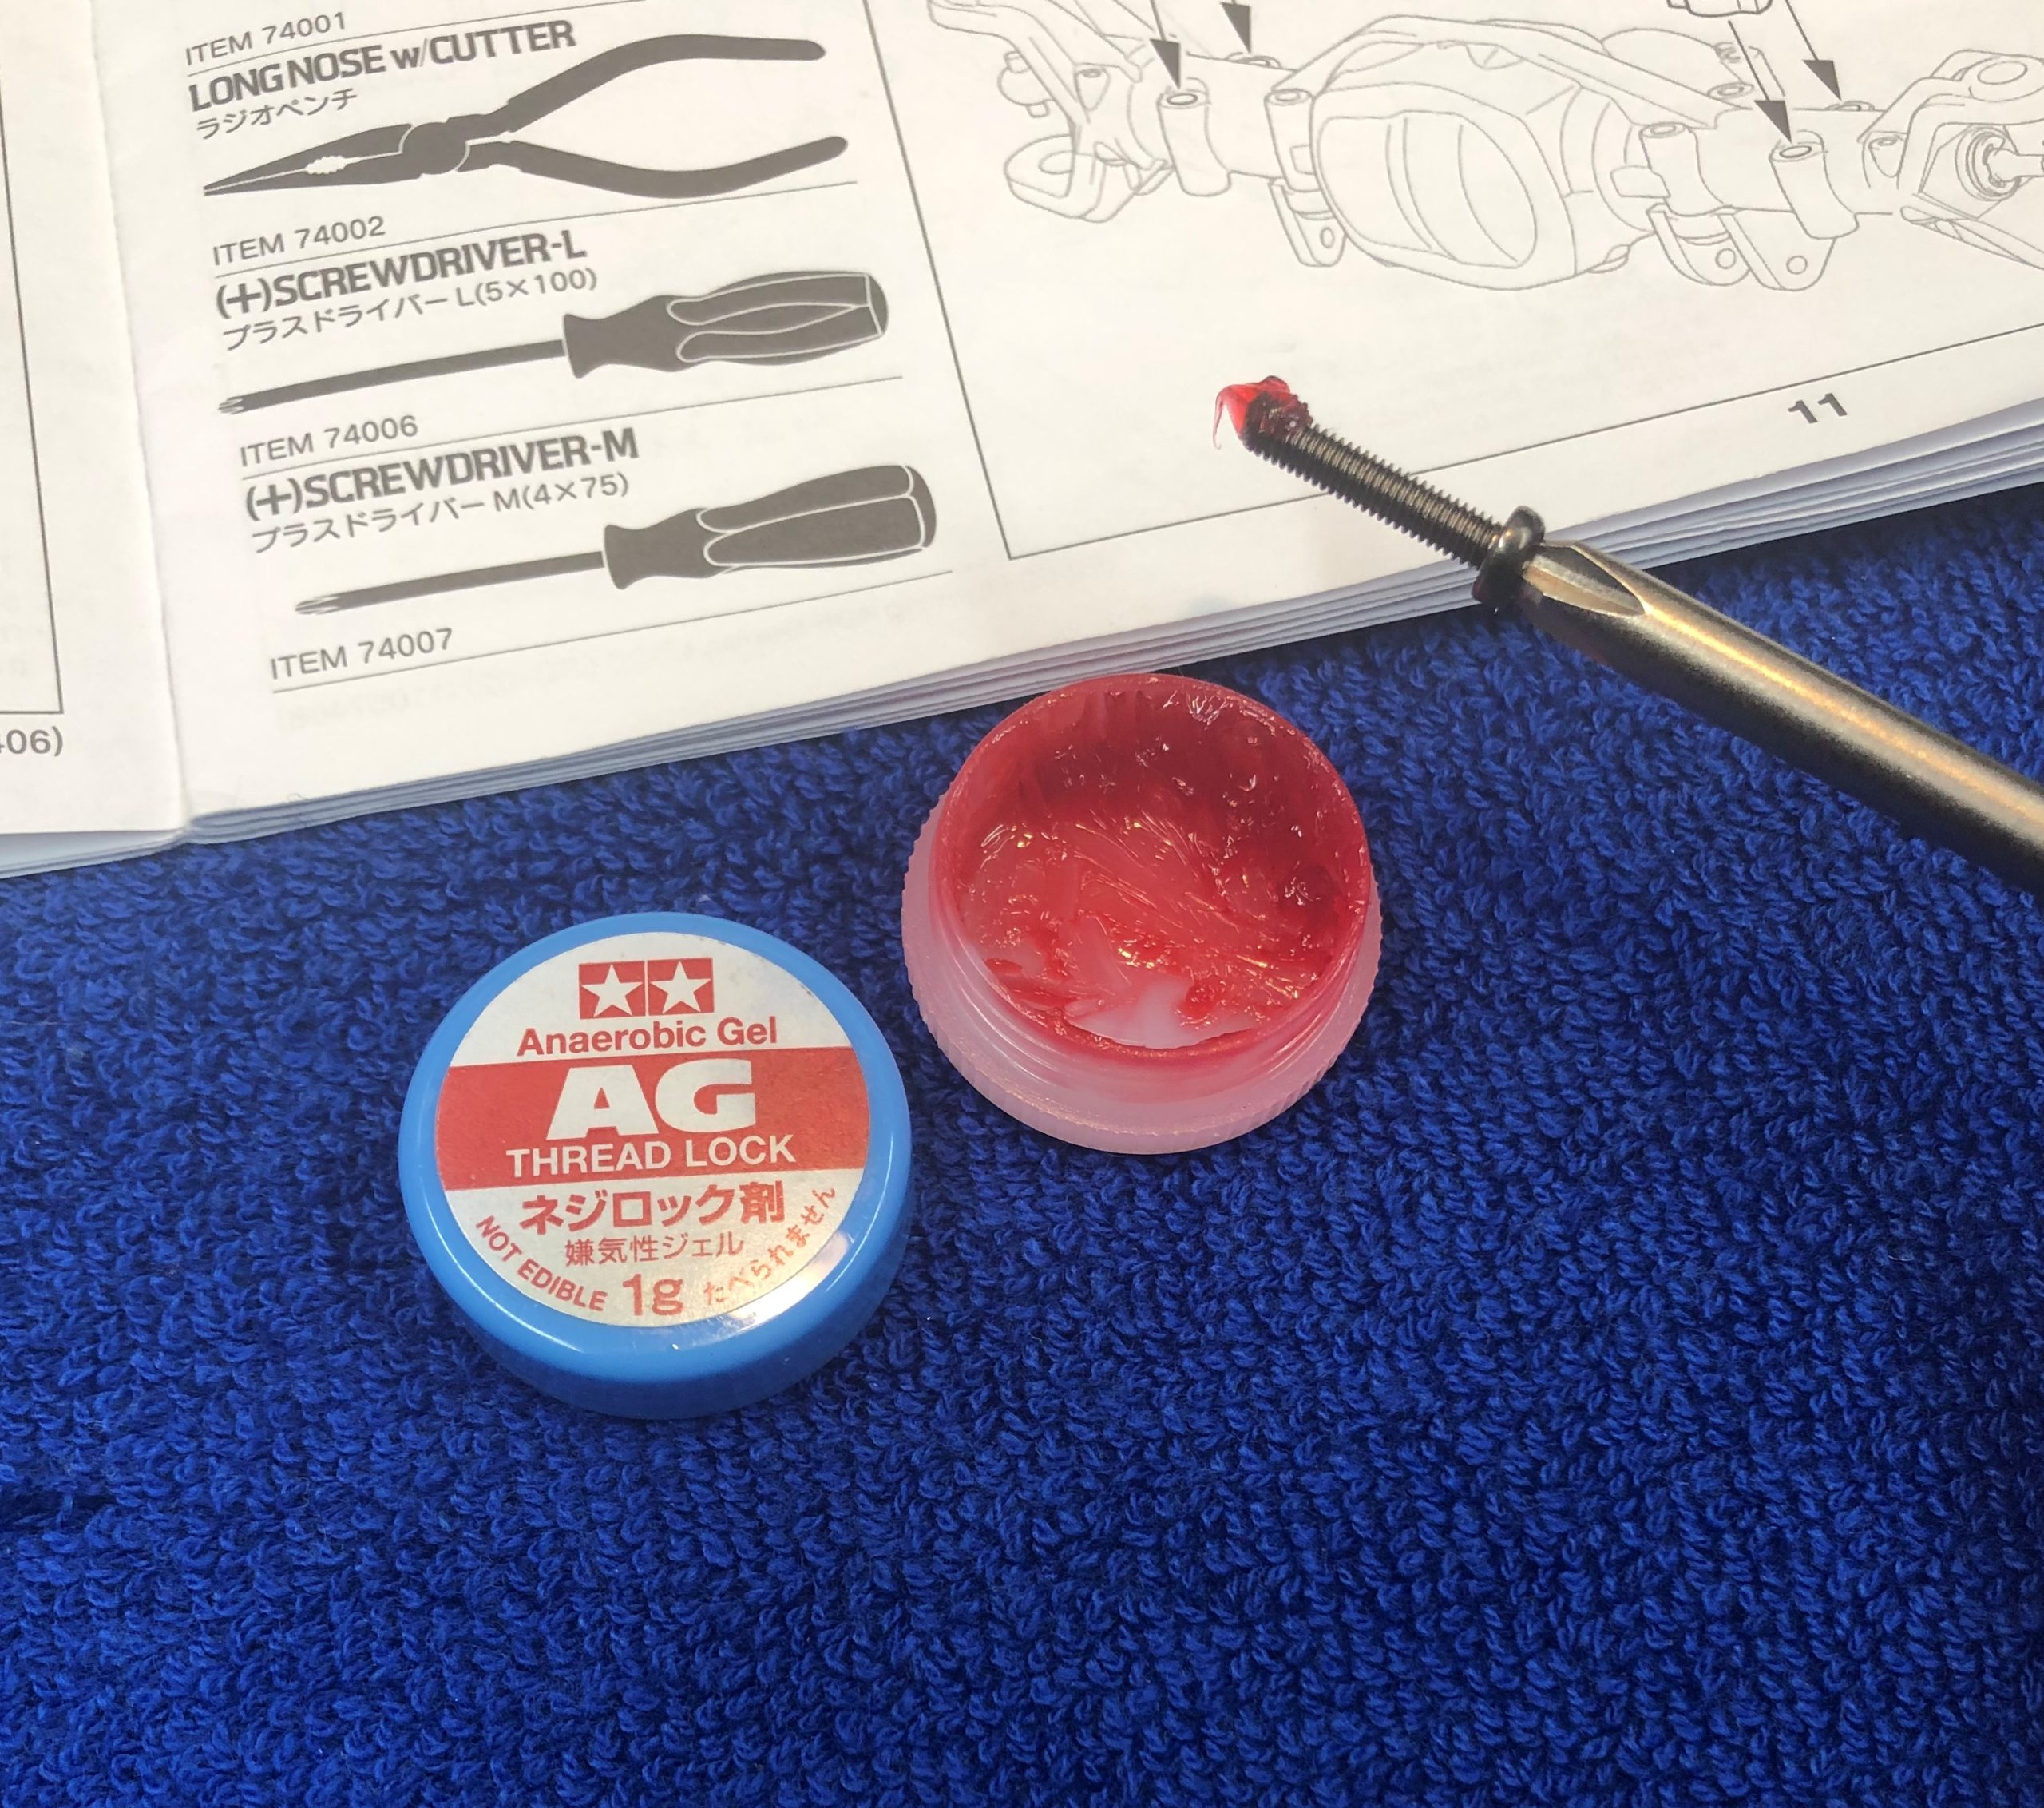
Use thread lock for screws that go into metal
For any fasteners that screw into metal, use thread lock. When the vehicle runs, vibration can cause screws to loosen and back out. That is where the thread lock comes in to keep this from happening. It acts like a glue, but will release when you need to unscrew a fastener.
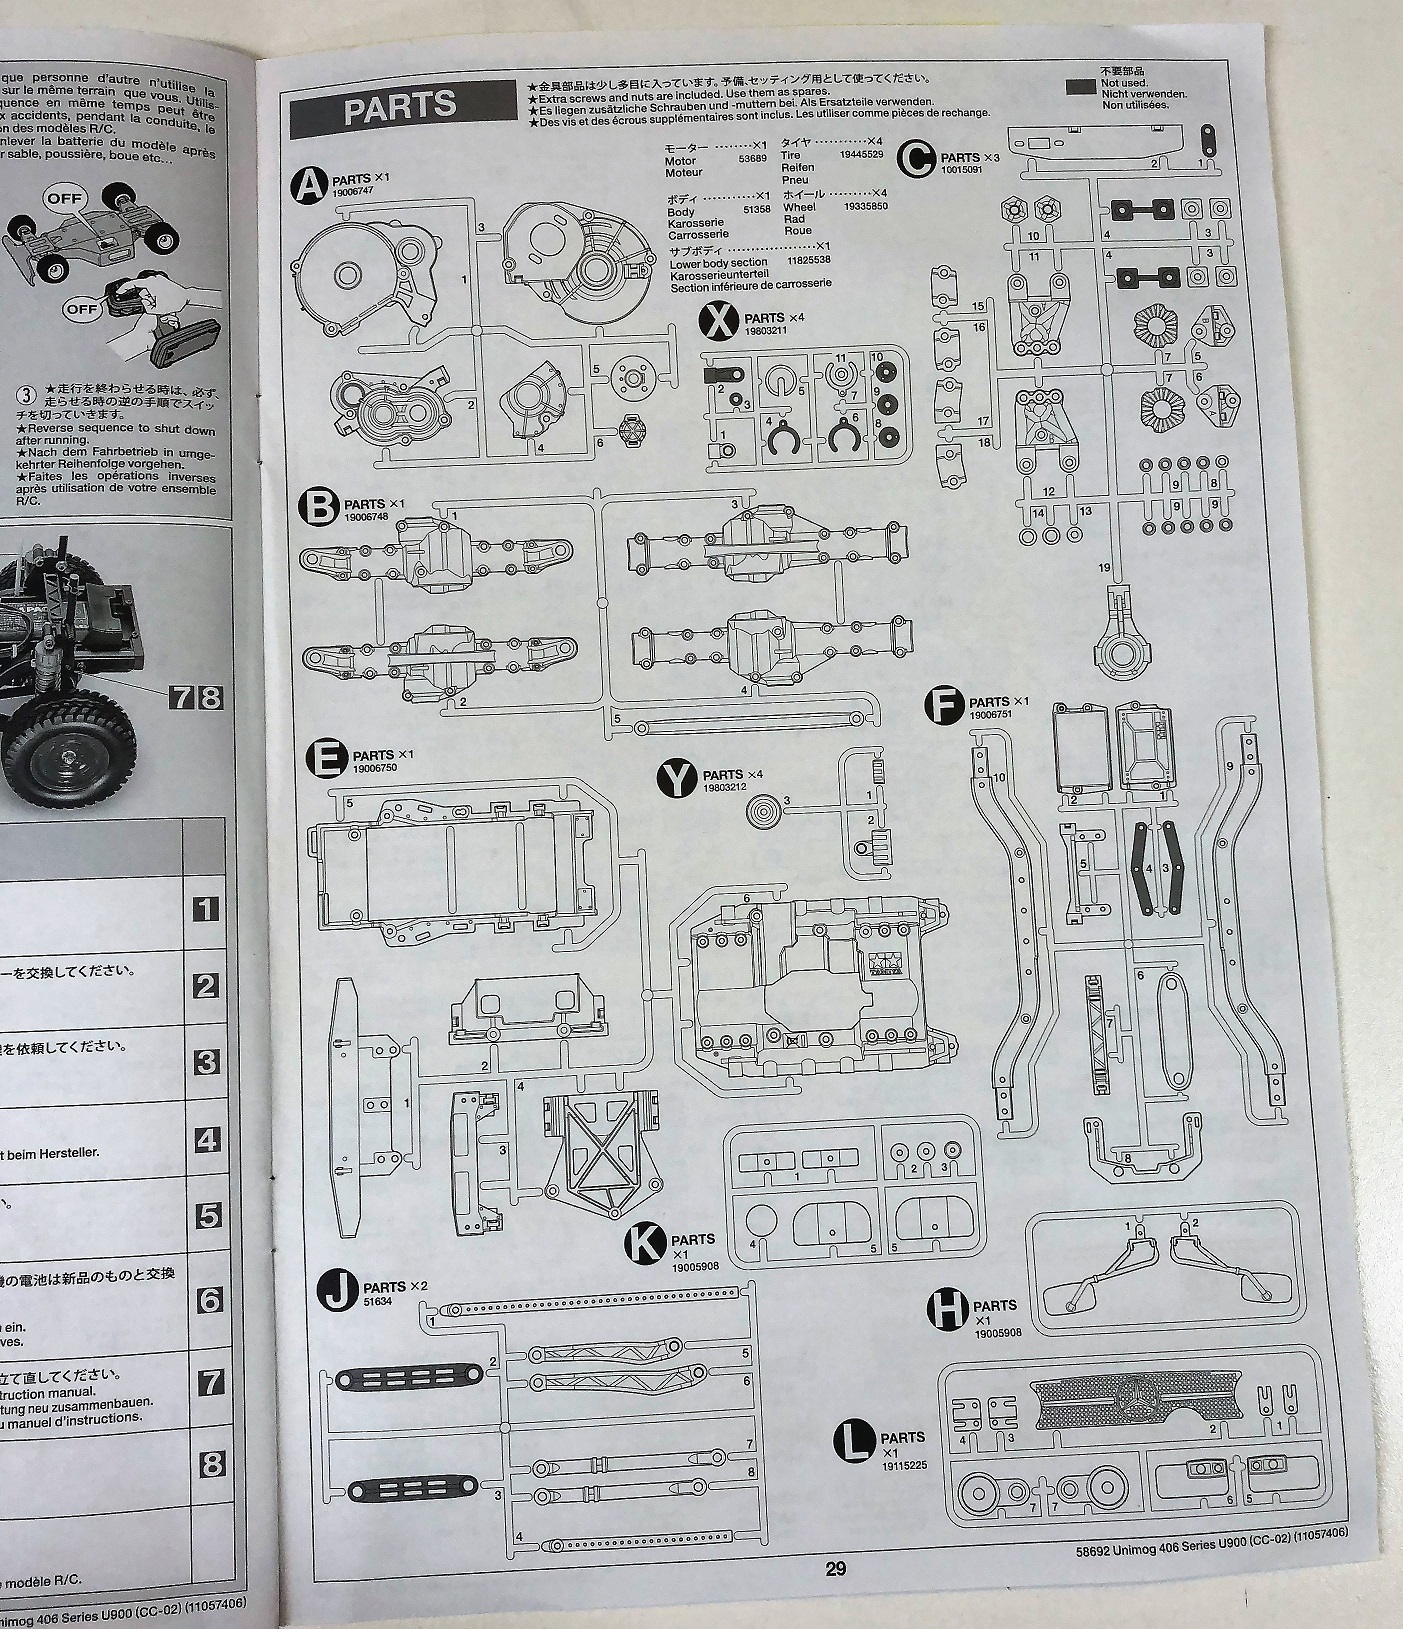
Locating the correct parts
In a kit build, there can be some parts that look near identical and therefor can be mistakenly used in the wrong step. You can avoid this by using the section of the manual that shows illustrations of all the parts that are used in the build and are clearly labeled.
Get all the parts together for the step you are working on
Before you begin each step, gather all the parts and hardware needed to complete that step. Take your time and verify that you have the correct parts. This tip can also help you understand how a specific assembly goes together and it will end up being built correctly.
Confirm you are using the correct hardware for each step
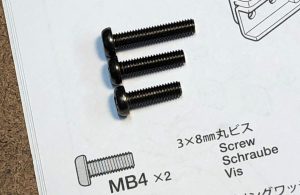 There can be many different types and lengths of screws used in a kit which makes it easy to grab the wrong one. Once you determine that the screw is the correct type, measure it to be sure it is the correct length. Tamiya helps you out with this step by including schematics of the hardware right next to the step you are working on. These schematics are made full size so that you can hold the screw next to it and confirm you grabbed the right one.
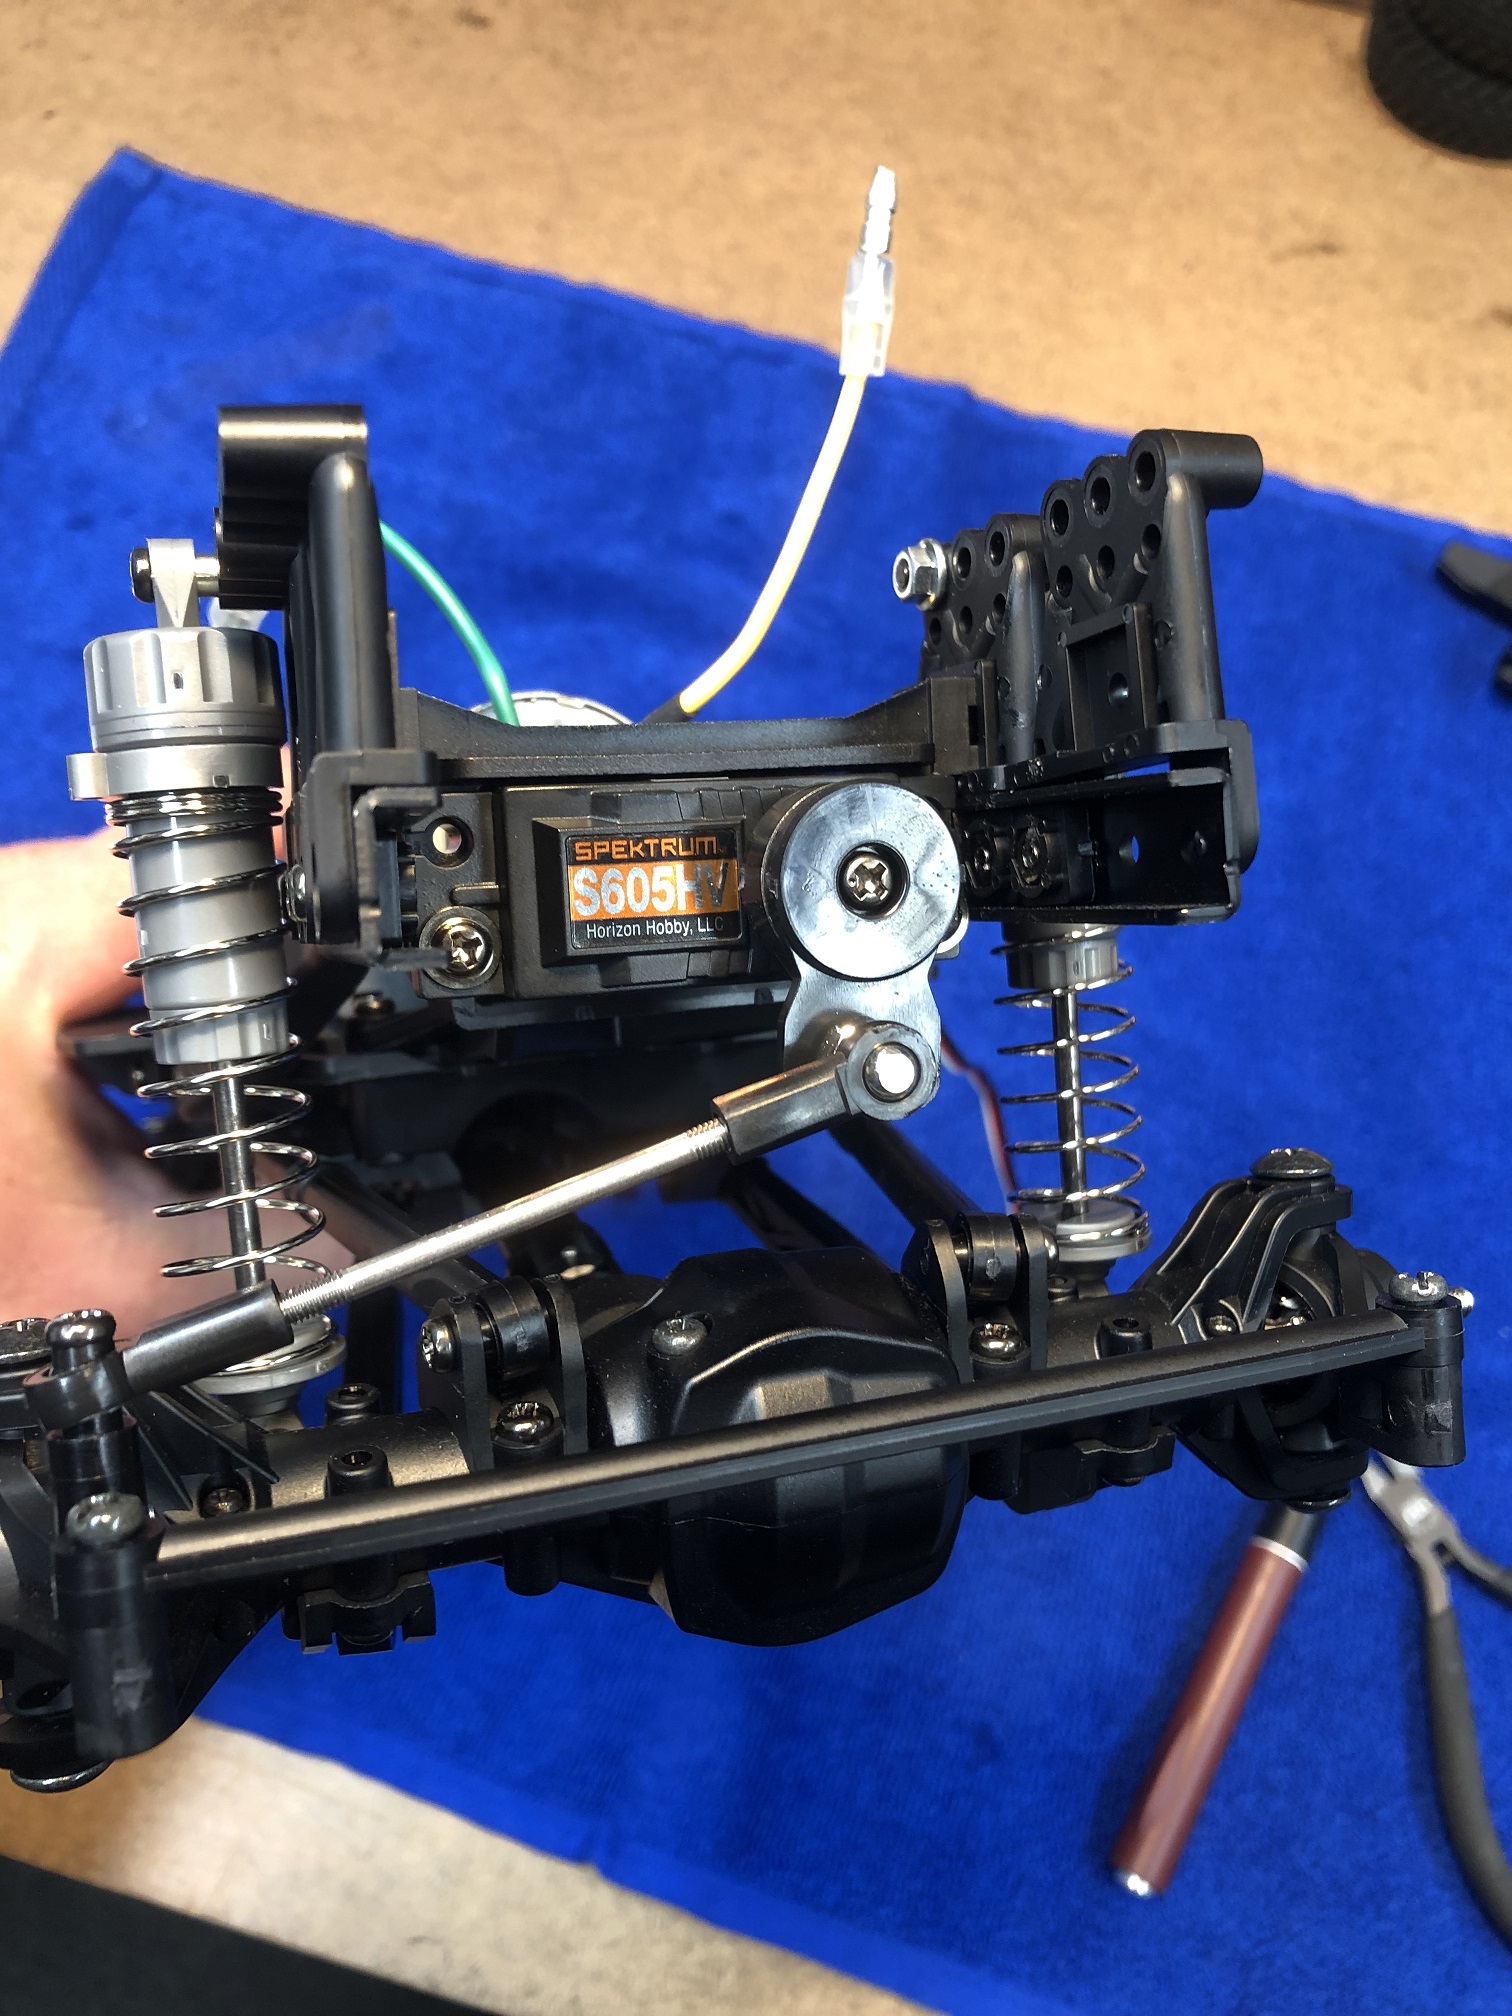
Center steering servo before installing
Before installing the servo onto the chassis or attaching the servo horn, power it up and make sure it is centered. Finding out later that the servo was not centered can be a hassle, especially if you don’t have enough servo throw adjustability on the transmitter. And you could also end up with your vehicle not being able to turn equally in both directions.

For more information about Tamiya products, visit: TAMIYA
SPONSORED ARTICLE


