From RC Driver Issue: 135
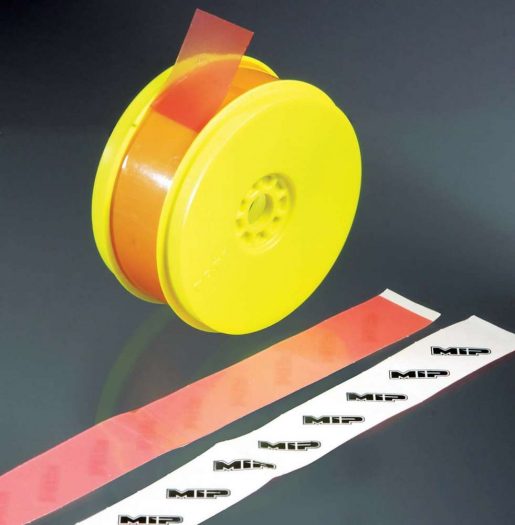
Almost all tire manufacturers offer a multitude of tire compounds and tread designs. This allows racers to choose what works best for different track conditions as well as their own personal ‘feel’. Tires have evolved from crude, hard-compound, mega-pin rolling grinders to incredibly soft and extremely flexible rotating masterpieces. This evolution has, unfortunately, now put a major strain on the tire insert. Open-cell foam inserts have been replaced with a much more durable closed-cell construction, but even these are being stretched to their limits with the increased horsepower most vehicles are putting out. To help preserve the foam and prevent it from squirming around (which causes incon- sistent handling traits), MIP has introduced Stickeez Strips, a semi-permanent tape strip that bonds the insert to the wheel. We show you how to install these on 1/8-scale wheels. Let’s go!
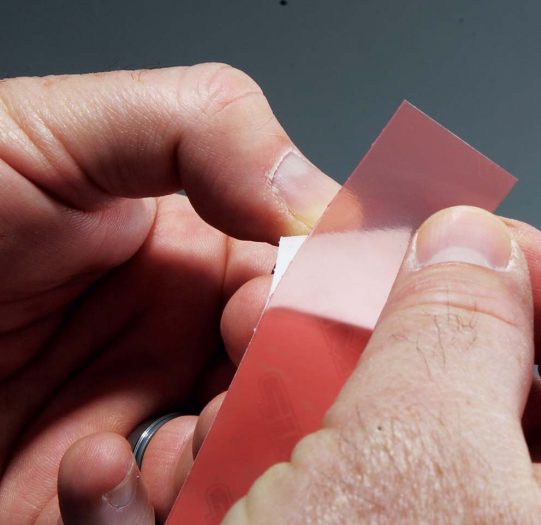
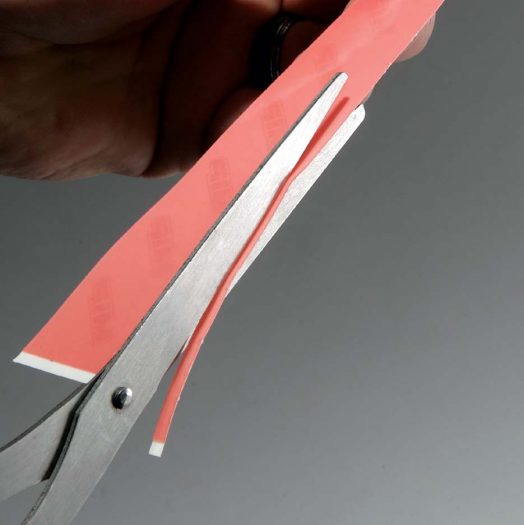
1. The first step is to trim the tape to the width of the wheel. I could have used the full width but decided
to trim it a bit for a better fit.
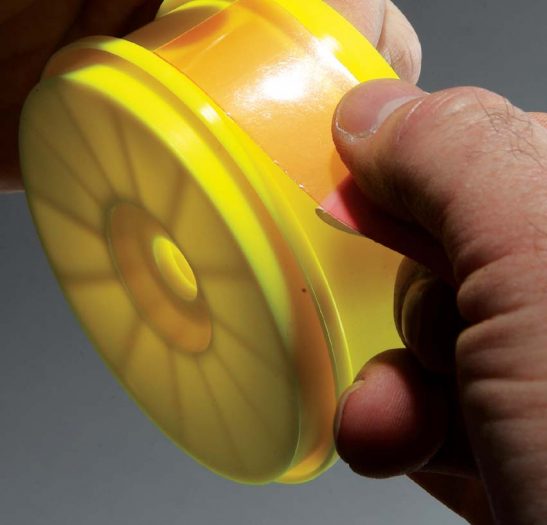
2. Peel back a small portion of the white backing paper. The strips are pretty sticky but you will still want to avoid touching the adhesive side.
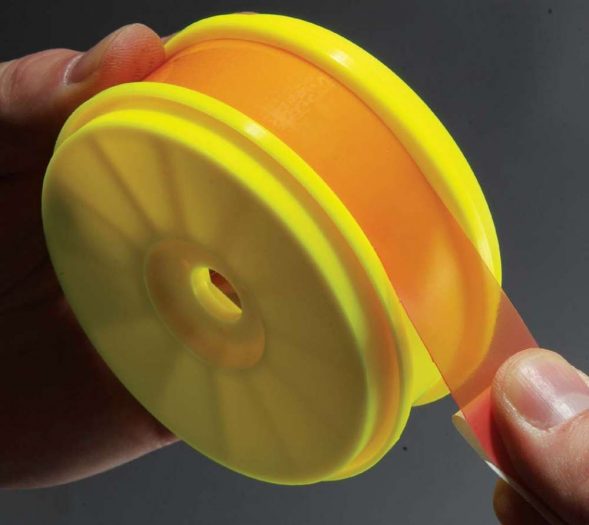
3. Take your Stickeez and apply the end to the wheel. It doesn’t really matter where you start.
4. Continue wrapping the Sticker Strip all the way around the wheel, slowly pulling off a little bit of the white backing paper at a time.
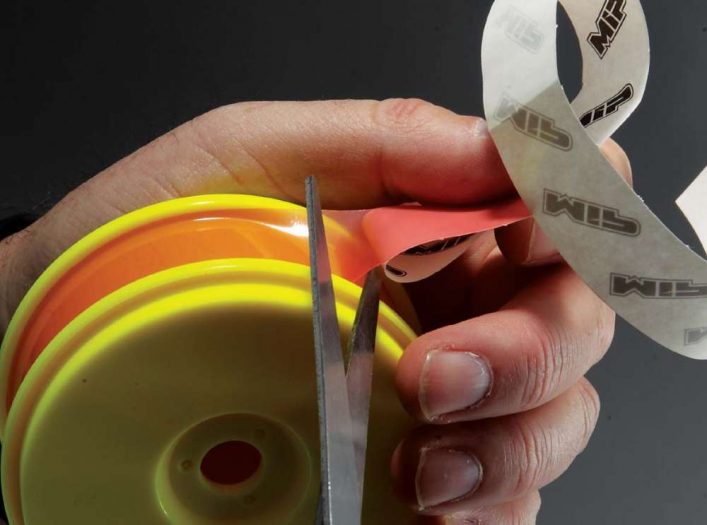
5. Once you’ve wrapped it all the way around, cut the excess strip off. You’ll want to leave just enough to meet the attached end of the Sticker.
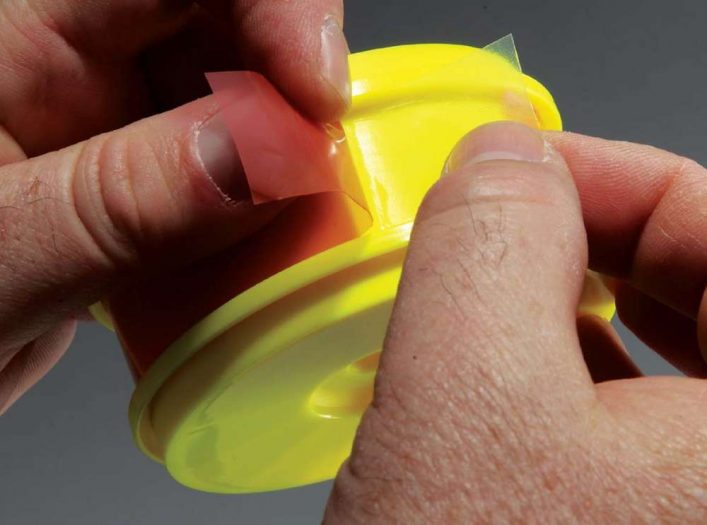
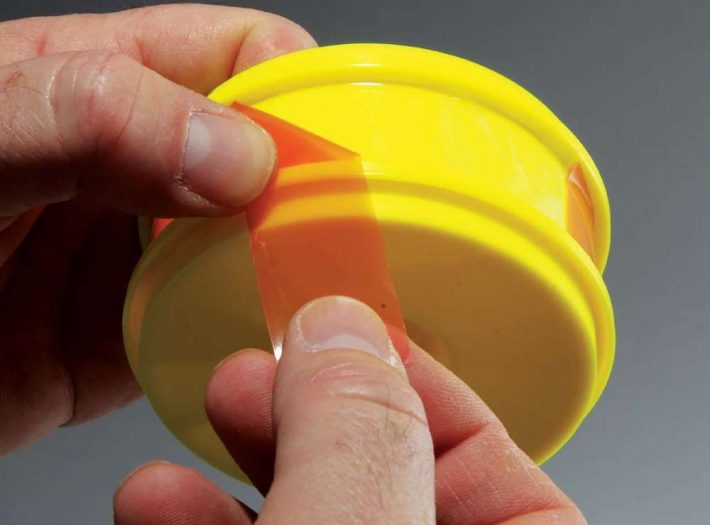
6. Remove the red backing paper from the Sticker. This is a little tricky but be patient; you’ll get it.
7. Fold the red backing paper across itself and outside the wheel. We’ll be using this to further remove the red backing paper from the rest of the wheel.
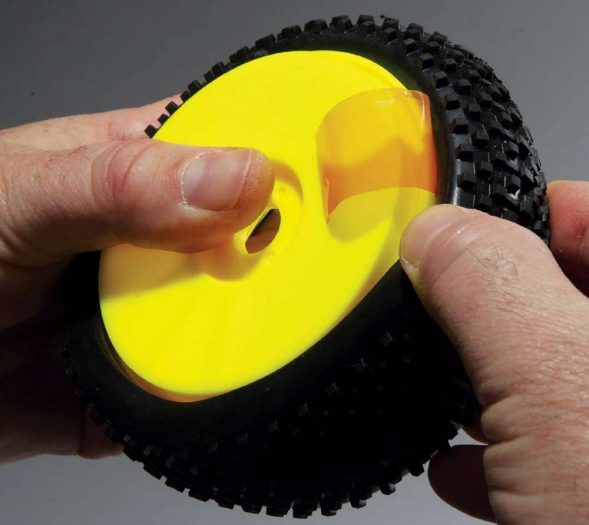
8. With the insert already positioned in the tire, wrangle it onto the wheel, making sure it seats correctly in the grooves.
9. While holding the tire firmly, slowly pull the red backing paper away from the tire, exposing the Stickeez underneath. Give the tire a good pressing all the way around to make sure the Sticker is in contact with the insert.
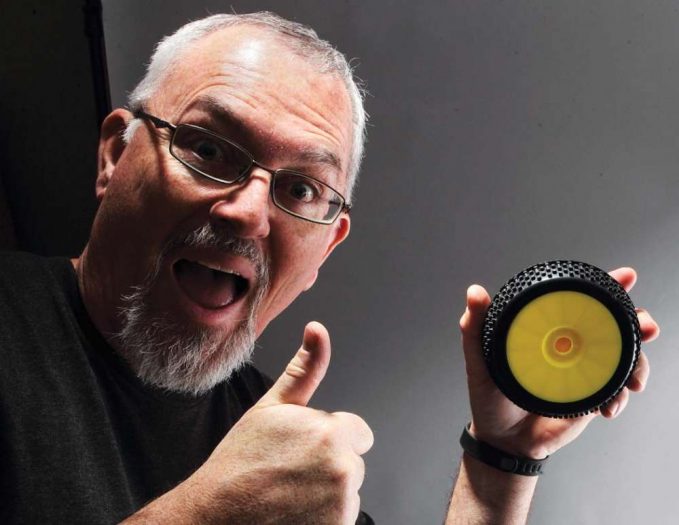
10. Once you have all four tires done, it’s time for a BIG smile and a thumbs up! Great job!
If you want to take your car to the next level and are uncertain of how to install aftermarket parts, this is the column for you. Each month we will show how to install option parts on various vehicles. Although the parts and cars we feature may not match your particular ride, the instructions may help guide you in upgrading your machine. If you have a suggestion for an option part you’d like to see installed, email your suggestion to editors@rcdriver.com
 RC Driver The Best In RC Car & Truck News, Reviews & Video


 1. The first step is to trim the tape to the width of the wheel. I could have used the full width but decided