 RC Driver The Best In RC Car & Truck News, Reviews & Video


The Build – Part 7
This step has up attaching the top decks and shock towers. Simple, however pay attention to the rear top deck assembly. I had to make a modification to gain access to the battery plug.
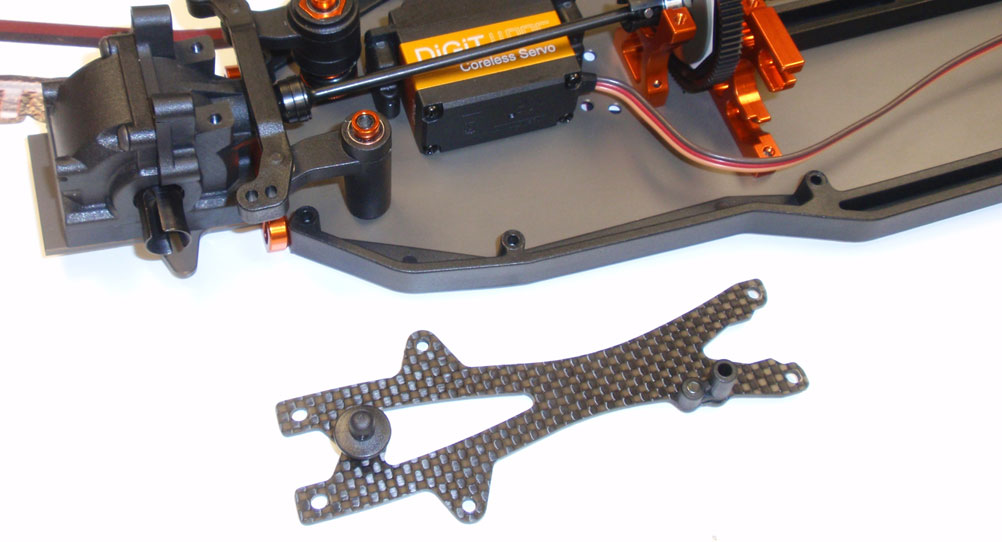
Assemble the front top deck. Note the side the antenna mount is on. Slide the two orange 4×6 washers onto the steering posts and attach the top deck assembly to the chassis.
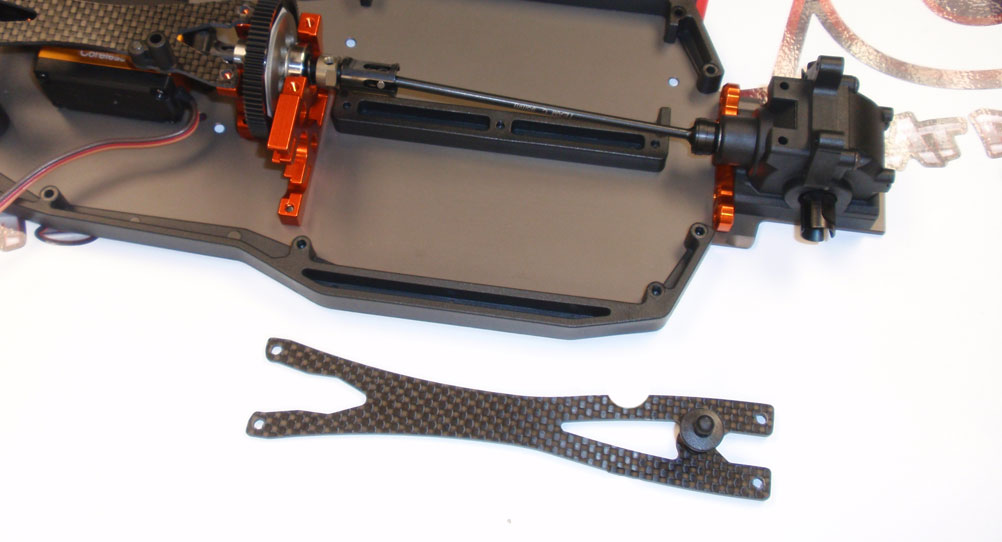
Assemble the rear top deck. You’ll probably notice the ‘notch’; I had to Dremel this in so that I could plug the battery in. Test fit your battery before installing the rear top deck to see if you need to do something similar.
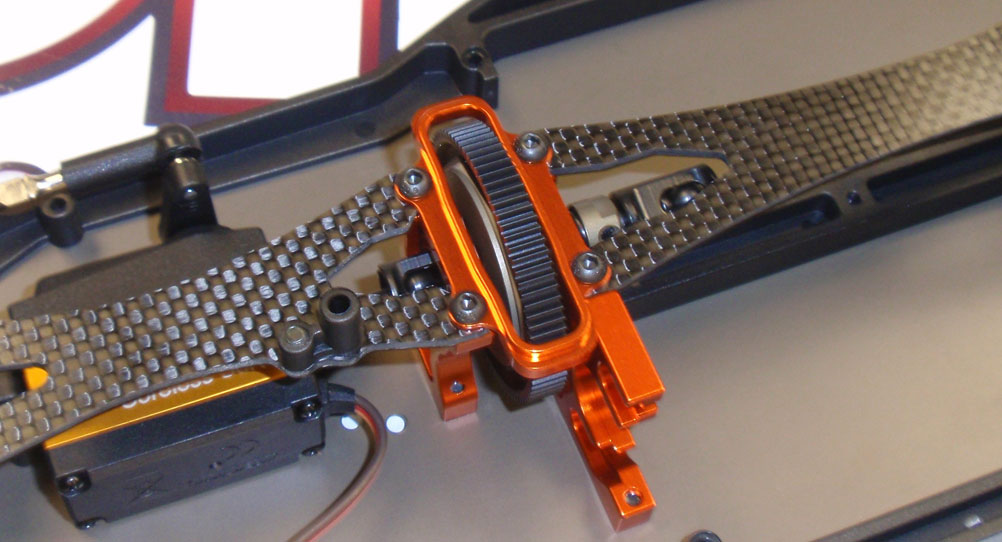
Install the center bulkhead cap. A light drop of threadlocker will help keep the screws from vibrating out.
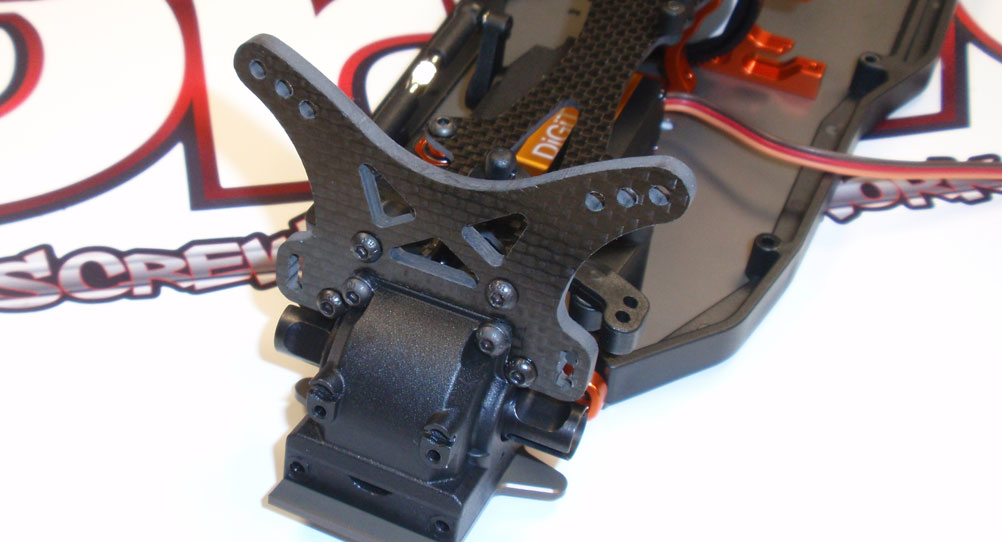
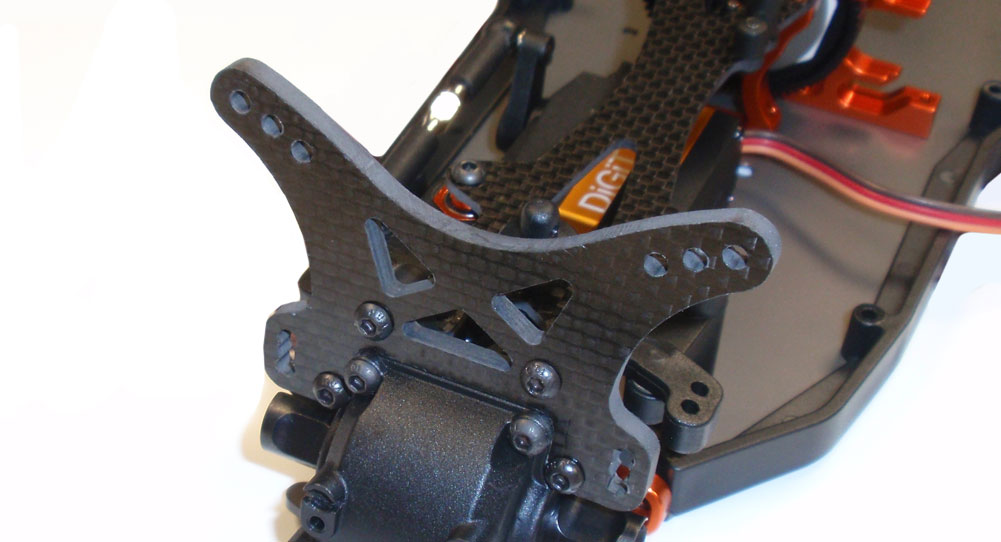
Attach the front shock tower to the front gearbox.

Install the wing mounts to the rear shock tower. The tower is not directional so it doesn’t matter which side you install them.
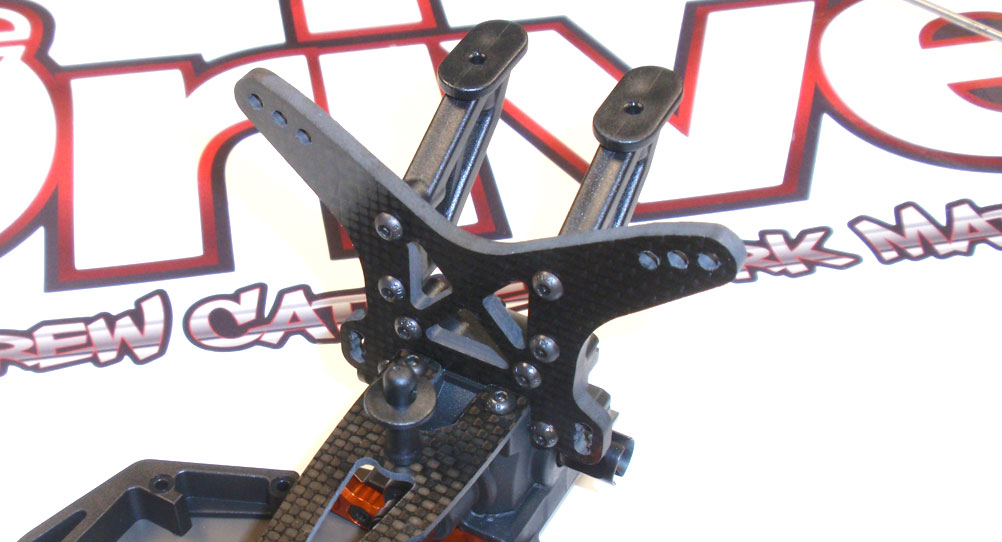
Attach the rear shock tower assembly to the rear gearbox.
If you want to take the TM4 to the next level, you can seal the carbon fiber parts with CA glue prior to assembly. Time to move on to the front and rear suspension.


Uh-huh. Also, low profile battery plugs are an excellent option for tight spaces.