 RC Driver The Best In RC Car & Truck News, Reviews & Video


9 Tips to get it right the first time!
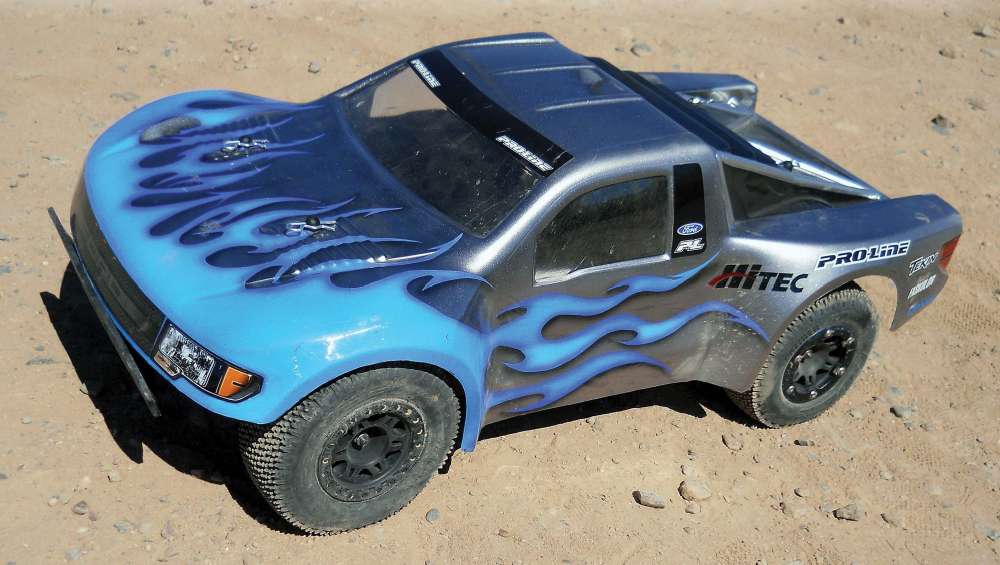
One of the first changes many people make to their RCs is to swap the stock body out for an aftermarket one. The bodies for our cars are formed out of a single sheet of clear Lexan or polycarbonate. To the untrained eye they may just look like a big bubble rather than a body for a vehicle. They need to be trimmed down before they start to really look like something. Then once they are trimmed they need to be mounted on the chassis. Many bodies come with holes pre-marked for specific brands of chassis, but the body you want may not always be a direct fit for the chassis you have, and that’s where many get into trouble. I have to admit that the first few bodies I did didn’t exactly line up, but by this point I’ve mounted so many bodies, it’s become second nature to me. So I’m going to walk you through the process of trimming and mounting a body, so you can avoid some of the headaches that I initially encountered.
By David Harrington
• Pro-Line Ford Raptor body—3344-00 http://amzn.to/2xs3TCB
• DuraTrax Ultimate Body Reamer—DTXR1157 http://amzn.to/2g2S6bq
• Tamiya Curved Scissors—74005 http://amzn.to/2yyoB95
• Dremel tool with sanding barrel http://amzn.to/2xrSg3l
• 350-400 grit sandpaper
2 I’ve found that it’s the 90 degree angle along the bottom that can make it difficult to trim bodies, so I start with a rough cut and take out the whole bottom chunk, leaving a minimum of a quarter to a half-inch gap from the body line.
3 With the big chunk out of the way, go in and cut on the body line. It helps if you have good light to see where the line is. If you’re having trouble seeing the line, trace it over with a permanent marker. In curved areas, such as the wheel wells, I will use the tip of the scissors to cut more, so I don’t dig the tips into the body.
4 In tight corners I use the reamer to make a hole of the proper radius, and then cut the lines in from either side. This makes it easy to get into hard-to-reach corners and keeps the corners nice and round. Any squared off corners will crack easily.
5 Sometimes your cuts will be a little uneven, particularly in corners. It can be difficult to trim off minute amounts with the scissors. To clean up my edges I like to use the sanding barrel on my rotary tool.
6 Once the body is trimmed out you can set it on the chassis and mark your holes. Make sure you do it with the tires on, as that makes it easier to see that they are centered up in the wheel wells. I really recommend trimming and mounting before you paint the body, but if you have a pre-painted body, you can put a little drop of paint on top of the body mounts and lower the body in place to make your marks. After I’ve marked the body, I like to measure from a body line to make sure both sides are equal.
7 When making my holes, I like to make a small hole first, and then check to make sure they are all lining up with the body post. If you have to make an adjustment you can angle the reamer to elongate the hole, and then stand the reamer back up to round the hole back off.
8 I like to finish by cleaning up all my lines with a piece of sand paper. This will leave you with a clean edge, and allow you to make minute adjustments, like taking out small bumps.
9 Before making final adjustments to the body mount height, make sure you have your battery in your car, and squish the suspension a few times, so it is at running height.
WRAP UP
Take your time and be patient, it pays to do a clean job. Oversized holes can cause body rattle. Crooked bodies can cause tire rub. Having to make a second set of holes can weaken the area, and squared corners or gouged edges can cause cracking. Mounting a body is pretty easy when you have the right tools and know how, and now you’re armed with the knowledge!
Links
Dremel 800-437-3635 dremel.com
DuraTrax 800-682-8948 duratrax.com
Pro-Line 800-899-7223 prolineracing.com
Tamiya 800-826-4922 tamiyausa.com


