The Build – Part 7
We’re now on to the suspension links of the Vaterra Ascender. This part is a bit tricky so pay CLOSE attention to both the manual and my notes. Some of the steps in the early manual were wrong (or omitted) so these notes should help out tremendously.
Vaterra Ascender K5 Blazer Build Step 106
I marked my manual at the top with a red pen to make sure I was keeping things straight. This is not required but if it’s your first build, it’s probably not a bad idea.
Vaterra Ascender K5 Blazer Build Step 107
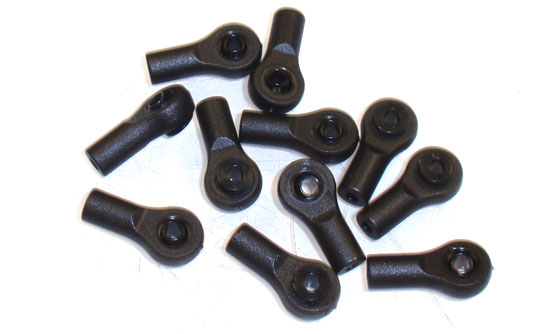
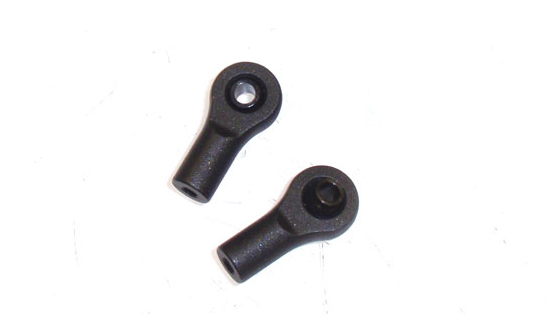
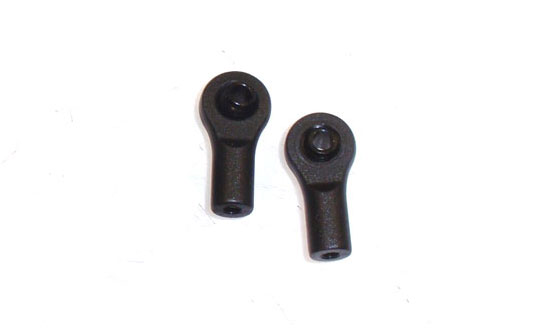
Pre-prep the rod ends by installing the flanged balls into them.
Vaterra Ascender K5 Blazer Build Step 108
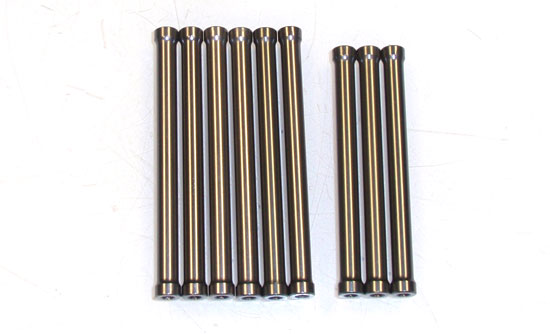
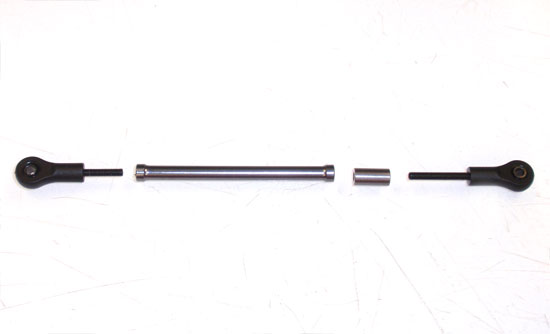
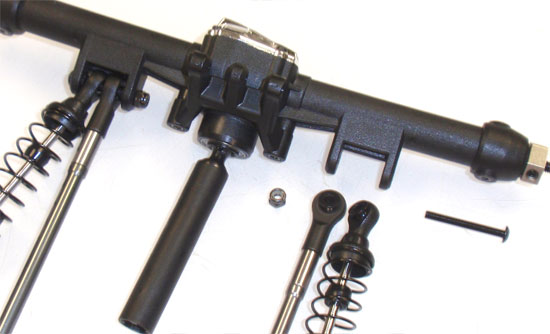
A quick shot of the 66mm links (on the left) and the 61mm links (on the right). Keep them separated for easy access.
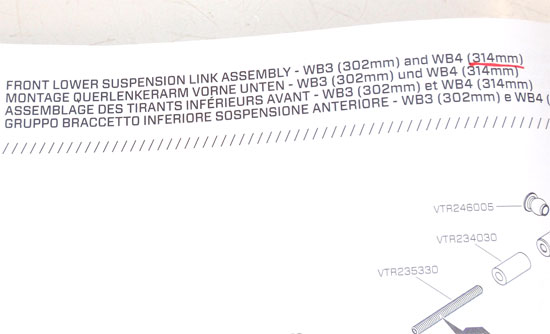
Front Lower Suspension Links
Vaterra Ascender K5 Blazer Build Step 109
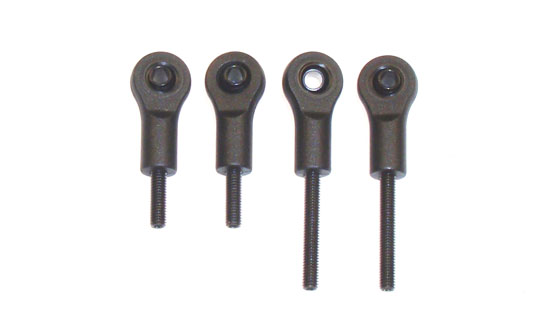
Start by building 4 rod ends with the flanged balls; 2 with short setscrews, 2 with the long ones.
Vaterra Ascender K5 Blazer Build Step 110
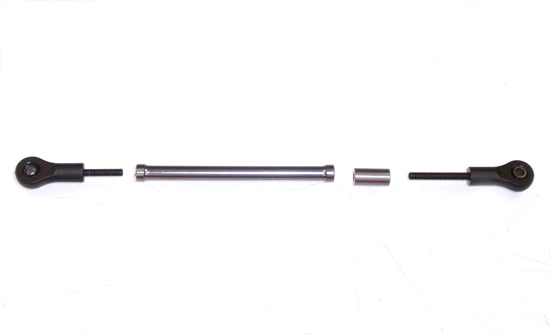
Build a pair of lower suspension links as shown, using a dab of threadlocker on the setscrews to keep them firmly set in the aluminum links.
Front Upper Suspension Link
Vaterra Ascender K5 Blazer Build Step 111
Build 2 more rod ends with 2 UN-flanged balls.
Vaterra Ascender K5 Blazer Build Step 112
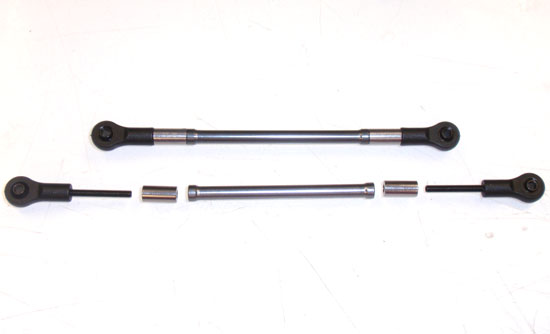
Insert a short setscrew in the un-flanged rod end assembly and a long setscrew in the flanged side. The manual states that you should be using a 66mm link; that is incorrect. You need to use the shorter 61mm link for this step. Don’t forget your 12mm spacer and the dab of threadlocker.
Rear Lower Suspension Links
Vaterra Ascender K5 Blazer Build Step 113
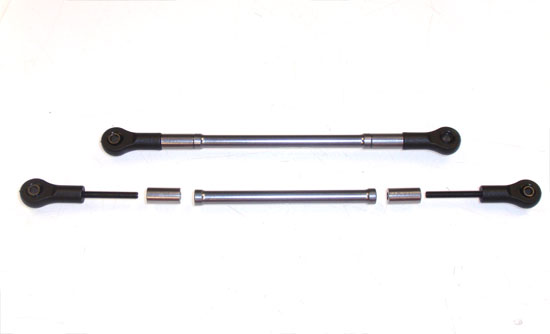
Assemble 4 more rod end assemblies, all of these with the flanged rod end assemblies and the longer setscrews. Dip the setscrews into threadlocker and build 2 link assemblies as shown. Set these aside next to your other assembled links (don’t get them mixed up!)
Rear Upper Suspension Links
Vaterra Ascender K5 Blazer Build Step 114
Build the rear upper suspension links using two UN-flanged rod end assemblies and two flanged rod end assemblies. Both of these require the longer setscrews and the 12mm spacers. Don’t forget your threadlocker.
Panhard Rod Link
Vaterra Ascender K5 Blazer Build Step 115
My manual didn’t include the steps required to build the panhard rod so I’ll go over that assembly here. Start by building two rod end assemblies; one flanged, one un-flanged.
Vaterra Ascender K5 Blazer Build Step 116
Assemble the panhard rod as shown using a 66mm link. Make sure the un-flanged rod end gets a long setscrew and the flanged rod end gets a short setscrew. Don’t forget your threadlocker and 12mm spacer.
Vaterra Ascender K5 Blazer Build Step 117
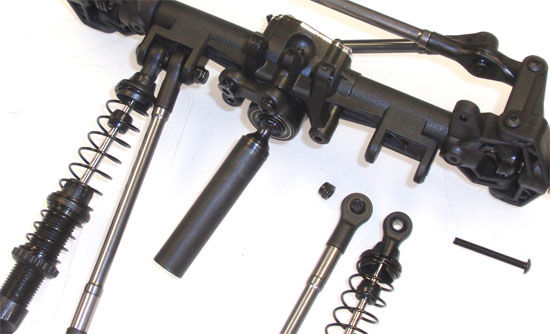
Grab two shocks and your front lower suspenion links from Step 109 and attach them to the front axle as shown. Do not overtighten the screw. You also want to make sure the flanged balls are facing AWAY from each other.
Vaterra Ascender K5 Blazer Build Step 118
Attach the flanged rod end side of the panhard rod (from Step 115) to the tab on the steering block (notated by the arrow).
Vaterra Ascender K5 Blazer Build Step 119
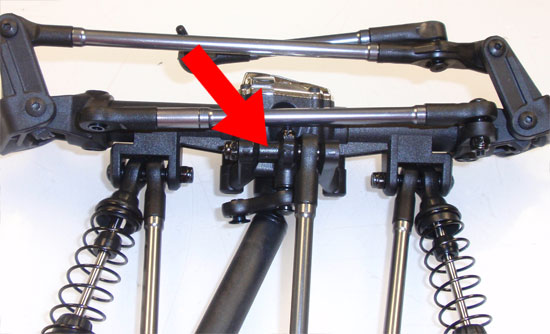
Attach the front upper suspension link (from Step 111) to the top of the front axle and use the metal spacer to fill the gap on the other side of the split (see arrow).
Vaterra Ascender K5 Blazer Build Step 120
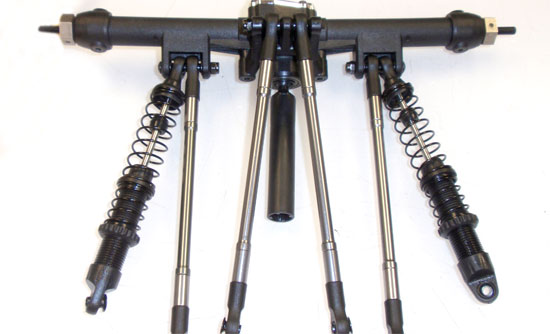
Grab your other pair of shocks and attach them in the same way (with the rear lower suspension links from Step 113) as we did in the front. Again, make sure the flanged side of the balls are facing AWAY from each other.
Vaterra Ascender K5 Blazer Build Step 121
Finally, attach the rear upper suspension links (from Step 114) to the top of the rear axle.
Great job. Now go get a beer.
Part 8 – Attaching the suspension links and axles.
 RC Driver The Best In RC Car & Truck News, Reviews & Video