 RC Driver The Best In RC Car & Truck News, Reviews & Video


From RC Driver Issue: 134
by David Harrington
Usually when we see new product in the hobby world, it is based on full-scale automotive or other existing technology. While I’m sure the technology is out there, this month I have something I’ve never seen before. I would guess that between the original and the remake, most of us have seen one of the versions of the movie Tron. One of the most striking features of that movie was the vehicles which had glowing edges. The Tron LED wire is a flexible strand of wire that lights up consistently from end to end, so you can attach it to your body to get the look of one of those vehicles from the movie. It would have made sense to use these on a sleek sports car for a futuristic look like in the movie, but if you know me by now, you know I don’t like to do what is expected. I thought a classic full fender truck has a lot nice curves to accentuate. So I used Parma’s Speed Shop Hauler body for short course trucks. I wanted the focus to be on the LED wire, but I had to do a little something for the paint. I decided to soft mask in some flames for a ghostly effect where the flames disappear into the darkness and pop out when the light hits them, and here is how it all went down.
ITEMS USED
Yeah Racing
- Tron LED Wire #LK-0029PK
Parma
- Speed Shop Hauler Body #1241
- 18mm masking tape #40257
- Faslucent Purple #40311
- Faspearl Silver #40050
- FasKrome #40300
- FasBlack #40001
- FasWhite #40000
- Faslucent Red #40307
Step 1
The Speed Shop Hauler body is a general fit for most short course bodies, but you may have to do some extra trimming to get it adapted to your chassis. I’m mounting it on my trusty old Blitz. I had a spare rear bumper, so I cut the ends off the old one to clear the narrow bed of the pickup body. The front of the body is resting on my front bumper, so to clear the bumper and lower the front down until it was level with the chassis; I cut a little over a quarter inch off the bottom of the nose with my Lexan scissors. Since this body has a tall hood line, I needed to extend the front body post a little. I used some threeinch post from Parma, since I would have to cut the bottom off to work in the Blitz’s mounting holes. Once I had the body sitting correctly, I marked where my mounting holes would be on the outside with a permanant marker and then made the holes with a body reamer.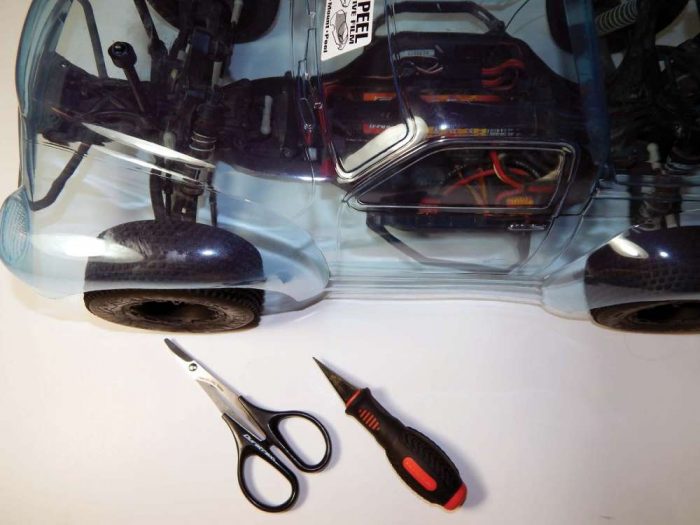
Step 2
Now, before I start any kind of painting I want to figure out exactly how I’m going to mount the lights. I want to mount the controller box to the body, someplace that is in a neutral spot close enough to the receiver that I can remove the body without unplugging the lights and where the lights will exit the body. You also want to make sure the wires are routed away from the tires or any moving parts. I chose a spot right in front of the rear shock tower. It is a good idea to mock up the LED wire to make sure you have enough length to do the job you want to do, and this will help you determine exactly where you want to make your hole for the wire to exit the body. I made mine right behind the rear fender.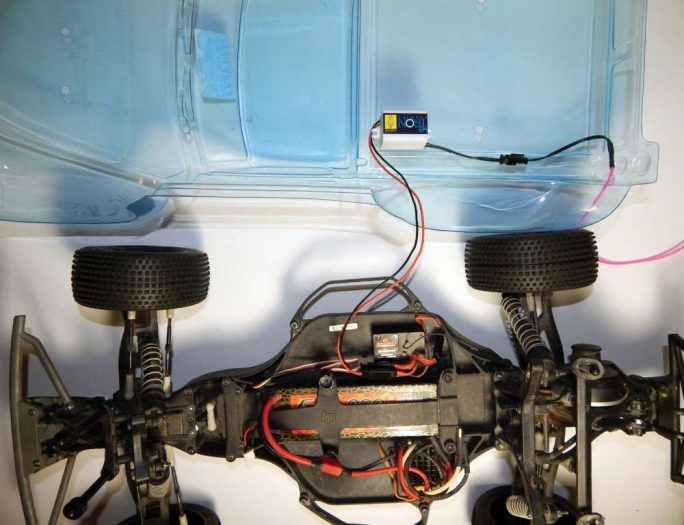
Step 3
Once everything is all mocked up, I’m ready to paint. I start by scrubbing the body out with warm water and dish soap. After drying the body with a lint free cloth, it is time to start masking. This body comes with precut window mask, and I’ll tell you, it sure would have made my life a lot easier if I knew what I did with mine. So I had to mask the windows with masking tape. Then I masked off the headlights, grill, and taillights. To mask these areas off I covered them in tape. I like the Parma masking tape because it is thin and somewhat flexible. After the area I want to mask is covered, I cut away the excess with my hobby knife, being careful not to cut into the body. Sometimes tracing the detail on the outside of the body with a permanent marker can help you find your line.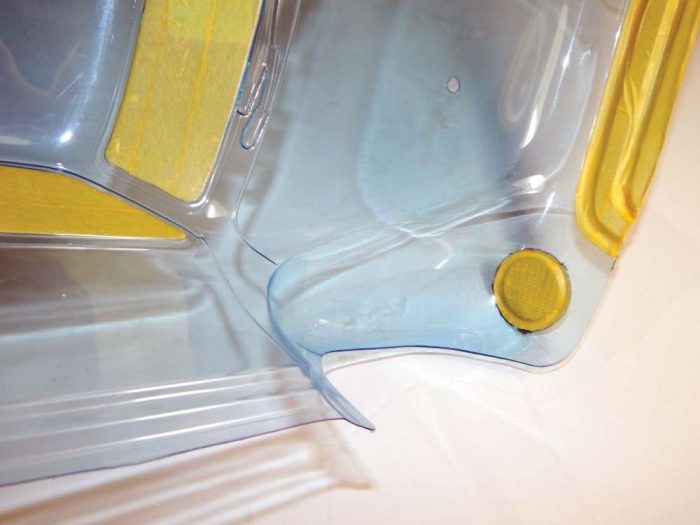
Step 4
Now it is time to start painting. I lay the Faslucent purple first in a couple of light mist coats, then a heaver one, using overlapping strokes that follow the lines of the body. After it is covered in the purple, I give it some time to dry before soft masking in my flames. I have covered soft masking several times in the past, but it is not hard. You can cut your own template, or buy a precut one where they sell airbrush supplies. I am using a precut one for convenience. You just lay it in place, lightly holding it down with your fingertips, while trying to keep your fingers out of the way, and lightly spray in the Faspearl Silver. Make sure you clean the excess paint off the template before flipping it over to do the other side. Then I back it all with a couple of good coats of FasBlack.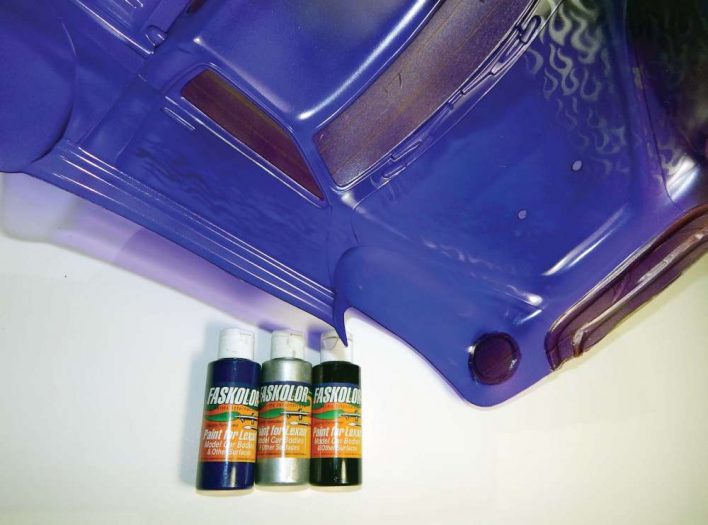
Step 5
After the last heavier coats have had enough time to dry, I cut out the centers of the headlights and taillights and then remove the ring of mask from around the outside edge. I also remove the mask from the grill area. I then covered those areas with FasKrome. Some Fasblack will help make the FasKrome more opaque, but it is a fairly opaque color, and I just skipped the black, and laid it a little thicker.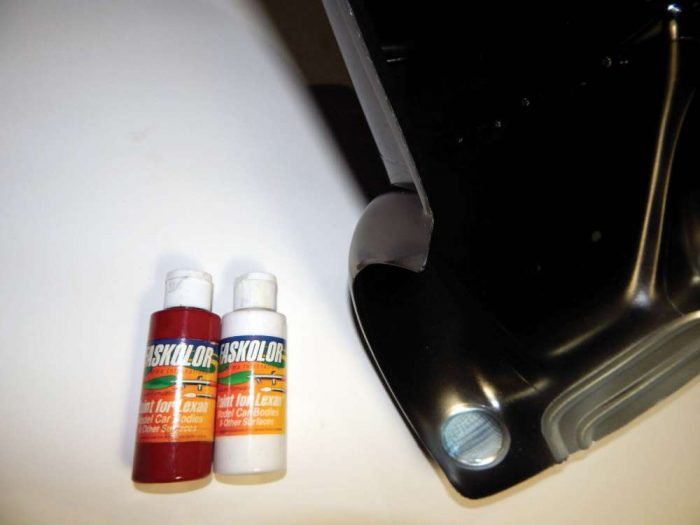
Step 6
After allowing time for the FasKrome to dry, I removed the masking tape in the centers of the headlights and taillights. I filled the headlights in with a quick coat of FasWhite, and then filled the taillights with FasLucent Red.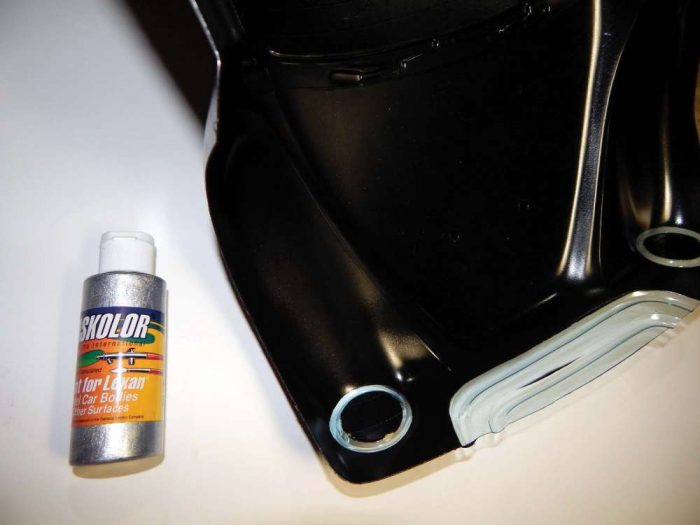
Step 7
Now that the paint job is done, I can go ahead and remove the window mask and overspray film, and then I’m ready to mount the LED wire. I stick the controller box in my preplanned spot using the included piece of double stick tape, then route the wire out through the hole I made. The instruction warned to use caution when using hot glue as it can melt the casing of the wire. I considered alternatives, but a CA glue could fog the Lexan, and a craft glue such as Shoe Goo would dry too slow to tack the wire in place. I decided to go with hot glue and use caution. I apply a drop to the body in a strategic spot to hold it against the curves. I apply the glue to the body first, allow just a second to cool, and then press the wire in. I didn’t have any problems with melting the wire, but it did pop off and need to be re-glued in a couple of spots, so you don’t want to let it cool too long. If you need to you can trim it to length, but make sure you replace the plastic cap on the end or you risk electric shock.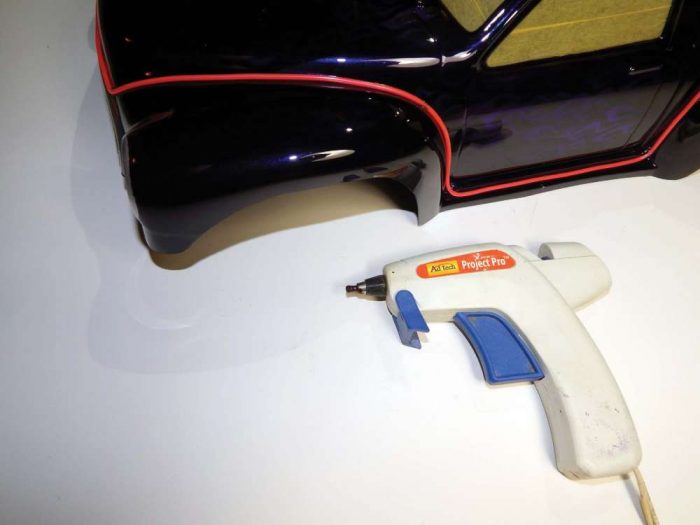
WRAP UP
This LED wire is really cool. It almost has a neon light effect in the way it glows eerily. I just like staring at it! It is sure to get instant attention on any RC body you decide to use it on, and it is available in eight colors to suit your taste. I feel I should warn you that I do not recommend it for your race bodies as there are warnings all over that if the wire gets cut or severed, that you could get a shock. I’m sure if you were bumping and banging on the track, you could potentially cut the wire, and I’m sure the turn marshal would not appreciate the jolt when he goes to flip your car over!
Links
Parma parmapse.com, 440-237-8650
Yeah Racing distributed by rcmart.com, yeahracing.com


