Team Associated B44.3 Buggy Build – Part 1 – Differentials
The Build – Part 1
The first part of the B44.3 build will be the differentials; 3 gear diffs to be exact. Since we’ll be working with grease and fluids, it’s a good idea to have some rags available to clean up any messes you WILL make.
The manual has you adding 4 .5mm shims to the outdrives; 2 inside and 2 outside. Adding 4 shims will make it VERY difficult to get the roll pin installed internally, so we have to play with the shimming. The bad news is you won’t know until AFTER you have the diff built. So, I’ve built the diff so that it works for me, but your shimming might be slightly different. As a side note, try to keep MORE shims inside than out.
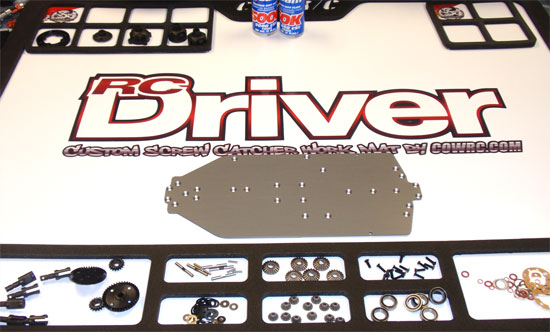
Team Associated B44.3 Buggy Build Step 1
We just received these cool mats from CowRC.com. These mats are based on a large, magnetic mat that has foam separators for different ‘pockets’ to hold parts in. It’s best to have a clean work space and this mat will be great for this.
Team Associated B44.3 Buggy Build Step 2
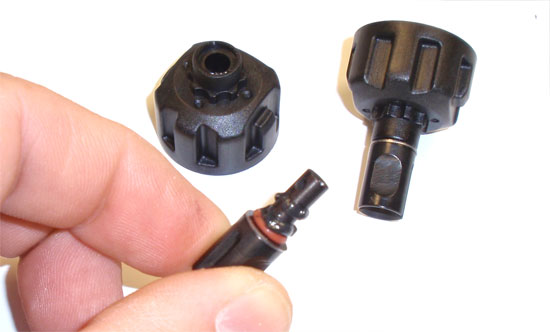
We’re going to prep all the outdrives up front. First, slide a small red o-ring onto the outdrive and into the first groove. Next, slide ONE .5mm shim onto the outdrive followed by a larger, red o-ring. Prep all 6 outdrives.
Team Associated B44.3 Buggy Build Step 3
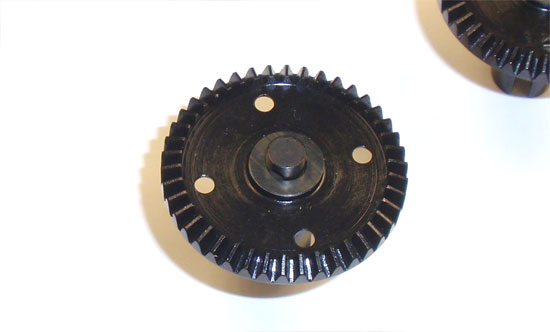
Squeeze some black grease onto the outdrive as shown, coating both red o-rings. Now slide the outdrive assembly into the metal diff gear. Build 2 of these.
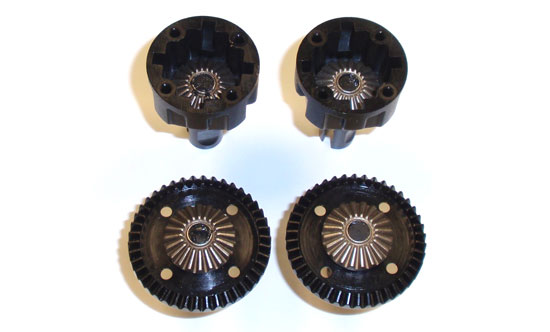
Team Associated B44.3 Buggy Build Step 4
Follow the same procedure as you did in Step 3 but this time insert it into the diff housing. Build 2 of these.
Team Associated B44.3 Buggy Build Step 5
Add 2 shims to the outdrive. Do this on both assemblies.
Team Associated B44.3 Buggy Build Step 6
Adds 2 shims to the diff housing side as well. An easy way to get these installed is to slide them on the shaft of a hex wrench, place the tip of the wrench on the outdrive and let the shims slide right down.
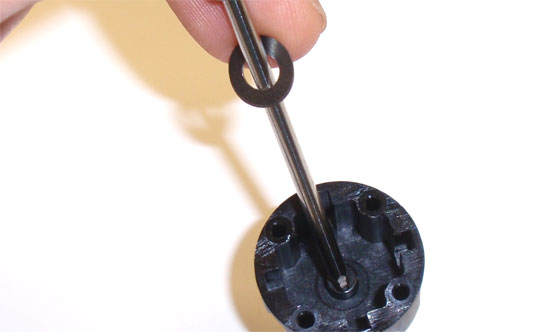
Team Associated B44.3 Buggy Build Step 7
Insert the roll pin into the hole in the outdrive and key the large sun gear to it. You can add a little dab of black grease to the sun gear to keep it in place.
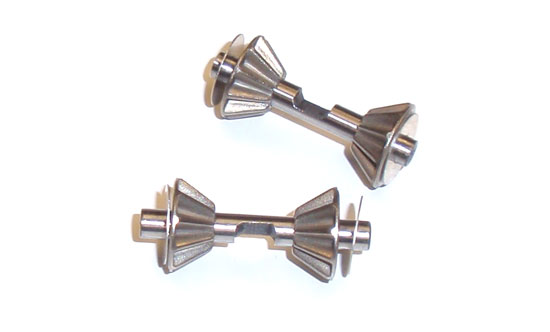
Team Associated B44.3 Buggy Build Step 8
Build four of these smaller sun gear assemblies; each shaft should have two sun gears (facing each other) and two small shims.
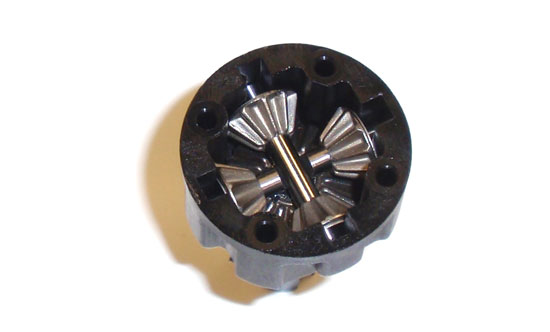
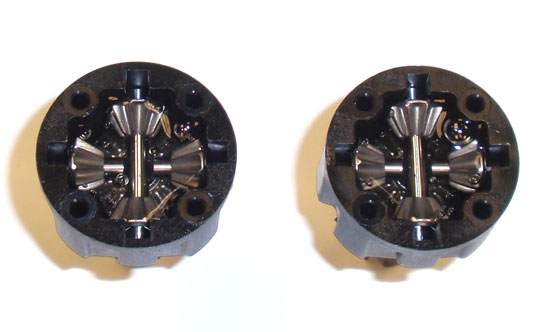
Team Associated B44.3 Buggy Build Step 9
Place one sun gear assembly into the gear housing, keying it to the grooves. The first one in should have the cut in the shaft facing up; the second one placed should have the cut in the shaft facing down. Build 2 of these.
Team Associated B44.3 Buggy Build Step 10
Fill the differentials with 5000wt fluid up to the top of the sun gears. Let them sit for a few seconds to let the oil settle into the cracks and refill if necessary.
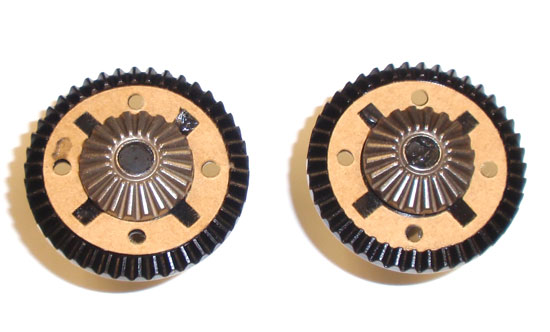
Team Associated B44.3 Buggy Build Step 11
Place the diff gaskets into place as shown. You can add a dab of black grease to keep them in place.
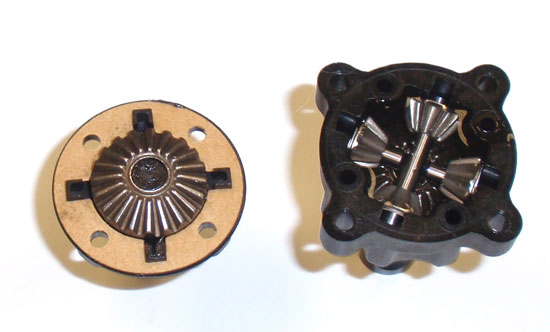
Team Associated B44.3 Buggy Build Step 12
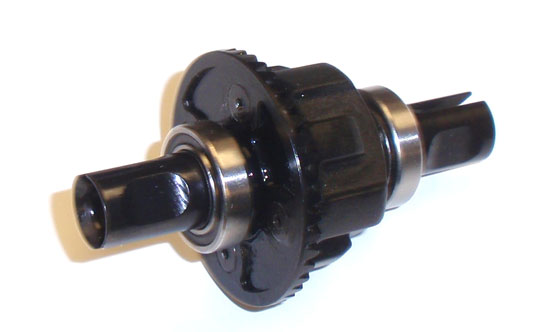
Combine the 2 diff halves and screw together. Rotate the diff a few times in both directions to make sure all the gears have meshed correctly.
Team Associated B44.3 Buggy Build Step 13
Slide 3 shims onto the outdrives followed by a 3/8″ bearing. We might have to adjust the shimming of these in a later build.
Team Associated B44.3 Buggy Build Step 14
Follow the same procedure to build the center diff as you did for the front/rear diff; grease the o-rings, slide them into the diff halves and add the shims, pins and sun gears.
Team Associated B44.3 Buggy Build Step 15
Build the sun gear assemblies, install them and add the 60,000wt fluid. Add the gasket to the other side, using grease to keep it in place if it moves at all.
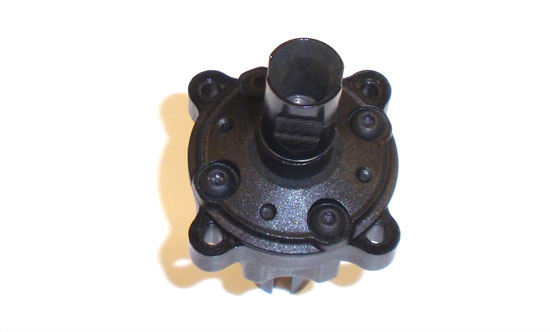
Team Associated B44.3 Buggy Build Step 16
Screw the two halves together.
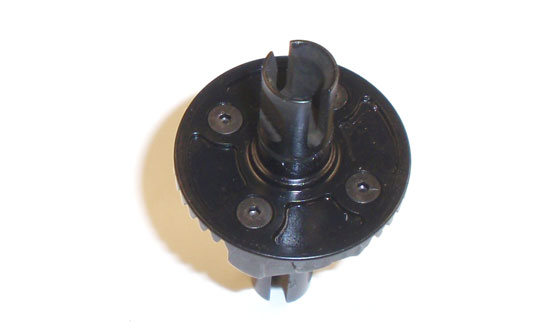
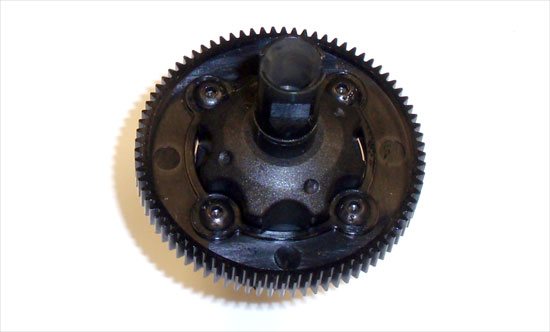
Team Associated B44.3 Buggy Build Step 17
Flip the center diff assembly over and attach the spur gear to it.
There we go. All 3 diffs done and, hopefully, build properly!
 RC Driver The Best In RC Car & Truck News, Reviews & Video