 RC Driver The Best In RC Car & Truck News, Reviews & Video


The Build – Part 10
Time to install the electronics in our Team Associated B44.3 Buggy.
Even though we’ll be using a single shorty LiPo instead of the optional saddle-pack setup, we need to attach the left side battery tray anyway. Attach the left side rail to the chassis.
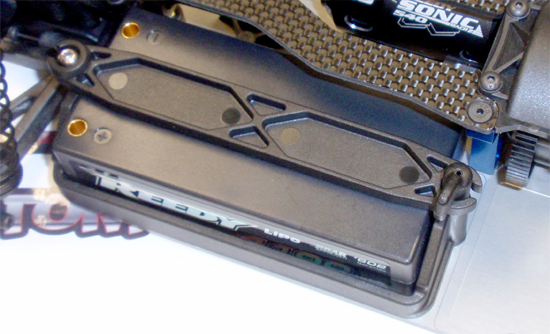
Attach the right side battery rail and insert the ball joint and 4-40 set screw. Drop your shorty LiPo into place and attach the battery strap. Now adjust the ball joint and setscrew so that the battery strap keeps the LiPo firmly in position. Attach the battery stap lock and rotate it into it’s secure position.
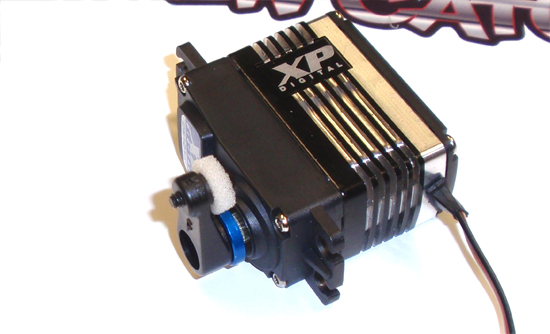
Assemble the servo horn and attach it to the servo.
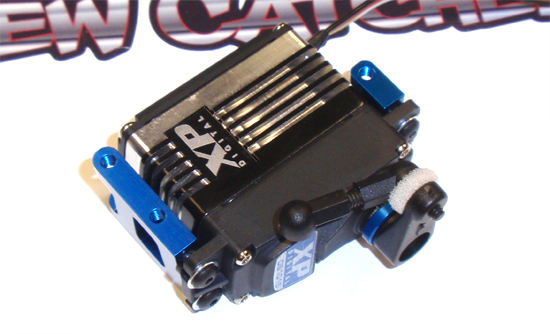
Attach the floating servo mounts but do not tighten just yet. Assemble the servo drag link and pop it onto the servo horn.
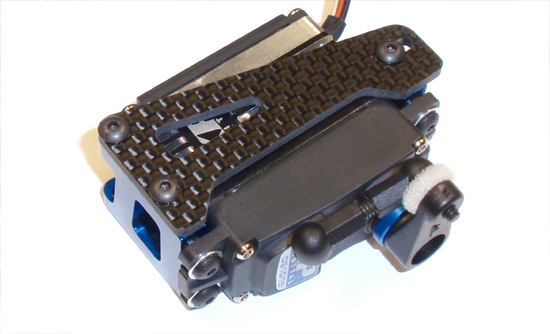
Attach the floating carbon fiber servo brace to the servo mounts, using a dab of threadlock to make sure they stay secure. Now tighten the 4 servo mounts screws from Step 122.
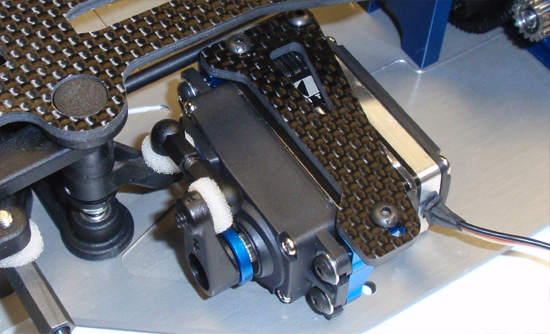
Mount the servo assembly to the chassis and connect the servo drag link onto the steering rack.
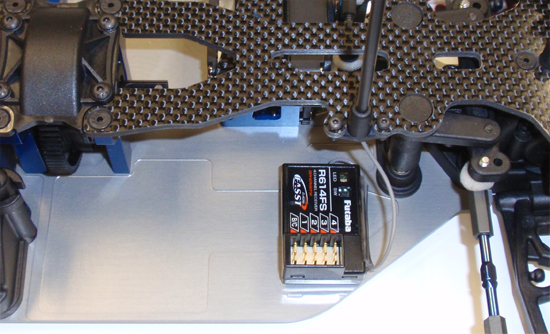
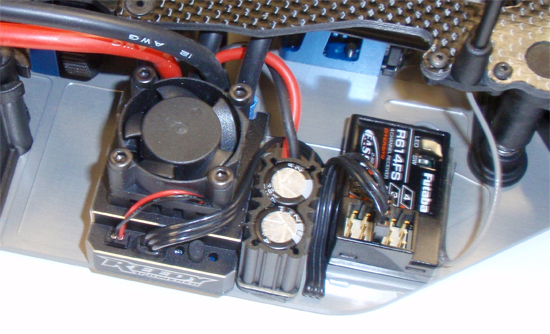
Attach your receiver to the chassis and route the wire up through the antenna mount.

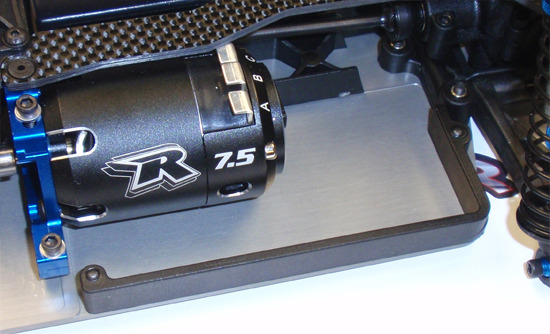
Attach your ESC next to the reciever, routing your battery wires under the top deck and your motor wires to the motor. Solder the motor wires into place. Don’t forget to attach your sensor wire.
Part 11 – Installing the wheels, tires and body.


