


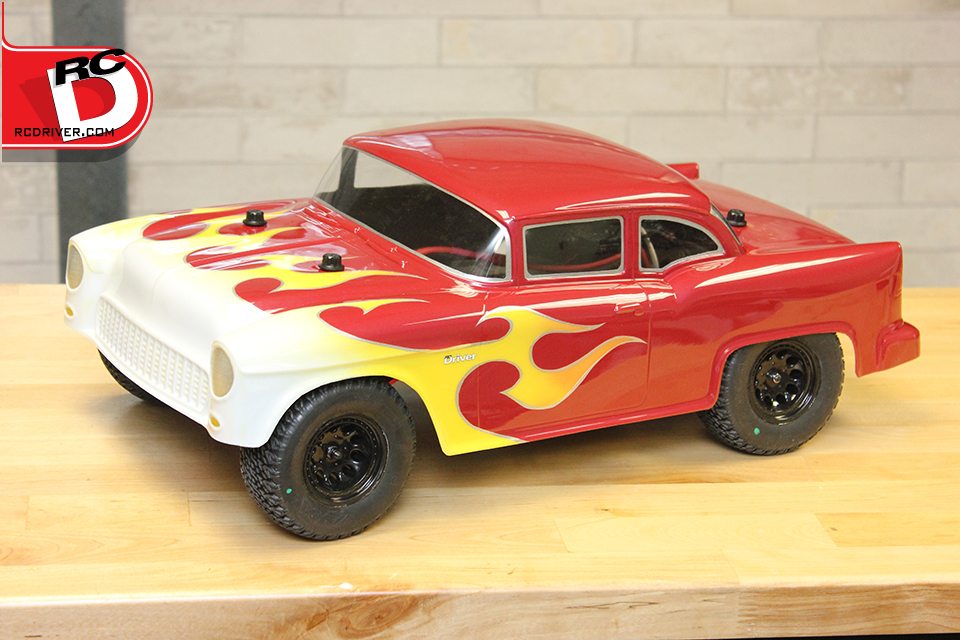
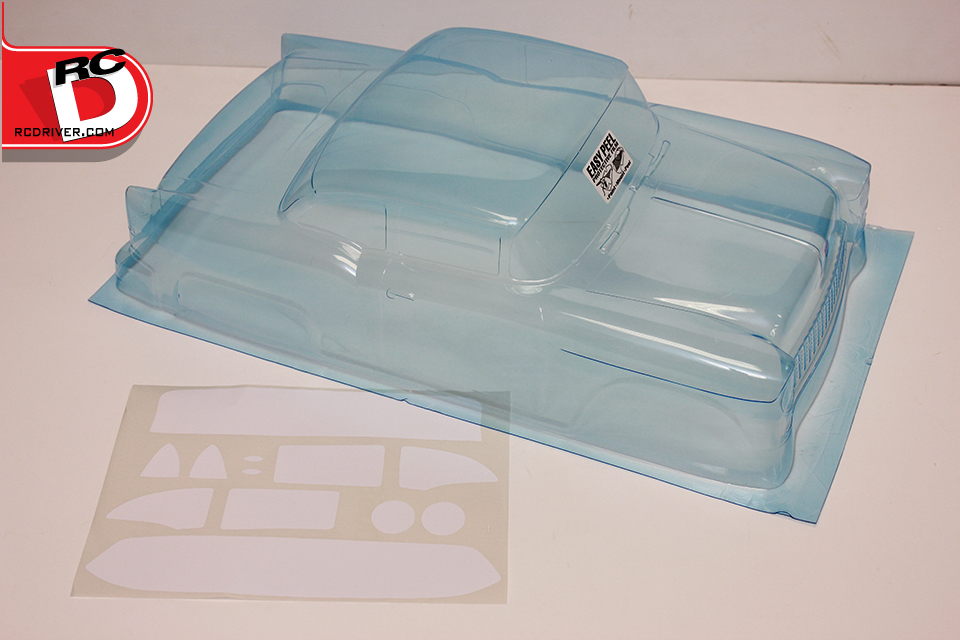
Parma’s Fifty Five Baja body has a cool classic hot rod look to it and fits most short course trucks perfectly. It comes with window and light masks and the body itself has a overspray film that you’ll remove after painting.
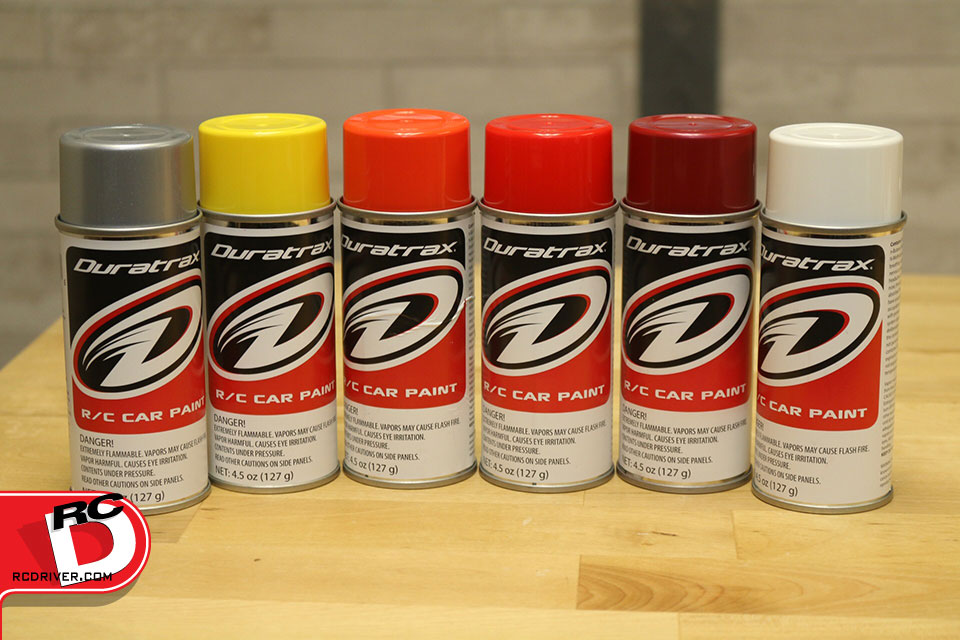
Duratrax offers a wide range of colors in 4.5oz spray cans. One can is enough to paint most bodies in a single color. But Project Jallopy needed a cool finish so we selected Bright White, Bright Yellow, Competition Orange and Bright Red for the flames; Silver Streak to outline the windows and flames and Metalic Red for the main color.

STEP 1- As with all bodies to be painted, head over to the kitchen sink, turn the tap on with warm water, squirt some dish soap into the body and wash the inside thoroughly. This will get rid of any oils on the body. Dry the body with a lint free towel.
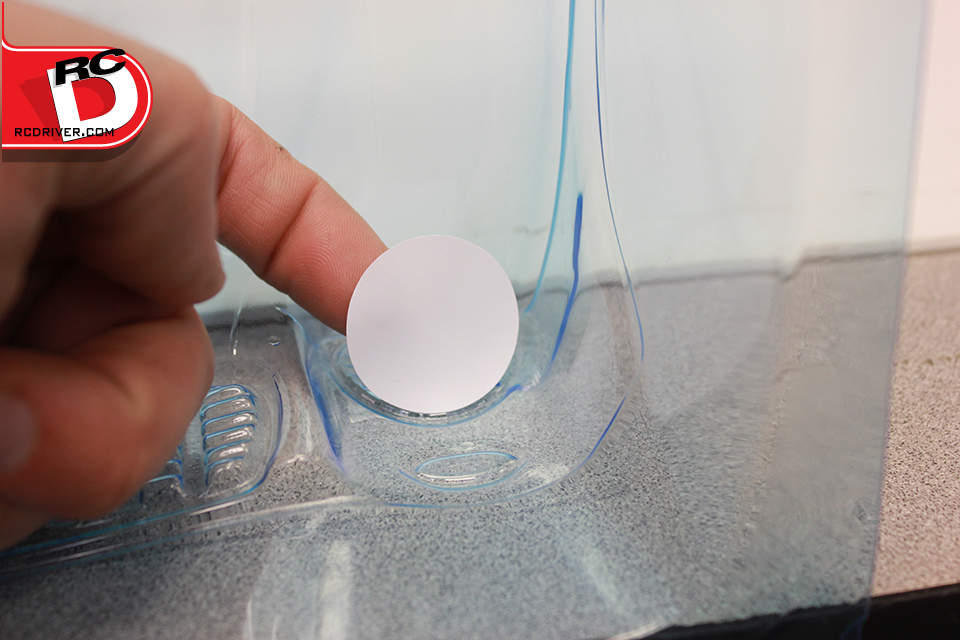
STEP 2- Apply the included masks to the body. Pretty simple!
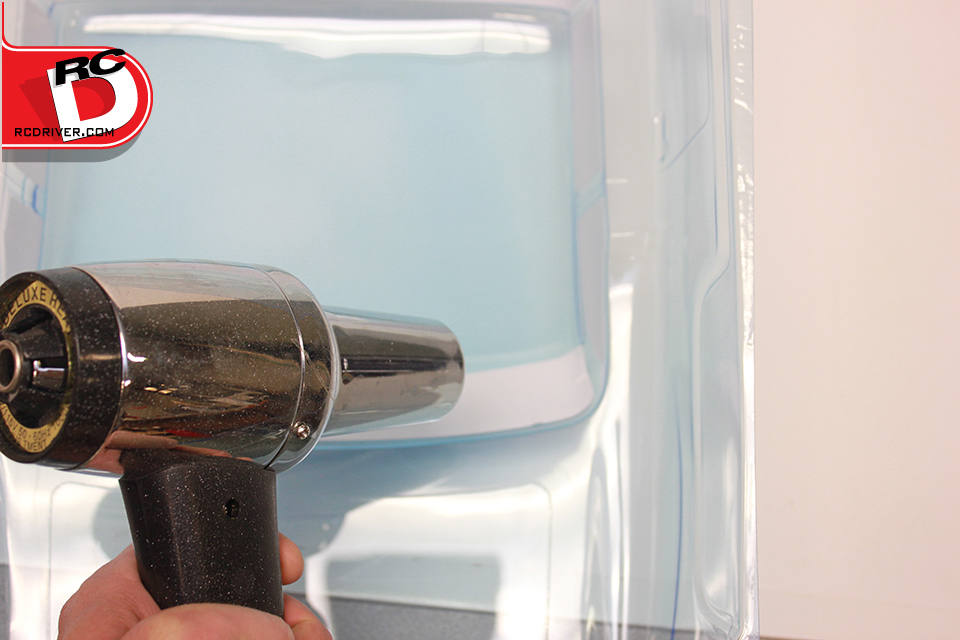 STEP 3- Not all masks lay on the body nice and even. To get the mask to adhere properly, use a heat gun or hair dryer to warm up the mask and then run your finger nail along the edges to set the masks adhesive to the lexan.

STEP 4- Some wait until after they draw the graphic on the outside of the body to lay masking tape on the inside of the body, I on the other hand lay it down first and draw the graphics within the masked areas. Your tape overlaps should be minimal so its not difficult to cut through later.
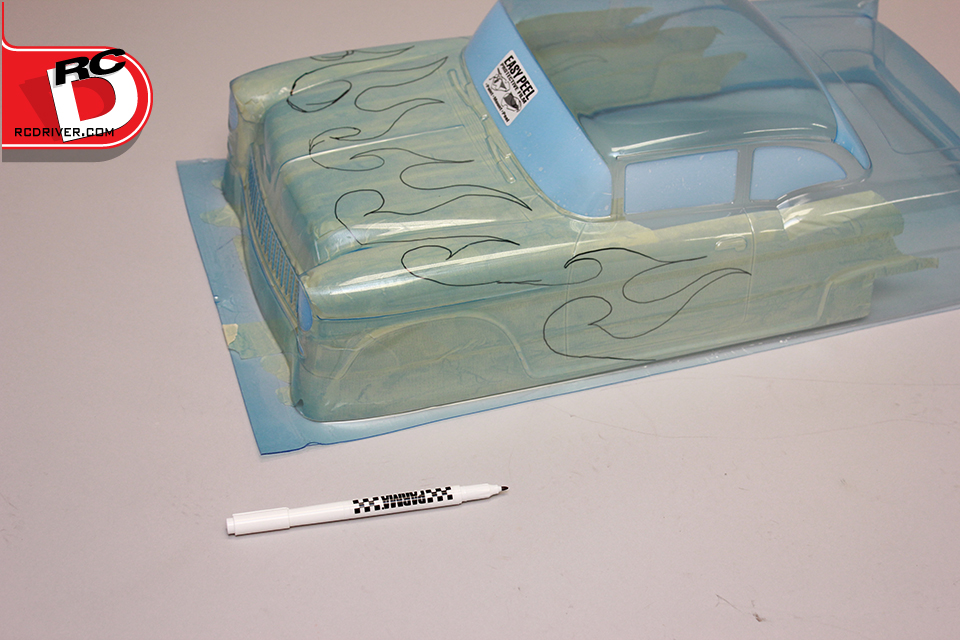
STEP 5- Use a marker to draw the specific flame style you like. Parma makes a great Dual Tip Marker for drawing on bodies. Here I’m laying down an exaggerated tribal style flame. Big swoops on the graphics look great on the larger body panels.
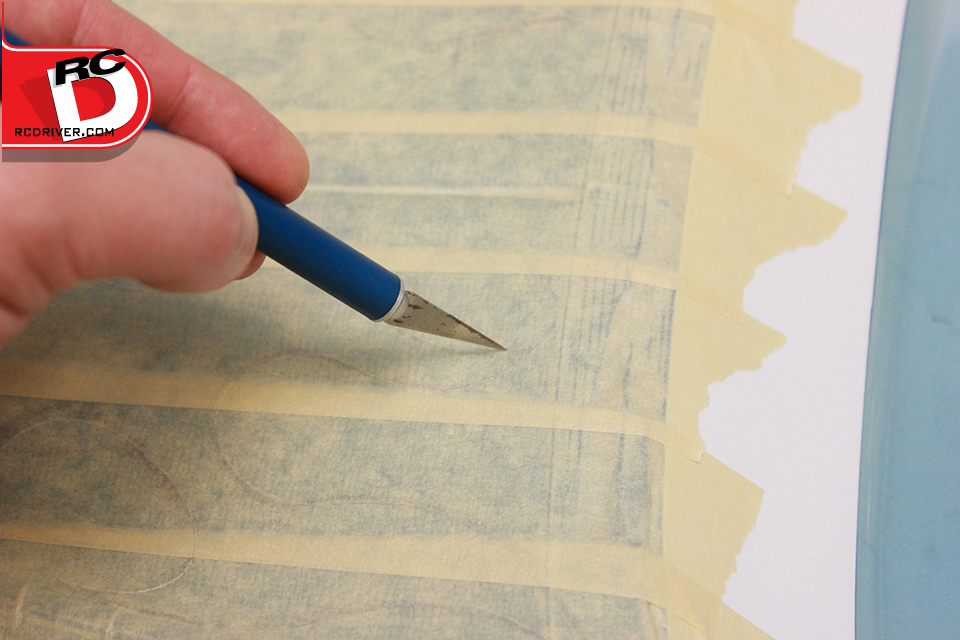
STEP 6- With a hobby knife and new blade, trace cut the graphic on the mask inside. I like to tell people not to lift the knife so you never loose your spot on a cut; the exception is when you get to points like the ones here on the flames.
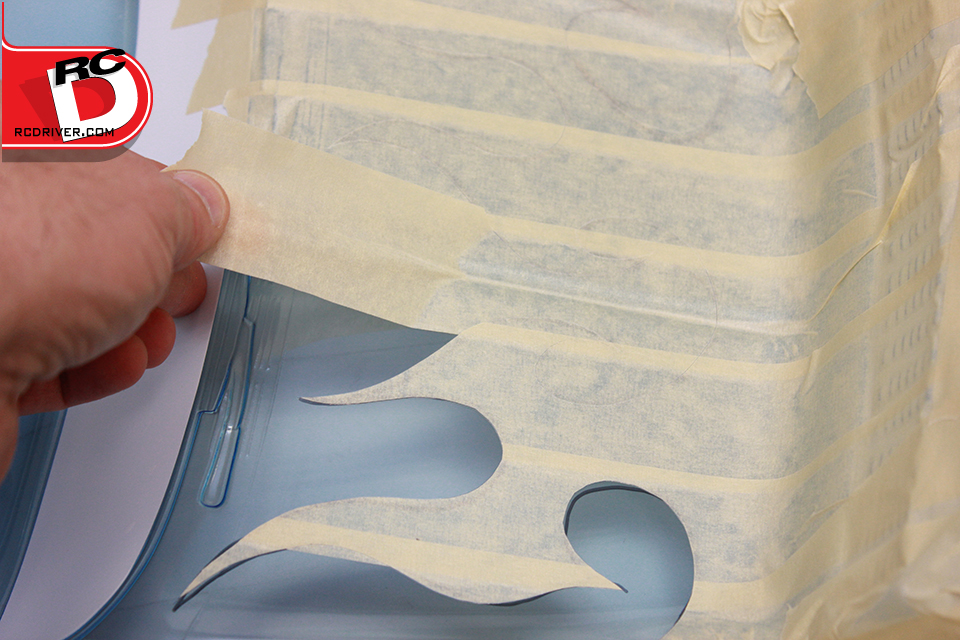
STEP 7- Once you have cut out the flames, remove the mask from the area where you will paint the main color.

STEP 8- Here all the graphics have been cut out and the excess mask removed, its a good idea to go over all the masking edges with the back of your finger nail to work out any air bubbles, seal the edges to the body and prevent paint bleeds.
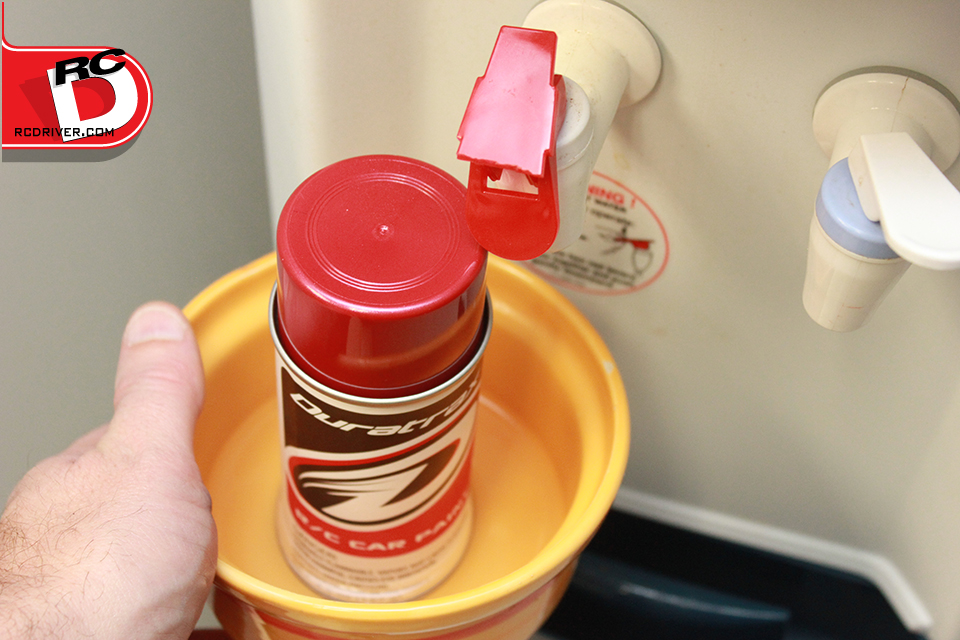
STEP 9- Time to prep your paint. I know what you’re thinking, its just spray paint! Bomb it! No, we’re going to show you the right way. First shake the can rigorously for a few minutes to mix the contents. Then place the can in a dish of hot water. The hot water will build up pressure in the can allowing it to spray better and with a finer pattern. When you remove the warm can from the water shake again quickly to make sure the contents are well mixed.
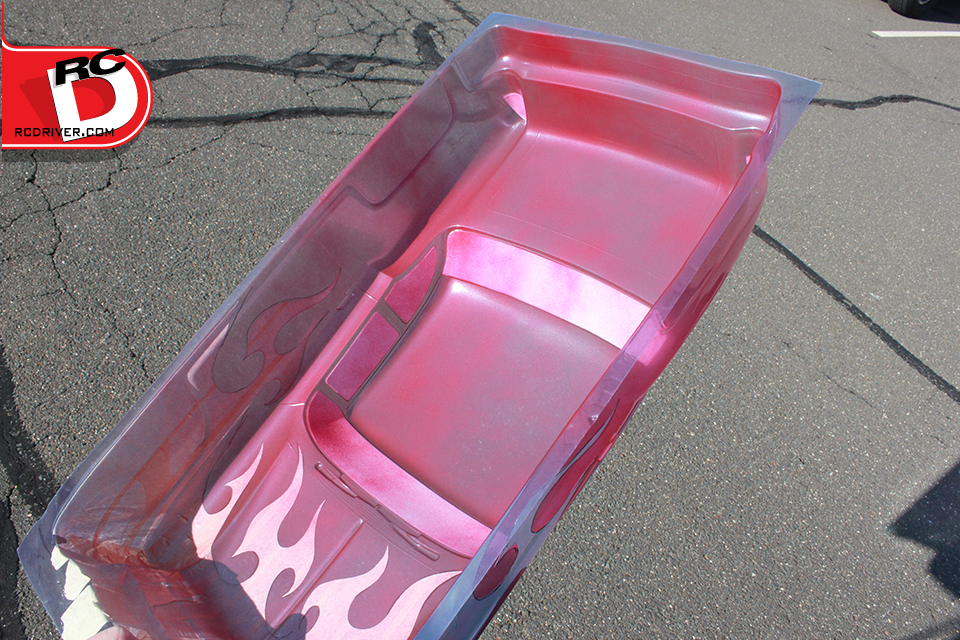
STEP 10- Spray the body in several light coats. Spraying in light coats will prevent drips, runs and possible bleeding under the masks. I sprayed three coats of Metallic Red.
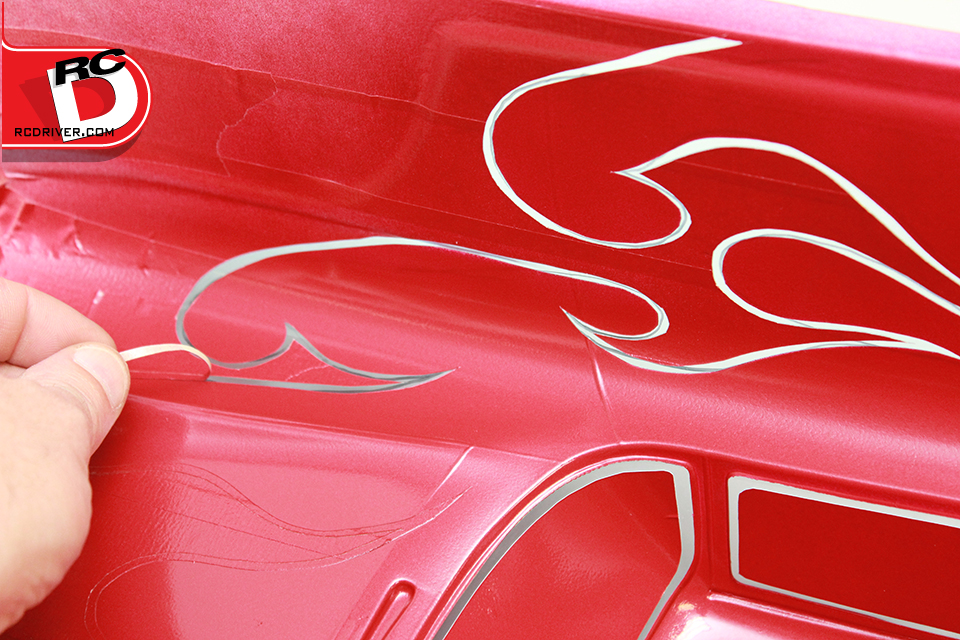
STEP 11- To bump up the cool factor, I cut a pin stripe out around the flames. I simply went back with the hobby knife and cut about 1/16″ inside the flame edge. Then peel off the pin stripe.
STEP 12- The stripe received three fine coats of Silver Streak.
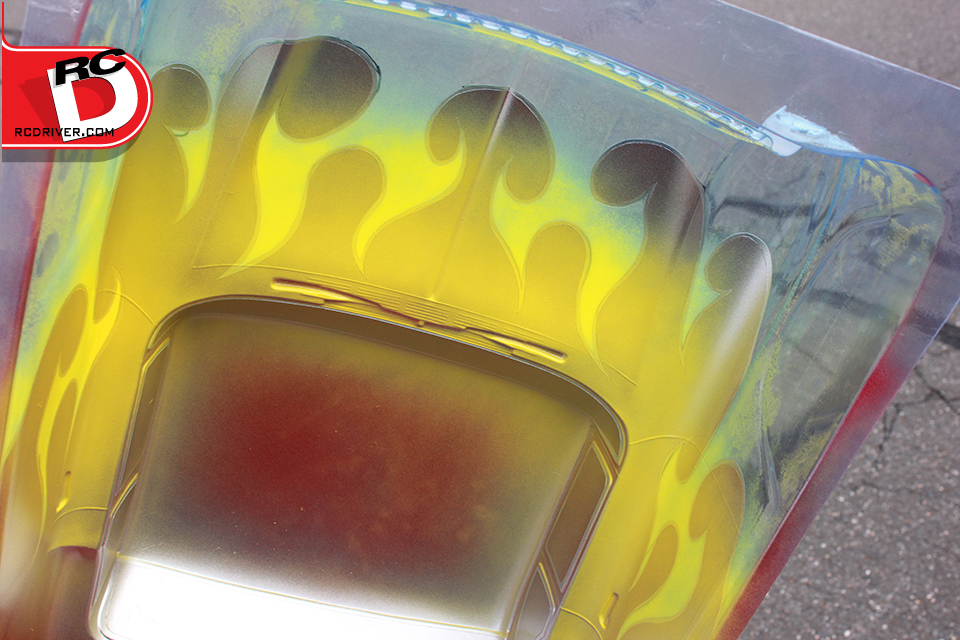
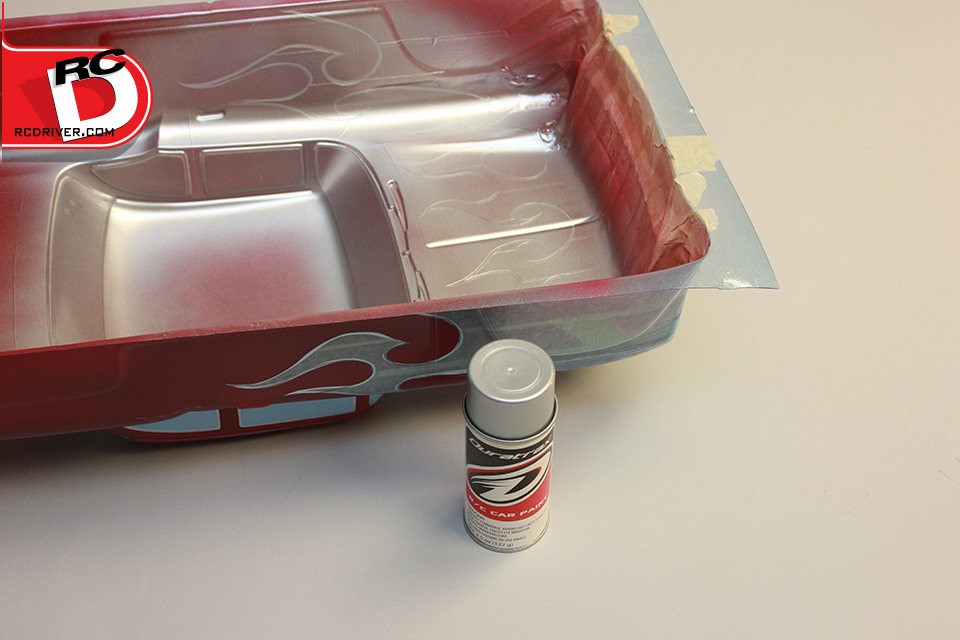
STEP 13- Now for the tricky part, painting the fade of the flames with a spray can. Typically painters would use an airbrush to paint fades, but a decent fade can be accomplished with cans. I started my flames with Duratrax’s Bright yellow. I again heated the can in hot water for a finer spray and then pointed the spray can towards the back of the body at a 45 degree angle rather than spraying straight at the body. This will direct the paint towards the backside of the flames. Just two light coats did the job.
STEP 14- With the yellow down, I went over the tips of the flames with Bright Red. The Bright Red bled into the yellow and gave it a look of a fade to orange on the top side of the body.
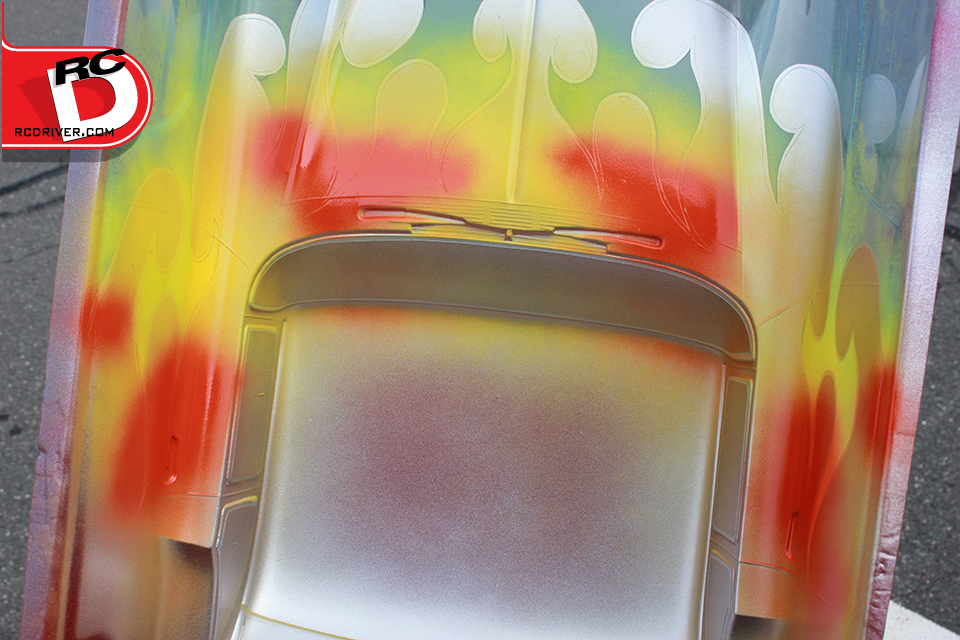
 STEP 15- There was a little yellow overspray on the nose which I was luckily able to wipe off with a towel. Then I sprayed the entire inside of the body with Bright White. When the white was opaque, I sprayed the front marker lights with yellow and backed it with white. Then I sprayed the headlights with the silver and the tail lights with red. Once those colors were opaque, I backed the entire body with Basic Black for a finished look.

FINISHED- After ample drying time, I pulled off the window mask and here is the end result, a great looking flame paint scheme using Duratrax Spray paints on a Parma Fifty Five Baja short course body. Time to mount it up and hit the street!


