 RC Driver The Best In RC Car & Truck News, Reviews & Video


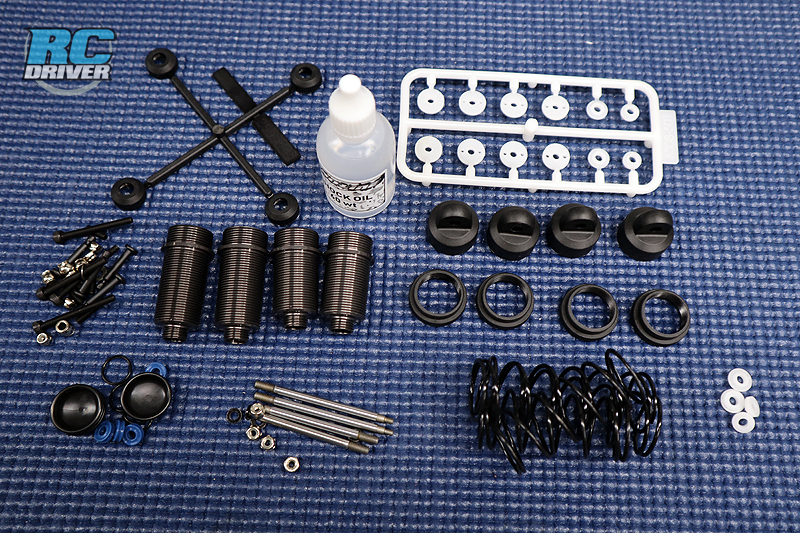
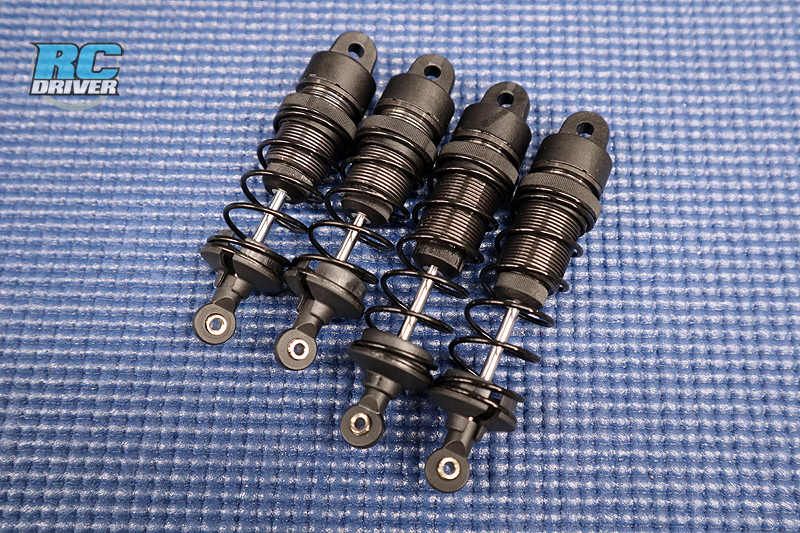
Today’s blog will be shocking. We’re going to build the shocks. Ok, lame joke. However the shocks on the Pro-Line Pro-Fusion SC 4×4 are pretty dialed since they are carried over from the proven MT. These shocks have threaded aluminum bodies, X-ring seal, firm springs and PL even includes the oil for the build process. These go toghether nice and smooth, but we’ll throw some tips out to help you build yours to perfection.
NEED TO KNOW
Product Pro-Fusion SC 4×4
Part Number: 4006-00
Price: $399.99
Link To Buy: http://bit.ly/2H3WrYw Use Code RCDRIVER10 to save 10% on your entire Pro-Line order at checkout.
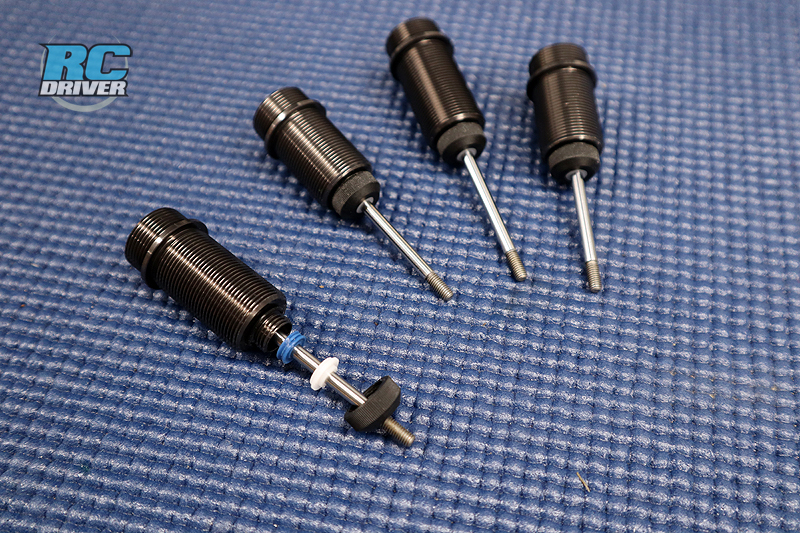
Assembly of the shocks is fairly standard. Install the larger pistons (the small pistons are not used) on the shock shafts. Do not overtighten the piston retaining nut. It should be snug. The bottom “cartridge” is loaded with plastic shaft guides and a single x-ring for the seal. Slip all of the components into the body followed by a drop or two of oil before tightening the cap down. Wipe off any excess oil with a towel.
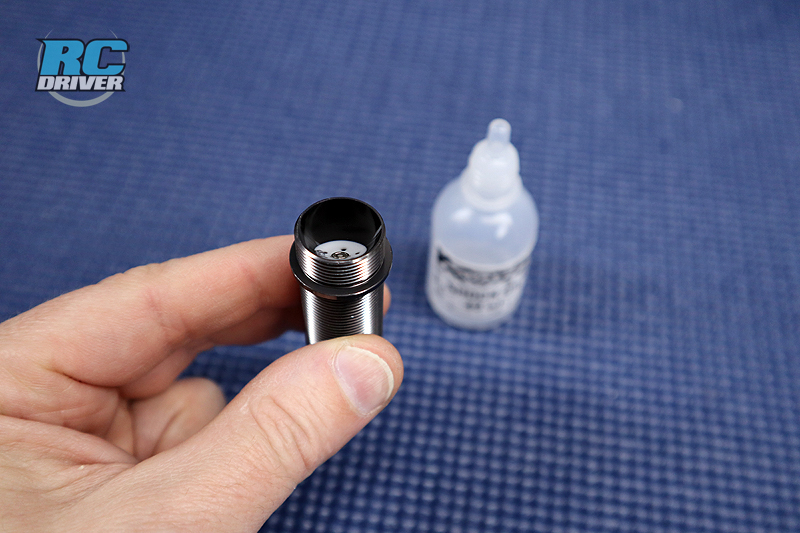
Next fill the bodies with the included oil and cycle the shock shaft slowly to release any air trapped under the piston. Set the shock aside if you need to let any small bubbles rise to the top. After, push the shock shaft up into the body so the piston is near the top.
Place the bladder inside the cap and start screwing it onto the body. When the cap is half way on, tilt the shock on a slight angle while slowly screwing on the cap. This will help allow trapped air to escape from the shock. Tighten the cap firmly.
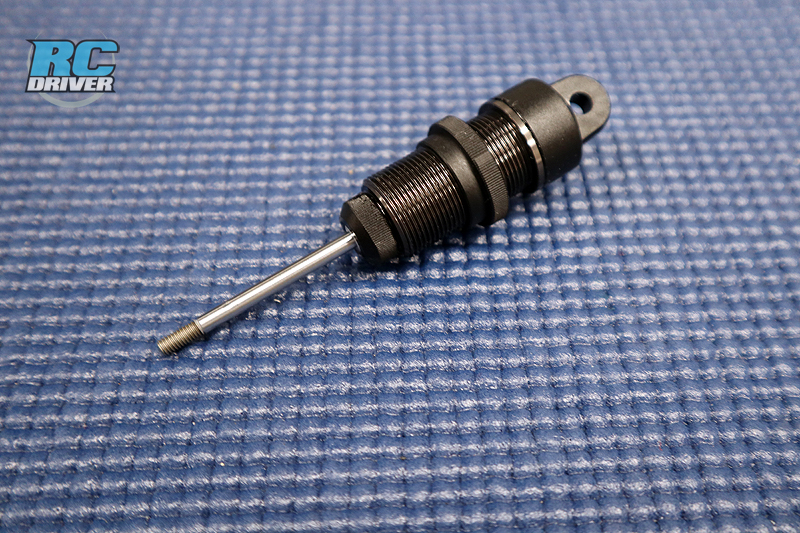
We’ve jumped ahead a bit here. Sorry we’re getting excited to drive this beast! Screw the shock collars onto the shock bodies. Screw the shock ends onto the shocks and press in the ball studs. Now you can slip the springs on followed by the pearches.
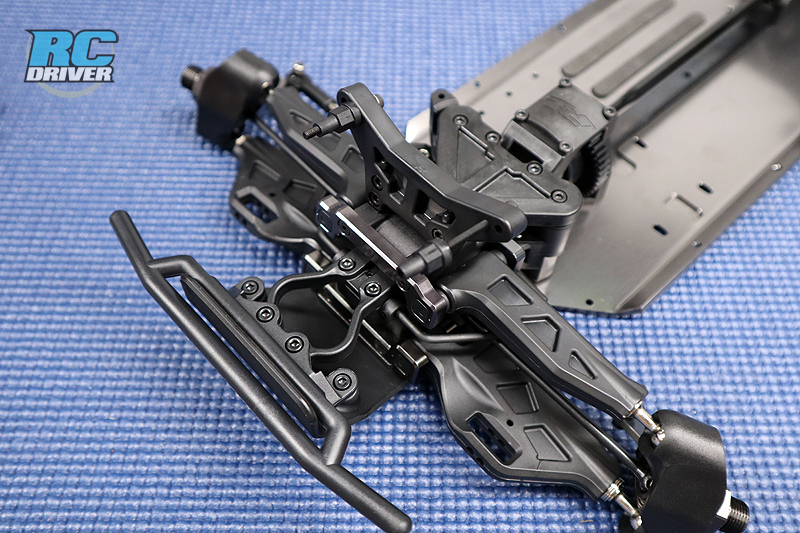
Screw the shock posts onto the shock towers.

Now you can install the shocks. Slip the top onto the posts and secure them with the supplied lock nuts. On the bottom you’ll slide the pin into the arm and shock end. The long set screw secures the pin in place.
BAG G Finished.
Shocks can be tricky to build. Take your time when doing so. Most importantly look for hydra-lock when assembling the shock. This means when you push the shock shaft into the body it stops and doesn’t go all the way to the top. If this happens, you’ll need to bleed oil from the shock body. Back the cap off three quarters of the way and push up on the shock shaft. This shoul bleed oil out. Once you see oil come out, tighten the cap back down and test the shock again. See you back soon for the next step!
For More Information, Please Visit Pro-Line Racing HERE


