 RC Driver The Best In RC Car & Truck News, Reviews & Video


The Build – Part 2
The TM4 comes with fluid-filled gear diffs in the front and back. The assembly is pretty easy, just be sure to have some rags or towels handy to clean up the mess.
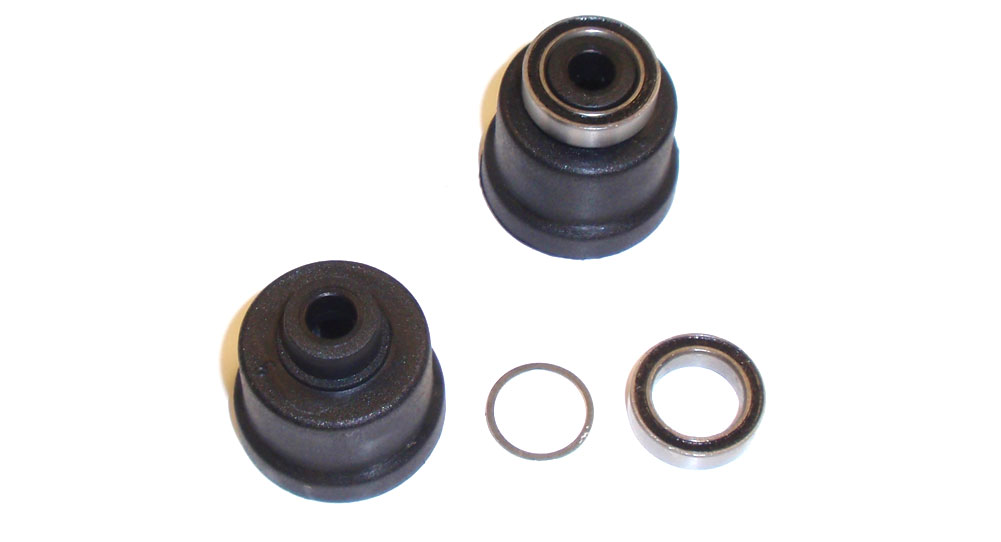
Slide a 10×12 shim and 10×15 bearing onto both of the differential housings.
Insert an outdrive cup into each housing. Now flip the assembly over and install a red o-ring followed by a 5×13 shim. Secure both by snapping an e-clip into the groove on the outdrive cup.
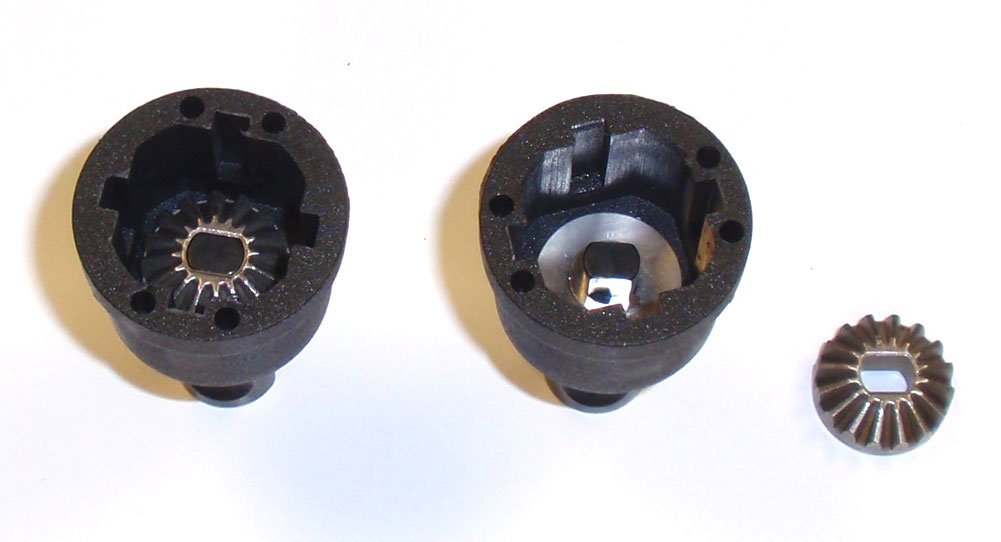
Press a sun gear into both diff housing assemblies. Make sure it seated all the way down on the outdrive cup.
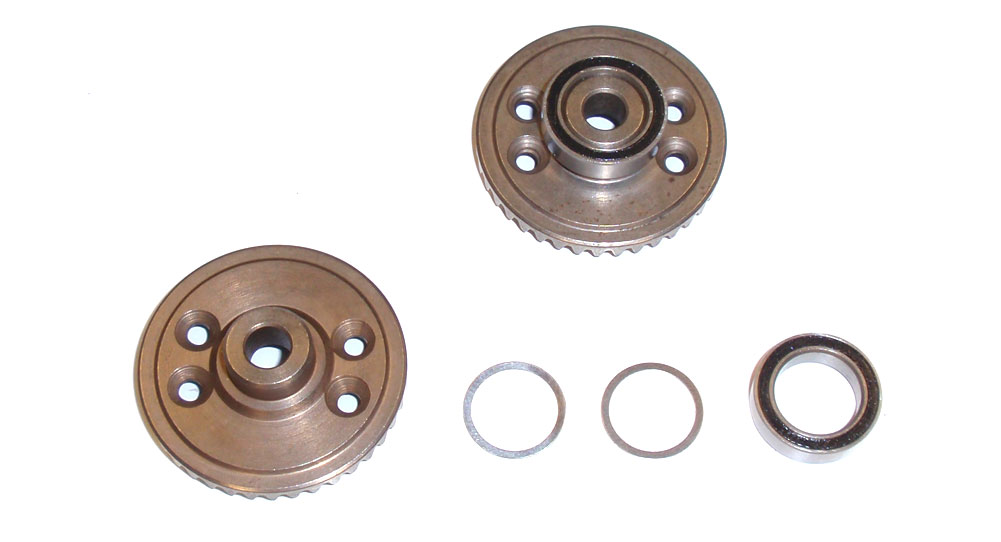
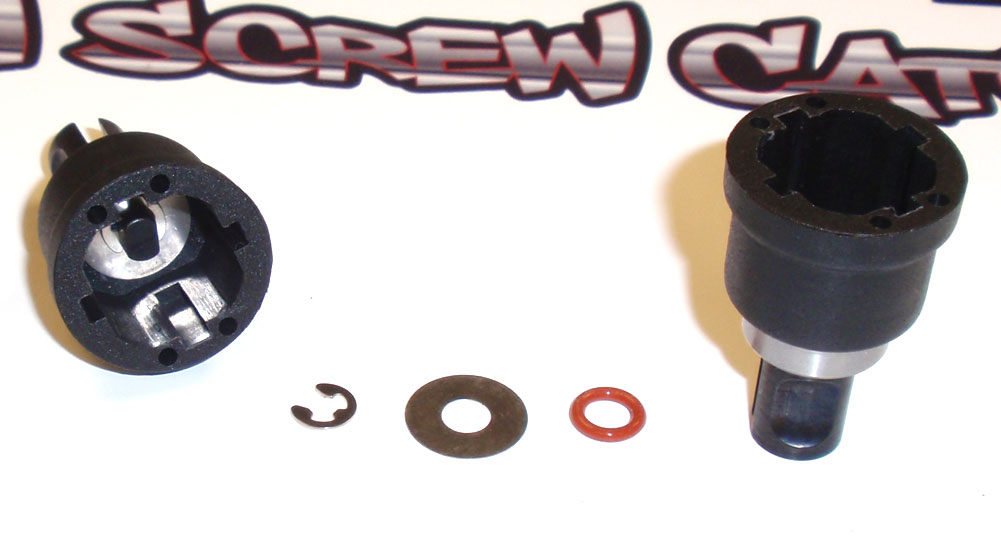
Slide 2 10×12 shims and a 10×15 bearing onto the diff gear.

Insert an outdrive cup into each gear. Now flip the assembly over and install a red o-ring followed by a 5×13 shim. Secure both with an e-clip.
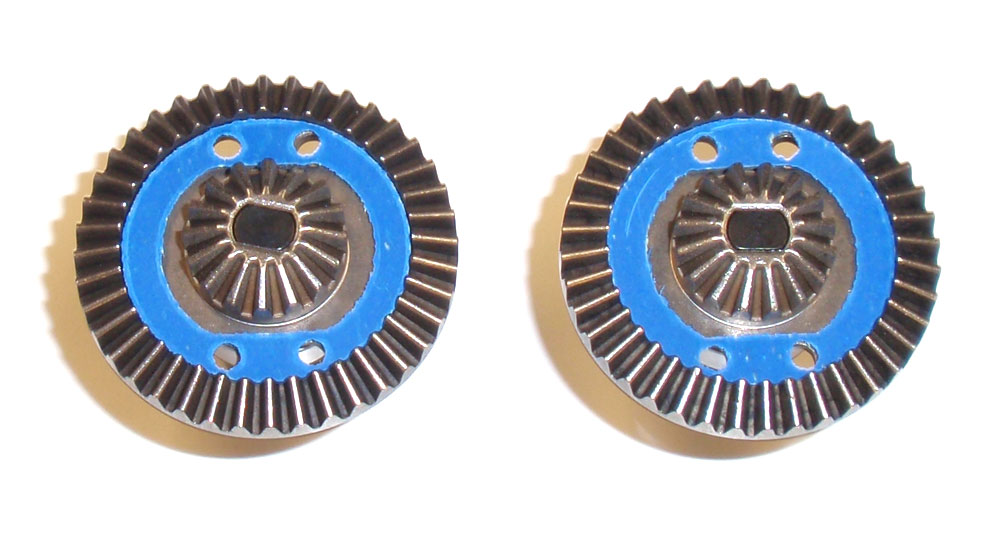
Press a sun gear onto both outdrive cups. Position they diff gasket so that the holes in the gasket line up with the holes in the gear. If the gasket doesn’t stay, apply a small drop of grease to keep it in place.

Make 4, smaller sun gear assemblies. Note the flat spot on the shafts.
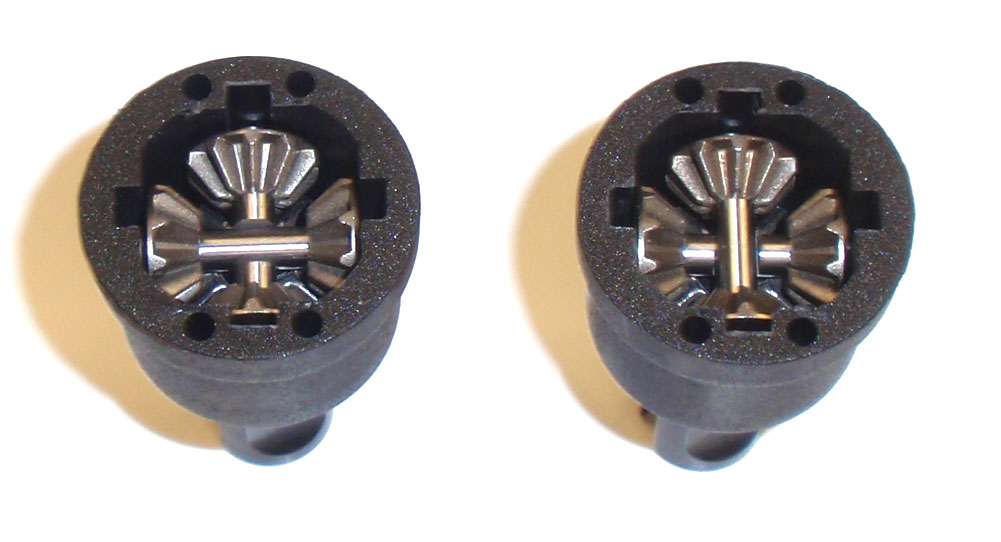
Set one sun gear assembly into the diff housing, making sure the flat spot on the shaft is facing up. Lay a second sun gear assembly in the diff housing, making sure the flat spot is facing down. The two flat spots should mate up.

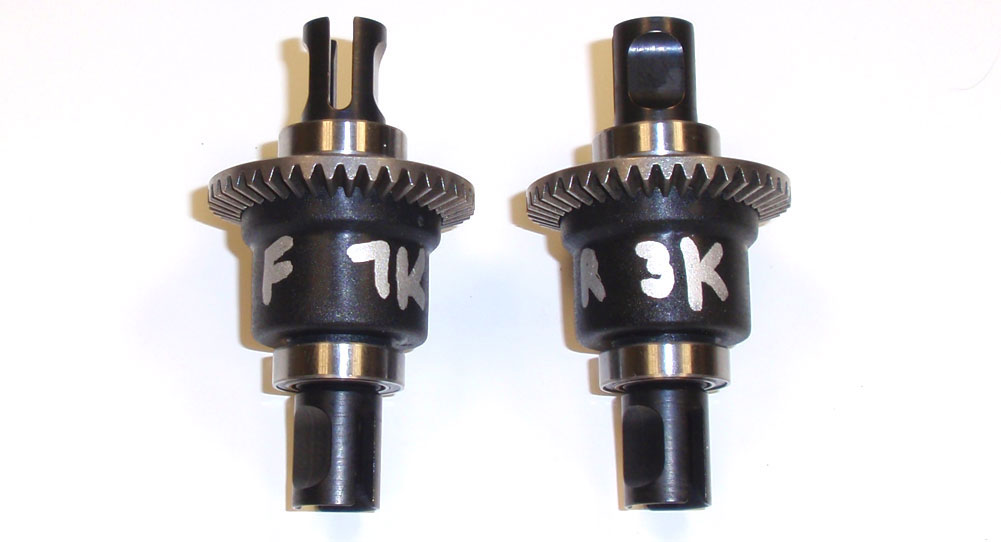
Fill the diff housing with fluid to the top of the sun gears. The manual suggests 5000wt fluid in the front, 2000wt in the rear. You can modify this depending on what type of surface you will be running on. I run on a high-bite surface so I installed 7000wt in the front and 3000wt in the rear.
Flip the gear-side assembly over and screw into place. Make sure all the gears have messed correctly by spinning the outdrive slightly prior to screwing together. If any fluid has escaped, go ahead and clean that up now.

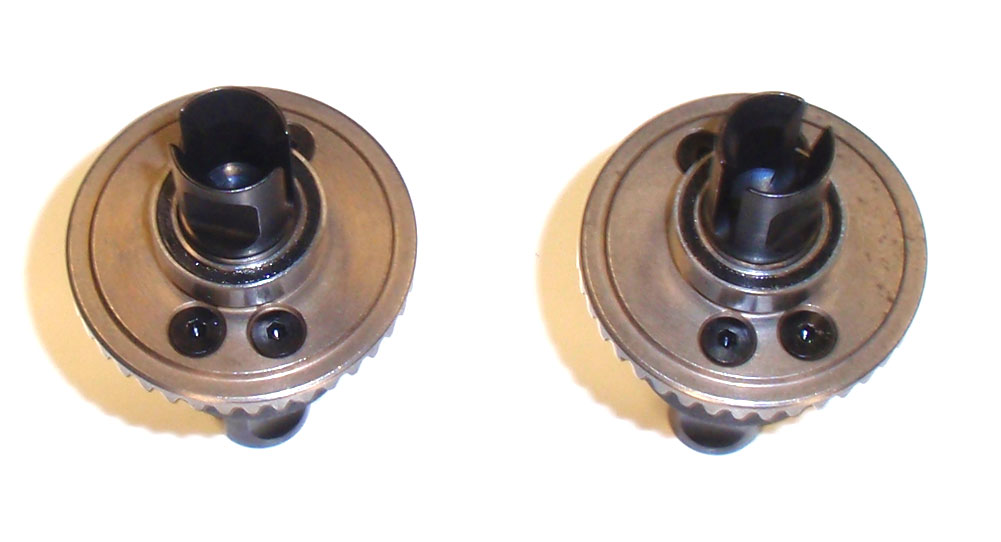
You final diffs should look like this. To help keep them separated and organized, I silver Sharpie the fluid weights on the housing.
Excellent. Make sure you clean up your work space of any spills fluids. The next step will be installing the diffs into the bulkheads.


